
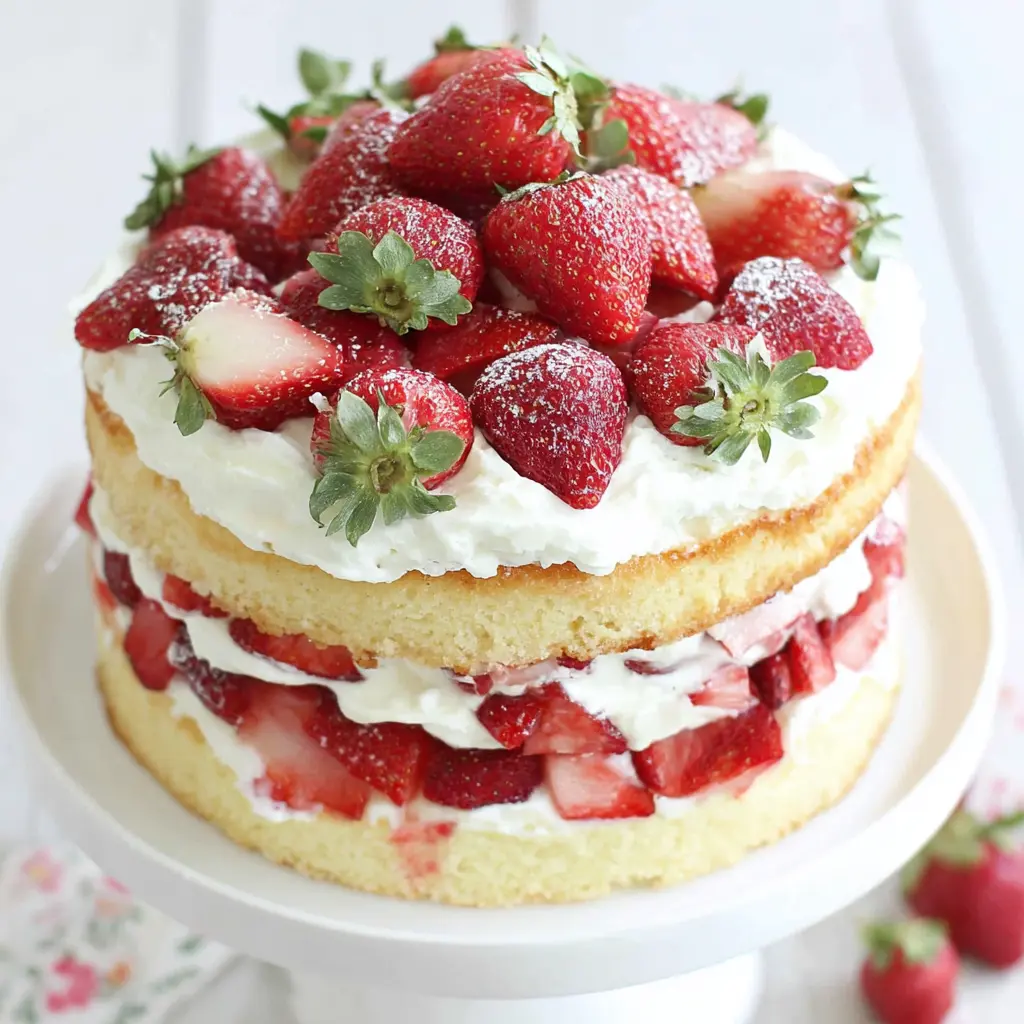
Why This Strawberry Shortcake Layer Cake Works
Picture this: you’re standing at the dessert table at a Memorial Day barbecue, holding a slice of cake that’s tall and gorgeous. The layers are even. The cream is fluffy. And every single bite has a bright, juicy piece of strawberry. No soggy mess. No collapsed layers. Just pure strawberry shortcake heaven.
I’ve been there on the other side, though. My first attempt at a layered fruit cake? A total disaster. The strawberries released so much liquid that the cake turned into a sad, wet pudding by the time I served it. I wanted to cry into my slice, honestly. But I learned from that mess, and this Strawberry Shortcake Layer Cake is the result of all those lessons.
Here’s what makes this version different. First, the cake itself is a tender vanilla sponge that’s sturdy enough to hold up to the filling. Second, the strawberries get a quick maceration with balsamic glaze and sugar, which draws out excess moisture so your cake stays safe. And third, the whipped cream is stabilized with cream cheese, giving it structure and tang without being heavy. It’s a classic strawberry cream cake that actually works.
You’ve got this, and I promise it’s easier than you think. Let’s break it down.
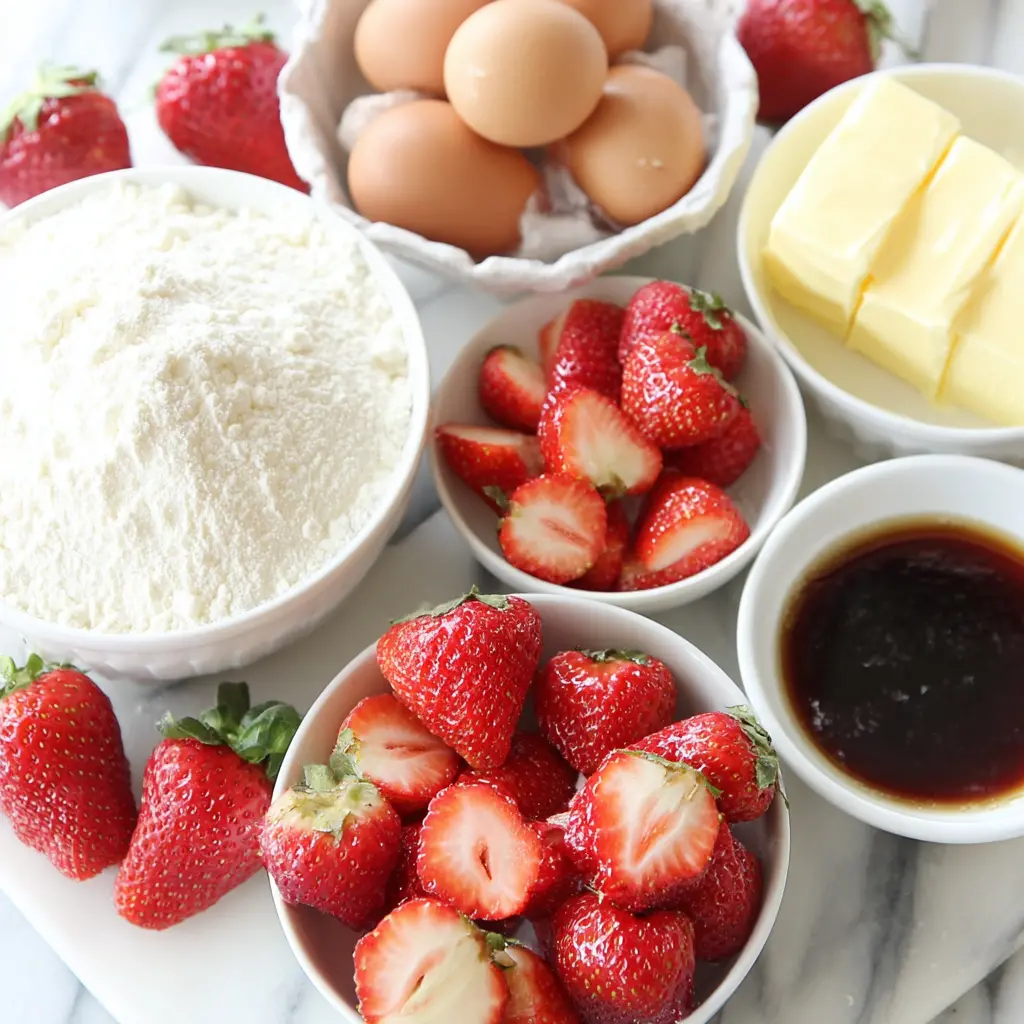
Key Ingredients & Substitutions
Every ingredient here plays a specific role. Let’s talk about the big players and what you can swap if needed.
The Cake Base
All-purpose flour gives this cake the perfect structure. Some recipes call for cake flour, and it does make layers super tender. But I’ve tested this with all-purpose and it works beautifully. The sour cream in the batter adds moisture and a slight tang that balances the sweetness. And the combination of butter and vegetable oil? That’s my secret for a crumb that stays soft even after refrigeration.
The Strawberries
Fresh strawberries are non-negotiable here. Frozen ones release way too much water and will turn your cake into soup. Look for berries that are bright red, fragrant, and firm but not rock hard. The balsamic glaze might sound weird, but trust me on this. It deepens the berry flavor without making things taste like salad dressing. If you don’t have balsamic glaze, you can substitute a teaspoon of balsamic vinegar mixed with a teaspoon of honey.
The Cream Filling
This is where the magic happens. Cream cheese stabilizes the whipped cream so it holds its shape for hours. It also adds a slight tang that cuts through the sweetness. If you don’t want the flavor of cream cheese, use 8 ounces of mascarpone cheese instead. The frosting will be softer but still delicious. Alternatively, you can use plain stabilized whipped cream with gelatin, but I love the cream cheese version for its texture and taste.
Quick Substitution Guide
Dairy-free: Use a vegan vanilla cake recipe and dairy-free whipped topping. The texture won’t be identical, but it’ll still be tasty.
Gluten-free: Swap the all-purpose flour for a 1:1 gluten-free baking blend. Add an extra tablespoon of milk if the batter seems thick.
Lower sugar: Reduce the granulated sugar in the cake to 1 cup. The strawberries and cream will still add plenty of sweetness.
Step-by-Step Instructions
Let’s walk through the four main stages. I’ll explain the why behind each step so you feel confident, not clueless.
Stage 1: Bake the Cake Layers
Start by getting your ingredients to room temperature. This is crucial. Cold eggs and milk won’t emulsify properly, and you’ll end up with a dense, heavy cake. Beat the butter and sugar until they’re light and fluffy, about 3-4 minutes. You want the mixture to look pale and aerated. Add the eggs one at a time, beating well after each. Then add the vanilla, oil, and sour cream.
Alternate adding the flour mixture and milk, starting and ending with flour. This prevents overmixing, which develops too much gluten and makes the cake tough. Divide the batter evenly among three 8-inch pans. Bake at 350°F for 22-30 minutes. The cakes should be lightly domed and a toothpick inserted in the center should come out clean or with a few moist crumbs.
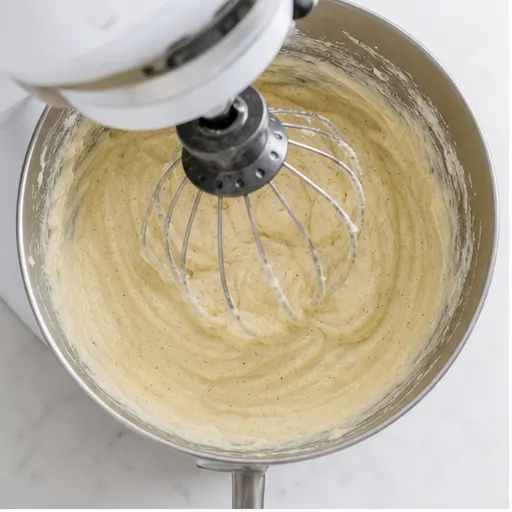
Here’s a tip I learned the hard way: let the cakes cool in the pans for just 5-10 minutes, then turn them out onto a wire rack. Once they’re mostly cool, wrap each layer tightly in plastic wrap and freeze for at least 1 hour. This keeps them moist and makes them way easier to handle when you’re assembling. Seriously, frozen layers are a game-changer for layer cake assembly.
Stage 2: Prepare the Strawberries
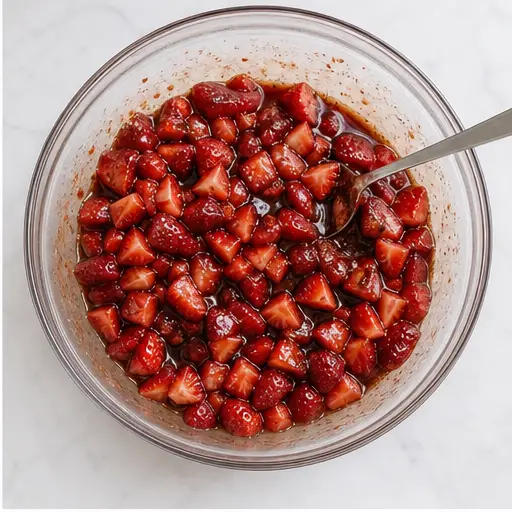
While the cakes chill, dice your strawberries into small, even pieces. Drizzle with balsamic glaze and sprinkle with sugar, then stir until everything’s coated. This maceration technique draws out the natural juices and concentrates the flavor. Let them sit in the fridge while you make the cream. The longer they rest, the more syrupy they get. But don’t let them sit for more than an hour, or they’ll get too soft.
Stage 3: Make the Whipped Cream
Chill your mixer bowl and whisk attachment in the freezer for at least 5 minutes. Cold cream whips up faster and fluffier. Beat the heavy cream until it starts to thicken, then gradually add 1/4 cup of powdered sugar and the vanilla. Whip until soft peaks form. Transfer this to another bowl and refrigerate.
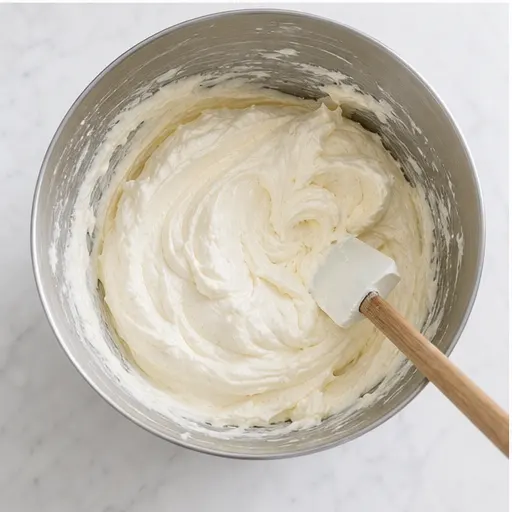
Without washing the bowl, beat the softened cream cheese until completely smooth. Add the remaining 1/2 cup powdered sugar and beat until combined. Then add 1/4 cup of the glazed strawberries, including some of the liquid, and beat until smooth. Fold in the reserved whipped cream gently by hand. Don’t overmix, or you’ll deflate all that air you just whipped in.
Stage 4: Assemble the Cake
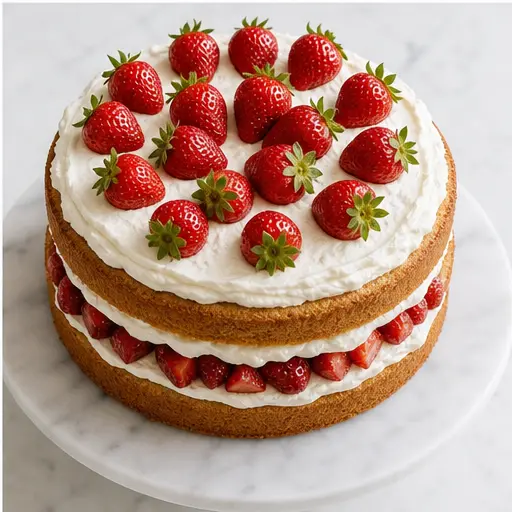
Remove the cake layers from the freezer. Peel off the parchment paper. Place one layer on your serving plate. Spread about one-third of the whipped cream mixture evenly over the top. Spoon about one-third of the strawberry mixture over the cream. Repeat with the second layer, another third of the cream, and another third of the strawberries. Top with the third cake layer and spread the remaining cream over the top.
Garnish with whole strawberries if you want that bakery look. Serve immediately, or refrigerate until you’re ready. This cake is best enjoyed within 1-2 hours of assembly, when the layers are still distinct and the cream is perfectly fluffy.
Tips for the Perfect Cake
I’ve made this Strawberry Shortcake Layer Cake more times than I can count. Here are the things I’ve learned that make the biggest difference.
- Room temperature ingredients are non-negotiable. Cold ingredients don’t emulsify, and you’ll get a dense cake. Set everything out 30-60 minutes before you start.
- Don’t overmix the batter. Once you add the flour, mix just until combined. Overmixing develops gluten and makes the cake tough.
- Freeze the cake layers. This is my number one tip. Frozen layers are so much easier to handle, and they stay moist. Wrap them tightly in plastic wrap and freeze for at least an hour.
- Use an offset spatula for spreading. It gives you more control and creates even layers. If your layers are a little uneven, a thick crumb coat fixes everything.
- Let the strawberries macerate. This draws out moisture so your cake doesn’t get soggy. Don’t skip this step.
Common Mistakes to Avoid
❌ Overmixing the cake batter → ✅ Mix just until combined. Stop as soon as you don’t see any more flour streaks.
❌ Not bringing ingredients to room temperature → ✅ Set eggs, milk, and sour cream out 30-60 minutes before baking.
❌ Using warm heavy cream for whipping → ✅ Chill your bowl and cream for best results.
❌ Not chilling cake layers before assembly → ✅ Freeze for at least 1 hour. It makes everything easier.
❌ Assembling too far in advance → ✅ This cake is best within 1-2 hours of assembly. The strawberries will soften the layers over time.
Storage & Make-Ahead Instructions
This cake is perfect for prepping ahead, which is a lifesaver when you’re hosting. Here’s how to plan your timeline.
Make-Ahead Timeline
- Up to 2 days ahead: Bake the cake layers, cool completely, wrap tightly in plastic wrap, and freeze. They’ll stay fresh for up to 3 months if wrapped well.
- 1 day ahead: Make the strawberry mixture and store in an airtight container in the fridge. The flavors will meld beautifully.
- Day of serving: Make the whipped cream and assemble the cake. Serve within 1-2 hours for best texture.
Storing Leftovers
Store any leftover cake in the refrigerator, covered with plastic wrap or in an airtight container. It will keep for up to 2 days, but the cake will soften over time as the strawberries release more juice. For best flavor, let it sit at cool room temperature for about 15 minutes before serving.
Frequently Asked Questions
More Summer Desserts You’ll Love
If this Strawberry Shortcake Layer Cake has you in the mood for more fruity desserts, check these out:
- Lemon Blueberry Layer Cake with Cream Cheese Frosting
- Mango Coconut Chiffon Cake with Whipped Cream
- Peach Melba Trifle with Raspberry Sauce
- Classic Key Lime Pie with Graham Cracker Crust
- Mixed Berry Pavlova with Vanilla Cream
Make this Strawberry Shortcake Layer Cake for your next get-together, and text me a photo! I want to see. Seriously, nothing makes me happier than hearing about your kitchen wins. And if you have questions along the way, drop them in the comments. I’m here to help.
Happy baking, friends. You’ve got this.
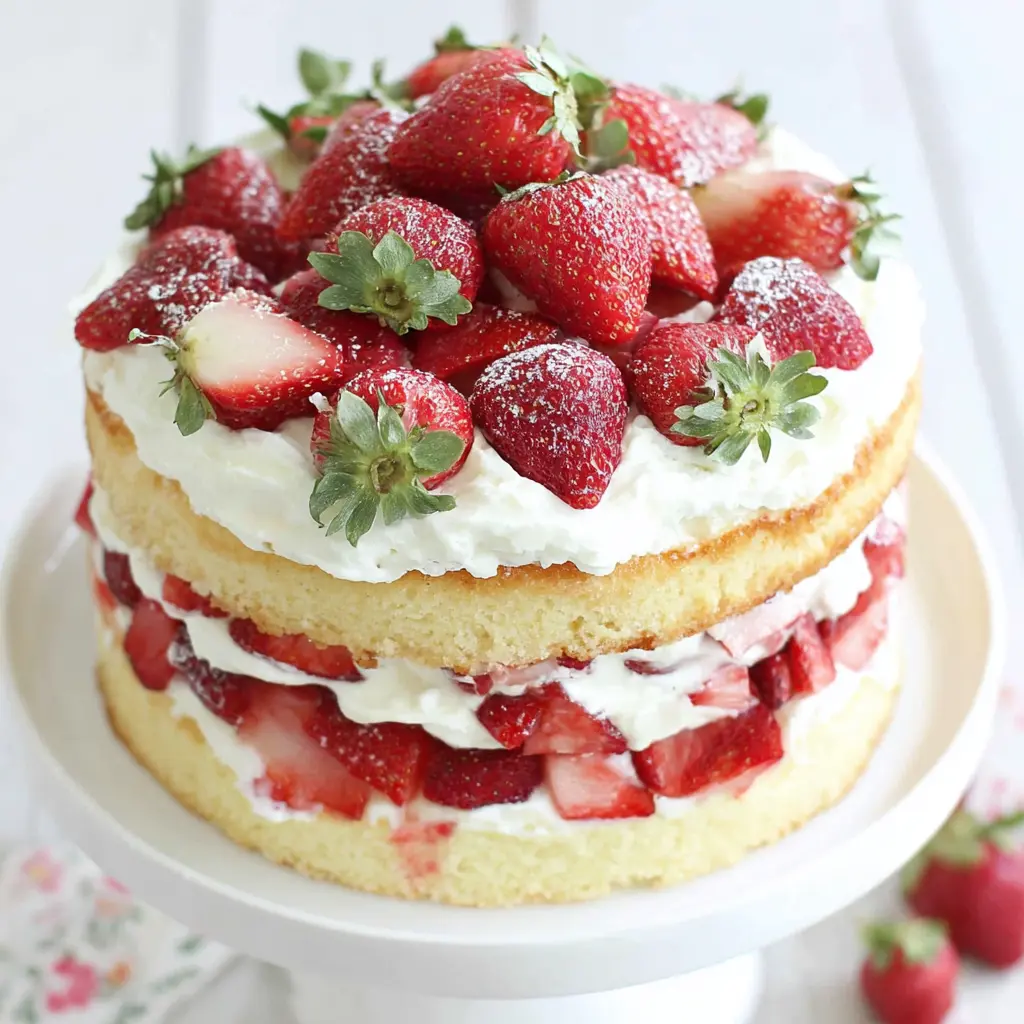
Strawberry Shortcake Layer Cake
Ingredients
Method
- Preheat your oven to 350°F. Lightly grease the sides of three 8-inch round cake pans, dust with flour, and line the bottoms with parchment paper.
- In a medium bowl, whisk together the flour, baking powder, and salt. Set aside.
- In the bowl of a stand mixer fitted with the paddle attachment, beat the butter on medium speed until smooth. Gradually add the sugar and continue beating until the mixture is light and fluffy, about 3-4 minutes. Scrape down the bowl as needed.
- Add the eggs one at a time, beating for 15-20 seconds after each addition. The mixture should look aerated and creamy.
- Add the vanilla extract and oil, then beat until well combined. Add the sour cream and mix just until incorporated.
- Reduce the mixer speed to low. Add about half of the milk, then half of the flour mixture, mixing just until combined. Repeat with the remaining milk and flour. Stop the mixer, scrape down the sides and bottom of the bowl, and give the batter a few gentle stirs by hand.
- Divide the batter evenly among the three prepared pans. Bake for 22-30 minutes, until the cakes are lightly domed and a toothpick inserted in the center comes out clean or with a few moist crumbs.
- Let the cakes cool in the pans for 5-10 minutes, then turn them out onto a wire rack (leave the parchment paper on the bottoms). Once mostly cool, wrap each layer tightly in plastic wrap and freeze for at least 1 hour. This keeps them moist and makes them easier to handle.
- Place the diced strawberries in a large bowl. Drizzle with the balsamic glaze, sprinkle with sugar, and stir until evenly coated.
- Cover the bowl and refrigerate while you prepare the whipped cream.
- Place the mixer bowl and whisk attachment in the freezer for at least 5 minutes to chill.
- Add the heavy cream to the chilled bowl and beat on medium-high speed until it starts to thicken. Gradually add 1/4 cup of the powdered sugar, then the vanilla, and continue beating until soft peaks form. Transfer the whipped cream to another bowl and refrigerate.
- Without washing the mixer bowl, add the softened cream cheese and beat on medium speed until completely smooth. Add the remaining 1/2 cup powdered sugar and beat until fully combined.
- Add 1/4 cup of the glazed strawberries (including some of the liquid) to the cream cheese mixture and beat until smooth.
- Add about 3/4 cup of the reserved whipped cream to the cream cheese mixture and mix on low until fluffy. Gently fold in the remaining whipped cream by hand until just combined. Be careful not to overmix.
- Remove the cake layers from the freezer. Unwrap each layer and peel off the parchment paper.
- Place one cake layer on a serving plate. Spread about one-third of the whipped cream mixture evenly over the top. Spoon about one-third of the strawberry mixture over the cream (you don't need to use all the liquid from the bowl).
- Repeat with the second cake layer, another third of the cream, and another third of the strawberries. Top with the third cake layer and spread the remaining cream over the top. Garnish with whole strawberries if desired.
- Serve immediately, or refrigerate until ready to serve. This cake is best enjoyed within 1-2 hours of assembly.
Nutrition
Notes
Tried this recipe?
Let us know how it was!Source: Nutritional Information