
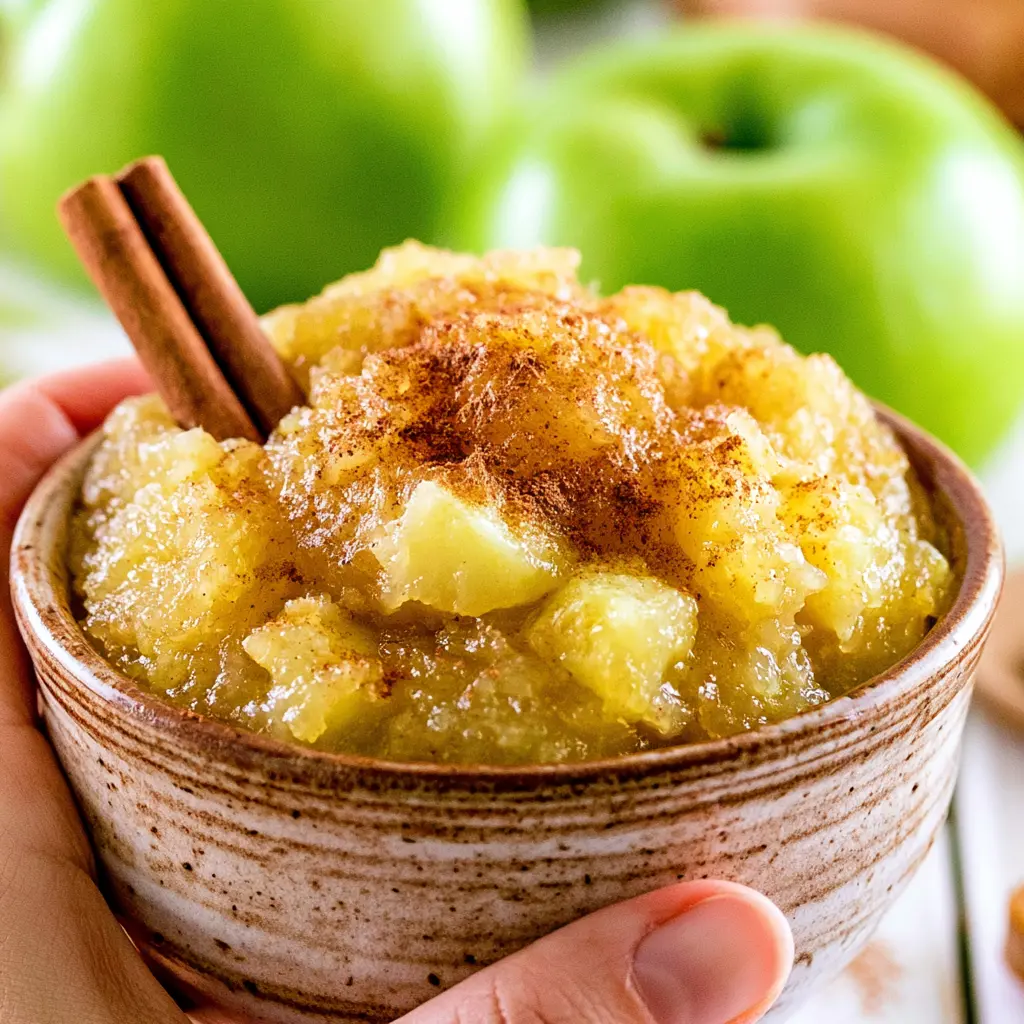
Why This Stovetop Applesauce Is So Easy
Store-bought is fine, really. But between the sugar, the plastic packaging, and the fact that my kids will devour them before they even get to school, I knew I had to try making my own. The first time I made stovetop applesauce, I wandered off to fold laundry and came back to a scorched pot. It happens. But I’ve perfected it since, and honestly, this recipe is as forgiving as they come. All you need are 5 simple ingredients and one pot.
It’s 90 degrees out and this is still worth it, 20 quick minutes, and your kitchen won’t turn into a sauna. That’s the magic of the stovetop applesauce method. It’s fast, it smells like fall in August, and it’s one of those small, reliable parenting wins. Making this homemade applesauce makes me feel like I have my life together, even when the school year hasn’t started yet.
Ingredients for Chunky Cinnamon Applesauce
You’ll be shocked at how simple this list is. You don’t need a fancy food mill or an immersion blender (though I’ll get to that). You just need good apples to make excellent applesauce.
- 4 large Honeycrisp apples (peeled and diced into small cubes)
- 3/4 cup water
- 3/4 cup granulated sugar
- 1/2 teaspoon ground cinnamon
- 1/4 teaspoon ground nutmeg
- 1/4 teaspoon ground ginger
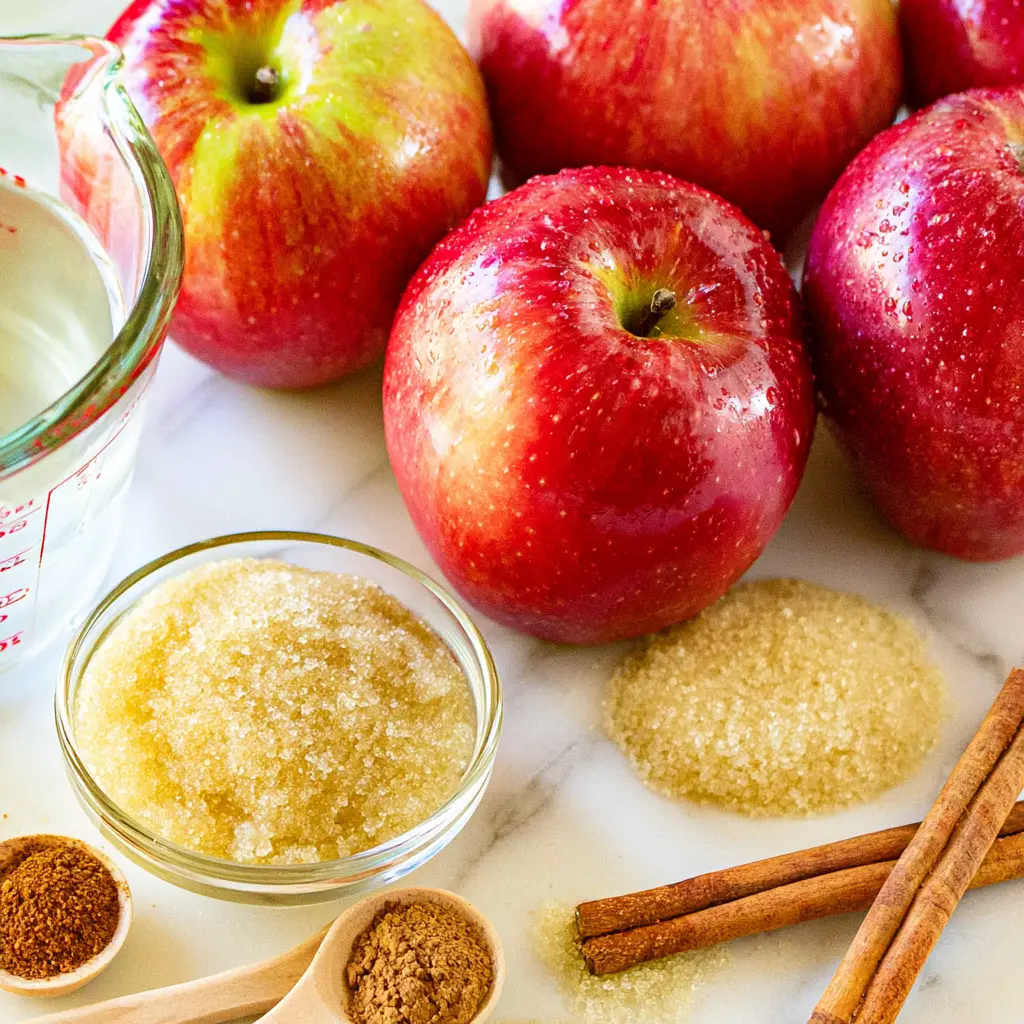
This specific combo of spices is what takes it from baby food to “can I have more please.” Cinnamon, nutmeg, and a tiny whisper of ginger, it’s like a slice of pie without the crust.
Best Apples for Applesauce
Honeycrisp is my absolute go-to for this stovetop applesauce recipe. They’re naturally super sweet and juicy, which means they break down into a beautifully glossy sauce without needing a ton of extra sugar. That said, don’t overthink it.
If you’re shopping, grab a mix of apples. Toss in a Granny Smith for a little tartness to balance the sweet, or use Fuji or Gala if that’s what you have. Even better, use that sad bag of apples sitting in your fruit bowl. It’s the perfect way to reduce apple waste. Softer varieties like McIntosh break down faster for a smoother applesauce, while firmer apples like Honeycrisp hold a little shape, which is exactly what we want for a chunky result.
How to Make Stovetop Applesauce
I’m going to walk you through the four major stages of making this. The key is trusting your senses over the timer.
Stage 1: Prep your apples. Peel the Honeycrisp apples and dice them into small, even cubes. The smaller you dice, the faster they cook, so don’t be lazy here. Set your saucepan aside. This is the most hands-on part of the entire process, so if you’re using an apple peeler/corer, now’s your moment.
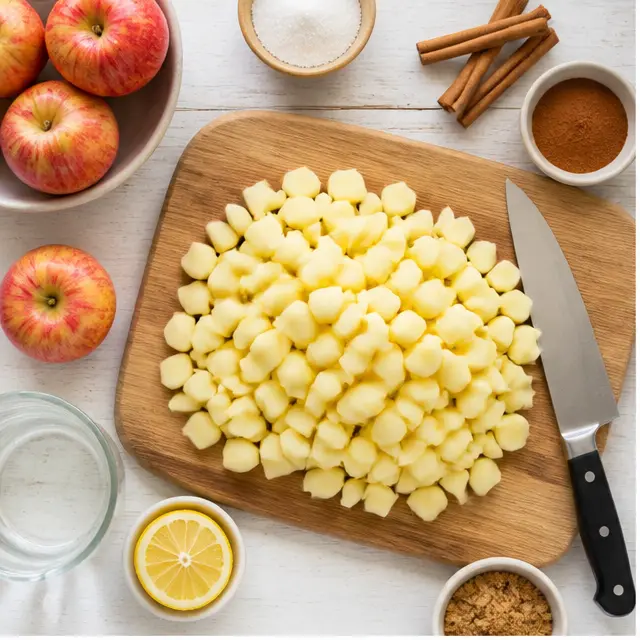
Stage 2: Simmer everything. In your saucepan, combine the diced apples with the water, granulated sugar, cinnamon, nutmeg, and ginger. Stir it all together well. Cover the saucepan and set it over medium heat. Let the mixture simmer for 15 to 20 minutes.
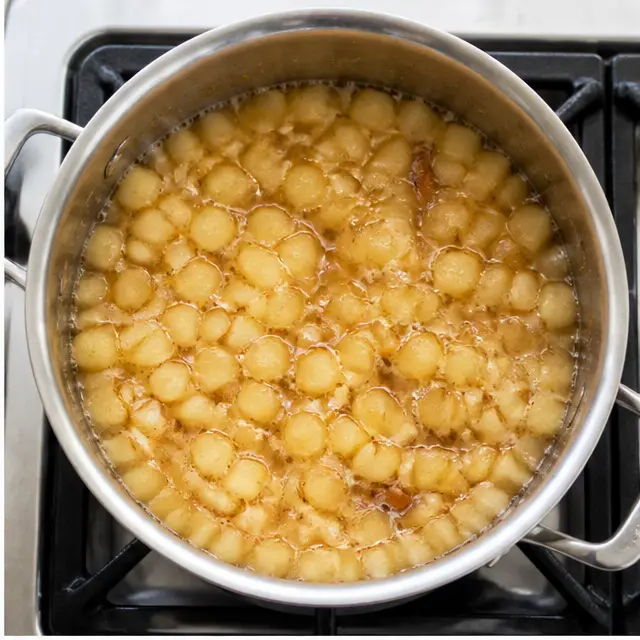
You’ll know it’s ready when a fork slides through an apple cube with almost zero resistance, and the kitchen smells like a candle shop. By now, the apples will have released all their juices, and the liquid will look like a light syrup.
Stage 3: Mash it up. Using a fork or potato masher, mash the apples to your desired texture. Want it chunky like a rustic side dish? Just give it a few good mashes. Want it smooth for the kids? Grab an immersion blender or a food mill and puree it until silky. The texture is totally in your control. When you stir it, you should see a trail left behind in the bottom of the pot. That’s how you know it’s nice and thick.
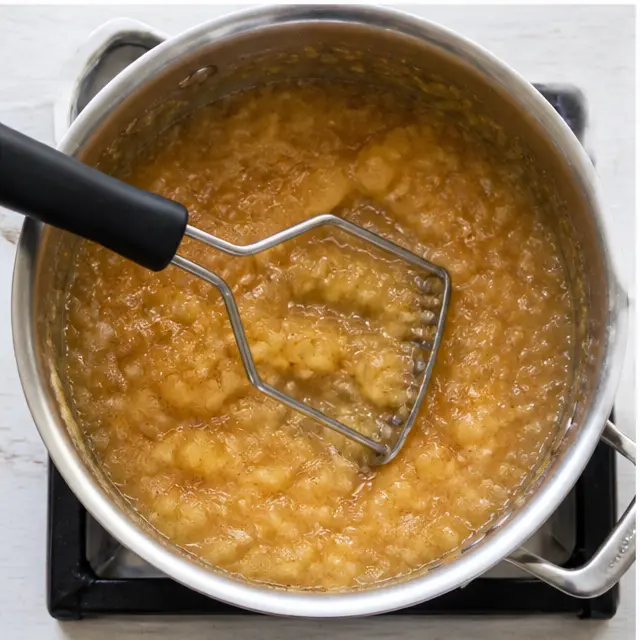
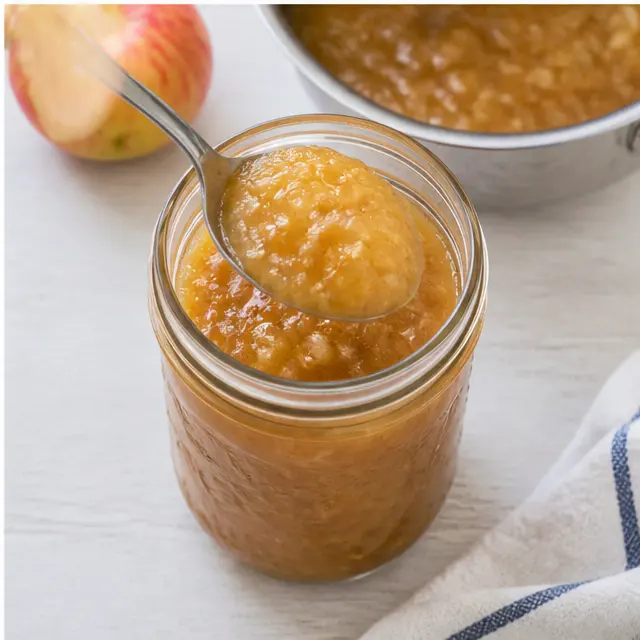
Stage 4: Serve or store. You can serve it warm, which is honestly my favorite way, or refrigerate it to serve chilled. It thickens up as it cools, so don’t worry if it looks a little loose on the stove.
Applesauce Tips for the Best Texture
Here’s where the small mistakes happen, and they’re all easy to fix. Let’s do a quick troubleshooting round.
- ❌ Mistake: Adding too much water up front, only to end up with liquid soup. ✅ Fix: Stick to 3/4 cup. Apples release tons of liquid as they break down.
- ❌ Mistake: Walking away and burning the bottom to the pot. ✅ Fix: Set a timer for 15 minutes and give it a quick stir halfway through.
- ❌ Mistake: Over-processing in a food processor until it turns into styrofoam-soupy air. ✅ Fix: Use a potato masher or pulse your blender. You want some resistance left.
- ❌ Mistake: Adding all the sugar before tasting your apples. ✅ Fix: If your apples are super ripe and sweet, you can easily use 1/2 cup of sugar instead of 3/4 cup.
If you’re comparing slow cooker vs stovetop applesauce, know that this stovetop method wins for busy weeknight meal prep. The slow cooker takes hours. This takes 20 minutes.
Delicious Variations to Try
This easy stovetop applesauce recipe is a canvas. Here are some of the ways I tweak it based on what I’m serving or what’s in the pantry.
- Maple syrup: Swap half the sugar with maple syrup for a deeper, more rustic flavor.
- Brown sugar: Use brown sugar instead of white for a subtle molasses note that screams Thanksgiving.
- Lemon juice: This is the trick for a less sweet sauce. A squeeze of lemon juice doesn’t make it lemony, it just brightens the whole pot and balances the sugar. It also helps prevent browning if you’re prepping ahead.
- Spice swaps: Use a cinnamon stick instead of ground. Add a pinch of cardamom or allspice. Stir in vanilla extract at the very end.
- Baby food: Omit the sugar, skip the ginger, and puree it completely smooth. Your baby will love, trust me.
Looking for applesauce for kids lunchbox? This is it. My kids prefer this over the pouches, and it feels so good packing something clean and made from scratch. I got some of my best tips from my recipe testing years and I’ve learned that simple always wins.
How to Store and Freeze Applesauce
This recipe makes a decent batch, and you’ve got options for keeping it fresh.
Refrigerator: Store leftovers in an airtight container in the fridge for up to 5 days. My kids usually finish it long before that. It’s become a staple in our house.
Freezer: You can freeze this applesauce in freezer-safe jars for up to 3 months. Leave some headspace at the top, about an inch, because the liquid expands as it freezes. Pro tip: Freeze in a silicone muffin tray for perfectly portioned cubes.
Reheating: To serve, let it thaw in the fridge overnight or gently warm it on the stovetop over low heat. I honestly love it cold, dense, and straight from the jar.
You can also look into canning applesauce. I keep the sweet and canning process simple and highly recommend using a water-bath canner for that, processing pint jars for about 20 minutes if you want it shelf-stable for a rainy day.
Serving Ideas for Homemade Applesauce
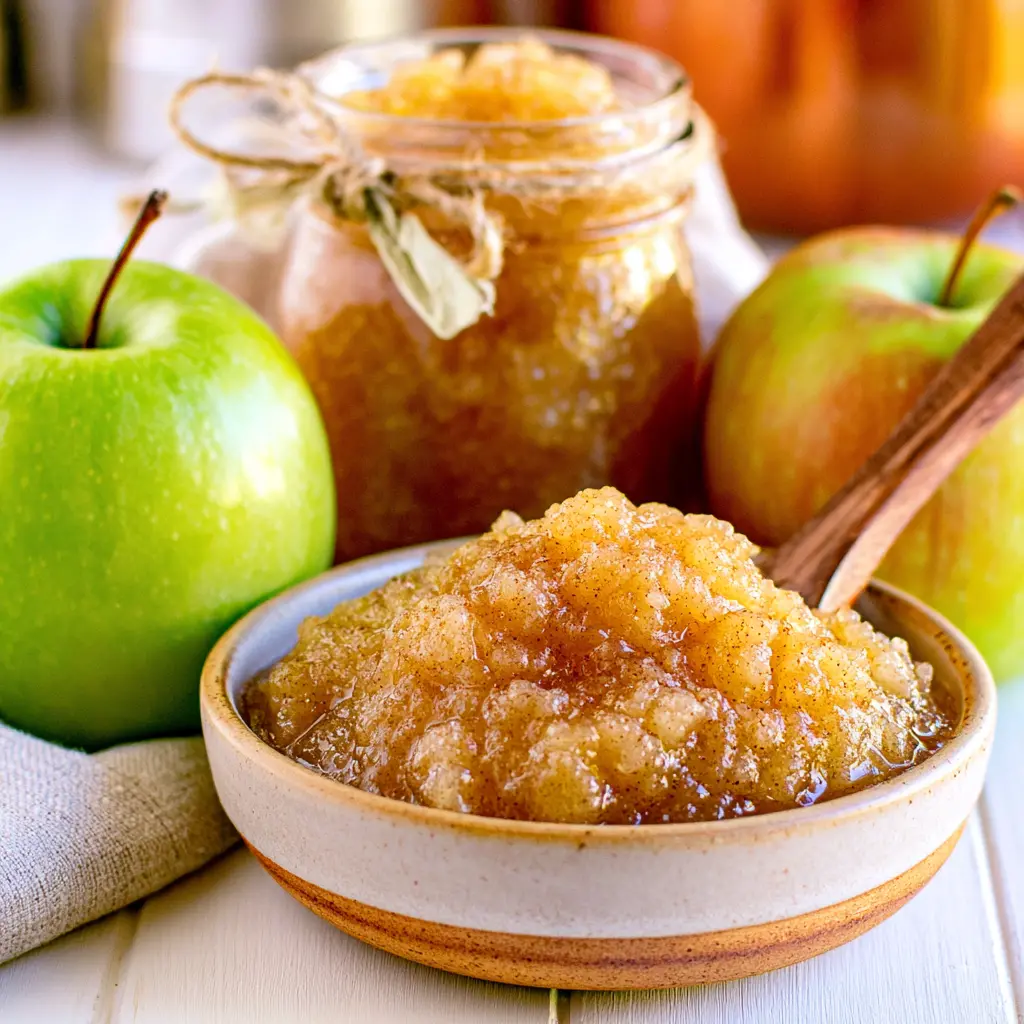
I love using this Chunky Cinnamon Applesauce Recipe as a side dish. It pairs beautifully with roasted chicken or pork chops, cutting through the richness with that bright apple pop.
It’s also a secret weapon in the morning. Swirl it into a bowl of yogurt, spoon it over pancakes or waffles, or serve it warm over vanilla ice cream for an impromptu dessert. If you’re into baking, use this as an applesauce as baking substitute to replace oil or butter in muffins and quick breads. It keeps everything super moist and tender.
When you make this, and you will, tell me what you added in the comments! I’m always looking for new ideas and I read every single one.
I’ve also pinned a ton of easy lunchbox ideas and apple season recipes on my Pinterest page, come grab them while you’re here!
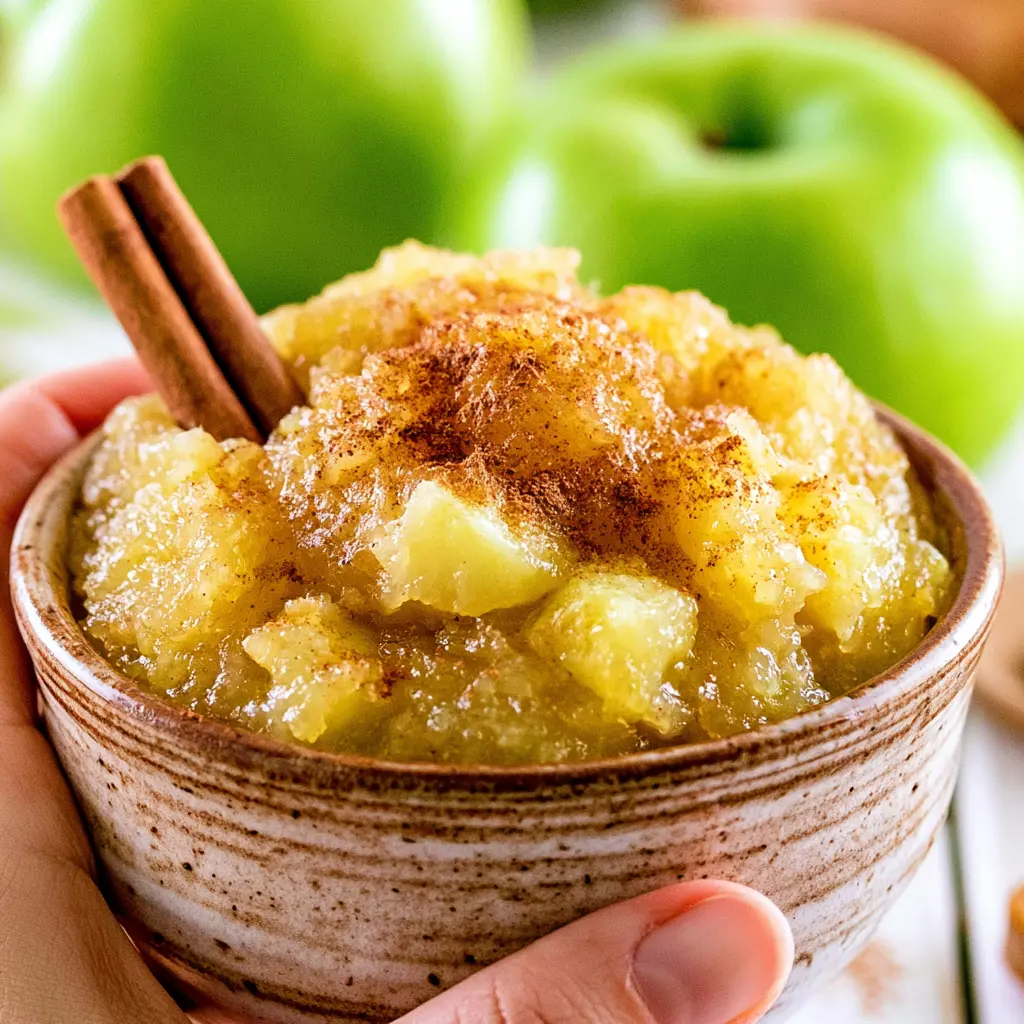
Easy Stovetop Applesauce, Chunky Cinnamon Style
Ingredients
Method
- Peel the Honeycrisp apples and dice them into small, even cubes. The smaller you dice, the faster they will cook.
- In a saucepan, combine the diced apples with water, granulated sugar, cinnamon, nutmeg, and ginger. Stir everything together well.
- Cover the saucepan and set it over medium heat. Let the mixture simmer for 15 to 20 minutes, or until the apples are tender enough to mash with a fork.
- Using a fork or potato masher, mash the apples to your desired chunky texture. Stir the applesauce thoroughly to distribute the spices.
- Serve the applesauce immediately while warm, or refrigerate it until cold and serve chilled.
Nutrition
Notes
Tried this recipe?
Let us know how it was!Frequently Asked Questions
Source: Learn More About This Dish