

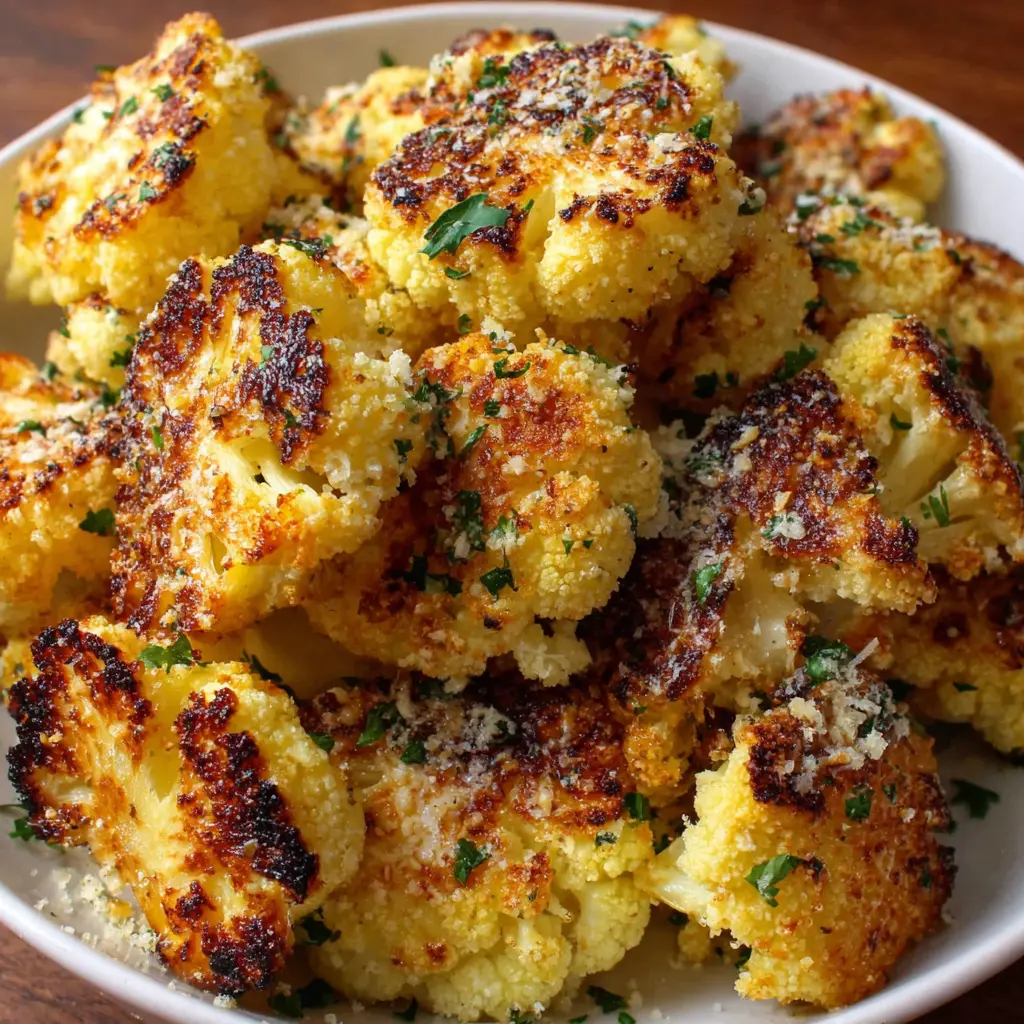
Crispy Parmesan Roasted Cauliflower Bites
Ingredients
Method
- Preheat oven to 425°F and line a baking sheet with parchment paper.
- Wash and dry the cauliflower, then cut into bite-sized florets.
- In a large bowl, toss florets with olive oil, garlic powder, paprika, salt, and black pepper until evenly coated.
- Spread the cauliflower in a single layer on the prepared baking sheet.
- Roast for 15 minutes, remove from oven, and sprinkle Parmesan cheese over the florets.
- Return to oven and roast for an additional 10 to 12 minutes until golden and crispy.
- Transfer to a serving dish and garnish with chopped parsley.
- Serve hot with lemon wedges if desired.
Notes
Tried this recipe?
Let us know how it was!You Know You Need These Roasted Parmesan Cauliflower Bites
Honestly, I think we’ve all been there. It’s Wednesday, you’re staring into the fridge, and the kids are asking what’s for dinner in that tone that suggests they’ll revolt if you say “leftovers” again. You want something healthy, but you also want something that disappears off the plate. Something crispy, cheesy, and maybe even a little bit magical. That’s where these Roasted Parmesan Cauliflower Bites come in. They’re my weeknight superhero, and I’m pretty sure they’ll be yours too.
I mean, who knew a humble head of cauliflower could transform like this? It goes from pale and kinda boring to these deeply golden, crispy-edged nuggets with melted parmesan clinging to every nook. The smell that fills your kitchen? It’s honestly better than any candle. Garlicky, toasty, cheesy. It’s the kind of smell that makes people wander in from other rooms asking, “What is that?”
And the best part? It’s easier than ordering takeout. You probably have most of the stuff in your pantry right now. So let’s turn that boring veggie into the star of the snack plate, the side dish hero, the lunchbox surprise. You’ve got this.
Why This Recipe Actually Works (The Simple Science)
You know, a lot of roasted veggie recipes promise crispiness but deliver sogginess. It’s frustrating. The thing is, getting those perfect Roasted Parmesan Cauliflower Bites isn’t about fancy techniques. It’s about understanding a few kitchen truths. Let’s break it down, because when you know why you’re doing something, you’ll nail it every time.
First, high heat is non-negotiable. We’re roasting at 450°F. That intense heat causes the natural sugars in the cauliflower to caramelize quickly on the outside, creating that beautiful golden brown crust, while the inside steams and becomes perfectly tender. Lower heat just steams the whole thing. Not what we want.
Then there’s surface area. Cutting your florets to have flat edges isn’t just for looks. Those flat sides make solid contact with the hot baking sheet. More contact means more browning, more caramelization, more crispy bits. It’s the difference between a fry sitting in oil versus one pressed flat against the pan. Big difference.
And the oil? It’s not just to prevent sticking. It conducts the heat evenly and helps the seasonings and parmesan cling to the cauliflower. Without enough, your florets can burn in spots and stay bland in others. With the right amount, every bite is evenly seasoned and crisped. It’s simple, but it works.
Your Two Paths to Perfect Coating: Bowl vs. Bag
Okay, here’s a real kitchen decision. How do you get all that parmesan and seasoning to stick? I’ve tested both ways, and honestly, they each have their moment. It just depends on what kind of day you’re having.
The Big Bowl Toss: This is my go-to for a mindful, kinda therapeutic cooking session. You use one big mixing bowl. Toss the cauliflower with oil first until it’s glistening. Then you sprinkle over your parmesan, garlic powder, paprika, salt, and pepper. Now, use your hands or a big spoon and toss, toss, toss. You want every single surface dusted. The upside? You have great control. You can see if a floret is missing its cheesy jacket and fix it. The downside? You’ll have one bowl to wash. Not a big deal, I think.
The Shake-and-Bake Bag Method: This is for speed and minimal cleanup. Grab a large, sturdy zip-top bag. Throw the cauliflower in, drizzle the oil, seal it, and shake it like a polaroid picture. Then add your dry seasonings and parmesan right into the same bag. Seal it again and shake until coated. It’s incredibly efficient and your hands stay clean. But a word of caution: if you have too much leftover oil pooling in the bottom when you add the dry stuff, it can get clumpy. The fix? Just toss the cauliflower in the oil first, then open the bag and let any excess oil drip out before adding the cheese and spices.
Which should you choose? If you’re prepping with kids or are just in a huge rush, the bag is amazing. If you’re making a double batch and want absolute evenness, the bowl gives you more precision. Both make delicious Roasted Parmesan Cauliflower Bites. I use both depending on my mood.

The Golden Rules for Maximum Crispiness
These aren’t just tips, they’re the rules. Follow these and your Roasted Parmesan Cauliflower Bites will be restaurant-level good, every single time.
Dry Your Cauliflower: This is the secret I learned the hard way. After you wash your florets, pat them bone-dry with a clean kitchen towel or paper towels. Any extra water will steam the cauliflower instead of letting it roast. Wet florets = soggy bites. Dry florets = crispy, golden perfection.
Don’t Crowd the Pan: I know, I know. You want to fit it all on one sheet. Resist the urge. If the florets are piled on top of each other, they’ll steam in their own moisture. You need space for hot air to circulate. If your baking sheet looks full, it’s probably too full. Use two sheets, or roast in batches. It’s worth the extra few minutes for that all-over crunch.
Preheat Your Baking Sheet: This is a pro move that’s so easy. Stick your empty baking sheet in the oven while it preheats. When you spread the cauliflower on the hot pan, it starts sizzling and cooking immediately. That instant heat shock gives you a better sear and helps prevent sticking. Just use oven mitts when you take the hot sheet out to add the cauliflower!
Season Liberally, But Layer Wisely: Cauliflower needs help in the flavor department. Don’t be shy with the salt and pepper. And mixing the garlic powder and paprika right in with the parmesan ensures the seasoning is distributed evenly. No bland bites here.
Beyond the Oven: Your Air Fryer Game Plan
So you got an air fryer and you’re wondering, can it handle this? Absolutely. Making Roasted Parmesan Cauliflower Bites in the air fryer is a fantastic option, especially for smaller batches or when you don’t want to heat up the whole oven.
The method is almost identical. Toss your florets with oil and seasonings just like the recipe says. Now, here’s the key: you still cannot overcrowd. Arrange them in a single layer in your air fryer basket, with a little space between each piece. They need that air flow to get crispy.
Cook at 400°F. Start checking at around 10 minutes. Give the basket a shake halfway through. They’re done when they’re golden brown and tender when pierced with a fork. It might take 12-15 minutes total, but all air fryers are a little different, so keep an eye on them. The result? Incredibly crispy bites, maybe even a bit more so than the oven, and in less time.
Common Mistakes & Fixes
Mistake: The parmesan coating is burning before the cauliflower is tender.
Solution: Your oven rack is probably too high. Roast in the middle of the oven. If things are still browning too fast, you can loosely tent the pan with foil for the last few minutes.
Mistake: The bites are coming out soggy or soft.
Solution: You likely overcrowded the pan or didn’t dry the cauliflower well enough. More space and dry florets are non-negotiable for crispiness.
Mistake: The seasoning tastes bland.
Solution: Don’t forget to season with salt and pepper at the end, after roasting. Also, make sure your spices are fresh! Old paprika loses its punch.
Mistake: The coating falls off when you toss it.
Solution: You might not have used enough oil to help the parmesan adhere. A good, even coating of oil on the florets is the glue.
Making Them Ahead & Storing Like a Pro
Life is busy. I get it. The good news is you can totally prep these Roasted Parmesan Cauliflower Bites ahead of time. Here’s how I do it for easy weeknights.
You can cut the cauliflower into florets 2-3 days in advance. Just store them in a sealed container or zip-top bag in the fridge. Some people even say you can coat them in the oil and seasoning mix a day ahead and keep them covered in the fridge. I’ve done it, and it works, though they might release a tiny bit of moisture. Just give them an extra pat dry before roasting if you do.
Leftovers? They happen, but not often in my house. If you do have some, let them cool completely and store them in an airtight container in the fridge for up to 4 days.
Reheating is CRITICAL. Do not, I repeat, do not use the microwave. It will turn your beautifully crispy bites into sad, soft mush. To bring back the magic, spread them on a baking sheet and pop them in a 350°F oven for 5-10 minutes, or until hot. Even better, use your air fryer at 350°F for 3-5 minutes. They’ll crisp right back up.
Let’s Get Creative: Swaps, Dips, and Full Meals
This recipe is your perfect starting point. But you know what? Your kitchen, your rules. Let’s talk about making these bites truly yours.
Cheese Swaps: No parmesan? Try a finely grated Asiago or Pecorino Romano. For a vegan version, nutritional yeast is your friend. It gives that savory, cheesy flavor without the dairy. You might need a touch more salt if you go that route.
Spice It Up: Not a paprika fan? That’s okay. Smoked paprika adds a deeper, BBQ-like vibe. A pinch of cayenne pepper adds a gentle heat. Or, keep it simple with just garlic powder and onion powder. You really can’t mess this up.
The Dip Situation: Oh, the dips. These bites are a vehicle for deliciousness. A classic ranch or creamy dill is always a winner. For something tangy, try a quick lemon-yogurt sauce. Or go for a marinara sauce for a pizza-like experience. My personal favorite? A drizzle of hot sauce right after they come out of the oven. So good.
Make It a Meal: These aren’t just a snack. Toss them into a hearty kale salad with a lemony tahini dressing. Pile them into warm tortillas with some shredded lettuce, salsa, and a dollop of Greek yogurt for killer veggie tacos. Or, serve them alongside a piece of simply baked fish or chicken for an easy, healthy dinner. They’re incredibly versatile.

Frequently Asked Questions
Go Forth and Roast!
So there you have it. Everything I’ve learned from making these Roasted Parmesan Cauliflower Bites probably a hundred times. From the simple science to the little tricks that make a big difference. Honestly, this recipe is a game-changer for getting more veggies on the table in a way everyone actually gets excited about.
When you pull that tray out of the oven, all golden and smelling like a fancy Italian restaurant, you’ll feel a real sense of pride. And when you watch them disappear from the plate, you’ll know you’ve found a keeper. It’s a simple joy, but a real one.
I love seeing what you create. If you give these a try, maybe with your own twist on the spices or an amazing new dip, come find me and tell me about it. I’m always looking for new ideas. Now, go preheat that oven. You’ve got some crispy, cheesy magic to make.
Source: Health & Nutrition Research


