
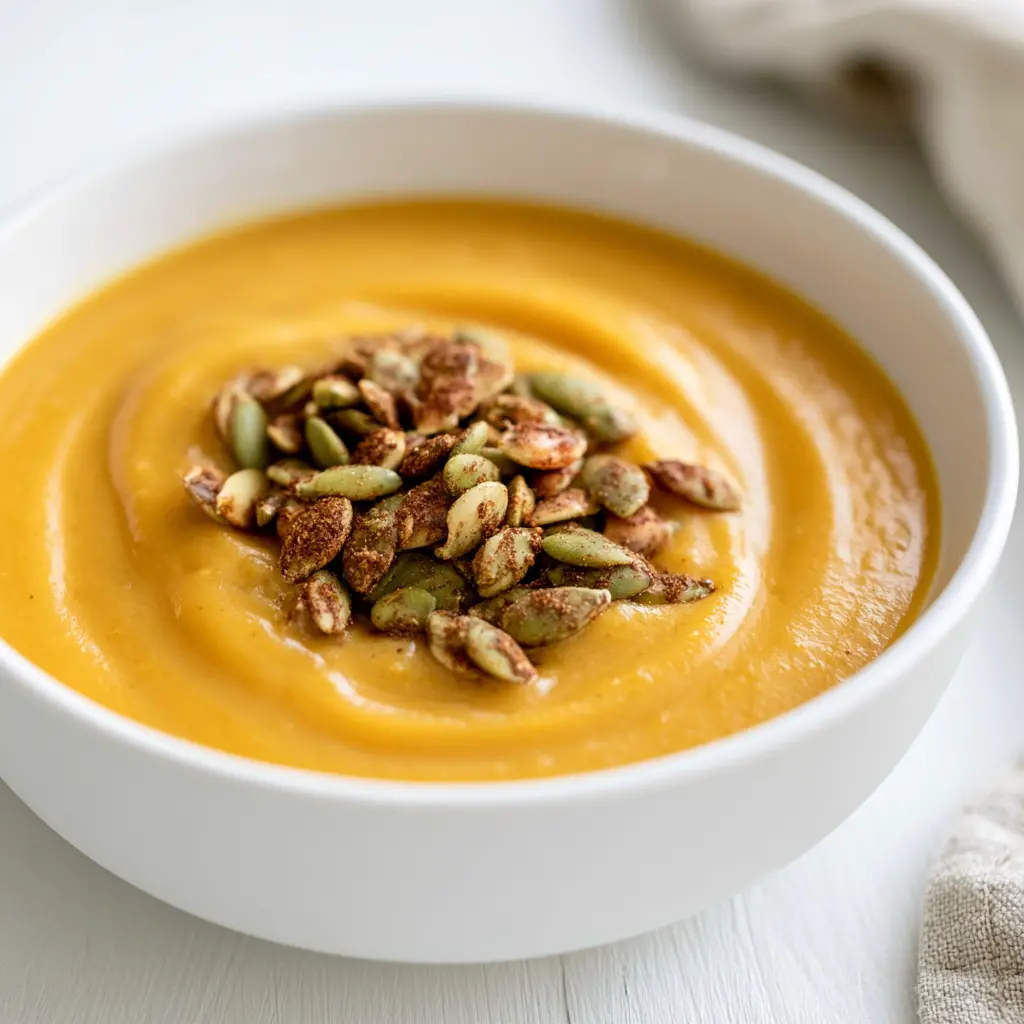
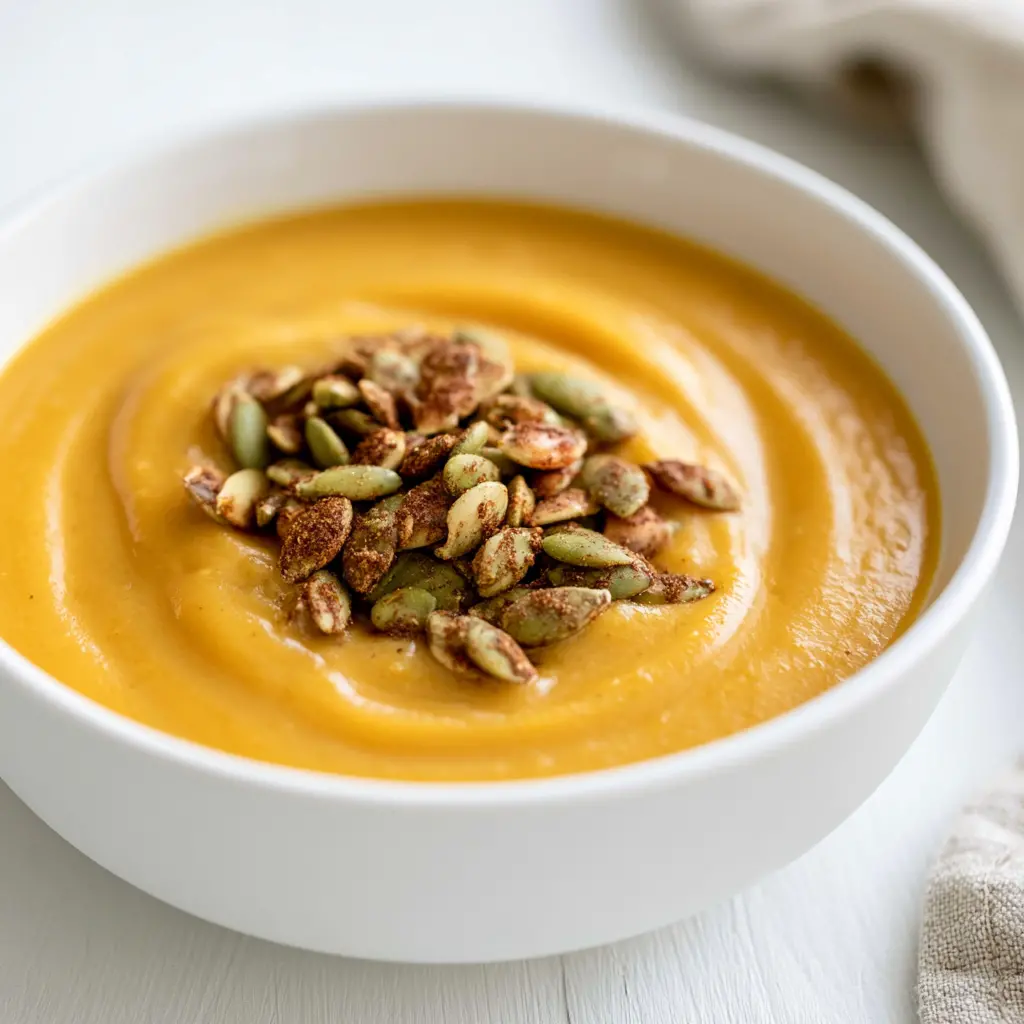
Velvety Roasted Butternut Squash Apple Soup
Ingredients
Method
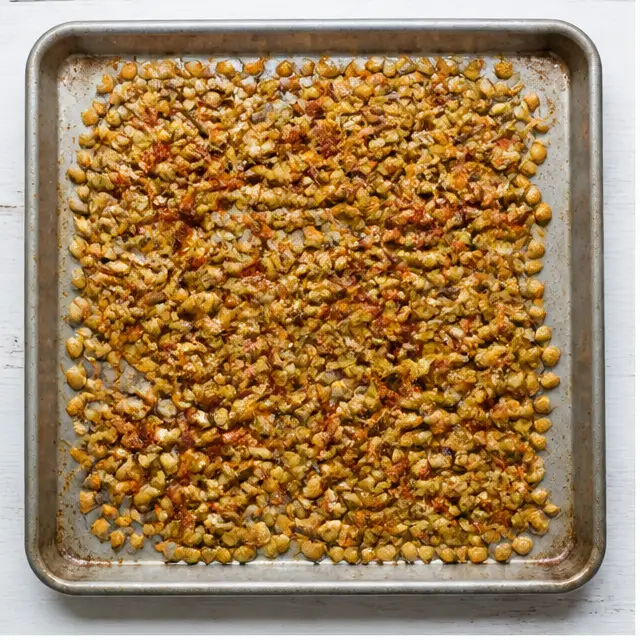
- Heat the oven to 350°F. In a small bowl, combine the pumpkin seeds, brown sugar, salt, paprika, and olive oil. Spread evenly on a rimmed baking sheet and toast for 10 minutes, stirring once halfway. Transfer to a plate and set aside.
- Turn the oven temperature up to 425°F and line a large sheet pan with parchment paper.
- On the prepared sheet pan, toss the butternut squash, apple, and onion with the olive oil, salt, pepper, and garlic powder until evenly coated.
- Roast for 35 to 40 minutes, flipping the mixture once at the 20 minute mark, until the squash is tender and caramelized at the edges.
- Transfer the roasted vegetables to a large pot. Pour in 3 1/2 cups of the chicken broth. Bring to a simmer over medium-high heat, then reduce the heat to low and let it simmer for 15 minutes.
- Remove the pot from the heat and puree the soup with an immersion blender until smooth. If using a standard blender, work in small batches and follow the hot-liquid safety tips in the notes.
- Taste the soup and season with extra salt and pepper as needed. If you prefer a thinner consistency, stir in the remaining broth a little at a time until it reaches your desired texture.
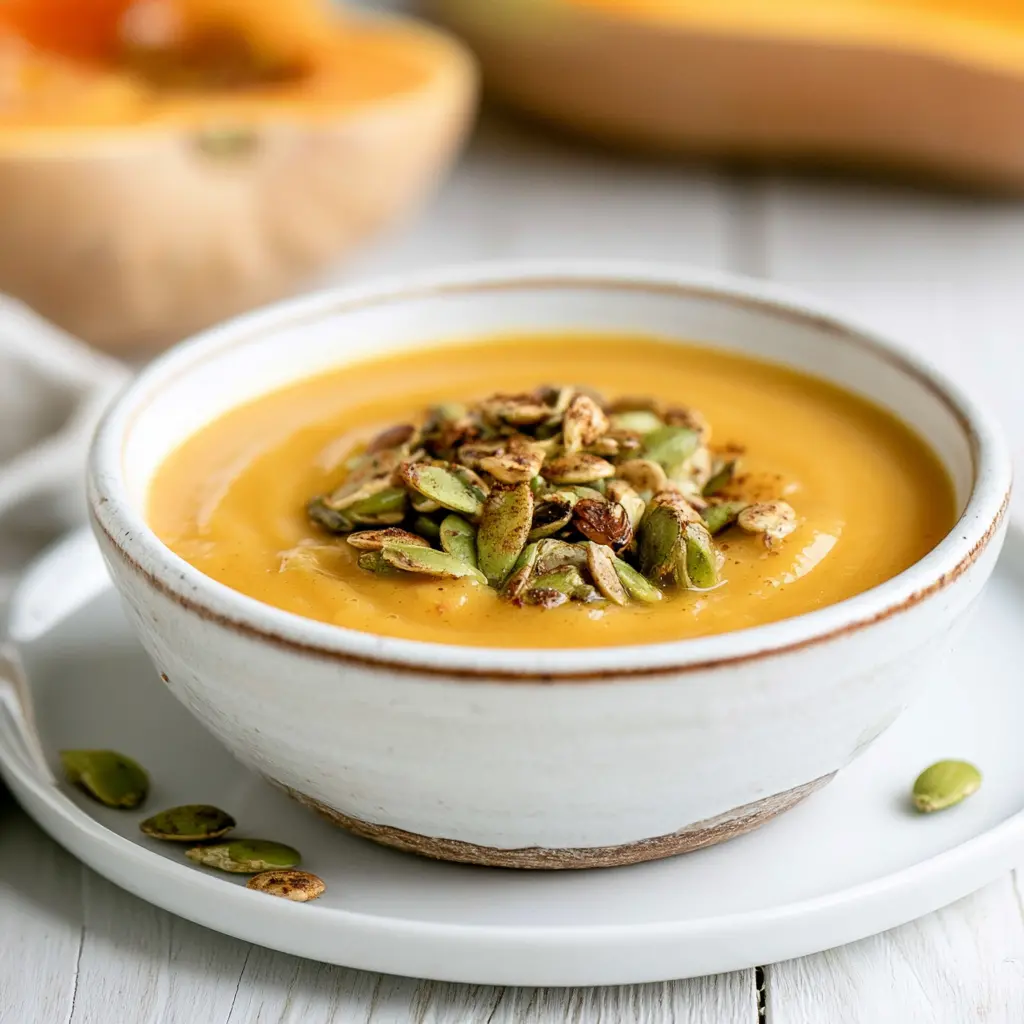
- Return the soup to low heat for about 5 minutes to warm through. Serve each bowl with a generous spoonful of the spiced pumpkin seed topping.
Nutrition
Notes
Tried this recipe?
Let us know how it was!Why This Recipe Works
I know it’s 95 degrees. I know soup feels wrong. But fall is 36 days away, and this is the bowl I’m planning to welcome it with.
This roasted butternut squash apple soup is the one that converted my soup-skeptic family. The trick? It starts in the oven, not on the stovetop.
Roasting the cubed squash and Granny Smith apple at 425°F does what a simmer never can. The natural sugars caramelize. The edges turn deep amber. The kitchen fills with that nutty, sweet smell that pulls everyone in to ask what’s for dinner.
- Deep caramelization: The oven builds flavor you can’t fake on a stovetop.
- Apple balance: Granny Smith’s tartness cuts through the squash’s sweetness.
- Crunchy topping: Spiced pumpkin seeds add the texture contrast this soup needs.
- One pot after the oven: Roast, simmer, blend, done.
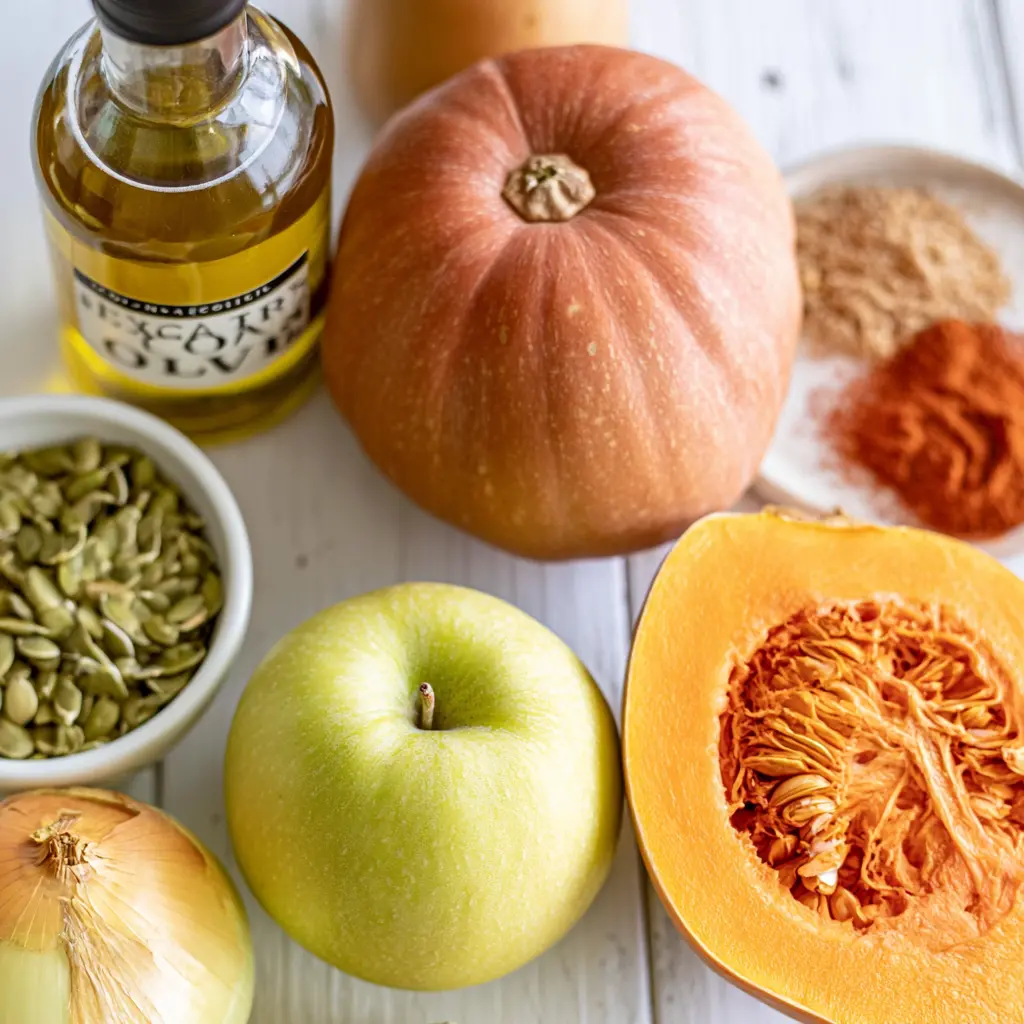
So, are apples good in butternut squash soup? Yes, and here’s the one-sentence case: a tart apple brightens and lifts the squash instead of trying to out-sweet it. The result is a velvety smooth soup with a sweet-savory balance that tastes like it came from a restaurant.
And before you close the tab, let me say this: you don’t have to be afraid of the squash. Halve it, roast it cut-side down, and the skin practically slides off afterward. I promise. The recipe below uses peeled 1-inch chunks because more cut surfaces means deeper caramelization, but the shortcut is real if you need it.
Once you’ve tasted a proper roasted butternut squash apple soup made this way, the canned version just doesn’t hit the same.
How to Roast Butternut Squash
If you’ve never made roasted butternut squash soup before, here’s the whole game plan: sheet pan roasting at high heat for 35 to 40 minutes gives you caramelized butternut squash with a deep, sweet flavor no boiling method can touch. Flip once at the 20-minute mark and let the oven do the rest.
There’s a tradeoff worth knowing. Cubed squash caramelizes on more surfaces than halved squash, which means more golden edges and more flavor. That’s why this recipe calls for 1-inch chunks. Halving and roasting cut-side down saves prep time, but you’ll trade away some of those crispy bits. Get this part right and you’re well on your way to the best roasted butternut squash apple soup you’ve ever made.
How to Cut Butternut Squash Safely
Real talk: peeling and cubing a raw butternut squash is the most intimidating step here. It doesn’t have to be.
- Slice off both ends so the squash sits flat and stable.
- Use a sharp vegetable peeler for the skin, not a knife. The skin is thin enough that a peeler glides right over it.
- Cut the neck into rounds, then cube those. Halve the bulb, scoop the seeds, and cube it too.
- Set the cutting board on a damp towel so it doesn’t slide while you work.
Once you feel that squash turn tender under a fork after roasting, the prep anxiety disappears. It becomes sweet, soft, and almost buttery.
How to Make Roasted Butternut Squash Apple Soup
Here’s the whole process in four stages. Each one has a job, and none of them are hard.
Stage 1: Toast the spiced pumpkin seeds. This takes 10 minutes in a 350°F oven, and it sets up the texture contrast that makes this butternut squash and apple soup special. Brown sugar, paprika, salt, and a little olive oil turn raw pumpkin seeds into a sweet-spicy crunch. Make them first and set them aside. Fair warning: they’re dangerously snackable.
Stage 2: Roast the squash and apple. Crank the oven to 425°F and line a sheet pan with parchment. Toss the butternut squash, Granny Smith apple, and onion with olive oil, salt, pepper, and garlic powder, then spread everything into a single layer. Roast for 35 to 40 minutes, flipping at the 20-minute mark. You’re looking for tender squash with caramelized edges. The smell alone will tell you it’s working.
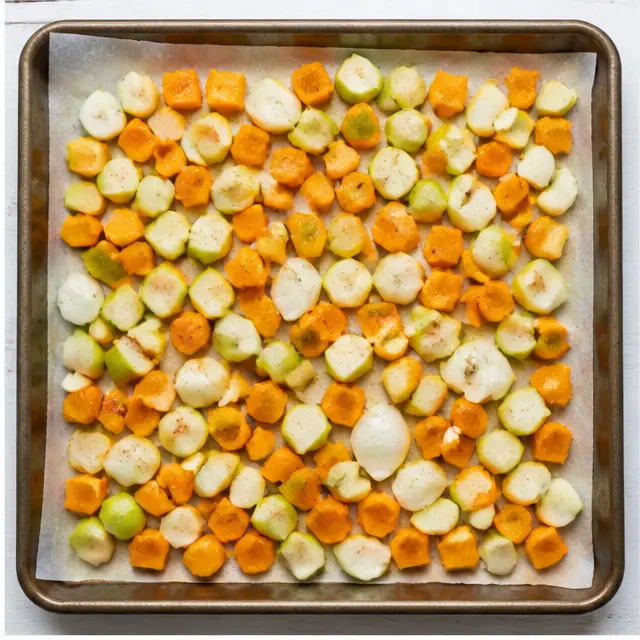
Stage 3: Simmer in broth. Move the roasted vegetables into a large pot and pour in 3 1/2 cups of chicken broth. Bring it to a simmer, then drop the heat and let it go for 15 minutes. This step dissolves all those caramelized bits into the liquid, which is where a lot of the flavor lives. Start with less broth, not more. You can always thin it later.
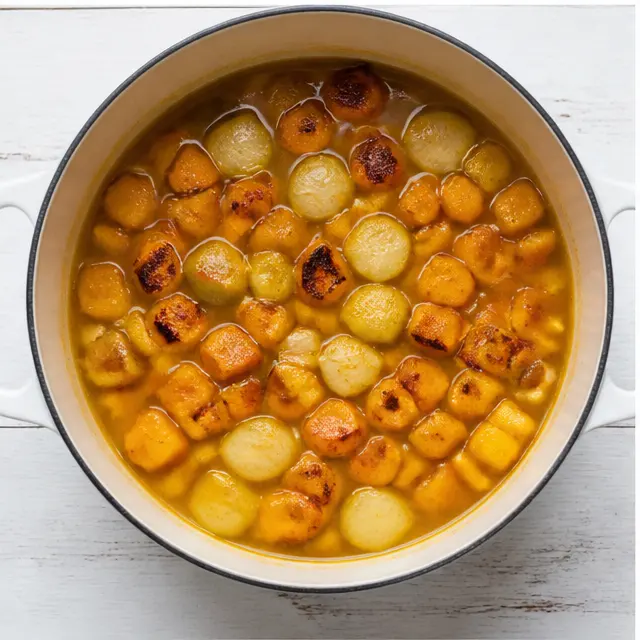
Stage 4: Blend until velvety smooth. Pull the pot off the heat and blend with an immersion blender until smooth. My very first batch came out too thin. Solution? Less broth than you think, and blend longer than feels necessary. That extra 30 seconds of blending makes a real difference in the texture.
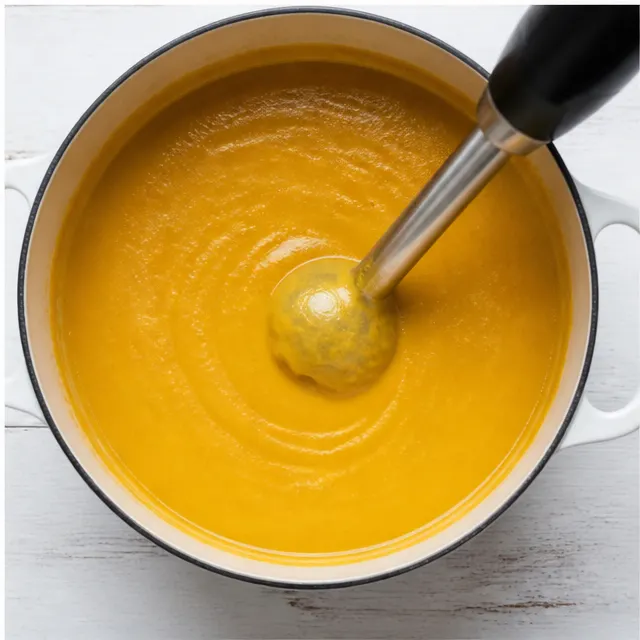
Puree the Soup Until Smooth
Let’s compare blender options, because it genuinely changes your experience.
- Immersion blender: The easiest route. Blend right in the pot, minimal cleanup, and you control the texture as you go.
- Regular blender: Works beautifully, but you’re handling hot liquid. Fill the jar no more than halfway, cover the lid with a kitchen towel, and start on low to avoid splatters.
- High-power blender: The silkiest result, full stop. No straining needed after.
If you want an even finer texture, you can strain the finished soup through a fine-mesh sieve. It’s optional, but it’s the trick for restaurant-level silkiness.
Tips for the Best Soup
These are the small decisions that take this roasted butternut squash apple soup from good to “make it every October” status.
Don’t crowd the pan. Overlapping chunks steam instead of roast, and steamed squash turns soggy. Use a large sheet pan and give everything space.
Season in layers. The teaspoon of kosher salt and half-teaspoon of pepper are your base, not your finish. Taste after blending and adjust. A flat-tasting squash soup is almost always an under-salted one.
Use a good olive oil. The recipe calls for a high-quality California extra virgin olive oil, and it’s not snobbery. A quality oil adds its own subtle fruitiness that carries the whole pot.
Make It Vegan
This is an easy conversion. Swap the chicken broth for vegetable broth, and use maple syrup instead of brown sugar in the topping. That’s it. This roasted butternut squash apple soup is already naturally dairy-free and gluten-free, so it slides into a vegan fall soup lineup without drama.
Common Mistakes to Avoid
❌ Crowding the pan. Overlapping squash steams instead of roasting, and steamed squash is sad squash.
✅ Use one large sheet pan and give the chunks room to caramelize.
❌ Blending hot soup without securing the lid. Trust me, you don’t want to clean soup off your ceiling.
✅ Fill the blender halfway, hold the lid with a towel, and start on low.
❌ Adding too much broth. This is how soups turn thin and watery.
✅ Start with 3 1/2 cups, then thin only if needed.
❌ Skipping the pepita topping. It’s the crunchy contrast that completes this soup.
✅ It takes 10 minutes and it’s delicious. Just do it.
Delicious Variations
A great roasted butternut squash apple soup welcomes tweaks. This recipe forgives you.
- Swap the apple: A Honeycrisp apple leans sweeter, while a Fuji sits in the middle. Granny Smith stays my pick for that tart balance, but any firm apple works.
- Swap the squash: Sweet potato or acorn squash both make excellent roasted butternut squash soup stand-ins.
- Make it richer: Stir in a splash of heavy cream, or coconut milk for the dairy-free route, after blending. Taste it first. You might not need it.
- Add warmth: A pinch of ground cinnamon, ground nutmeg, or grated fresh ginger before blending gives it a cozy, spiced profile. Optional, but lovely on a cold night.
- Change the toppings: Crumbled goat cheese, feta, a dollop of Greek yogurt, or crispy sage leaves are all gorgeous. Just try the pepitas once before you switch.
Storage & Reheating
This soup is a meal-prep hero. School nights are about to be chaos, and having a container of roasted butternut squash apple soup in the fridge makes weeknights feel genuinely easier.
Store the cooled soup in an airtight container in the fridge for up to 3 days. Keep the spiced pumpkin seeds in a separate container on the counter for up to 3 days, and add them per bowl so they stay crunchy.
Reheat gently on the stovetop over medium-low heat, stirring occasionally. If it thickened overnight, add a splash of broth or water to loosen it back up.
Freeze for Up to 3 Months
Yes, this butternut squash and apple soup freezes beautifully. Let it cool completely, then pack it into freezer-safe containers and label them with the date. It’ll hold for up to 3 months.
Thaw overnight in the fridge before reheating. Make the pumpkin seed topping fresh when you serve, not before freezing. Frozen pepitas lose their crunch, and the crunch is the point.
Serving Suggestions
The spiced pumpkin seed topping is non-negotiable, as far as I’m concerned. That sweet-salty crunch from the toasted pumpkin seeds against the velvety smooth soup is the whole experience.
For the rest of the plate, keep it simple. A grilled cheese sandwich for dipping, a fresh green salad, or some crusty sourdough all work beautifully. It’s fall comfort food at its coziest.
When you make this roasted butternut squash apple soup, not if, the hardest part is waiting for it to cool enough to taste. Tag me. I want to see your golden bowl. And if you’re collecting fall recipes like I am, follow me on Pinterest for more cozy ideas you’ll actually cook.
Frequently Asked Questions
Can I Use a Different Apple?
Absolutely. You can make roasted butternut squash apple soup with a Honeycrisp for more sweetness, or a Fuji for something in between. Granny Smith stays my first pick because its tartness balances the caramelized squash so well. If you go with a sweeter apple, taste before seasoning and adjust the salt.
That first spoonful of roasted butternut squash apple soup, the silky texture, the sweet-savory balance, the little crunch of toasted pumpkin seeds, it makes every minute of roasting worth it. Fall is coming. You’re going to be ready.
Source: Learn More About This Dish