
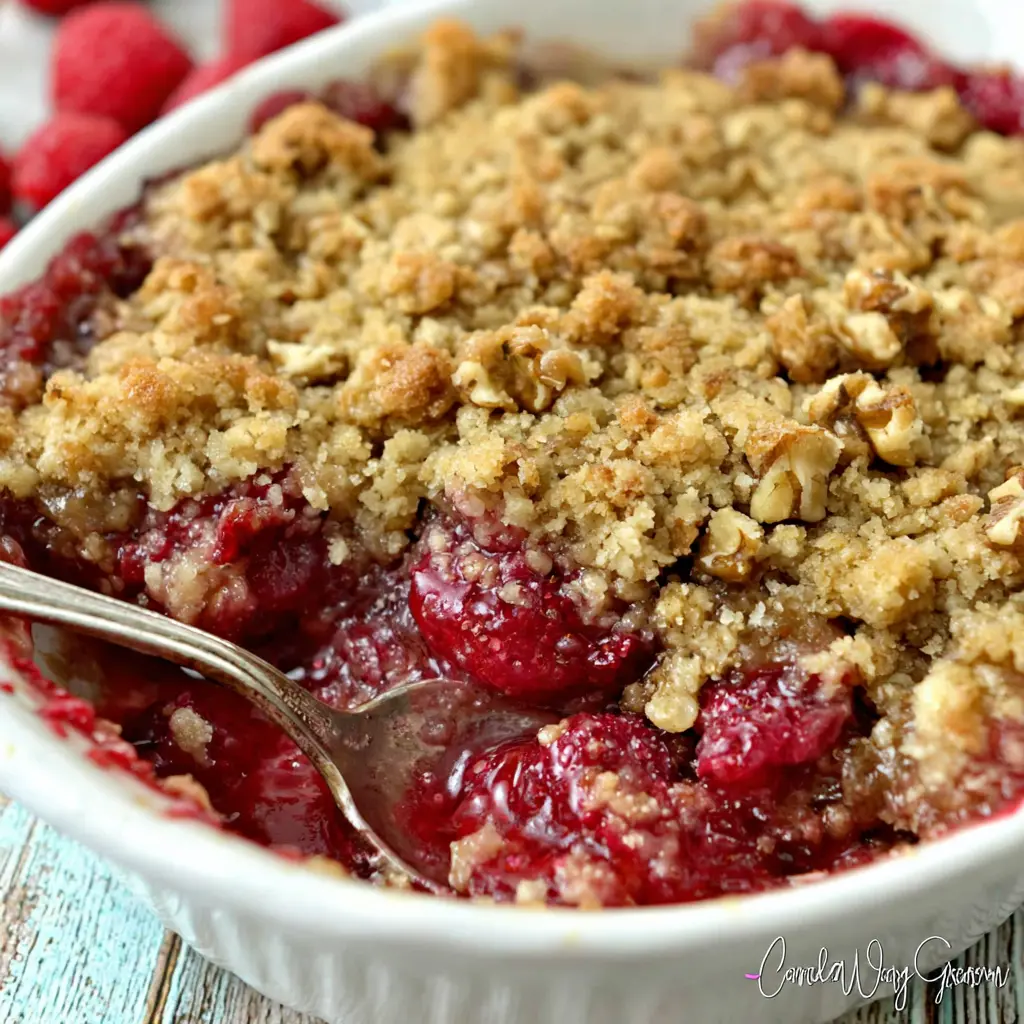
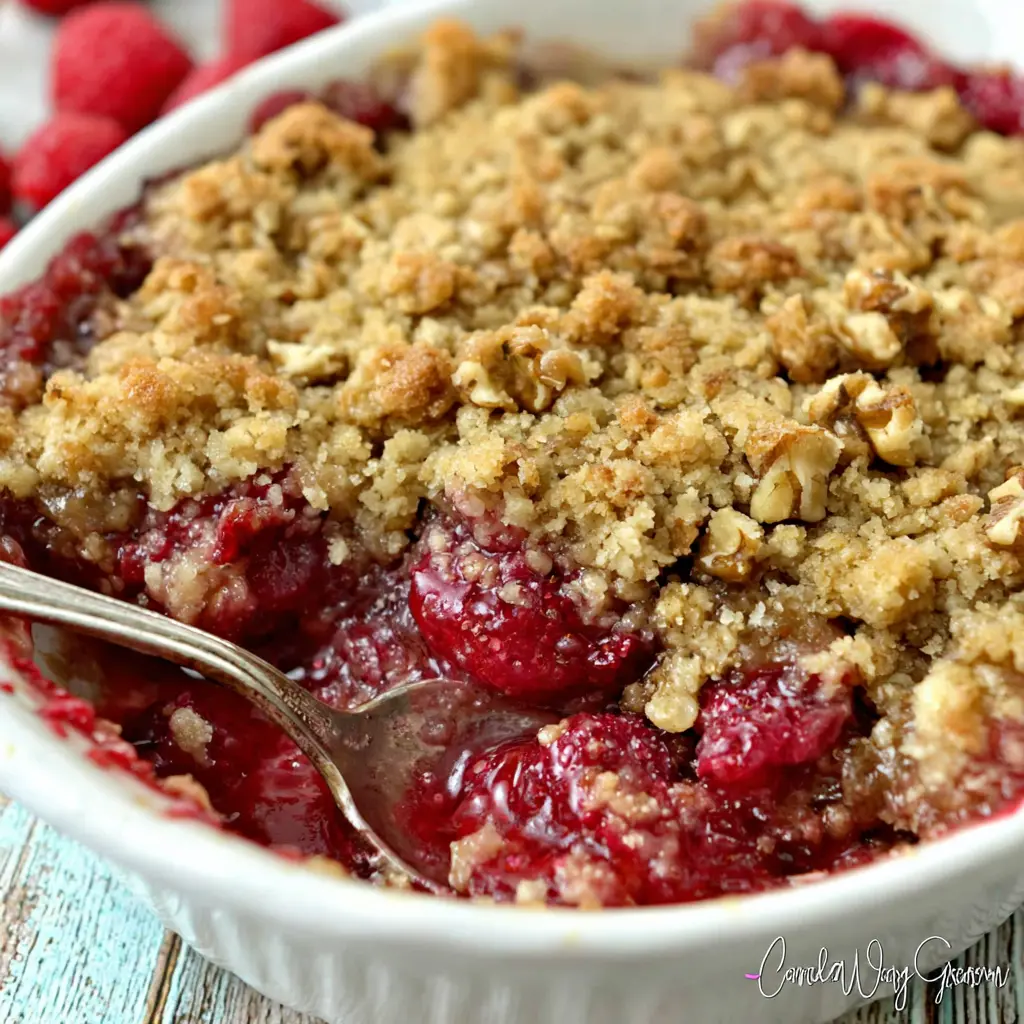
California Raspberry Cobbler with Walnut Crumble
Ingredients
Method
- In a medium bowl, whisk together the flour, brown sugar, granulated sugar, cinnamon, nutmeg, and salt until well combined.
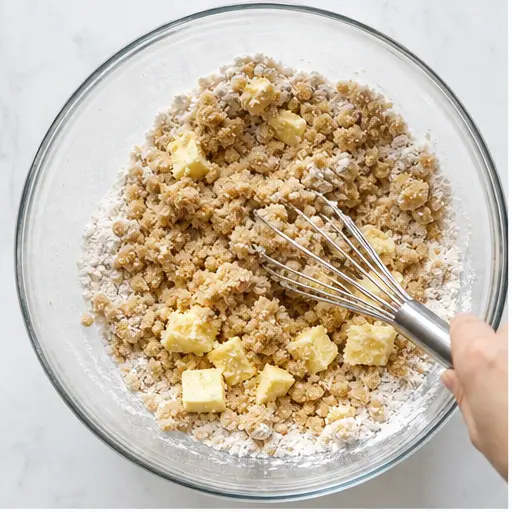
- Using a pastry cutter or your fingers, cut the cold butter into the flour mixture until it resembles coarse crumbs with some pea-sized pieces.
- Stir in the 1/4 cup of chopped walnuts until evenly distributed. Set aside.
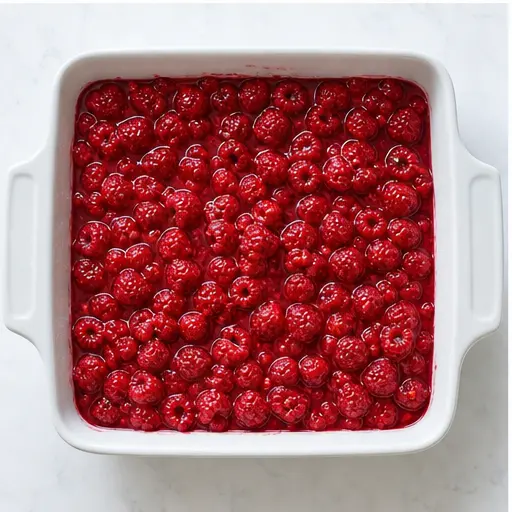
- Preheat your oven to 375°F. Lightly spray a 2-quart (or 9x9-inch) baking dish with nonstick cooking spray.
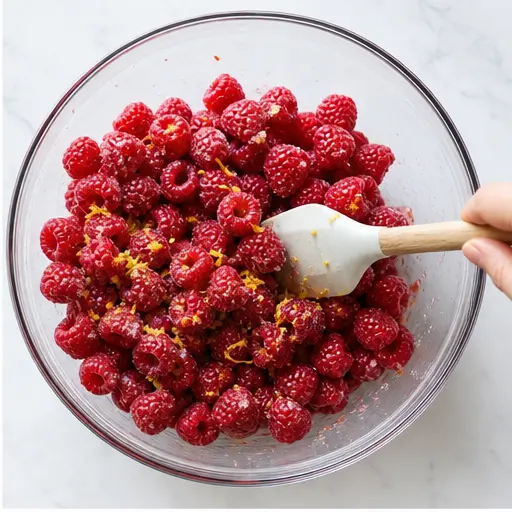
- In a large bowl, combine the raspberries, 1/4 cup sugar, lemon juice, lemon zest, and 1 cup chopped walnuts. Gently stir to coat the berries. Let the mixture sit for 5 minutes, then stir once more and pour into the prepared baking dish.
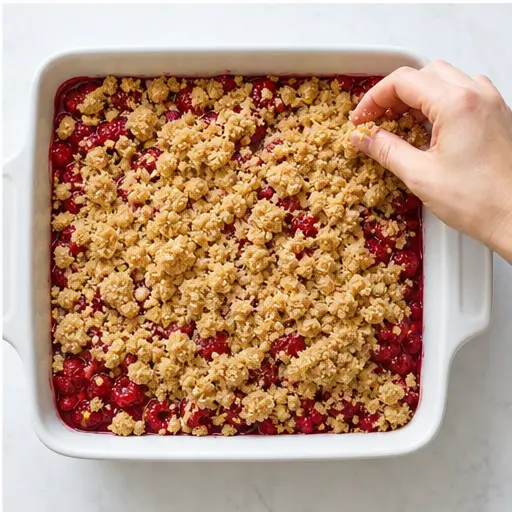
- Evenly sprinkle the crumb topping over the raspberry mixture.
- Bake uncovered for 30 to 35 minutes, or until the topping is golden brown and the filling is bubbly around the edges.
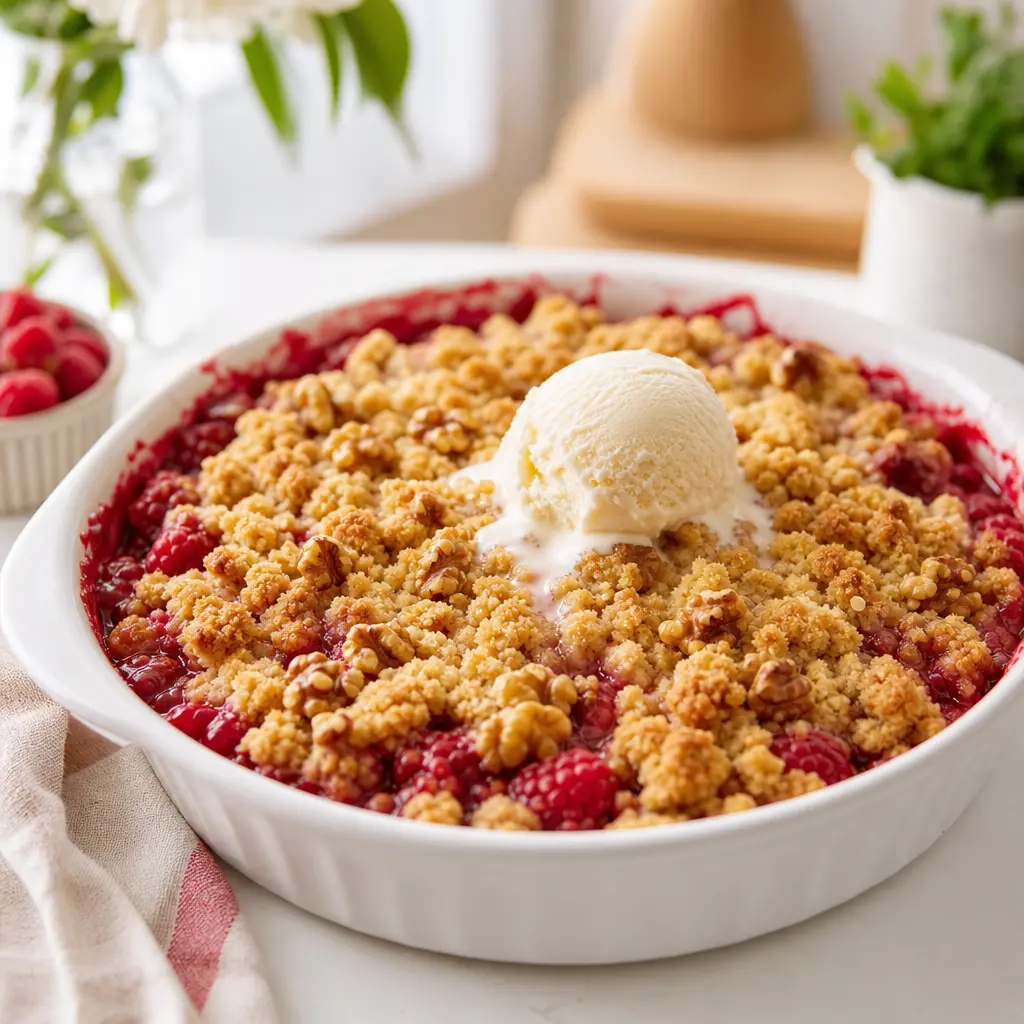
- Let the cobbler cool for 10 to 15 minutes before serving. For an extra treat, top each serving with a scoop of vanilla ice cream.
Nutrition
Notes
Tried this recipe?
Let us know how it was!Why You’ll Love This Raspberry Cobbler
It’s July, your kitchen feels like a sauna, and you’re craving something sweet and fruity. But you don’t want to turn on the oven for hours, right? I get it. That’s exactly why this raspberry cobbler is my go-to summer dessert.
This isn’t your grandma’s fussy cobbler with a rolled pie crust. Nope. This one has a buttery, crunchy walnut crumble topping that comes together in minutes. No pastry skills required. I promise it’s easier than it looks.
I’ll be honest with you. My first few attempts at fruit desserts were disasters. Soggy toppings, burnt fruit, the whole nine yards. But this recipe? It’s foolproof. The berries bubble into a thick, scarlet pool while the topping turns golden and craggy. It’s the kind of dessert that makes you look like a hero at a summer BBQ.
Plus, it’s a California-style twist with walnuts and Meyer lemon. Trust me on this one.
Cobbler vs Crisp vs Crumble vs Buckle
Okay, let’s clear something up. What’s the difference between all these fruit desserts? It can get confusing.
- Cobbler: Has a drop biscuit or crumble topping. The fruit filling is on the bottom, topping goes on top. That’s what we’re making here.
- Crisp: Has a streusel topping with oats. It gets, well, crispy.
- Crumble: Very similar to crisp but usually without oats. Our recipe is technically a crumble, but we’re calling it a cobbler because that’s what people search for.
- Buckle: The fruit is mixed into the batter. It’s more cake-like.
So this raspberry cobbler is really a crumble-cobbler hybrid. But hey, who cares what you call it when it tastes this good?
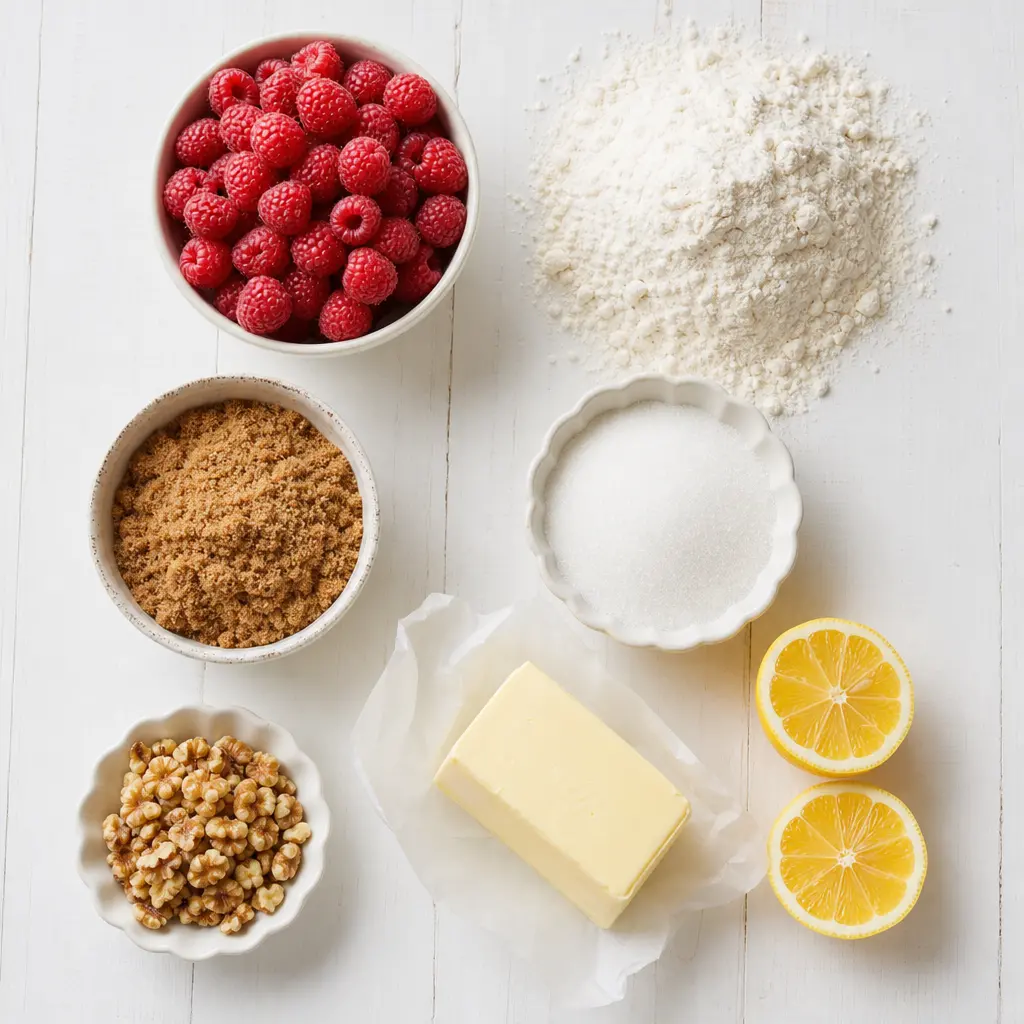
Ingredients for Raspberry Cobbler
Here’s what you need. Most of these are pantry staples, which is the whole point.
For the crumb topping:
- All-purpose flour
- Light brown sugar and granulated sugar
- Ground cinnamon and nutmeg for warmth
- A pinch of salt
- Cold unsalted butter this is key for that flaky texture
- Chopped California walnuts for crunch
For the raspberry filling:
- Fresh raspberries 6 cups, which is about three 6-ounce containers
- Just a quarter cup of sugar. The berries are sweet enough on their own
- More chopped walnuts. Yes, walnuts go in the filling too
- Fresh lemon juice and zest from a Meyer lemon if you can find one
That lemon is the secret weapon. It brightens everything up and keeps the berries from tasting flat. Meyer lemons are a California thing they’re sweeter and less acidic than regular lemons. If you can’t find one, a regular lemon works fine.
How to Make Raspberry Cobbler
Let’s walk through this. There are two parts: the filling and the topping. Both are dead simple.
Stage 1: Make the crumb topping. Whisk together the flour, both sugars, cinnamon, nutmeg, and salt. Then cut in the cold butter using a pastry cutter or your fingers. You want coarse crumbs with some pea-sized butter pieces. That’s what gives you those flaky pockets. Stir in a quarter cup of walnuts. Set it aside.
Stage 2: Prep the filling. In a large bowl, gently combine the raspberries, sugar, lemon juice, lemon zest, and the remaining cup of walnuts. Be gentle you don’t want to smash the berries. Let it sit for 5 minutes. This draws out some juice and starts the maceration process.
Stage 3: Assemble. Pour the raspberry mixture into a lightly greased 2-quart baking dish. Sprinkle the crumb topping evenly over the top. Don’t stress if a few berries peek through that’s part of the charm.
Stage 4: Bake and rest. Bake at 375°F for 30 to 35 minutes. You’re looking for a golden brown topping and bubbly filling around the edges. Let it cool for 10 to 15 minutes before serving. This lets the filling set up so it’s not a soupy mess.
Tips for the Best Cobbler
Here’s the thing about baking soda wait, we’re not using baking soda in this recipe. But here are some real tips I’ve learned the hard way.
Don’t overmix the crumb topping. Just stir until the flour is mostly incorporated. Overmixing develops gluten and makes the topping tough instead of tender.
If using frozen raspberries, don’t thaw them first. Break them apart frozen and mix them in. Add about 10 to 15 minutes of extra baking time. No judgement here frozen berries work great when fresh aren’t in season.
Toast the walnuts for deeper flavor. Toss them in a dry skillet over medium heat for 2 to 3 minutes before chopping. It takes two minutes and makes a huge difference.
If the topping browns too fast, tent loosely with foil. Remove the foil after the cobbler is done baking.
Place the topping in clumps, not a solid layer. Random spoonfuls create those craggy peaks that get extra crispy.
Let it rest. I know it’s hard to wait, but those 10 to 15 minutes are crucial. The filling thickens as it cools.
Storage and Reheating
Got leftovers? Lucky you. Here’s how to keep this raspberry cobbler tasting fresh.
Fridge: Cover the dish with foil or plastic wrap and store in the refrigerator for up to 3 days.
Reheating: Pop it in a 350°F oven for about 10 minutes. This brings back the crunch in the topping. The microwave works in a pinch, but the topping gets soft.
Freezing: You can freeze the assembled but unbaked cobbler. Wrap the dish tightly in plastic wrap and foil. Bake from frozen, adding 15 to 20 minutes to the bake time. Baked cobbler also freezes well for up to 3 months.
Make ahead: Assemble the cobbler up to 4 hours ahead and refrigerate. Bake just before serving.
Frequently Asked Questions
More Delicious Raspberry Desserts
If you love this raspberry cobbler, you should check out some of my other favorites. I’ve got a no-bake raspberry cheesecake that’s perfect for hot days. And a raspberry lemon loaf that’s basically breakfast disguised as dessert.
But honestly, this cobbler is the one I come back to again and again. It’s simple, it’s forgiving, and it always gets rave reviews. Now go grab a spoon and dig in summer waits for no one.
And hey, if you make this, I’d love to hear about it. Tag me in your photos or leave a comment. Happy baking!
Source: Nutritional Information