
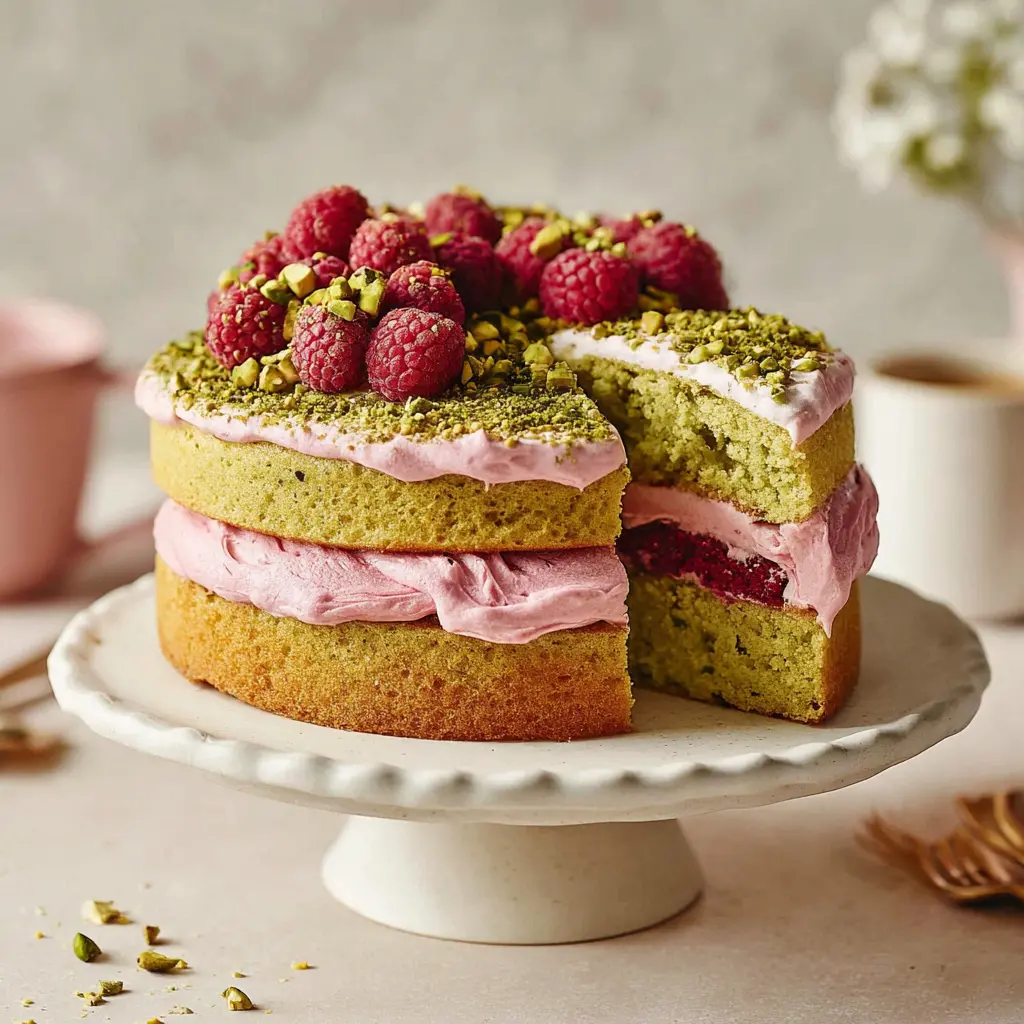
Why This Pistachio Raspberry Cake Works
There’s something about spring that just calls for a showstopping dessert. The kind that makes people stop mid-conversation and say, “Wait, you made that?” I’ve been testing this Pistachio Raspberry Cake for weeks, and I think I’ve finally cracked the code on a cake that’s both gorgeous and totally doable for us home bakers.
Here’s the thing I wanted a cake that didn’t just look pretty. I wanted one that tasted as good as it looks. The nutty, almost savory notes from the pistachios paired with the bright pop of tart raspberries? It’s a combo that just works. And the buttercream gets its natural pink color from actual raspberry jam, not food coloring. That’s a win in my book.
This raspberry pistachio layer cake gives you three tender, moist layers held together with a silky raspberry buttercream and a ribbon of homemade jam. It’s the kind of luxury pistachio dessert that feels bakery-worthy but comes together in your own kitchen. And honestly? That’s the best kind of baking.
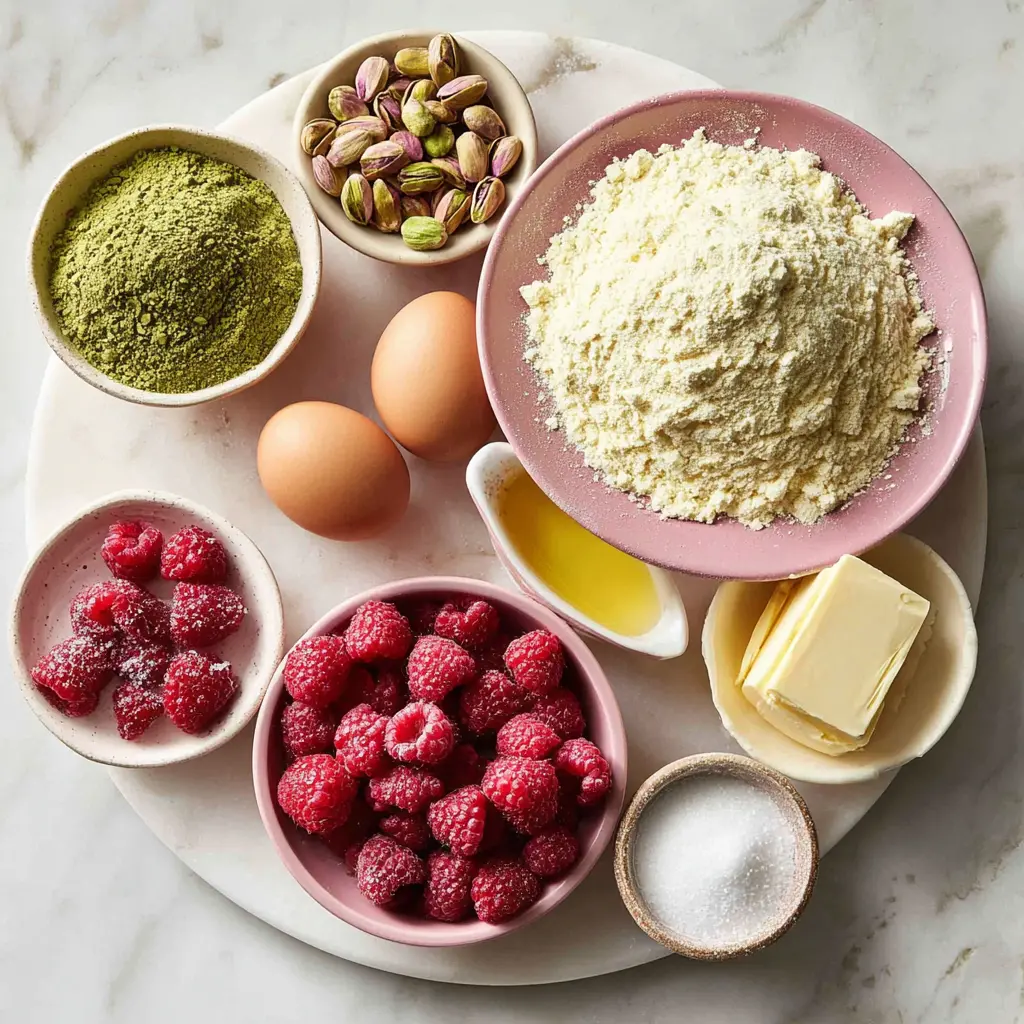
Ingredients You’ll Need
Let’s talk about what goes into this berry nut sponge cake. The ingredient list might look long, but I promise everything pulls double duty here. Here’s the breakdown:
For the pistachio cake layers:
- Shelled unsalted pistachios you’ll grind these yourself into a coarse meal. Skip the pre-ground stuff; it’s never as fresh.
- All-purpose flour, baking powder, baking soda, salt the standard dry gang.
- Unsalted butter (melted) this gives the cake a rich, tender crumb without the fuss of creaming cold butter.
- Granulated sugar just enough to sweeten without overpowering the nuts.
- Large eggs, plain Greek yogurt, light-tasting oil, vanilla extract the yogurt adds moisture and a slight tang, while the oil keeps things soft for days.
For the raspberry jam:
- Fresh or frozen raspberries either works, which is a lifesaver when fresh berries aren’t in season.
- Granulated sugar and water that’s it. Simple jam, no pectin needed.
For the raspberry buttercream:
- Unsalted butter (softened) this is crucial. Cold butter won’t whip up properly.
- Powdered sugar, raspberry jam, vanilla extract, heavy cream the jam gives it that gorgeous natural pink hue and fruity flavor.
How to Make Pistachio Flour
Here’s where a lot of recipes get fussy, but I promise this is easy. You need a food processor or high-speed blender for this step. Don’t use a coffee grinder it’ll turn your pistachios into paste faster than you can say “oops.”
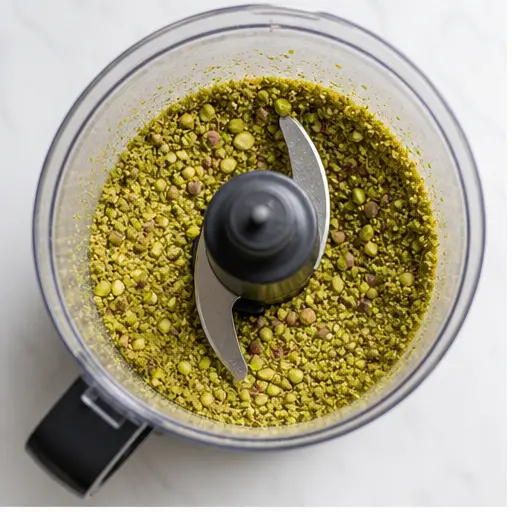
Add ¾ cup of shelled unsalted pistachios to your food processor. Pulse for about 30 seconds. You’re looking for a coarse meal, like the texture of cornmeal. Some slightly larger bits are totally fine they’ll add texture to the cake. Just don’t go too far, or you’ll end up with pistachio butter.
Pro tip: if you want that vibrant green color to really pop, look for Persian or Sicilian pistachios. They’re naturally brighter than the California ones. And if you can find them already shelled? Even better.
Once you’ve got your pistachio meal, mix it with the flour, baking powder, baking soda, and salt. Set that aside we’ll come back to it.
Make the Pistachio Cake Layers
This is where the magic happens. The method here is a one-bowl situation (well, two bowls, but close enough).
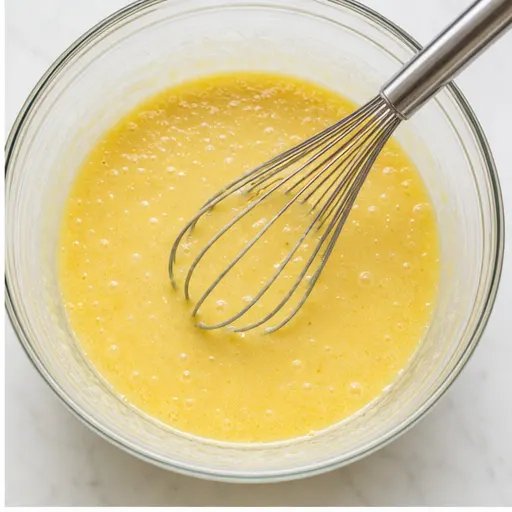
In a large bowl, whisk together your melted butter and sugar until they’re well combined. Then add the eggs one at a time, whisking after each. The mixture should look smooth and slightly thickened at this point.
Now add the Greek yogurt, oil, and vanilla extract. Whisk until everything is uniform. This is your wet mixture, and it should look pretty pale and creamy.
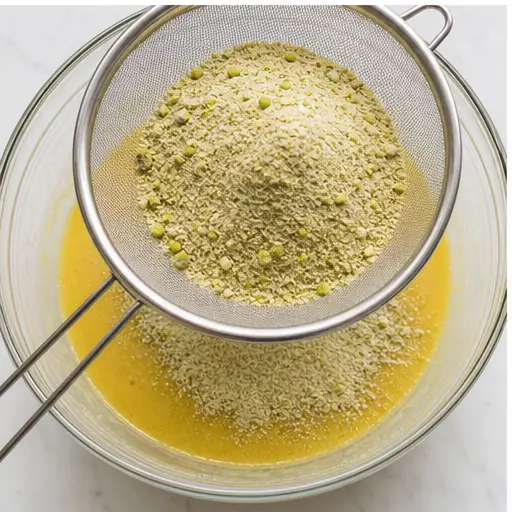
Here’s the important part: sift the dry ingredients over the wet mixture using a fine-mesh sieve. This breaks up any clumps of pistachio flour and ensures everything incorporates evenly. If there are larger pistachio bits left in the sieve, just toss them back in. Then fold gently with a spatula until just combined no streaks of flour, but don’t overmix. Overmixing develops gluten and gives you a dense, tough cake. We want a soft pistachio cake slice, not a hockey puck.
Divide the batter evenly among three 6-inch round cake pans (about 320 grams per pan). Give each pan a gentle spin on the counter to spread the batter. Bake at 350°F for 30 to 35 minutes. You’ll know they’re done when the tops are light golden and a toothpick comes out with a few moist crumbs.
Let the cakes cool in the pans for 10 minutes, then run a thin knife around the edges and invert onto a wire rack. Peel off the parchment and let them cool completely. This is important warm cake + cold buttercream = melted mess.
Make the Raspberry Jam
While the cakes are cooling, let’s tackle the jam. This is a quick stovetop jam that takes maybe 15 minutes.
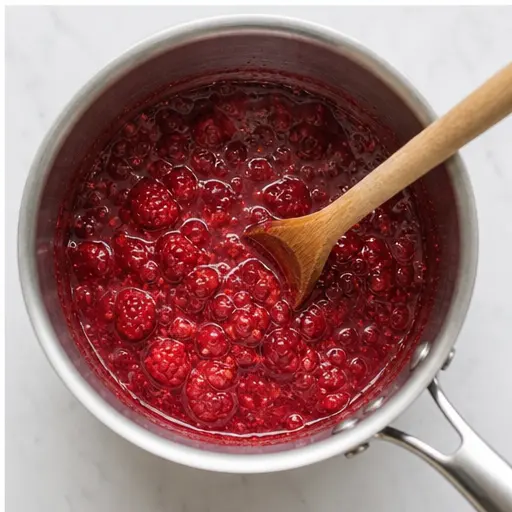
In a small saucepan, combine 3 cups of raspberries (fresh or frozen), ¼ cup of sugar, and 1 tablespoon of water. Cook over medium heat, stirring occasionally, until it comes to a boil. Then keep cooking until it thickens to a jammy consistency. You’ll know it’s ready when you drag a spatula through it and the jam parts and slowly flows back together.
Now for the slightly tedious but totally worth it step: press the jam through a fine-mesh sieve to remove the seeds. Discard the seeds and let the jam cool completely. I know, I know it’s an extra step. But trust me, a seedless jam makes for a much more elegant elegant raspberry cake.
Make the Raspberry Buttercream
This buttercream is where the wow factor comes in. The raspberry jam gives it the most beautiful natural pink color no artificial dyes needed.
Start with your softened butter. And I mean truly softened room temperature, not microwaved to the point of melting. Beat it in a stand mixer with the paddle attachment on medium-high for about 10 minutes. Yes, 10 minutes. Scrape down the bowl halfway through. You’re looking for it to become very pale and creamy, almost white.
Add the sifted powdered sugar. Start the mixer on low (or you’ll have a sugar cloud), then increase to medium-high and beat for 5 minutes. Add the cooled raspberry jam and vanilla extract, then stream in the heavy cream one tablespoon at a time until you reach a spreadable consistency.
Here’s a trick I learned the hard way: if your buttercream gets too cold or stiff, transfer a large dollop to a small bowl and microwave it for 10 seconds until partially melted. Fold it back into the rest of the buttercream. It’ll restore that silky texture instantly.
Assemble the Cake
This is the fun part. You’ll want a turntable or a lazy Susan for this it makes everything so much easier. But a cake stand works too.
Place one cake layer on your turntable or serving plate. Transfer about one-quarter of the buttercream to a piping bag and snip off the tip. Pipe a ring of buttercream around the edge of the layer. This creates a dam that keeps the jam from oozing out the sides. Spoon about 4 tablespoons of raspberry jam inside the ring and spread it evenly.
Top with the second cake layer and repeat the buttercream ring and jam. Place the third layer on top.
Now for the crumb coat: spread a thin layer of buttercream over the entire cake. Don’t worry about perfection here this is just to trap the crumbs. Use a bench scraper to smooth it, then refrigerate for 15 minutes until firm.
Once the crumb coat is set, apply the remaining buttercream in a thick layer around the cake, smoothing with the scraper. Use the reserved buttercream in the piping bag to decorate the top however you like. Garnish with crushed pistachios and maybe some fresh raspberries if you’re feeling fancy.
Expert Tips for Success
After testing this recipe more times than I care to admit, here are the things I wish I’d known from the start:
- Toast the pistachios for decoration if you’re using crushed pistachios as a garnish, toast them lightly in a dry pan first. Watch them closely; they can burn in seconds. It adds an extra depth of flavor that’s worth the 2 minutes.
- Room temperature ingredients are non-negotiable cold eggs or cold yogurt won’t blend evenly into the batter. Set everything out 30 minutes before you start.
- Don’t skip the sieve sifting the powdered sugar for the buttercream prevents clumps. Same goes for the dry ingredients in the cake batter.
- Use an offset spatula for smoothing it makes a world of difference for getting that bakery-style finish.
- If your cake layers domed, use a serrated knife to level them before assembling. A level cake is a happy cake.
Recipe FAQ
How to Store Leftovers
If you somehow have any of this Pistachio Raspberry Cake left over (big if, honestly), here’s how to keep it fresh:
- In the fridge: Store the assembled cake in an airtight container or wrapped tightly in plastic wrap directly on the surface of the slices. It’ll keep for up to 3 days. Bring to room temperature before serving.
- Freeze the sponges: You can freeze the cake layers separately (before assembling). Wrap each layer tightly in plastic wrap, then foil. They’ll keep for up to 3 months. Thaw overnight at room temperature.
- Freeze the buttercream: Store in an airtight container for up to 3 months. Thaw in the fridge overnight, then let it come to room temperature and re-whip before using.
- Freeze whole frosted cake: Wrap the fully assembled and frosted cake in plastic wrap, then place in an airtight container. Freeze for up to 3 months. Thaw overnight in the fridge.
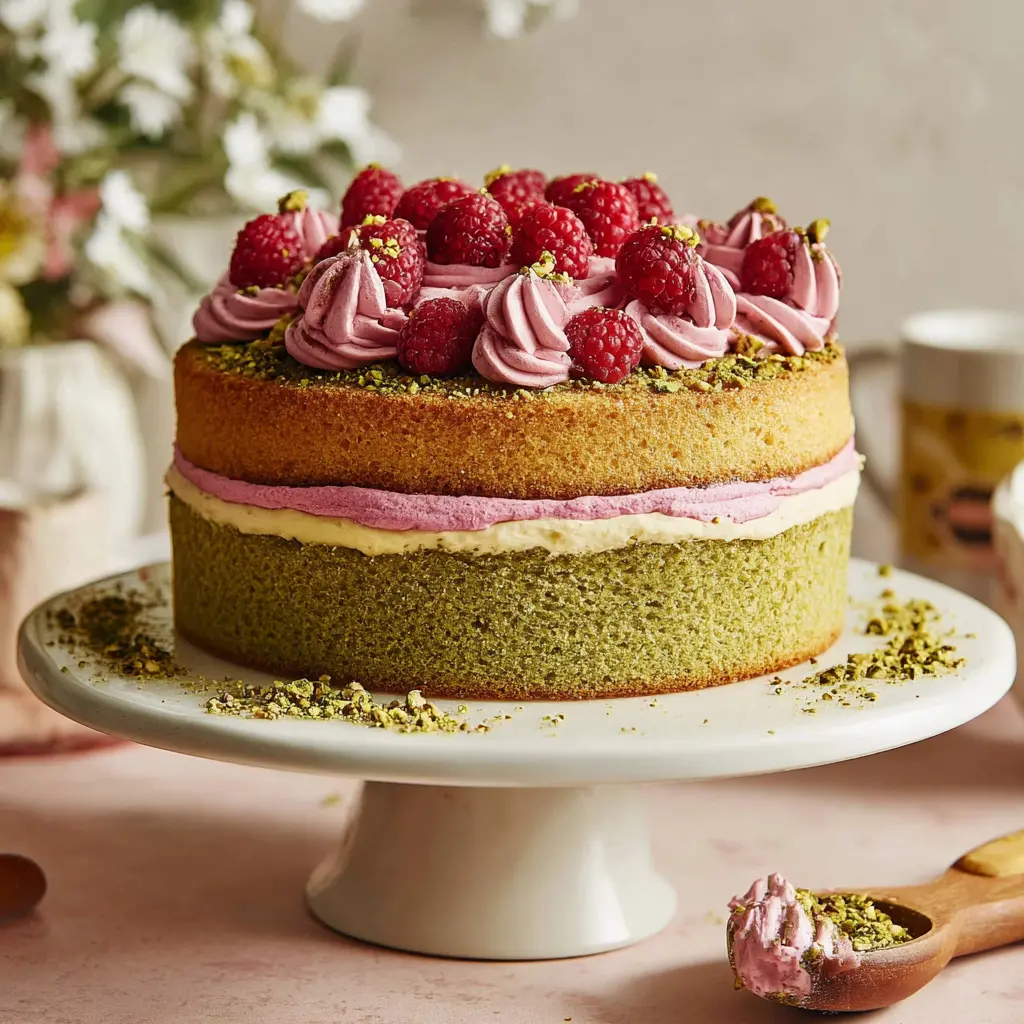
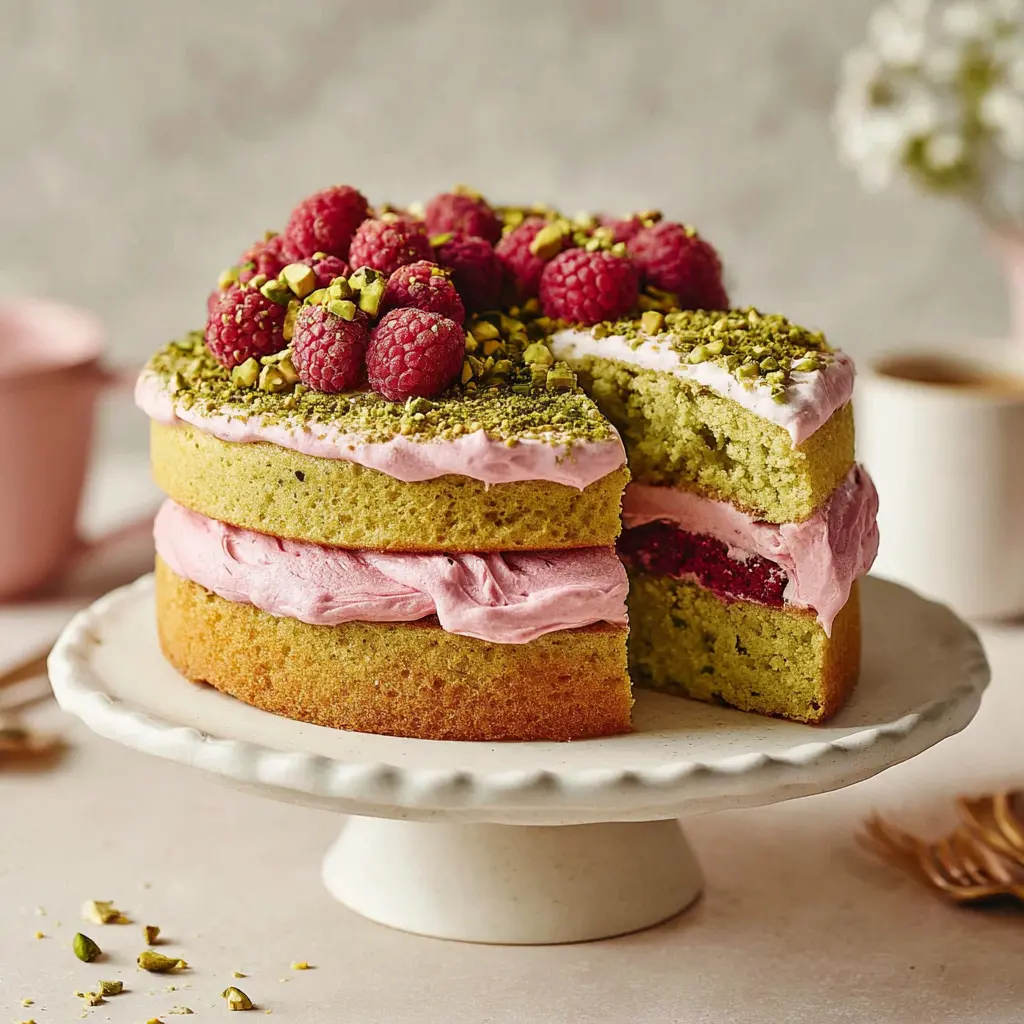
I can’t wait for you to try this one. The moment you slice into it and see those beautiful layers the green pistachio cake, the raspberry jam ribbon, the pink buttercream it’s pure magic. And the taste? The nutty aroma, the pop of tart berries, the velvety crumb. It’s everything a celebration cake should be.
If you make this Pistachio Raspberry Cake, I’d love to hear about it. Tag me in your photos on social media use the hashtag #PistachioRaspberryCake so I can see your beautiful creations. Happy baking!
Pistachio Raspberry Cake
Ingredients
Method
- Preheat the oven to 350°F. Line the bottoms of three 6-inch round cake pans with parchment paper rounds and set aside.
- Place the pistachios in a food processor or high-speed blender and pulse for about 30 seconds until they form a coarse meal. Transfer to a medium bowl.
- Add the flour, baking powder, baking soda, and salt to the ground pistachios. Stir to combine and set aside.
- In a large mixing bowl, whisk together the melted butter and sugar until well blended. Add the eggs one at a time, whisking after each addition until smooth.
- Add the Greek yogurt, oil, and vanilla extract. Whisk until the mixture is uniform.
- Sift the dry ingredients over the wet mixture using a fine-mesh sieve, breaking up any clumps of pistachio flour. Return any larger pistachio bits in the sieve to the bowl. Fold gently with a spatula until just combined—do not overmix.
- Divide the batter evenly among the prepared pans (about 320 g or 1 1/3 cups per pan). Give each pan a gentle spin on the counter to spread the batter evenly.
- Bake for 30 to 35 minutes, until the tops are light golden and a toothpick inserted in the center comes out with a few moist crumbs. Let cool in the pans for 10 minutes, then run a thin knife around the edges and invert onto a wire rack. Peel off the parchment and let cool completely.
- In a small saucepan, combine the raspberries, sugar, and water. Cook over medium heat, stirring occasionally, until the mixture comes to a boil. Continue cooking until thickened to a jammy consistency—when you drag a spatula through, the jam should part and slowly flow back together.
- Press the jam through a fine-mesh sieve to remove the seeds. Discard the seeds and let the jam cool completely before using.
- In the bowl of a stand mixer fitted with the paddle attachment, beat the softened butter on medium-high speed for about 10 minutes, scraping down the bowl halfway through, until very pale and creamy.
- Add the powdered sugar. Start the mixer on low, then increase to medium-high and beat for 5 minutes. Add the raspberry jam and vanilla extract and continue beating. Stream in the heavy cream, one tablespoon at a time, until the buttercream reaches a spreadable consistency. Scrape down the bowl and beat for another 5 minutes.
- If the buttercream becomes too cold or stiff, transfer a large dollop to a small bowl and microwave for 10 seconds until partially melted. Fold it back into the rest of the buttercream to restore a silky texture.
- Transfer about one-quarter of the buttercream to a piping bag and snip off the tip.
- Place one cake layer on a turntable or serving plate. Pipe a ring of buttercream around the edge of the layer. Spoon about 4 tablespoons of raspberry jam inside the ring and spread it evenly.
- Top with a second cake layer and repeat the buttercream ring and jam. Place the third layer on top.
- Spread a thin layer of buttercream over the entire cake as a crumb coat. Use a bench scraper to smooth it. Refrigerate for 15 minutes until firm.
- Apply the remaining buttercream in a thick layer around the cake, smoothing with the scraper. Use the reserved buttercream in the piping bag to decorate the top as desired. Garnish with crushed pistachios and optional ribbon bows.
Nutrition
Notes
Tried this recipe?
Let us know how it was!Source: Nutritional Information