
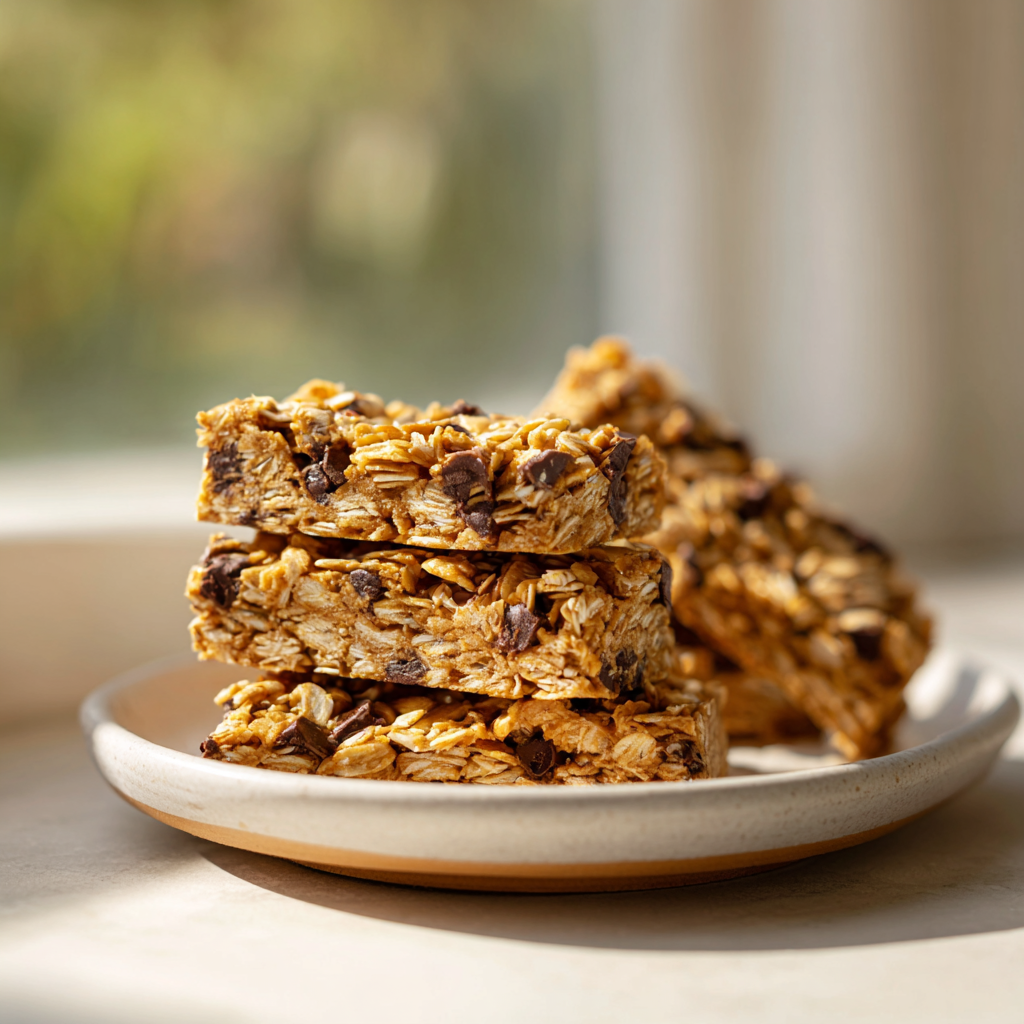
Why You’ll Love These No-Bake Peanut Butter Oat Bars
I used to spend way too much on granola bars that disappointed me. You know the ones they promise to be “wholesome” but taste like cardboard, or they’re basically candy bars in disguise. And the price? Don’t get me started.
So I set out to make my own. And honestly? These no-bake peanut butter oat bars changed everything. They’re chewy, satisfying, and made with just four ingredients you probably already have in your pantry. No oven required, which is a lifesaver during those hot summer months when turning on the oven feels like a crime.
These aren’t just any peanut butter oat bars. They’re the kind that actually hold together. The kind that disappear from the lunchbox before lunch even starts. The kind that make you feel like you’ve got this whole healthy snacking thing figured out.
Let me walk you through it.
Ingredients You’ll Need
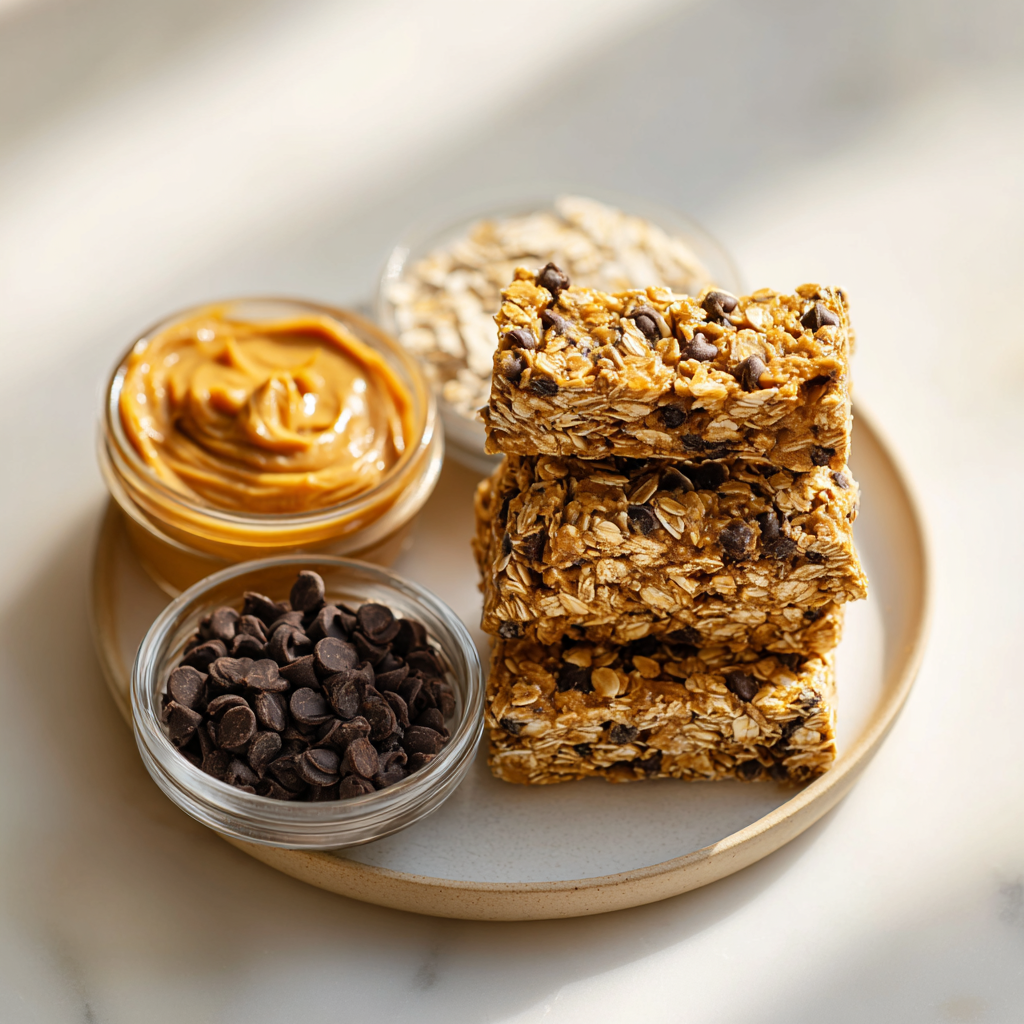
The beauty of this recipe is its simplicity. Four ingredients. That’s it. But each one plays a crucial role, so let’s talk about them.
- Creamy peanut butter (1 cup): This is your glue. The fat in the peanut butter binds everything together and gives these bars their signature richness. I recommend using a smooth, creamy variety not the natural kind that separates, and definitely not the dry stuff at the bottom of the jar. Jif or Skippy work great here.
- Honey or maple syrup (1/2 cup): This is your sweetener and your second binder. Honey adds a floral sweetness that pairs beautifully with peanut butter. For a vegan version, use maple syrup instead it works exactly the same way.
- Rolled oats (2 3/4 cups): The backbone of these bars. Rolled oats give you that satisfying chewy texture. Quick oats work too, but the bars will be a bit softer. Steer clear of instant oats they turn into mush.
- Dark chocolate chips (1/2 cup): Little pockets of melted chocolate that make these bars feel like a treat. Use dairy-free chips if you’re keeping things vegan. Or swap for milk chocolate if that’s your thing.
That’s the whole list. No weird ingredients. No trips to a specialty store. Just pantry staples you probably already have.
How to Make Peanut Butter Oat Bars
This is where the magic happens. The whole process takes about 10 minutes of active time, plus an hour in the fridge to set. Here’s how it breaks down.
Step 1: Melt the Peanut Butter and Honey
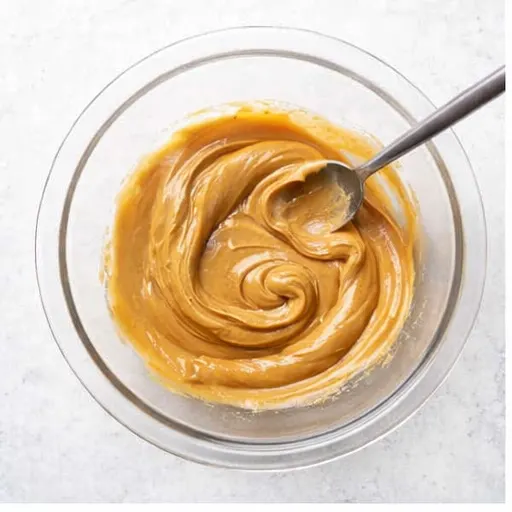
Start by combining your creamy peanut butter and honey (or maple syrup) in a microwave-safe bowl. Heat it in 20-second bursts, stirring between each, until everything comes together into a smooth, glossy mixture. It should look like liquid gold thick but pourable.
Pro tip: Don’t rush this step. If you overheat it, the peanut butter can separate. Slow and steady wins the race here.
Step 2: Add the Oats
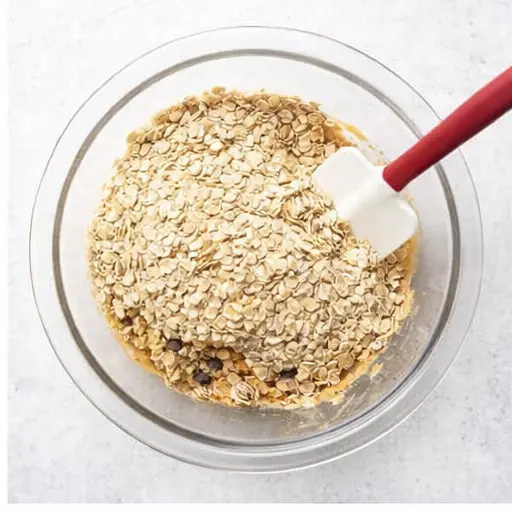
Pour your rolled oats into the warm peanut butter mixture. Grab a spatula and stir until every single oat is coated. This takes a bit of elbow grease, but it’s worth it. The mixture will look thick and slightly sticky that’s exactly what you want.
If it seems too dry, add a tablespoon of warm water or extra honey. If it’s too wet, toss in a few more oats. You’re looking for a consistency that holds together when you press it.
Step 3: Fold in the Chocolate Chips
Gently fold your dark chocolate chips into the oat mixture. Don’t overmix you want those chips to stay intact so you get little chocolate bursts in every bite. The heat from the mixture will soften them slightly, which is perfect.
This is also the stage where you can add any extras. A handful of chopped nuts? Go for it. Some shredded coconut? Why not. But keep it simple the first time these bars are already amazing as-is.
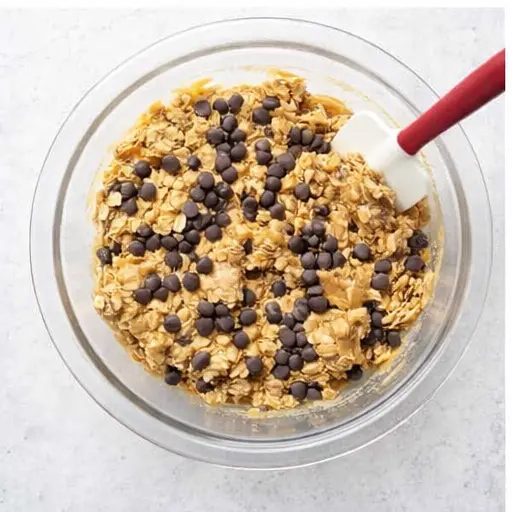
Step 4: Press and Chill
Line an 8×8-inch baking pan with parchment paper, letting it overhang on two sides. This is your secret weapon for easy removal trust me on this. Lightly spray the paper with non-stick cooking spray.
Transfer the oat mixture into the pan and press it down firmly. I mean really press it. Use your hands, the bottom of a glass, or another piece of parchment on top. The tighter it’s packed, the better your bars will hold together.
Pop the pan in the fridge for at least 60 minutes. An hour is the minimum, but two hours is even better. Patience is key here cutting too soon is the number one reason these bars fall apart.
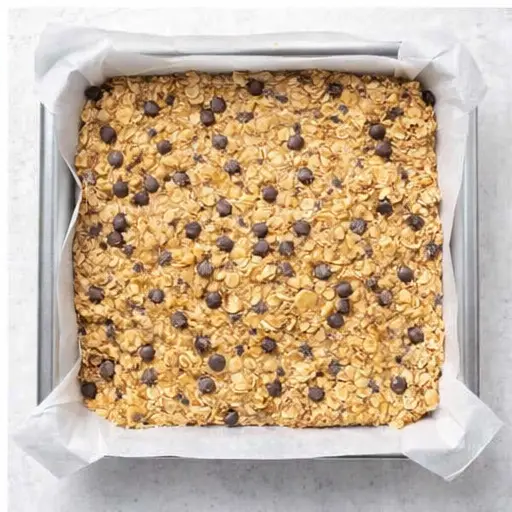
Success Tips for Perfect Bars
I’ve made these peanut butter oat bars more times than I can count, and I’ve definitely ended up with a crumbly mess more than once. Here’s what I’ve learned.
Common Mistakes to Avoid
❌ Using dry peanut butter: The bottom of the jar is always too dry. Use fresh, creamy peanut butter for the best texture.
✅ Solution: Stick with commercial creamy peanut butter (Jif, Skippy) for consistent results.
❌ Not pressing firmly enough: Loose packing means crumbly bars that fall apart when you cut them.
✅ Solution: Press down with the bottom of a measuring cup or glass until the surface is completely flat and firm.
❌ Cutting too soon: I’ve done this. The bars need time to set, or they’ll crumble into a delicious but frustrating mess.
✅ Solution: Wait at least 60 minutes, preferably 2 hours, before cutting. Use a sharp knife and wipe it clean between cuts.
One more thing don’t push the oats down too hard. There’s a sweet spot between “firm enough to hold together” and “so compressed they turn into hockey pucks.” Gentle but firm pressure is the goal.
Variations & Add-Ins
Once you’ve mastered the basic recipe, feel free to experiment. Here are some of my favorite ways to switch things up.
- Vegan version: Use maple syrup instead of honey, and make sure your chocolate chips are dairy-free. That’s it.
- Gluten-free version: Use certified gluten-free rolled oats. Everything else is naturally gluten-free.
- Nut-free version: Swap the peanut butter for sunflower seed butter or tahini. The flavor changes, but the texture stays the same.
- Extra crunch: Add 1/4 cup of chopped almonds, walnuts, or pecans along with the chocolate chips.
- Dried fruit: Swap half the chocolate chips for raisins, dried cranberries, or chopped dried apricots.
- Spice it up: Add 1/2 teaspoon of cinnamon or a pinch of sea salt to the peanut butter mixture.
The possibilities are endless, which is why these are such a great pantry staple recipe. You can customize them based on what you have on hand.
How to Store & Freeze Bars
These bars are perfect for meal prep. Here’s how to keep them fresh.
Refrigerator: Store in an airtight container in the fridge for up to one week. They hold their shape best when chilled, so I recommend keeping them cold.
Freezer: Wrap individual bars in plastic wrap, then place them in a freezer bag. They’ll keep for up to one month. When you’re ready to eat one, just let it thaw in the fridge overnight, or eat it straight from the freezer they soften in about a minute.
Room temperature: These bars can sit at room temperature for a few hours, making them perfect for lunchboxes, picnics, or road trips. Just don’t leave them in a hot car, or you’ll end up with a melted mess.
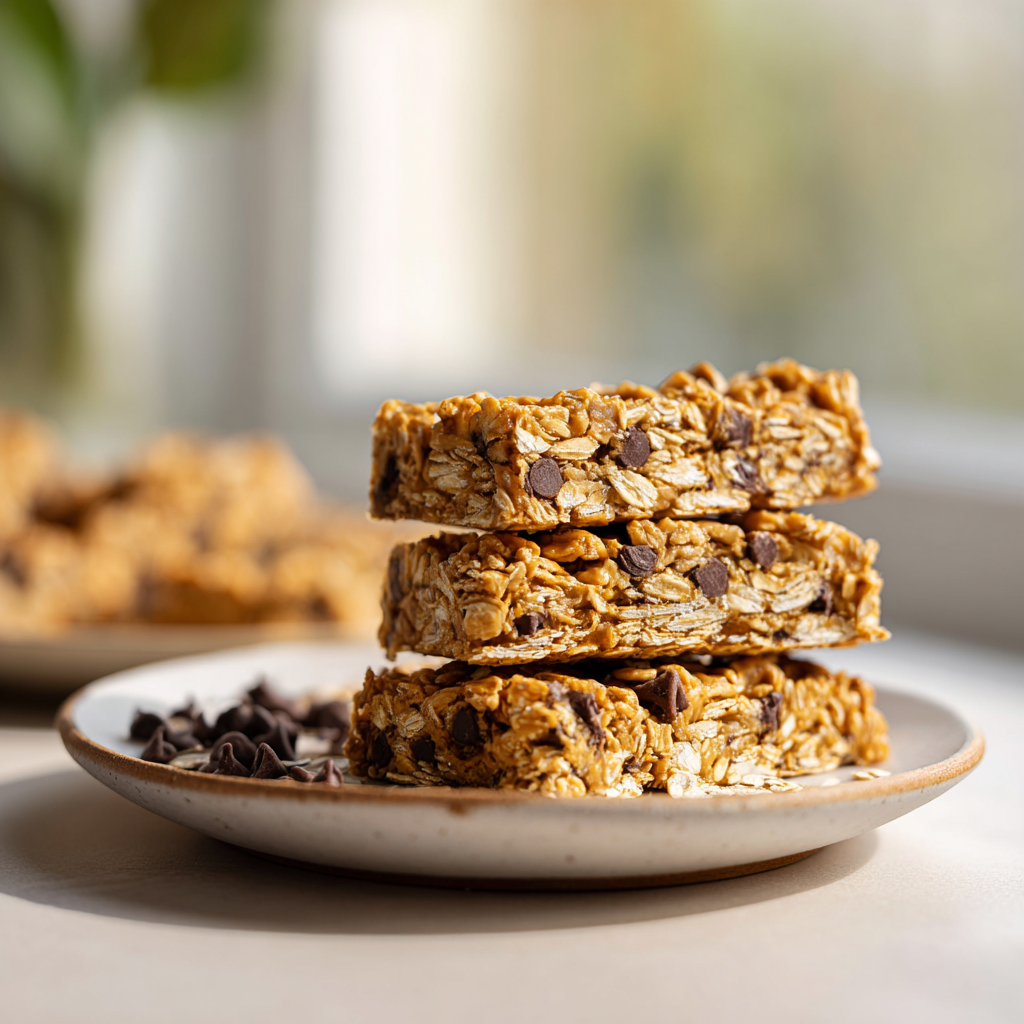
These no-bake peanut butter oat bars have become a staple in my kitchen. They’re the snack I turn to when I need something quick, healthy, and satisfying. My kids love them in their lunchboxes, and I love that I know exactly what’s in them.
If you make these, tag me when you do I want to see your chewy masterpieces! And if you’re looking for more inspiration, follow me on Pinterest for more easy snack ideas.
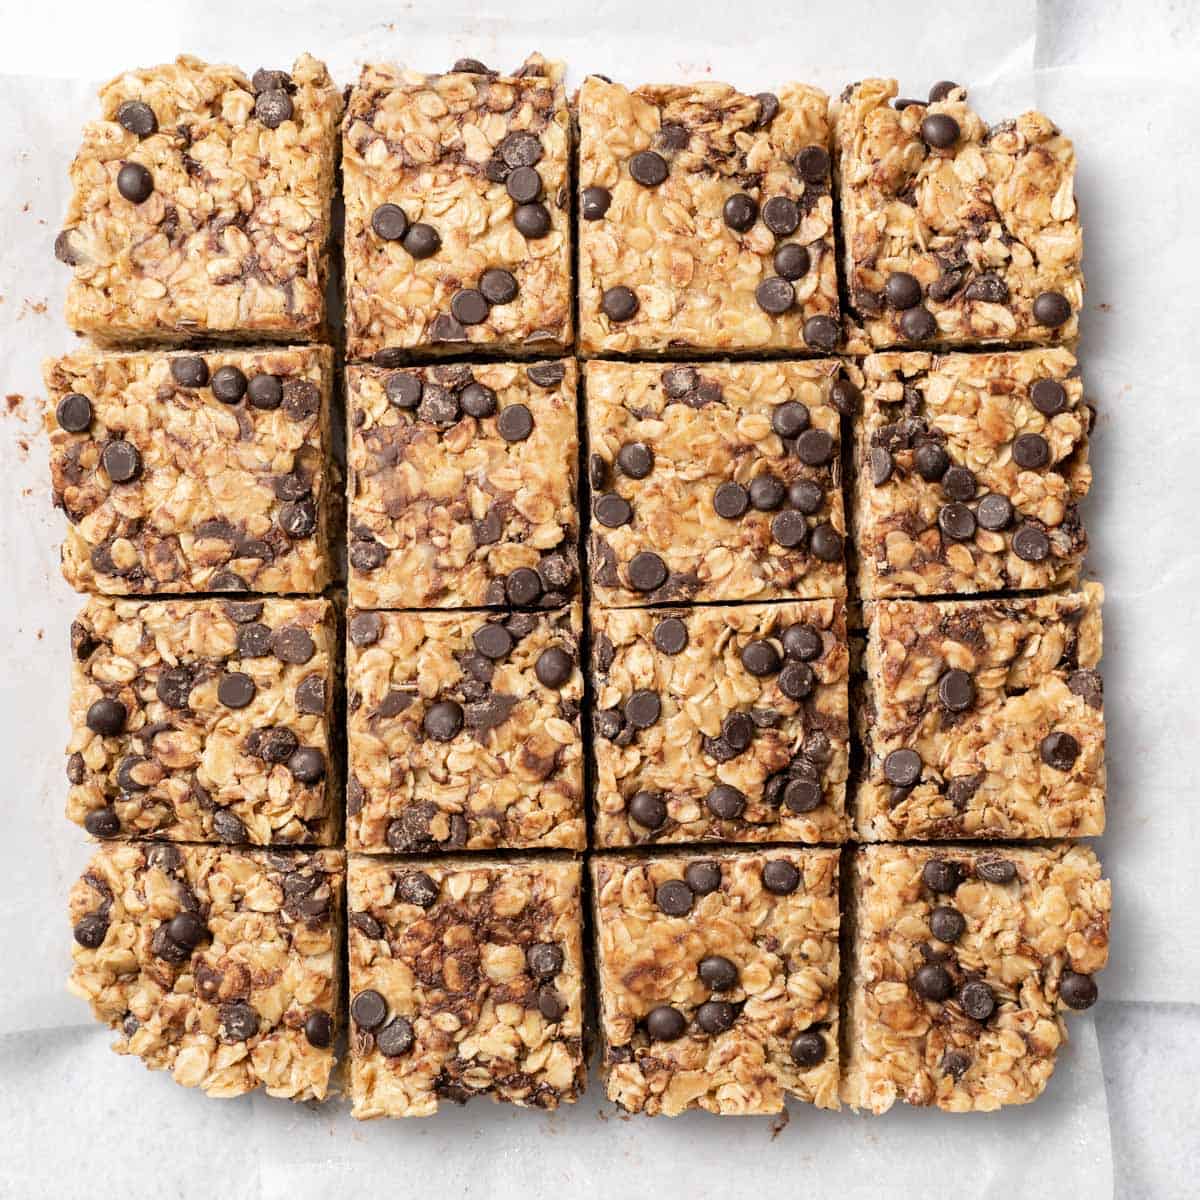
No-Bake Peanut Butter Oat Bars with Dark Chocolate
Ingredients
Method
- In a microwave-safe bowl, combine the creamy peanut butter and honey or maple syrup. Heat in 20-second bursts, stirring between each, until smooth and fully melted.
- Add the rolled oats to the peanut butter mixture. Use a spatula to stir until the oats are evenly coated.
- Gently fold in the dark chocolate chips until they are distributed throughout the mixture.
- Line an 8x8-inch baking pan with parchment paper, letting it overhang on two sides. Lightly spray with non-stick cooking spray. Transfer the oat mixture into the pan and press it down firmly with your hands or a spatula to create an even layer.
- Refrigerate for at least 60 minutes, or until the bars are firm. Lift the bars out using the parchment paper, then cut into 16 squares. Serve cold, at room temperature, or slightly warmed.
Nutrition
Notes
Tried this recipe?
Let us know how it was!Frequently Asked Questions
Source: Nutritional Information