
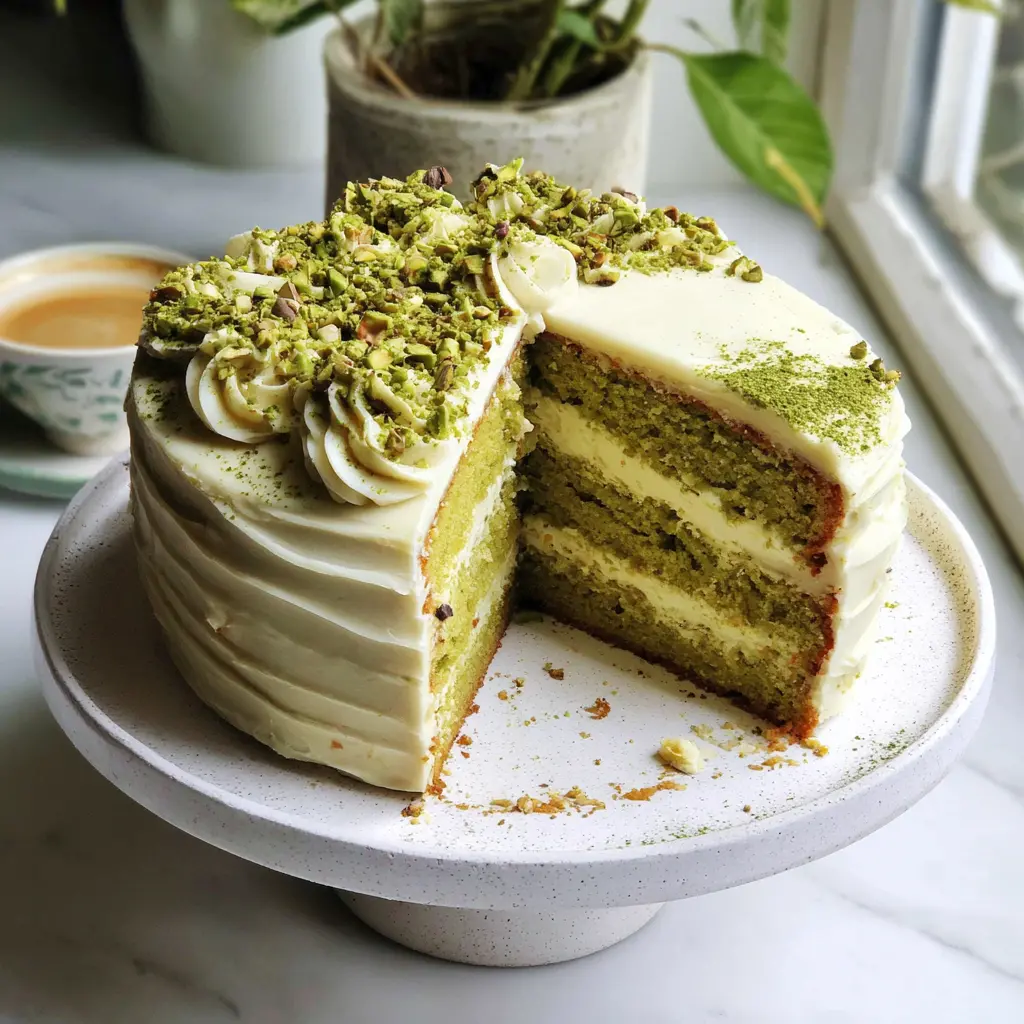
Why This Matcha White Chocolate Cake Works
I know matcha can be intimidating, but this cake changed my mind here’s why. That earthy, slightly grassy flavor from the green tea powder? It can go really wrong if you’re not careful. Too much and it’s bitter. Too little and what’s the point? But when you pair it with sweet white chocolate and a creamy mascarpone frosting, something magical happens.
This Matcha White Chocolate Cake is the dessert that finally made me stop being scared of baking with matcha. The white chocolate tames that bold green tea edge without masking it. And the pistachios? They add this little salty crunch that breaks up all that creaminess. It’s a spring cake recipe that feels fancy but honestly isn’t that hard to pull off.
I’ve tested this one a few times okay, maybe three times to get the balance right. The first batch was a little dry. The second was perfect but the color faded. Third time was the charm. So trust me when I say this version works. It’s a no-fail cake recipe once you know a few tricks.
Ingredients and Substitutions
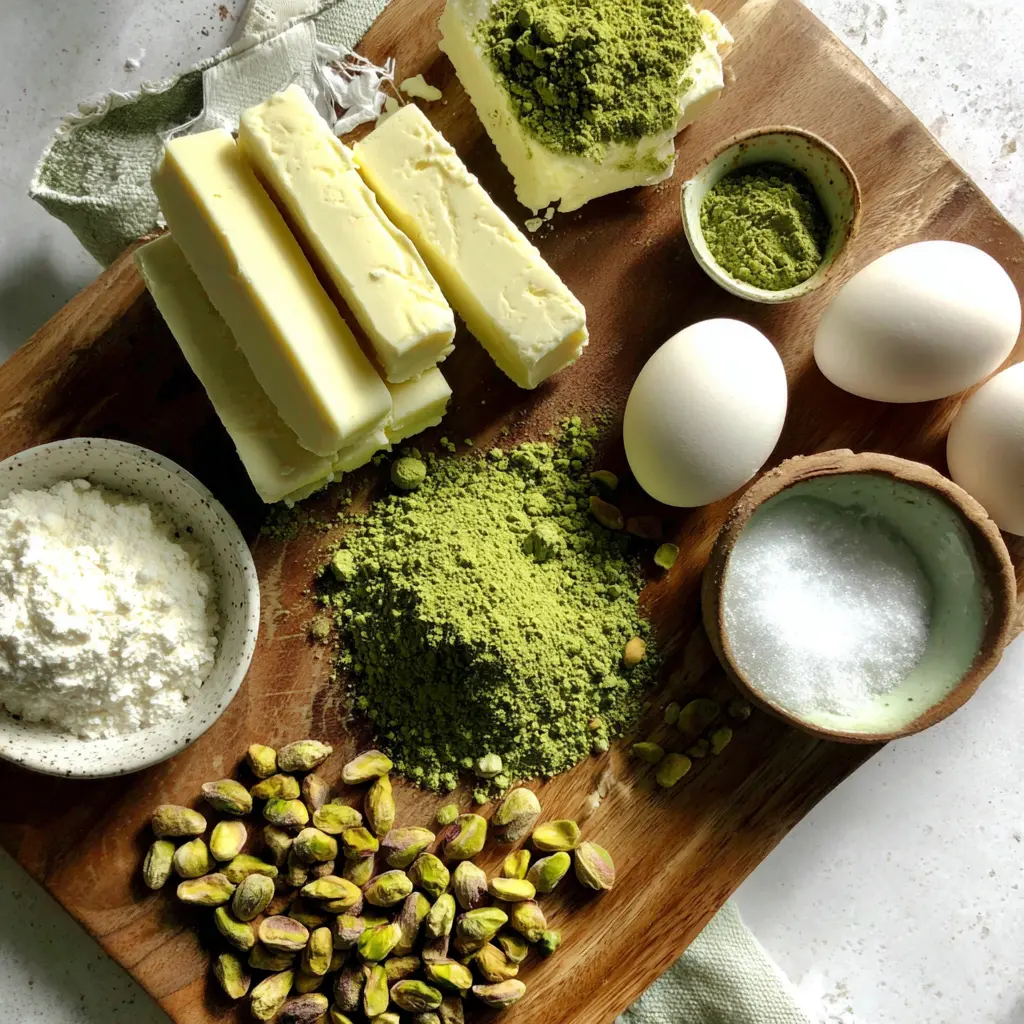
Let’s talk about what you need. The ingredient list is short, which I love. But a few things matter more than others here.
- Salted butter Two sticks, softened. If you only have unsalted, add a pinch of salt to the batter. I use salted because it balances the sweetness.
- Granulated sugar Just 3/4 cup. This cake isn’t overly sweet, which lets the matcha shine.
- Eggs Three large ones, and yes, they need to be room temperature. Cold eggs will seize your butter mixture. I learned that the hard way.
- Self-rising flour This is key. It already has baking powder and salt mixed in. If you only have all-purpose, add 1 1/2 teaspoons of baking powder and 1/4 teaspoon of salt per cup of flour.
- Matcha powder A heaping tablespoon of culinary grade matcha. Not the ceremonial stuff that’s too delicate for baking and way more expensive. Culinary grade is designed for this. It stays vibrant and holds its flavor through the oven heat.
- Mascarpone cheese For the frosting. It makes everything silky and rich without being too heavy. You can substitute cream cheese if you need to, but mascarpone gives a smoother texture.
- White chocolate 3.5 ounces, melted and cooled. Use good quality chips or a chopped bar. Cheap white chocolate can seize or get grainy.
- Pistachios Unsalted, shelled. Toasted and chopped. They add that perfect crunch.
For a dairy free matcha cake, substitute the butter with a good plant-based margarine and use dairy-free white chocolate. The texture will be slightly different but still delicious.
Mise en Place: Prep Like a Pro
Here’s where most people mess up. They start mixing before everything is ready. Then they’re scrambling to soften butter in the microwave or separate eggs with one hand. Don’t be that person.
Take 10 minutes to get everything in order:
- Set your butter out on the counter 2 hours before you start. It should be soft enough that your finger leaves a dent without resistance.
- Pull the eggs out at the same time. Room temperature eggs incorporate better into the batter and give you a moist matcha cake texture.
- Take the mascarpone out of the fridge about 30 minutes before making the frosting.
- Sift your powdered sugar. I know it seems fussy, but lumps in the frosting are not a good look.
- Line your cake pans with parchment paper. Trust me, nothing is worse than a stuck cake layer.
This is the kind of cake layering tips advice that separates a good cake from a great one. When everything is at the right temperature, your batter comes together smoothly and your frosting stays creamy.
Equipment You’ll Need
You don’t need a professional bakery setup for this. But a few tools make a difference:
- Two 6-inch round cake pans This recipe is designed for smaller pans, which give you taller, more dramatic layers. If you only have 8-inch pans, the cakes will be thinner and bake faster (check at 20 minutes).
- Electric mixer Handheld or stand, either works. You’ll be beating for a few minutes at a time, so your arm will thank you.
- Parchment paper For lining the pans. Non-stick spray alone isn’t enough for this delicate green cake.
- Wire cooling rack Essential for even cooling. Don’t skip this.
- Serrated knife For leveling the cake layers. A bread knife works perfectly.
- Offset spatula Makes frosting so much easier. But a butter knife works in a pinch.
That’s it. Nothing fancy. Just the basics plus a little patience.
How to Make Matcha White Chocolate Cake
Let’s break this down into the four big stages. Each one has a trick that makes the difference between a good cake and a showstopper.
Stage 1: Creaming the Butter and Sugar
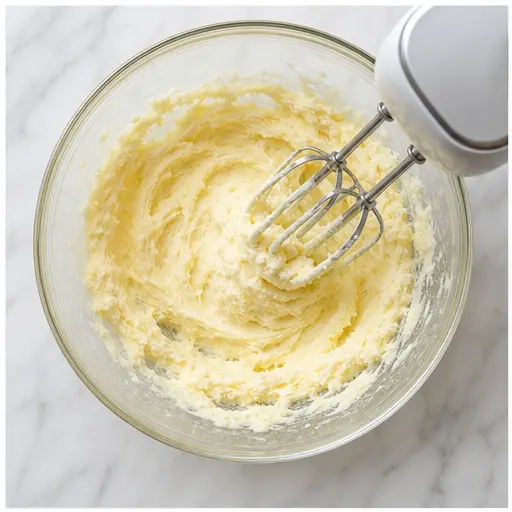
This is where the texture of your cake starts. Beat the softened butter and sugar together for a full 2 minutes. Not 30 seconds, not 1 minute. Two minutes. You want it light and fluffy, almost pale. This incorporates air that will help your cake rise.
I once rushed this step and ended up with a dense, flat cake. Never again. The mixture should look like soft, spreadable frosting before you add anything else.
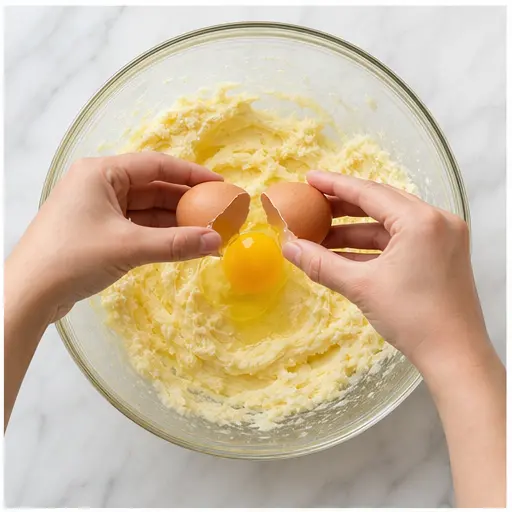
Then add the eggs one at a time. Beat well after each addition. If the mixture looks slightly curdled, don’t panic it’ll come back together when you add the flour.
Stage 2: Adding the Dry Ingredients
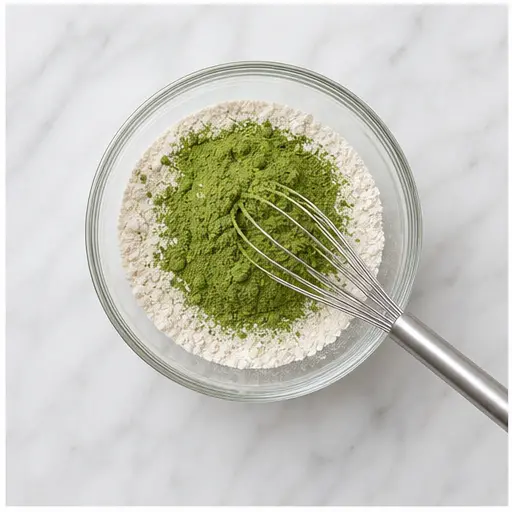
Whisk the self-rising flour and matcha powder together in a separate bowl before adding them to the butter mixture. This distributes the matcha evenly so you don’t get green streaks in a white cake.
Add the dry mixture gradually, stirring gently until just combined. This is the most important moment. Stop mixing as soon as you don’t see any more white flour. Overmixing develops gluten and makes your cake tough. You’ll get tunnels those ugly holes in the crumb. I’ve done it. It’s fixable by being more careful next time.
The batter will be thick and a gorgeous vibrant green. It smells like toasted grass and vanilla. That’s the matcha doing its thing.
Stage 3: Baking the Layers
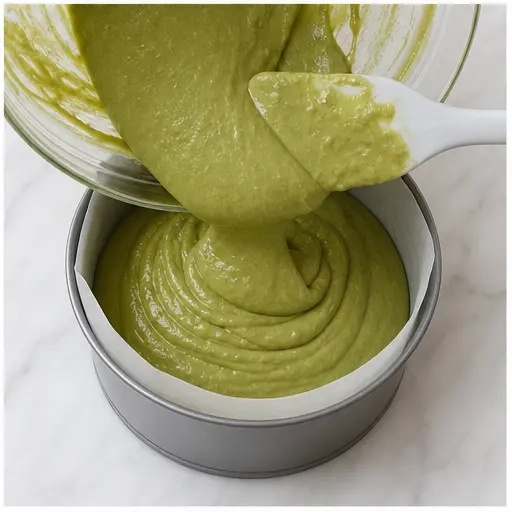
Divide the batter evenly between your two prepared pans. Bake at 350°F for 25 to 30 minutes. Position the pans in the center of the oven on the middle shelf. Don’t open the oven door for the first 20 minutes the temperature drop can cause your cake to sink.
How do you know they’re done? The cake will be risen, springy to the touch, and a toothpick inserted in the center will come out clean. No wet batter clinging to it.
Let the cakes cool in the pans for 15 minutes. Then turn them out onto a wire rack to cool completely. And I mean completely. If you try to frost a warm cake, you’ll have a melty mess.
Stage 4: Making the Frosting and Assembling
While the cakes cool, make the frosting. Beat the softened butter, sifted powdered sugar, mascarpone, and melted white chocolate together until smooth and fluffy. This takes about 5 minutes. Don’t rush it you want that silky texture.
For a marbled effect, divide the frosting in half and stir a teaspoon of matcha powder into one half. Then layer them together for a pretty green and white swirl.
Toast the pistachios in a dry skillet over medium heat. Stir frequently until they’re fragrant and lightly golden, about 5 to 8 minutes. Don’t walk away they burn fast. Let them cool, then chop coarsely.
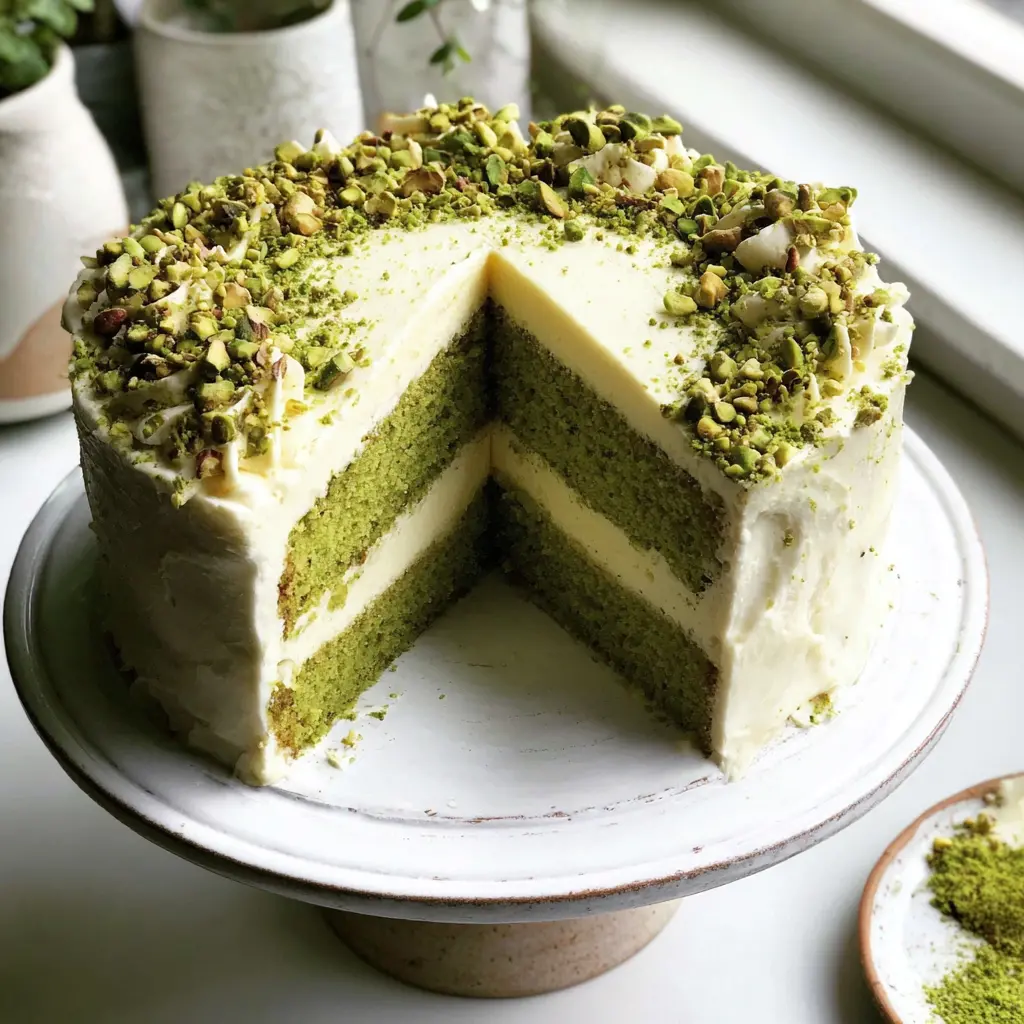
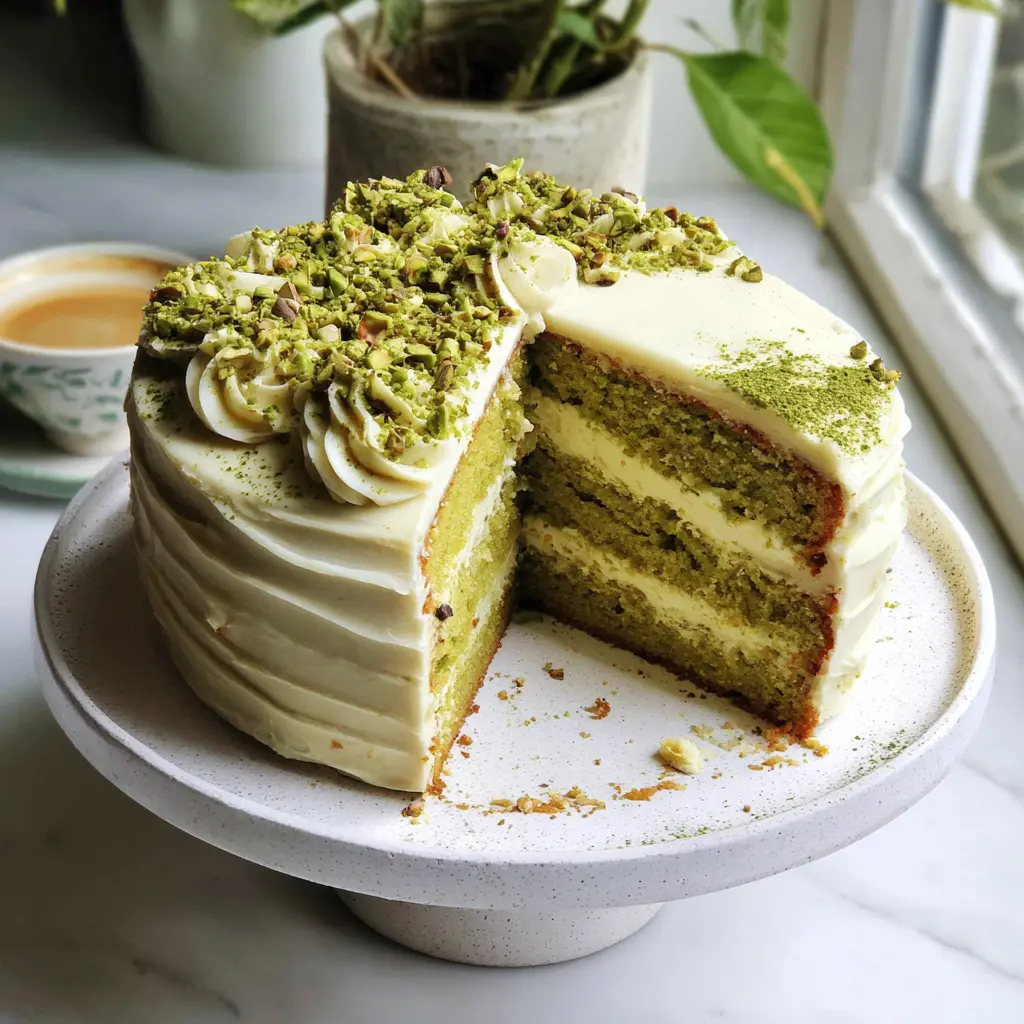
Place one cake layer on your serving plate. Spread a generous layer of frosting on top, then sprinkle with half the chopped pistachios. Top with the second layer. Spread or pipe the remaining frosting over the top and sides. Decorate with the remaining pistachios.
Your first layer might be lopsided that’s normal. Level it with a serrated knife before you start. A flat top makes for a much cleaner look.
Tips for the Best Matcha Cake
Here are the things I wish someone had told me before my first attempt:
- Use culinary grade matcha Not ceremonial. Not the cheap stuff from the bulk bin. Culinary grade is formulated for baking and holds its color better.
- Don’t overmix the batter Stir until just combined. A few lumps are fine. Overmixing = tough cake.
- Toast your pistachios This step is non-negotiable. Raw pistachios are soft and bland. Toasted ones are crunchy and nutty. Huge difference.
- Brush layers with simple syrup This is a pro tip. Mix equal parts sugar and water, microwave until dissolved, then brush onto each cake layer before frosting. It keeps the cake extra moist for days.
- Chill the cake before slicing Pop the assembled cake in the fridge for 30 minutes. The frosting sets up and you get cleaner slices.
For aesthetic cake decorating, keep it simple. The green layers and white frosting are already stunning. A sprinkle of pistachios on top and maybe a light dusting of matcha powder is all you need.
Storage and Make-Ahead Tips
This cake stores beautifully, which makes it perfect for spring cake recipe gatherings. Here’s how to keep it fresh:
- In the fridge Store in an airtight container for up to 3 days. Bring to room temperature for about 20 minutes before serving. The texture softens up nicely.
- Freeze the layers Bake the cake layers a day ahead and wrap them tightly in plastic wrap. They’ll keep for up to 3 months. Thaw overnight in the fridge before frosting.
- Freeze the whole cake Wrap it tightly in plastic wrap then foil. Freeze for up to 3 months. Thaw in the fridge overnight.
- Microwave trick If you’re eating a slice straight from the fridge, microwave it for 5 seconds. Just enough to take the chill off without melting the frosting.
Pro tip: If you’re making this for a party, bake the layers and make the frosting the day before. Assemble it the morning of. Your stress level will thank you.
Frequently Asked Questions
This Matcha White Chocolate Cake is the dessert that made me fall in love with baking with green tea. It’s forgiving enough for beginners but impressive enough for special occasions. The vibrant green layers, the creamy white frosting, the crunchy pistachios it all comes together in a way that feels both elegant and approachable.
Tag me when you make it I want to see your green creation! And if you’re looking for more inspiration, check out my Pinterest board for more spring dessert ideas.
Matcha White Chocolate Cake with Pistachios
Ingredients
Method
- Preheat your oven to 350°F. Grease two 6-inch round cake pans and line the bottoms with parchment paper.
- In a large bowl, beat the softened butter and sugar together with an electric mixer until light and fluffy, about 2 minutes.
- Add the eggs one at a time, beating well after each addition until fully incorporated.
- In a separate small bowl, whisk the self-rising flour and matcha powder together. Gradually add this dry mixture to the butter mixture, stirring gently until just combined into a thick green batter.
- Divide the batter evenly between the prepared pans. Bake for 25 to 30 minutes, or until a toothpick inserted in the center comes out clean. Let the cakes cool in the pans for 15 minutes, then turn them out onto a wire rack to cool completely.
- In a large bowl, beat the softened butter, powdered sugar, mascarpone, and melted white chocolate together until smooth and fluffy, about 5 minutes.
- If you want a marbled effect, divide the frosting in half and stir the optional matcha powder into one half until evenly colored.
- Toast the pistachios in a dry skillet over medium heat, stirring frequently, until fragrant and lightly golden, about 5 to 8 minutes. Let cool, then chop coarsely.
- Place one cake layer on a serving plate. Spread a generous layer of frosting on top, then sprinkle with half of the chopped pistachios.
- Top with the second cake layer. Spread or pipe the remaining frosting over the top and sides of the cake. Decorate with the remaining pistachios. Slice and serve.
Nutrition
Notes
Tried this recipe?
Let us know how it was!More Matcha Recipes to Try
If you love this cake, you might also enjoy these other matcha desserts. They all use that same culinary grade matcha and play with the green tea flavor in different ways.
- Matcha Buttercream Cupcakes Same frosting concept but on a smaller, portable scale.
- Matcha White Chocolate Cookies Chewy cookies with chunks of white chocolate and a hint of green tea.
- Green Tea Ice Cream A no-churn version that’s perfect for hot spring days.
- Matcha Pound Cake Dense, buttery, and perfect for slicing thin with tea.
Each one builds on the same principles: quality matcha, gentle mixing, and a sweet counterpart to balance the earthiness. Happy baking!
Source: Nutritional Information