

Why This Key Lime Pie Recipe Works
You’ve been asked to bring dessert to the 4th of July cookout. Or maybe you’re craving something bright and citrusy after a long week. I get it. You want something that looks impressive but doesn’t require a pastry degree or a trip to a specialty store.
This key lime pie recipe is exactly that. It’s the one I turn to again and again, and honestly, it’s the one that made me fall in love with baking in the first place. I remember my first attempt at key lime pie I was so nervous about the filling setting properly. I kept peeking through the oven door, convinced it was going to turn into a soupy mess. Spoiler alert: it didn’t. And when I pulled that perfectly set, creamy pie from the fridge the next day? Pure pride, I’m not gonna lie.
Here’s the thing about this best key lime pie recipe. It’s practically foolproof. The magic combination of sweetened condensed milk and key lime juice creates a chemical reaction that thickens the filling without any complicated techniques. No gelatin, no cornstarch, no fuss. Just a few simple ingredients that come together in minutes.
I promise, this is easier than you think. No fancy equipment needed. A bowl, a whisk, and a pie plate are all you really need. And the result? A slice of pure Florida sunshine that’ll have everyone asking for the recipe.
Ingredients for Key Lime Pie
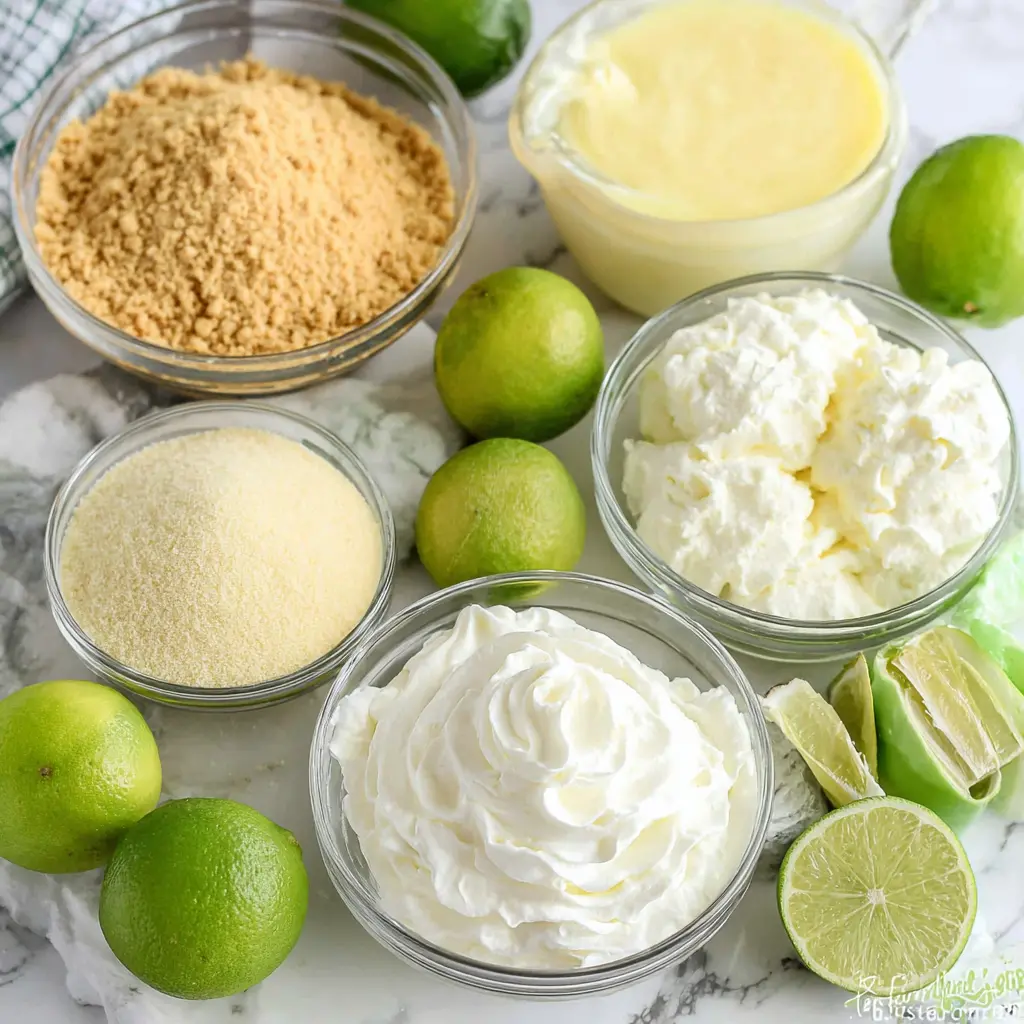
Let’s talk about what goes into this key lime dessert. The ingredient list is short, but each one plays a crucial role. Here’s what you need and why it matters.
For the crust:
- Unsalted butter, melted This binds the crust together and adds that rich, buttery flavor. Use unsalted so you control the salt level.
- Granulated sugar Just a quarter cup to sweeten the crust. It balances the tart filling perfectly.
- Graham cracker crumbs About 9 full sheets crushed. You can crush them in a food processor or just put them in a zip-top bag and go to town with a rolling pin. Both work great.
For the filling:
- Egg yolks Four large yolks. They give the filling richness and help it set. Save the whites for an omelet or meringue if you’re feeling ambitious.
- Key limes You’ll need about 6 for zest and juice. They’re small, tart, and packed with flavor. If you can’t find them, no worries I’ll cover substitutes below.
- Sweetened condensed milk One 14-ounce can. This is the secret to that creamy, luscious texture. Don’t substitute evaporated milk they’re not the same thing.
- Bottled key lime juice Like Nellie & Joe’s. This is a lifesaver when fresh key limes aren’t available. More on that in a minute.
- Whipped topping For garnish. You can use homemade whipped cream or store-bought. Both are delicious.
One thing I love about this key lime pie recipe easy approach is that you can find almost everything at your local Ralphs or Vons. And if you’re near a Trader Joe’s, they often carry key limes in season.
How to Make Key Lime Pie
Alright, let’s get into the actual process. I’ll walk you through the major stages, sharing tips I’ve learned from making this pie more times than I can count. Trust me, by the end, you’ll feel like a pro.
Stage 1: Making the Graham Cracker Crust
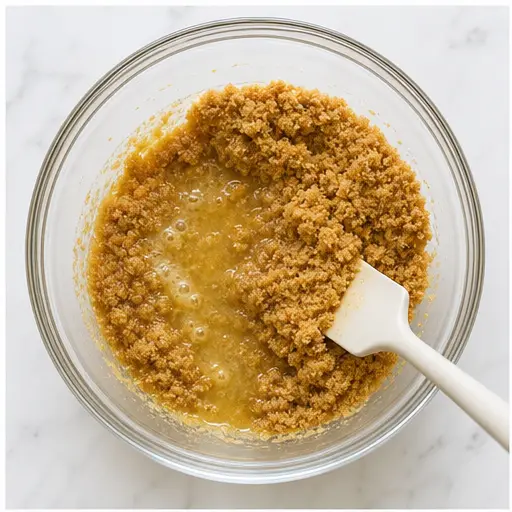
This is where it all starts. The key lime pie crust is simple but needs a little love. In a medium bowl, combine the melted butter and sugar. Then stir in the graham cracker crumbs until everything is evenly moistened. You want it to look like wet sand that’s the perfect texture.
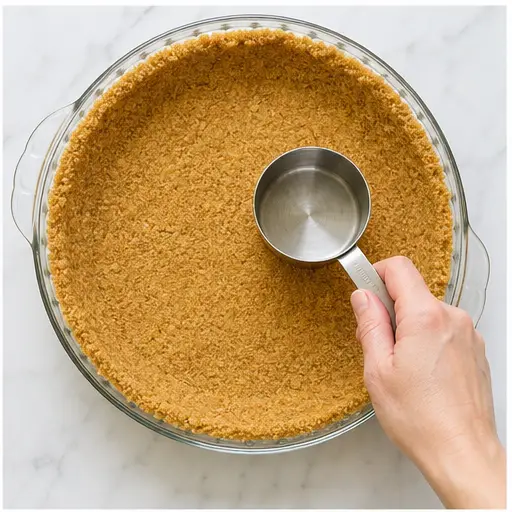
Now, here’s the trick. Press the mixture firmly into your 9-inch pie plate. I use the bottom of a measuring cup to really pack it down. Go up the sides too, not just the bottom. An even crust means every bite has that perfect crunch. Then refrigerate for an hour until firm. Or, if you’re in a rush, bake it at 375°F for 5 minutes and let it cool. Either way works.
I’ve made the mistake of not pressing hard enough before. The crust crumbled everywhere when I tried to serve it. Learn from my fail press firmly and evenly.
Stage 2: Preparing the Key Lime Filling
Now for the key lime pie filling. Preheat your oven to 350°F. First, zest your key limes you need about 2 teaspoons of zest. Then juice them. Pour the fresh juice into a 1/2-cup measuring cup. If it doesn’t reach exactly 1/2 cup, top it off with bottled key lime juice. This is my go-to method for consistent results.
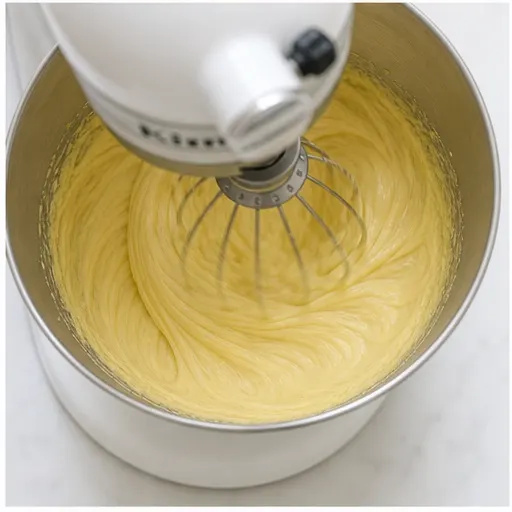
In a stand mixer or with an electric mixer, beat the egg yolks on medium-high speed until they’re thick and pale yellow. This takes about 2-3 minutes. You want them to look like a soft sunset. Then reduce the speed to low and slowly pour in the sweetened condensed milk, mixing until smooth.
Here’s where I used to get nervous. Gradually add the key lime juice and zest, mixing on low just until combined. Do not overmix. Overmixing can make the filling too thin. You’ll see it start to thicken almost immediately that’s the acid in the lime juice reacting with the condensed milk. It’s like magic.
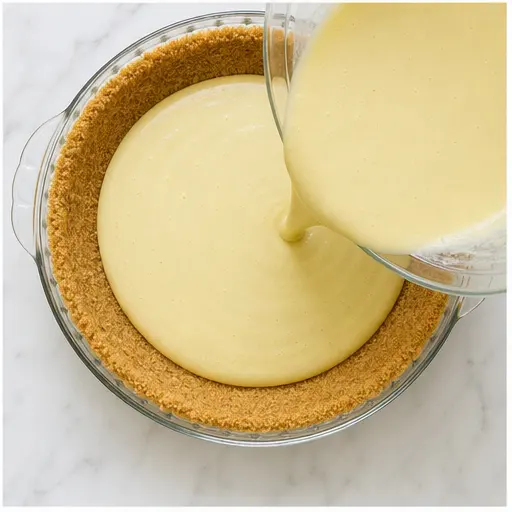
Stage 3: Baking the Pie
Pour the filling into your prepared crust and bake for 15 minutes. The center should be just set but still jiggles slightly when you gently shake the pan. That slight jiggle is exactly what you want. It will continue to set as it cools.
I know it’s tempting to bake it longer, but resist the urge. Over-baking is the number one reason for a cracked pie. Trust the process. The filling will firm up beautifully in the fridge.
Remove from the oven and let it cool to room temperature on a wire rack. Then refrigerate for at least 2 hours, until fully chilled and firm. Overnight is even better the flavors meld and deepen.
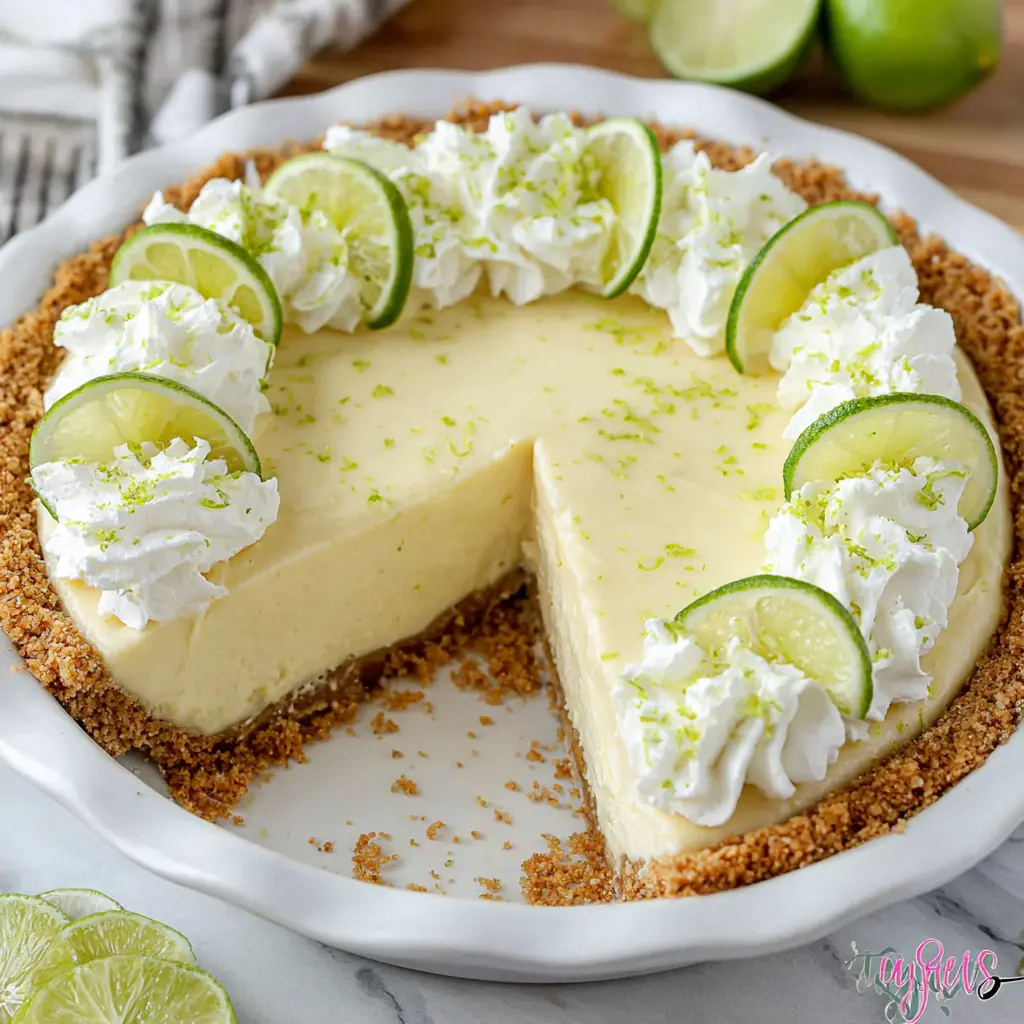
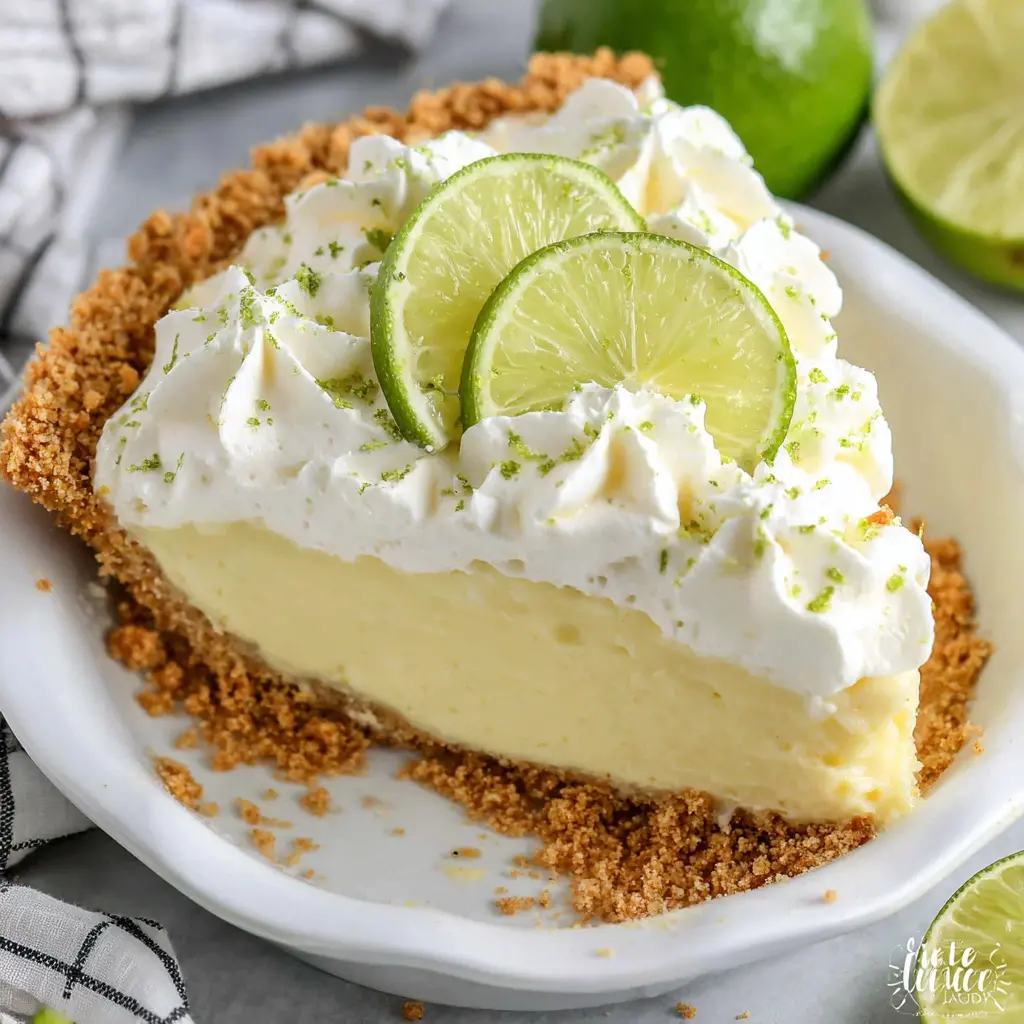
Stage 4: Garnishing and Serving
Before serving, garnish with whipped topping, thin lime slices, and a sprinkle of lime zest. For a cleaner slice, dip your knife in hot water and wipe it dry between cuts. This makes a huge difference in presentation.
The first slice might not be perfect, but that’s okay. The second one will be gorgeous. And honestly, no one cares about a slightly messy first slice when the flavor is this good.
How to Tell When Key Lime Pie Is Done
This is probably the most common question I get about how to make key lime pie. The visual cue is simple: the center should jiggle slightly when you gently shake the pan. It should look set around the edges but still have a little wobble in the middle.
Think of it like a cheesecake. If the center is completely firm and doesn’t move at all, you’ve over-baked it. That’s when you get cracks. So don’t be afraid of that jiggle. It’s your friend.
The filling will continue to set as it cools to room temperature and then chills in the fridge. After 2 hours in the refrigerator, it should be perfectly sliceable. If it’s still a bit soft, give it another hour. Patience pays off here.
Topping Options for Key Lime Pie
While I love a classic dollop of whipped topping, there are other ways to dress up your key lime dessert. Here are a few ideas.
- Whipped cream Homemade or store-bought. A cloud of creamy sweetness balances the tart filling perfectly.
- Meringue If you’re feeling adventurous, top the pie with a toasted meringue. Use those leftover egg whites! It adds a beautiful, dramatic finish.
- Fresh fruit Thin slices of lime or even a few berries on top add color and freshness.
- Lime zest A simple sprinkle of fresh zest just before serving brightens the whole presentation.
For a Fourth of July cookout, I like to add a few blueberries and strawberries along with the lime slices. It’s festive and delicious.
Storage and Make-Ahead Tips
One of the best things about this key lime pie is that it’s perfect for making ahead. Here’s how to store it.
In the refrigerator: Cover the pie loosely with plastic wrap or foil and store for up to 3 days. The flavors actually get better after a day in the fridge. Just add the whipped topping and garnishes right before serving.
To freeze: Bake and cool the pie completely (without any topping). Wrap it tightly in plastic wrap, then foil. Freeze for up to 2 months. When you’re ready to serve, thaw it in the refrigerator overnight. Then add your toppings.
Pro tip: If you’re bringing this to a party, make it the day before. It gives the filling plenty of time to set perfectly, and you’ll be way less stressed on the day of the event.
I’ve also made individual key lime pie cups for potlucks. Just layer the crust and filling in small jars or cups. They’re adorable and easy to serve.
Frequently Asked Questions
I hope this guide helps you make the best key lime pie you’ve ever tasted. It’s a dessert that never fails to impress, and honestly, it’s one of the most rewarding things to bake. The combination of that buttery crust, the creamy tangy filling, and the light whipped topping is pure perfection.
Tag me when you make yours I love seeing your perfect slices! And if you have any questions, drop them in the comments. I’m always happy to help.
Happy baking, friends.
Classic Key Lime Pie with a California Twist
Ingredients
Method
- In a medium bowl, combine the melted butter and sugar. Stir in the graham cracker crumbs until evenly moistened.
- Press the mixture firmly into the bottom and up the sides of a 9-inch pie plate. Use the bottom of a measuring cup to press it evenly. Refrigerate for 1 hour until firm, or bake at 375°F for 5 minutes and let cool before filling.
- Preheat the oven to 350°F. Zest the key limes to get 2 teaspoons of zest, then juice them. Pour the fresh juice into a 1/2-cup measuring cup; if needed, add bottled key lime juice to reach exactly 1/2 cup.
- In a stand mixer or with an electric mixer, beat the egg yolks on medium-high speed until thick and pale yellow. Reduce speed to low and slowly pour in the sweetened condensed milk, mixing until smooth.
- Gradually add the key lime juice and zest, mixing on low just until combined. Do not overmix.
- Pour the filling into the prepared crust and bake for 15 minutes, until the center is just set but still jiggles slightly.
- Remove from the oven and let cool to room temperature on a wire rack. Then refrigerate for at least 2 hours, until fully chilled and firm.
- Before serving, garnish with whipped topping, thin lime slices, and a sprinkle of lime zest if desired.
Nutrition
Notes
Tried this recipe?
Let us know how it was!Source: Nutritional Information


