
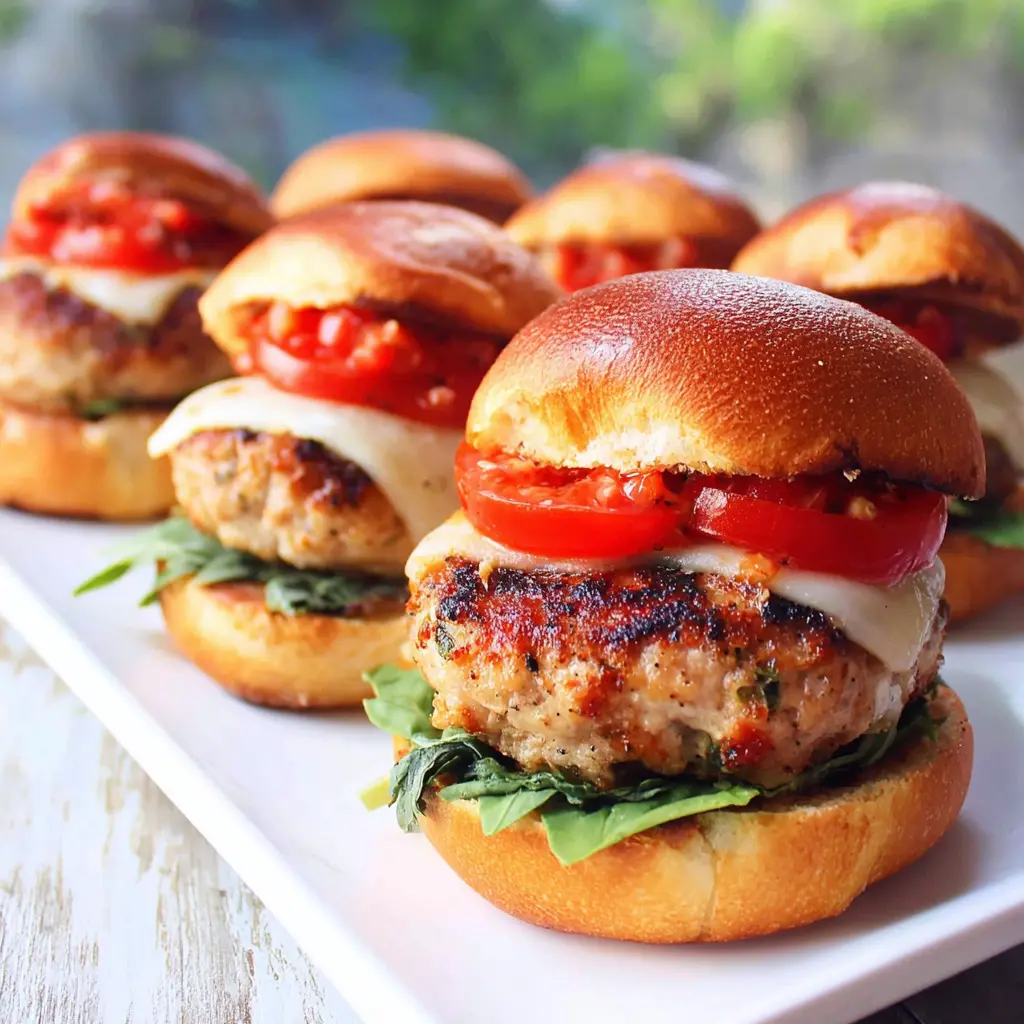
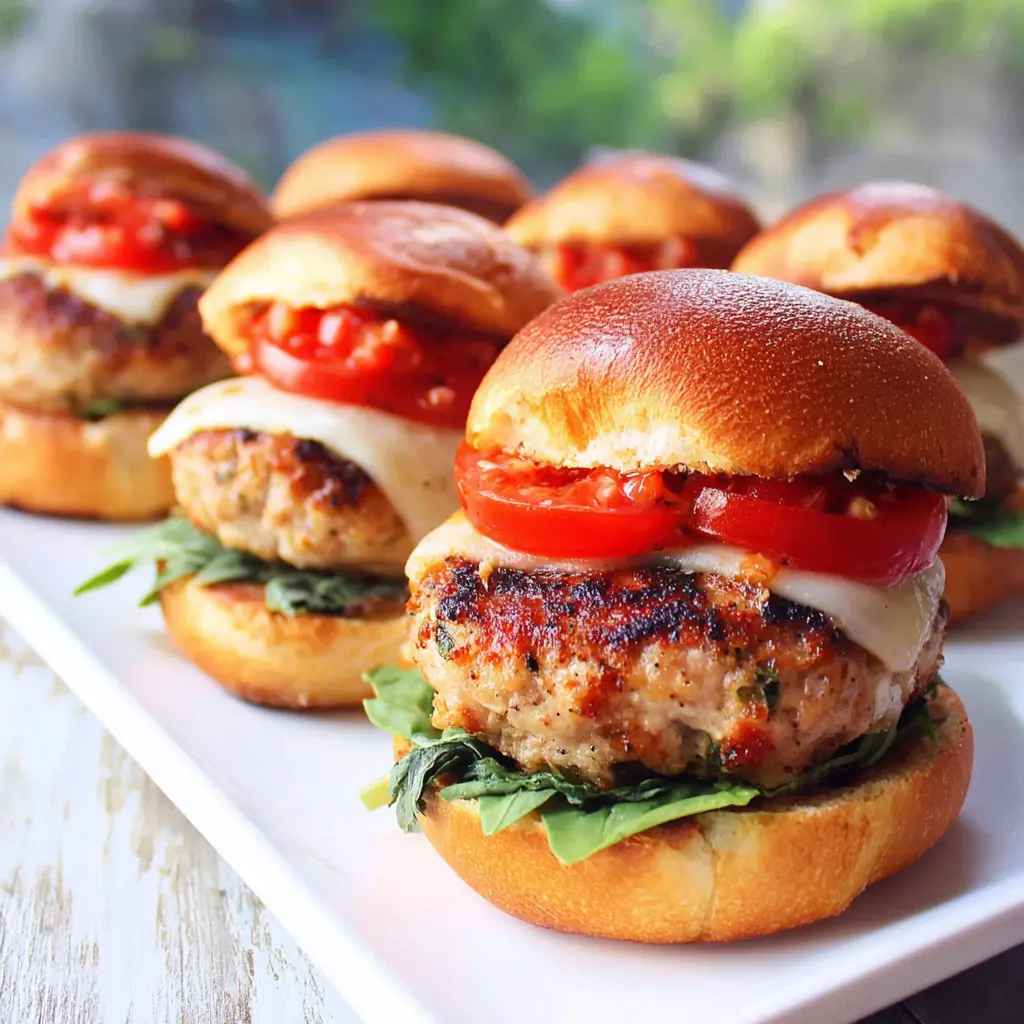
California Italian Chicken Burgers
Ingredients
Method
- In a mixing bowl, combine the ground chicken, salt, pepper, oregano, beaten egg, and panko. Mix gently until just combined, then shape into 4 equal patties, about 3/4-inch thick. Refrigerate the patties for at least 1 hour (or up to 24 hours) to help them hold together on the grill.
- Preheat your gas or charcoal grill to 350-375°F. Grill the patties over direct heat for 4-5 minutes per side, until a golden crust forms and the internal temperature reaches 165°F. During the last minute of cooking, top each patty with a slice of the Italian cheese blend and close the grill lid to melt the cheese.
- While the cheese melts, lightly toast the buns on the grill over indirect heat, about 30 seconds per side.
- Assemble the burgers: place a cheese-topped patty on each bun, then add fresh tomato slices and a generous handful of torn basil. Serve immediately.
Nutrition
Notes
Tried this recipe?
Let us know how it was!Why You’ll Love These Italian Chicken Burgers
Ever pulled a chicken burger off the grill only to watch it crumble into sad little pieces? Yeah, I’ve been there too. It’s honestly one of the most frustrating things in summer cooking. But these Italian chicken burgers? They’re different. They stay together, they stay juicy, and they’re packed with flavor that’ll make you forget about beef burgers entirely.
The first time I made these, I used way too much breadcrumb and they ended up tasting like a meatloaf patty. Not great. So I tweaked the ratio, added a little more egg, and let me tell you this version is magic. The seasoned panko gives you that perfect texture, and the oregano just sings with the melted cheese on top.
What I love most about this recipe is how simple it is. You don’t need a million ingredients or fancy techniques. Just ground chicken, a few pantry staples, and about 25 minutes. Perfect for a busy weeknight or a lazy Sunday BBQ with friends.
Key Ingredients & Substitutions
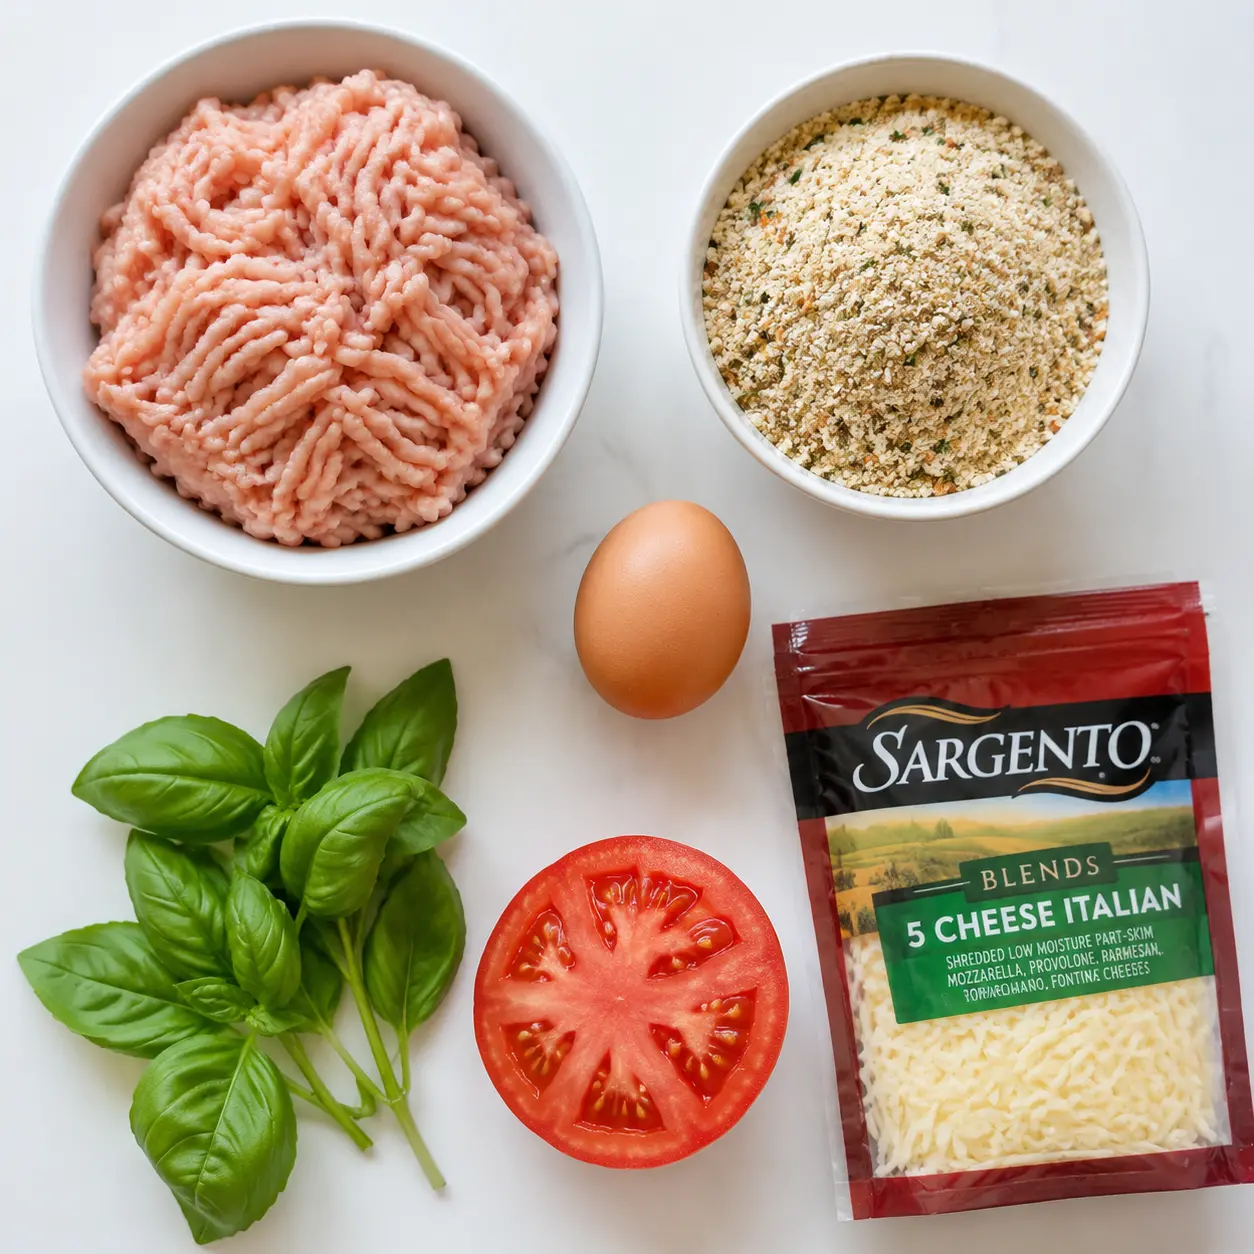
Let’s talk about what goes into these beauties. The ingredient list is short, but each one plays a role in making these Italian chicken burgers work.
Ground chicken is the star here. It’s leaner than beef but still gives you that burger feel. Look for ground chicken that’s not too lean you want a little fat for moisture. If you can’t find ground chicken, ground turkey works great too. Just don’t use extra-lean turkey or you’ll be back to dry patty territory.
Seasoned panko breadcrumbs are my secret weapon. They’re already flavored with herbs and garlic, so you don’t need to add much else. If you only have plain panko, just add a pinch of garlic powder and onion powder to the mix. The breadcrumbs help bind everything together and give the patties a light, tender texture instead of a dense, heavy one.
The egg is your binder. Without it, your patties will fall apart on the grill. Trust me, I’ve tried skipping it before and ended up with a pile of crumbled chicken on the grates. Not fun.
For the cheese, I love using Sargento Blends 5 Cheese Italian it melts beautifully and has that perfect mix of provolone, mozzarella, and parmesan flavors. But any Italian cheese blend works. Provolone or fresh mozzarella are both great options. Just make sure it melts well.
And don’t forget the fresh basil and tomato. They add brightness and freshness that cuts through the richness of the cheese and chicken. It’s a simple topping, but it makes the whole burger feel like summer on a plate.
Quick Substitutions
- Gluten-free: Use gluten-free panko breadcrumbs or crushed rice crackers
- Low-carb: Skip the bun and serve the patty over a big green salad with balsamic
- Dairy-free: Omit the cheese or use a dairy-free mozzarella substitute
- No panko: Crush plain crackers or use almond flour for a keto option
How to Make Italian Chicken Burgers
Making these Italian chicken burgers is honestly easier than you think. Let me walk you through the four main stages. Each one is simple, but getting them right makes all the difference.
Stage 1: Mixing the patties. In a mixing bowl, combine 1 pound of ground chicken with 1/4 teaspoon each of salt, pepper, and dried oregano. Add one lightly beaten egg and 1 cup of seasoned panko breadcrumbs. Now here’s the important part mix gently until everything is just combined. Overmixing makes the chicken tough and dense. You want to see the breadcrumbs distributed but don’t go crazy. The mixture should feel slightly sticky but not wet. If it feels too wet, add another tablespoon of breadcrumbs. If it feels too dry, add a splash of water or milk.

Stage 2: Shaping and chilling. Divide the mixture into 4 equal portions and shape them into patties about 3/4-inch thick. Run your hands under cold water before shaping it stops the mixture from sticking to your fingers. Now, here’s a trick that changed my burger game: refrigerate the patties for at least 1 hour. This step is crucial. The cold helps the binders (egg and breadcrumbs) set, so your patties hold together on the grill. You can even make them a day ahead and keep them covered in the fridge for up to 24 hours.
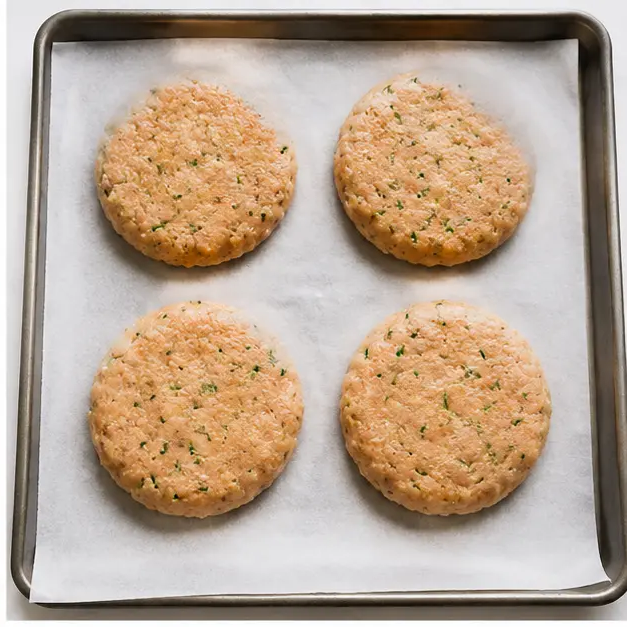
Stage 3: Grilling to perfection. Preheat your gas or charcoal grill to 350-375°F. Oil the grates well before cooking this prevents sticking. Place the patties over direct heat and cook for 4-5 minutes per side. You’ll know they’re ready to flip when you see a golden crust forming on the bottom. Don’t press down on the patties with your spatula! That squeezes out all the juices and gives you dry, sad burgers. Use a meat thermometer to check the internal temperature it needs to reach 165°F. During the last minute of cooking, top each patty with a slice of Italian cheese blend and close the grill lid to let it melt.
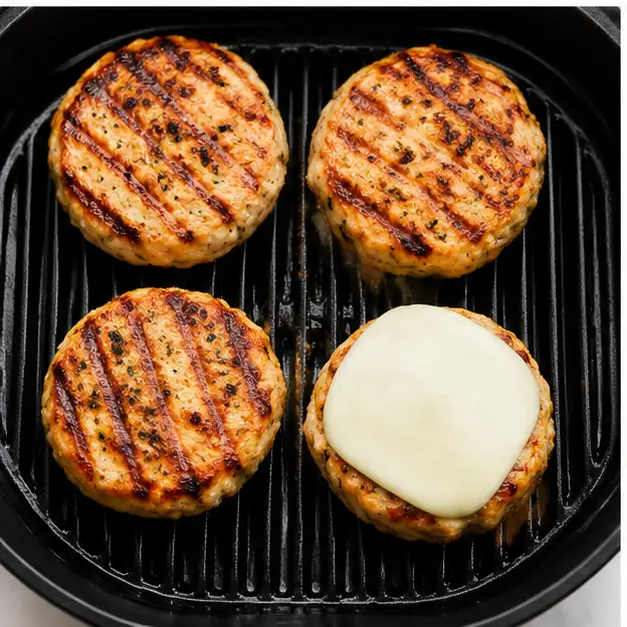
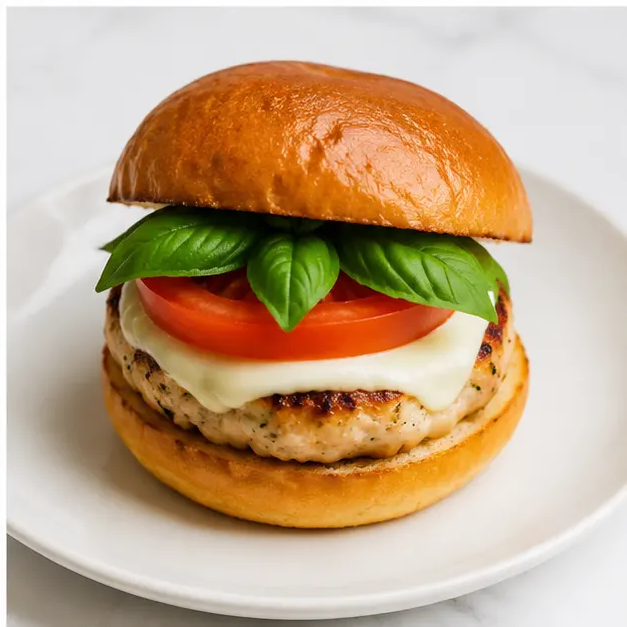
Stage 4: Toasting and assembling. While the cheese melts, lightly toast your buns on the grill over indirect heat for about 30 seconds per side. Brioche or sourdough buns work beautifully here. Now for the fun part assembly. Place a cheese-topped patty on each bun, add a couple of fresh tomato slices, and finish with a generous handful of torn fresh basil. The basil adds this incredible pop of freshness that makes everything taste brighter. Serve immediately while the cheese is still oozy and the bun is warm.
Tips for Juicy, Perfectly Grilled Burgers
I’ve made these Italian chicken burgers more times than I can count, and I’ve learned a few things along the way. Here are my best tips for getting them right every single time.
- Don’t overmix. I know I said this before but it’s worth repeating. Overmixing is the number one reason chicken burgers turn out dry and tough. Mix until just combined, then stop.
- Chill the patties. That hour in the fridge is non-negotiable. It firms up the fat and helps the binders work. If you’re in a rush, pop them in the freezer for 15 minutes instead.
- Oil the grill grates. Chicken has less fat than beef, so it’s more likely to stick. Use a paper towel dipped in oil and tongs to grease the grates right before cooking.
- Use a meat thermometer. Ground chicken needs to reach 165°F internally. Guessing leads to either undercooked or overcooked burgers. A simple instant-read thermometer costs like $10 and saves you so much stress.
- Don’t press down. When you press on the patties with a spatula, you’re squeezing out all the flavorful juices. Let them be. They’ll cook perfectly on their own.
- Toast the buns. This takes 30 seconds and makes a huge difference. A warm, slightly crispy bun prevents sogginess and adds texture.
Common Mistakes to Avoid
- ❌ Overmixing the ground chicken mixture. ✅ Mix until just combined a few streaks of breadcrumbs are fine.
- ❌ Pressing down on patties while cooking. ✅ Let them cook undisturbed to retain juices.
- ❌ Not using a meat thermometer. ✅ Always check for 165°F internal temperature.
- ❌ Grilling beyond 10 minutes. ✅ Cook 4-5 minutes per side max to avoid dryness.
- ❌ Not toasting the buns. ✅ Toast for 30 seconds on the grill for better texture.
Serving Suggestions
These Italian chicken burgers are pretty amazing on their own, but the right sides can turn them into a full meal. Here’s what I like to serve with mine.
Classic sides: A big green salad with a simple lemon vinaigrette is perfect. The acidity cuts through the richness of the cheese and chicken. Or go with crispy french fries dip them in a little marinara sauce for that extra Italian touch. Roasted vegetables like zucchini, bell peppers, and eggplant also work beautifully.
Low-carb options: Skip the bun and serve the patty over a bed of mixed greens with cherry tomatoes, cucumbers, and a balsamic glaze drizzle. It’s light, fresh, and still satisfying. Or try it with grilled asparagus and a side of pesto.
Meal prep friendly: These burgers are great for meal prep. Make the patties ahead, grill them, and store them in the fridge. They reheat beautifully in a skillet for a quick lunch or dinner during the week. Just don’t microwave them it dries them out.
Storage & Reheating
Got leftovers? No problem. These Italian chicken burgers store really well if you do it right.
Refrigerating: Store leftover cooked patties in an airtight container in the fridge for up to 3 days. Keep the buns, tomato, and basil separate to avoid sogginess. When you’re ready to eat, reheat the patties in a hot skillet for a couple of minutes per side. The skillet gives you that crispy exterior back.
Freezing: You can freeze the uncooked patties for up to 3 months. Place them on a parchment-lined baking sheet and freeze until solid, then transfer to a freezer bag. To cook, thaw in the fridge overnight and grill as usual. You can also freeze cooked patties just wrap them individually in plastic wrap and store in a freezer bag. Reheat from frozen in a skillet over medium heat.
Reheating tips: Avoid the microwave if you can. It makes the chicken rubbery and the bun soggy. A skillet or a low oven (300°F for about 10 minutes) gives you much better results.
Frequently Asked Questions
These Italian chicken burgers have become a staple in my summer rotation. They’re quick, they’re flavorful, and they make everyone at the table happy. The best part? They feel like a treat but are actually a healthier alternative to beef burgers. Less fat, more protein, and all that Italian flavor.
So fire up that grill, grab some fresh basil, and give these a try. I promise you won’t miss the beef. And hey, if you make them, tag me in your photos I want to see your Italian burger masterpiece! And for more recipe inspiration, check out my Pinterest board where I share all my summer favorites.
Source: USDA Nutritional Data