
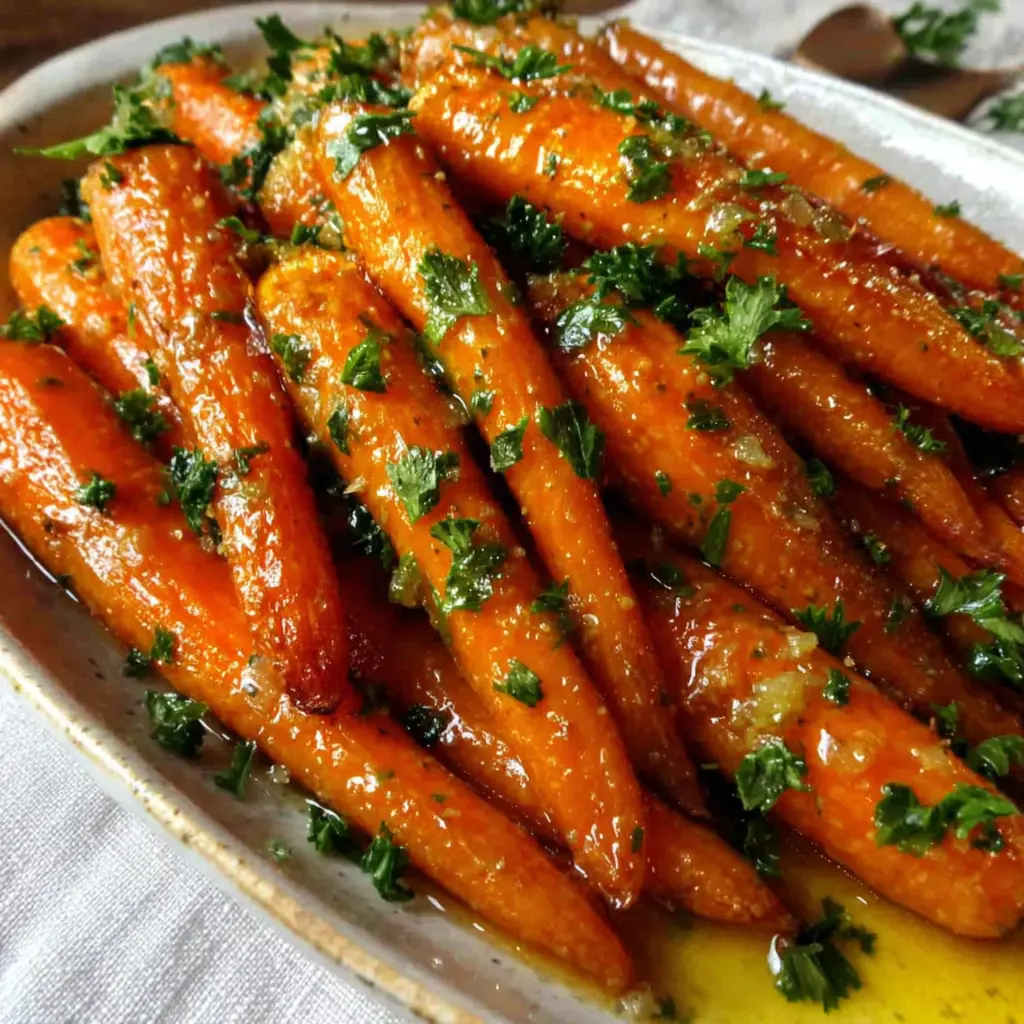

California-Style Brown Sugar Glazed Carrots
Ingredients
Method
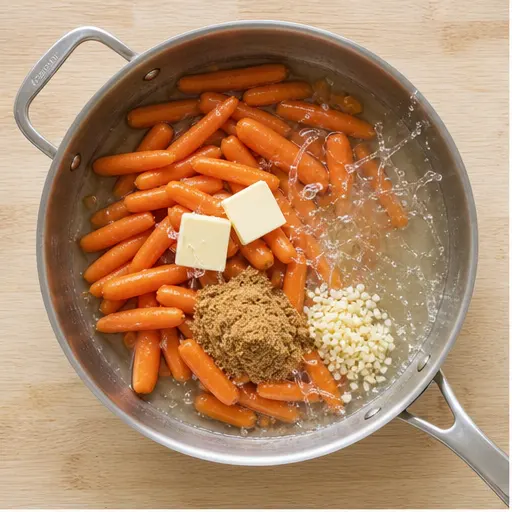
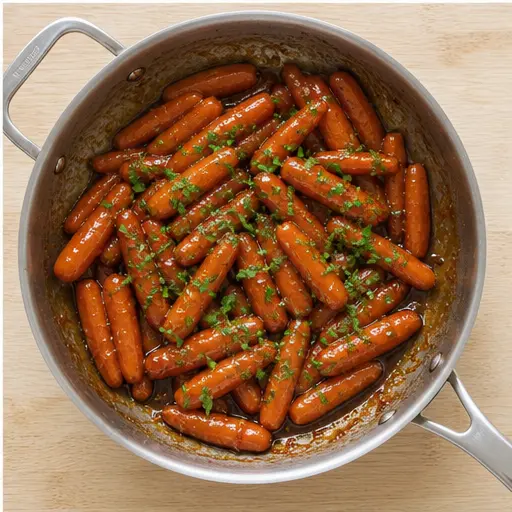
- In a large skillet over medium heat, combine the baby carrots, butter, brown sugar, minced garlic, and water. Stir to coat everything evenly.
- Bring the mixture to a gentle simmer, stirring occasionally.
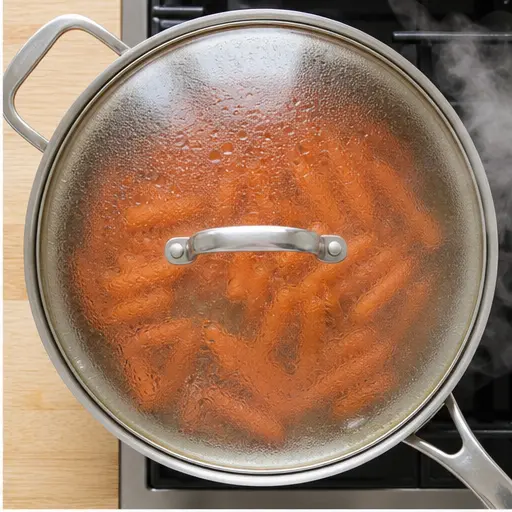
- Cover the skillet and cook for 10 minutes, stirring once halfway through to ensure even cooking.
- Remove the lid and increase the heat to medium-high. Stir often as the glaze begins to bubble and reduce.
- Continue cooking uncovered for 5 to 7 minutes, until the carrots are tender and the glaze has thickened to a syrupy consistency.
- Turn off the heat and stir in the fresh chopped parsley until well combined.
- Serve immediately, spooning any extra glaze from the skillet over the top of the carrots.
Nutrition
Notes
Tried this recipe?
Let us know how it was!Why You’ll Love These Glazed Carrots
It’s June in California, and the last thing I want to do is turn on my oven. You too, right? Summer BBQs, July 4th cookouts, lazy weeknight dinners we need sides that don’t heat up the whole house. That’s where these glazed carrots come in.
They’re made entirely on the stovetop. Twenty minutes, one skillet, and you’ve got a side dish that’s sweet, buttery, and honestly? Pretty impressive. The brown sugar glazed carrots get this gorgeous glossy coating that kids and adults both go for. And I’m not kidding my nephew once asked for seconds of carrots. Carrots.
I’ll be real with you: my first attempt at glazed carrots was a sticky, burnt mess. I walked away for “just a second” and came back to a skillet that looked like a science experiment gone wrong. But after a few tries (and a few burnt pans), I figured out the secret. It’s all about the timing and that little splash of water. So let me save you the trouble.

Glazed Carrots Ingredients
This is one of those recipes that looks fancy but uses super simple stuff. You probably have most of it already.
- Baby carrots 1 1/2 pounds. I use the pre-bagged ones from the store. No peeling, no chopping. If you want to use whole carrots, just peel and cut them into 2-inch pieces, about the same thickness as baby carrots so they cook evenly.
- Unsalted butter 3 tablespoons. I like unsalted so I can control the salt level. If you only have salted butter, just cut back on the added salt a little.
- Light brown sugar 3 tablespoons, packed. This is what gives the brown sugar glazed carrots their signature sweetness and that deep caramel flavor. You can use dark brown sugar too, for a richer taste.
- Garlic 2 cloves, minced. Adds a little savory note that balances the sweetness. Don’t skip it!
- Water 1/4 cup. This is the secret to not burning the sugar. It creates steam that cooks the carrots and keeps the glaze from sticking too early.
- Fresh parsley 1 tablespoon, chopped. For color and freshness. Optional but recommended.
- Salt and pepper Just a little. Brings out all the flavors.
Quick Substitutions
No brown sugar? Use honey or maple syrup instead. Start with 2 tablespoons and taste. Need it vegan? Swap the butter for olive oil or vegan butter. Want a kick? Add a pinch of cayenne pepper with the garlic.
How to Make Glazed Carrots
Alright, let’s get cooking. The whole process is basically two stages: covered simmering, then uncovered glazing. Here’s how it breaks down.
Stage 1: Combine and Simmer (Covered)
Grab a large skillet I use a 12-inch one and toss in the baby carrots, butter, brown sugar, minced garlic, and water. Give it a quick stir so everything’s kind of mixed. Then set it over medium heat and bring it to a gentle simmer. You’ll see little bubbles around the edges. Cover the skillet and let it cook for 10 minutes. Stir once halfway through. This steam-cooks the carrots so they get tender without drying out.
Stage 2: Uncover and Reduce
After 10 minutes, take the lid off. The carrots should be fork-tender a knife slides in easily. Now turn the heat up to medium-high. Here’s where the magic happens. The water will start to bubble off, and the butter and sugar will thicken into a syrupy glaze. Stir often but not constantly. Let it bubble for about 5 to 7 minutes. You’re looking for the glaze to coat the back of a spoon and cling to the carrots. If it starts looking too thick, add a tablespoon of water.
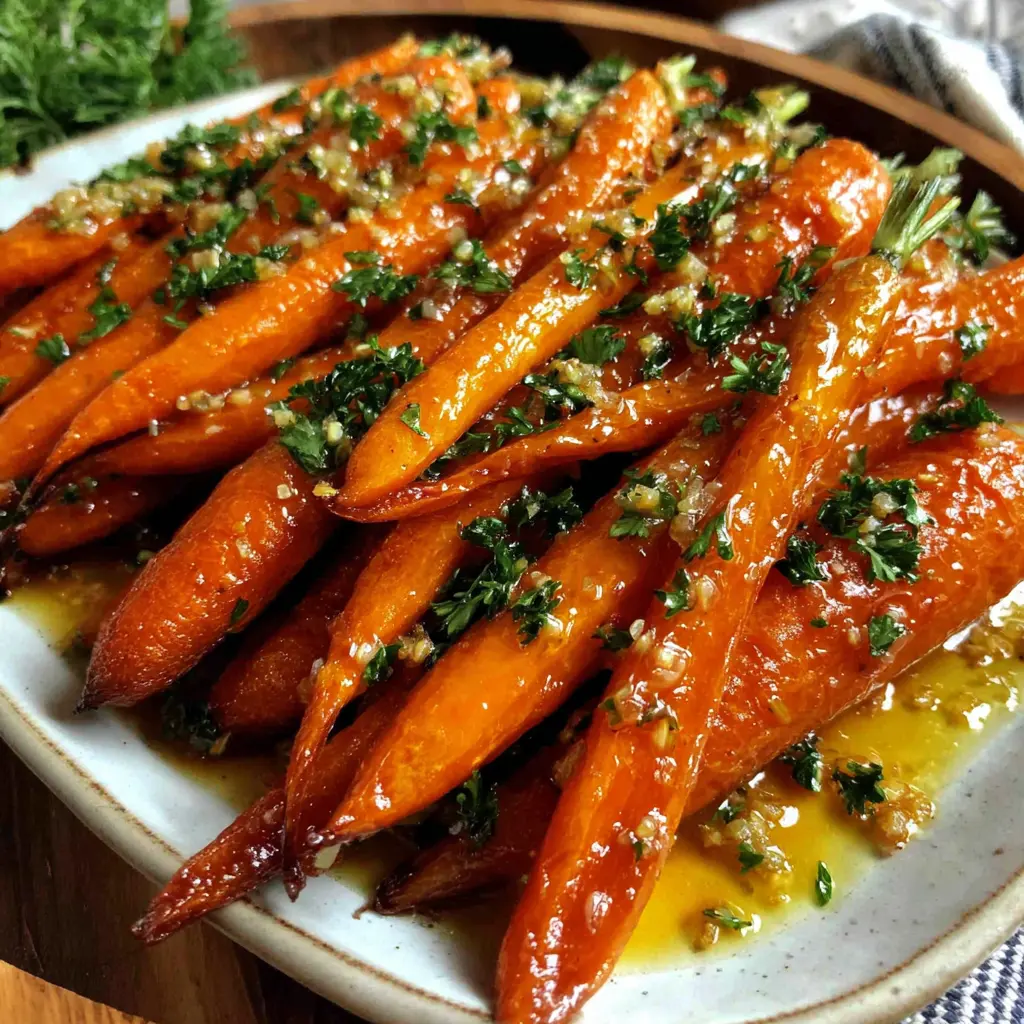
Stage 3: Finish and Serve
Turn off the heat. Stir in that fresh parsley. Then spoon the glazed carrots into a serving dish and drizzle any extra glaze from the skillet right on top. Serve them warm. Or honestly, they’re great at room temperature too, which is perfect for potlucks.
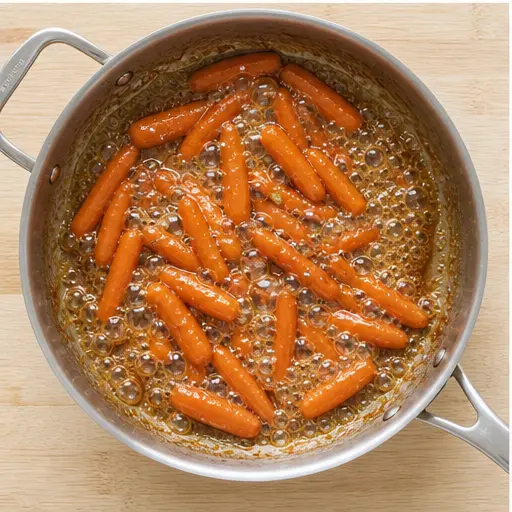
Stage 4: The Visual Cues
Here’s what to look for: when you first uncover the skillet, the liquid will look thin and watery. As it reduces, it’ll get thicker and start bubbling with bigger, slower bubbles. The carrots will turn a deeper orange and get shiny. When you tilt the skillet, the glaze should move slowly, like warm honey. That’s when you know it’s ready.
Tips for Perfect Glazed Carrots
I’ve made these glazed carrots a dozen times now, and I’ve learned a few things. Here are the tips that actually matter.
- Don’t overcook. Test with a knife at the 5-minute mark of the uncovered stage. You want tender, not mushy.
- Cut evenly. If using whole carrots, cut them into uniform pieces. Same size means same cooking time.
- Don’t stir too much. Let the glaze sit and caramelize a bit between stirs. That’s what gives you those beautiful glossy edges.
- If the glaze separates (looks greasy or watery), add a tablespoon of cold water and stir vigorously. It’ll come back together.
- Make ahead? Cook the carrots without the parsley, let them cool, and refrigerate. Reheat gently on the stovetop with a splash of water, then add the parsley at the end.
Variations & Swaps
This base recipe is great, but sometimes you want to switch it up. Here are some ideas.
- Honey or maple syrup: Replace the brown sugar with 2 tablespoons of honey or maple syrup. The flavor changes a bit, but it’s still delicious. These become honey glazed carrots or maple glazed carrots.
- Add a pinch of cinnamon or nutmeg for a cozy, holiday feel. Great for Thanksgiving or Christmas.
- Make it spicy: A pinch of cayenne or red pepper flakes with the garlic gives it a nice kick.
- Use coconut sugar instead of brown sugar for a less refined option.
- Go vegan: Use olive oil or vegan butter instead of regular butter.
- Try parsnips: Swap half the carrots for parsnips. They cook the same way and taste amazing together.
Make-Ahead and Storage Tips
These glazed carrots are great for meal prep. Here’s how to handle leftovers and planning ahead.
- Storage: Put leftover carrots in an airtight container. They’ll keep in the fridge for up to 4 days.
- Reheating: Microwave in 30-second bursts, or reheat on the stovetop over low heat with a splash of water. Stir until warmed through.
- Freezing: I don’t recommend freezing these. The texture gets weird when thawed. Better to make them fresh or reheat from the fridge.
- Make ahead for a party: Cook the carrots completely (without parsley), let them cool, and refrigerate. On the day of your BBQ or July 4th party, reheat them gently on the stovetop, then stir in the fresh parsley right before serving. This frees up your oven for other things.
What to Serve with Glazed Carrots
These brown sugar glazed carrots are super versatile. They go with pretty much everything. Here are some ideas.
- Roasted chicken the classic pairing. The sweet carrots balance the savory chicken perfectly.
- Grilled steak the sweetness cuts through the richness of a good ribeye or sirloin.
- Holiday ham a must for Easter or Christmas dinners.
- BBQ pulled pork or ribs perfect for a summer cookout. These glazed carrots are a great vegetable side dish for bbq.
- Thanksgiving turkey a lighter, quicker alternative to green bean casserole.
- Grilled fish like salmon or halibut. The sweet glaze pairs beautifully.
They’re also great alongside other summer side dish recipes like corn on the cob, coleslaw, or potato salad. Honestly, they’re the kind of side that makes the whole plate look better.
Frequently Asked Questions
These glazed carrots have become my go-to summer side. They’re easy, they’re quick, and they make everyone at the table happy. Whether you’re firing up the grill for July 4th or just need a quick weeknight veggie, give them a try. I promise you won’t miss the oven.
If you love this recipe, I’d love for you to save it on Pinterest for later. It’s the best way to keep all your favorite summer sides in one place.
Source: Nutritional Information


