Why This Garlic Parmesan Chicken Bake Works
Okay, let me paint you a picture. It’s 6:15 PM on a Tuesday. You just got home from work, the kids are hangry, and you’re staring into the fridge like it holds the secrets to the universe. We’ve all been there, right? That’s exactly when this garlic parmesan chicken bake comes in clutch. It’s the kind of recipe that feels fancy but is secretly super simple. I promise, this one’s a lifesaver.
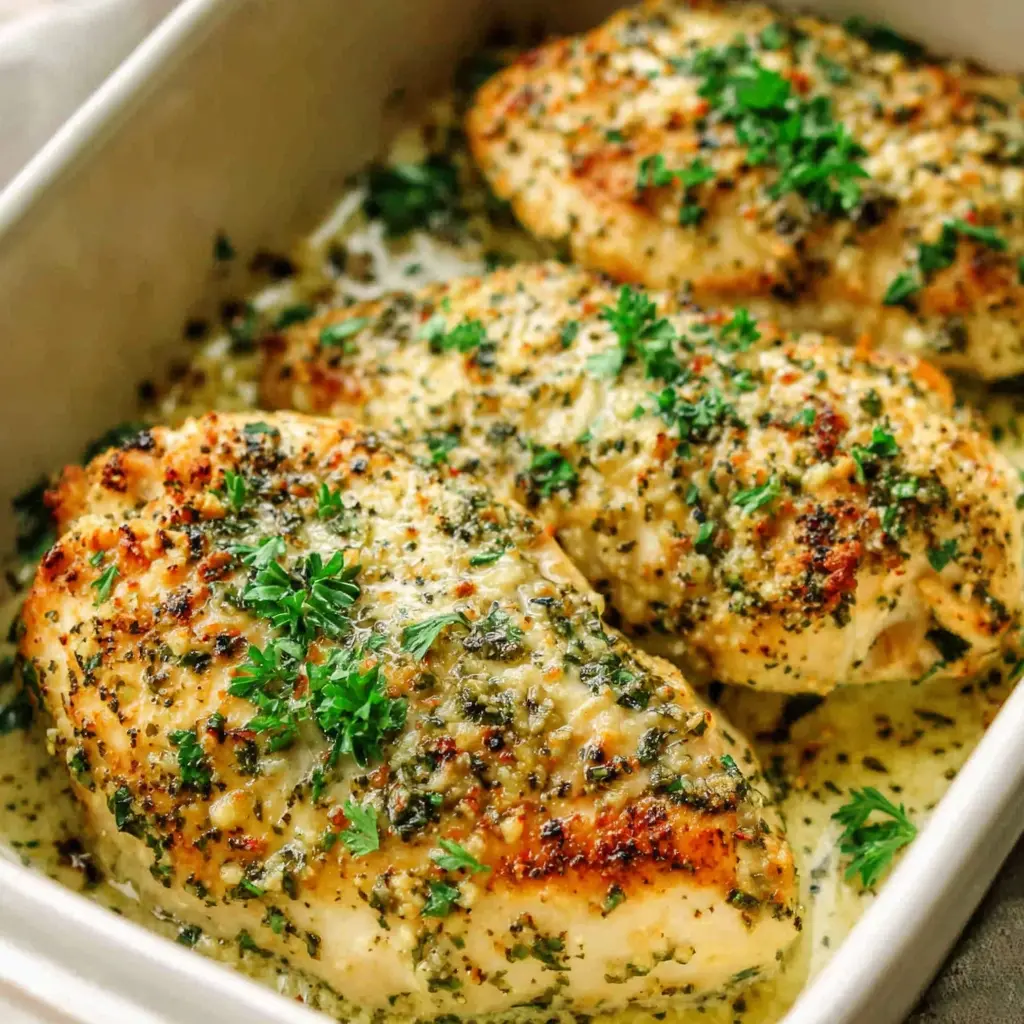
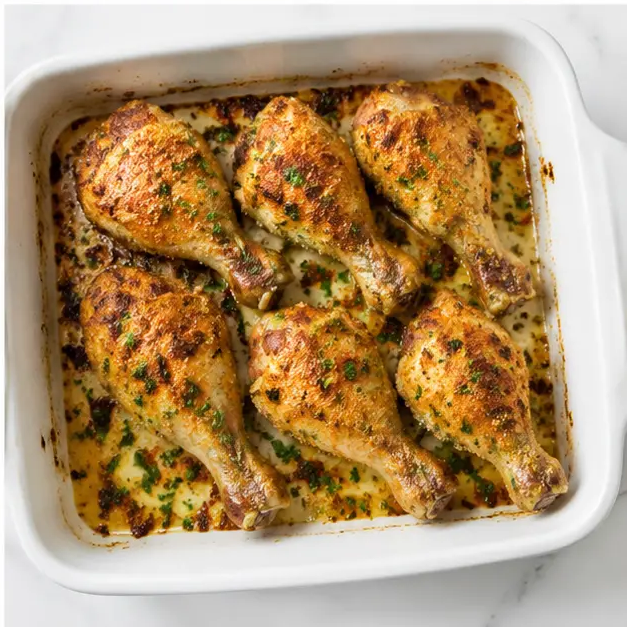
The magic here is in the contrast. You get this incredibly juicy, tender chicken on the inside, and a seriously crispy, golden, cheesy crust on top. The smell of garlic and parmesan filling your kitchen? Absolutely unreal. It’s one of those easy chicken bakes that makes you look like a hero with minimal effort. Trust me, I’ve burned the garlic before (full disclosure), but it was still delicious. This recipe is forgiving like that.
So why does this particular parmesan chicken bake work so well? It’s all about the technique. We’re using bone-in, skin-on chicken, which stays way more moist than boneless cuts. And that coating of parmesan and breadcrumbs? It creates a barrier that locks in all the juices. Plus, baking at 400°F gives you that perfect crispy chicken topping without the mess of frying. It’s a win-win.
Ingredients You’ll Need
Let’s talk about what goes into this amazing garlic parmesan chicken bake. The beauty of this recipe is that most of these are pantry staples. You probably have half of them already. Here’s the rundown:
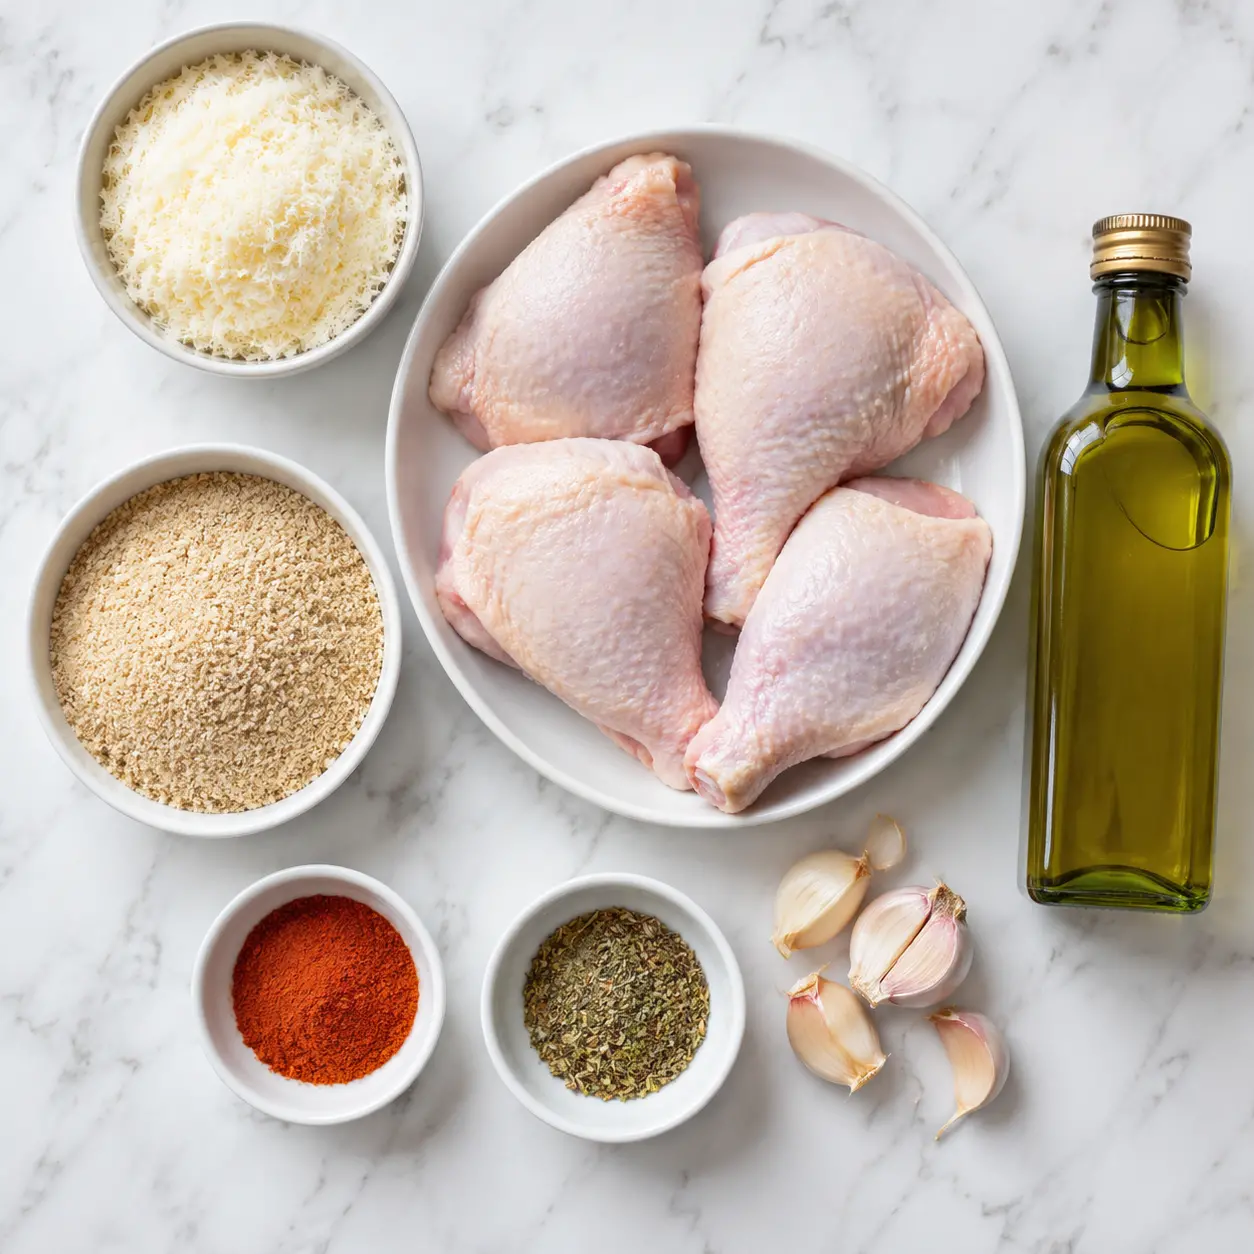
- Chicken: We’re using bone-in, skin-on chicken thighs (about 1.5 lbs). The skin is key for that crispy texture. If you want to use boneless, just reduce the cooking time.
- Parmesan Cheese: Freshly grated is the way to go. The pre-shredded stuff has anti-caking agents that make it waxy and it doesn’t melt as smoothly. Trust me on this one.
- Breadcrumbs: Plain or panko works great. Panko gives you an extra crunch, which I love.
- Garlic: Four cloves of fresh garlic, minced. Please, use the real stuff, not the jarred kind. The flavor is just so much brighter.
- California Olive Oil: A good quality extra-virgin olive oil makes a difference. It adds richness and helps the crust get golden.
- Seasonings: Paprika and Italian seasoning add depth. Don’t skip them. And of course, salt and black pepper to taste.
- Fresh Parsley: For garnish. Totally optional, but it makes the dish look pretty and adds a fresh pop of color.
That’s it! No crazy ingredients, no long list of spices. Simple chicken recipes are the best, aren’t they? You can find all of this at your local Ralphs or Vons without breaking the bank.
How to Make Garlic Parmesan Chicken Bake
Alright, let’s get cooking. I’m going to walk you through the four main stages of making this dish. Don’t worry, it’s easier than you think. Just follow along, and you’ll have a beautiful dinner in no time.
Stage 1: Prep the Chicken and the Coating
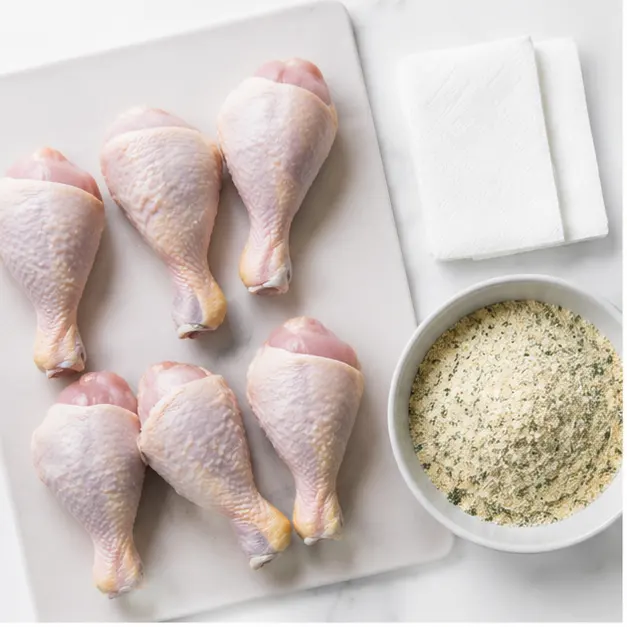
First things first, preheat your oven to 400°F (200°C). While that’s heating up, grab your chicken thighs and pat them dry with paper towels. This is a crucial step. Dry skin means crispy skin. If the chicken is wet, the seasoning won’t stick and you’ll end up with soggy skin. Not what we want.
In a medium bowl, combine the grated Parmesan cheese, breadcrumbs, minced garlic, paprika, Italian seasoning, salt, and pepper. Give it a good stir until everything is evenly mixed. The smell at this point is already amazing. That’s your garlic parmesan seasoning right there.
Stage 2: Coat the Chicken
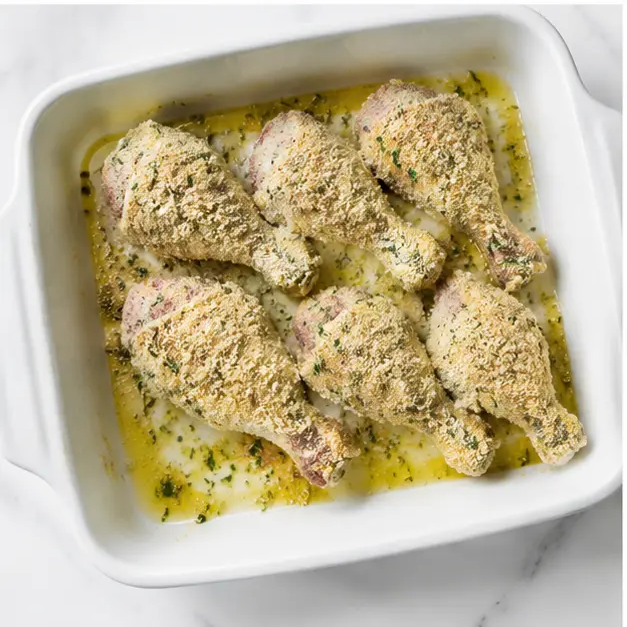
Now, drizzle the olive oil into a baking dish. Make sure it’s large enough to hold the chicken thighs in a single layer without crowding. Overcrowding is a common mistake. If the pieces are too close together, they’ll steam instead of roast, and you’ll lose that beautiful crispiness.
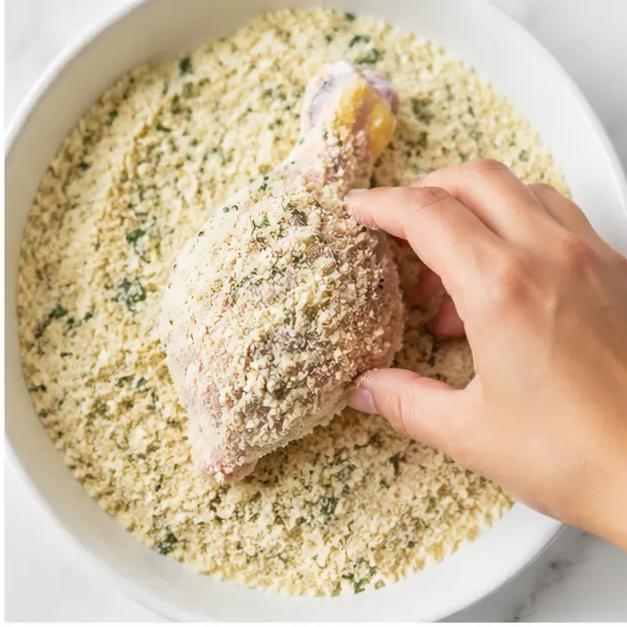
Take each chicken thigh and coat the skin side with the Parmesan mixture. Press it on gently so it adheres. Don’t be shy here. You want a nice, thick crust. Place the chicken skin-side up in the prepared dish.
Stage 3: Bake to Perfection
Pop the dish into your preheated oven and bake for 35 to 40 minutes. The exact time will depend on the size of your chicken thighs. You’re looking for an internal temperature of 165°F (75°C). A meat thermometer is your best friend here. It takes all the guesswork out of cooking chicken.
You’ll know it’s close when the coating is golden and crispy, and you can hear the chicken sizzling. The smell? Oh man, it’s incredible. The whole kitchen will smell like a garlic parmesan chicken bake from your favorite restaurant.
Stage 4: Rest and Serve
Once the chicken is cooked through, remove the dish from the oven. Here’s the hard part: let it rest for about 5 minutes. I know you want to dig in right away, but this step is important. Resting allows the juices to redistribute throughout the meat. If you cut into it immediately, all those delicious juices will run out onto the plate, leaving you with dry chicken.
After the rest, sprinkle with fresh parsley if you’re using it. Then serve it up and watch everyone’s faces light up. This one dish chicken dinner is a total crowd-pleaser.
Tips for the Best Results
I’ve made this garlic parmesan chicken bake more times than I can count. And I’ve learned a few things along the way. Here are my top tips for getting it perfect every single time.
Pro Tips for Crispy, Juicy Chicken
Pat it dry: This is non-negotiable. Dry chicken skin is the secret to a crispy crust.
Use freshly grated parmesan: It melts smoother and tastes so much better than the pre-shredded stuff.
Don’t skip the rest: Let the chicken rest for 5 minutes after baking. It keeps the juices inside.
Check the temp: A meat thermometer is the only way to know for sure. 165°F is the magic number.
Don’t overcrowd: Give the chicken some space in the baking dish so it roasts, not steams.
One more thing. If you notice a lot of liquid in the pan after cooking, don’t panic. This is normal, especially if you used chicken that has been enhanced or water-chilled. Just spoon some of that garlic butter sauce from the pan over the chicken before serving. It adds so much flavor.
Variations to Try
This recipe is fantastic as is, but it’s also super adaptable. Here are a few ideas to switch things up based on what you have on hand or your dietary needs.
- Boneless Chicken: If you use boneless, skinless chicken, reduce the baking time to 25-30 minutes. Keep an eye on the internal temp.
- Gluten Free: Use gluten-free breadcrumbs or crushed pork rinds for a low carb chicken bake option.
- Keto Friendly: Swap the breadcrumbs for almond flour or crushed pork rinds. This makes it a great keto parmesan chicken.
- Extra Cheesy: Add a sprinkle of mozzarella or provolone on top during the last 5 minutes of baking.
- Spicy Kick: Add a pinch of red pepper flakes to the Parmesan mixture for a little heat.
These are just starting points. Feel free to experiment. That’s the fun part of cooking, right?
What to Serve with Garlic Parmesan Chicken
This parmesan crusted chicken is pretty versatile when it comes to side dishes. Here are some of my favorite pairings. They’re all easy and complement the rich, savory flavors of the chicken perfectly.
- Roasted Vegetables: Broccoli, asparagus, or zucchini are all great choices. Just toss them with olive oil, salt, and pepper, and roast them alongside the chicken.
- Simple Green Salad: A light, crisp salad with a lemony vinaigrette cuts through the richness of the chicken nicely.
- Pasta: Toss some cooked spaghetti or penne with a little butter, olive oil, or marinara sauce. It’s a classic combo.
- Rice or Risotto: A simple side of white rice or a creamy risotto soaks up all those delicious pan juices.
- Mashed Potatoes: Creamy mashed potatoes are always a hit. They’re the ultimate comfort food pairing.
- Garlic Bread: Because more garlic is always a good idea, right? Use it to mop up the sauce.
For a low-carb option, try cauliflower rice, a side salad, or zoodles (zucchini noodles). It’s a high protein dinner that fits right into a healthy lifestyle.
How to Store and Reheat Leftovers
If you’re lucky enough to have leftovers (this garlic parmesan chicken bake is so good, there might not be any), here’s how to store and reheat them to keep that crispy texture.
Storage: Place the cooled chicken in an airtight container and store it in the refrigerator for up to 3-4 days. For longer storage, you can freeze it for up to 1-2 months. Spoon a little of the garlic butter sauce over the chicken before storing to help keep it moist.
Reheating: The oven is your best bet for restoring crispiness. Preheat to 325°F and bake the chicken, covered loosely with foil, for 10-15 minutes. You can also reheat it in a skillet over medium-low heat with a little butter or chicken broth. The microwave works in a pinch, but the coating won’t be as crispy. Use 30-second intervals until warmed through.
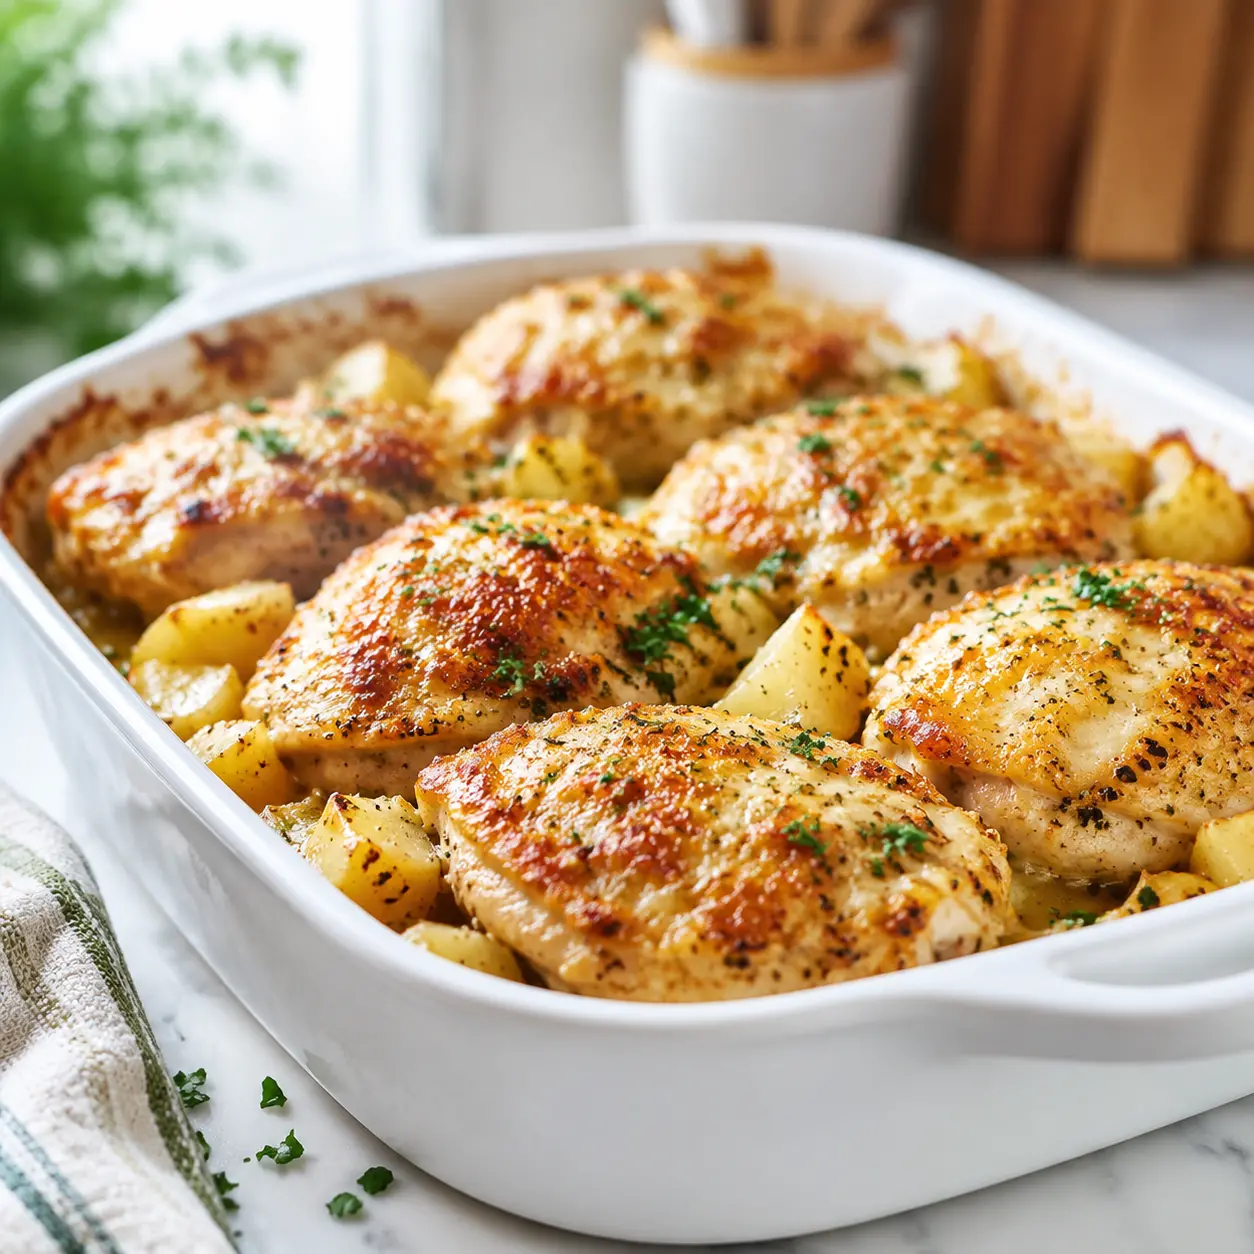
This dish is also great for meal prep. Make a batch on Sunday, and you have an easy lunch or dinner ready to go during the week. Just reheat and enjoy.
Frequently Asked Questions
You’ve got this. Seriously. Go make it! This garlic parmesan chicken bake is about to become your new favorite weeknight dinner idea. It’s easy, it’s delicious, and it makes the whole house smell amazing. And if you’re looking for more inspiration, I’d love for you to follow along on my Pinterest board where I share all my favorite quick and easy recipes.
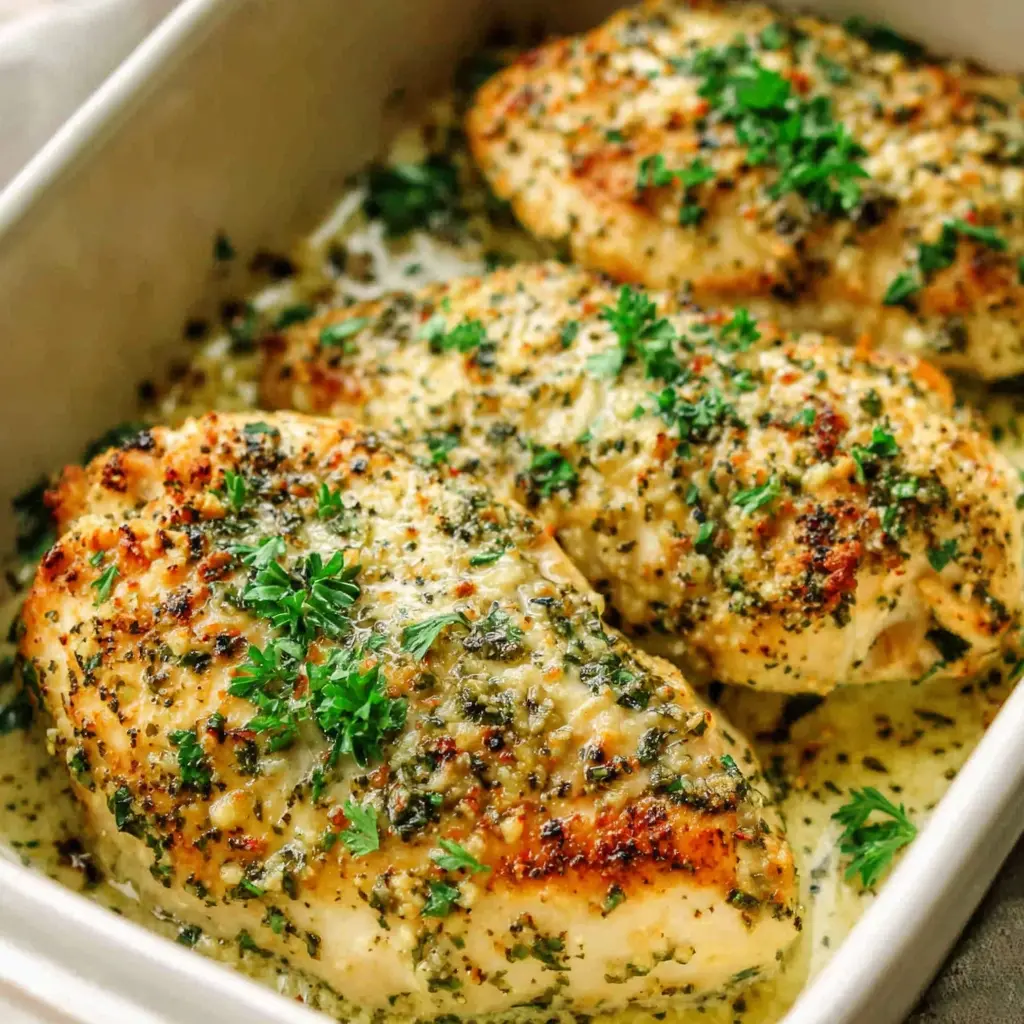
Garlic Parmesan Chicken Bake
Ingredients
Method
- Preheat your oven to 400°F (200°C). Pat the chicken thighs dry with paper towels to help the skin crisp up.
- In a medium bowl, combine the Parmesan cheese, breadcrumbs, minced garlic, paprika, Italian seasoning, salt, and pepper. Stir until evenly mixed.
- Drizzle the olive oil into a baking dish large enough to hold the chicken thighs in a single layer without crowding.
- Coat each chicken thigh on the skin side with the Parmesan mixture, pressing gently so it adheres. Place the chicken skin-side up in the prepared dish.
- Bake for 35 to 40 minutes, until the chicken is cooked through (internal temperature reaches 165°F / 75°C) and the coating is golden and crispy.
- Remove the dish from the oven and let the chicken rest for about 5 minutes to keep the juices inside.
- Sprinkle with fresh parsley before serving, if desired.
Nutrition
Notes
Tried this recipe?
Let us know how it was!Source: Nutritional Information