
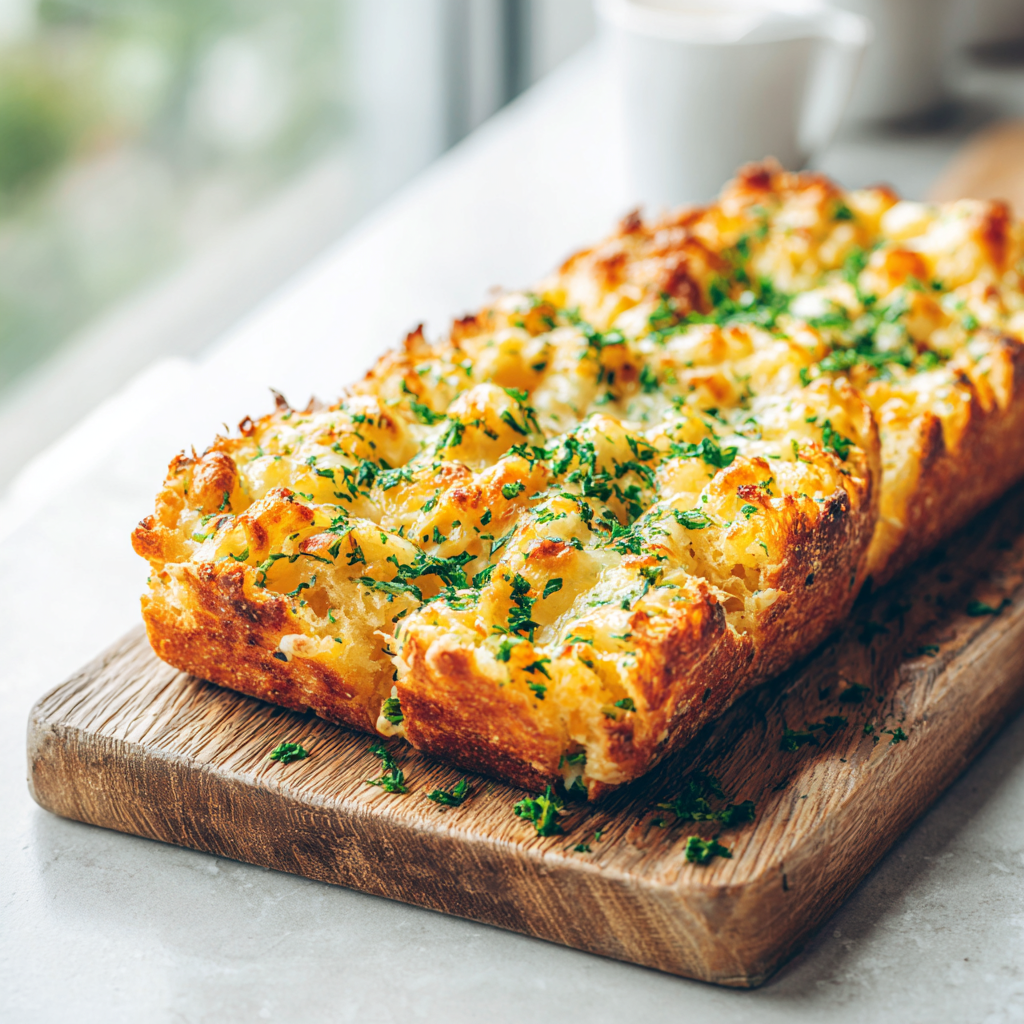
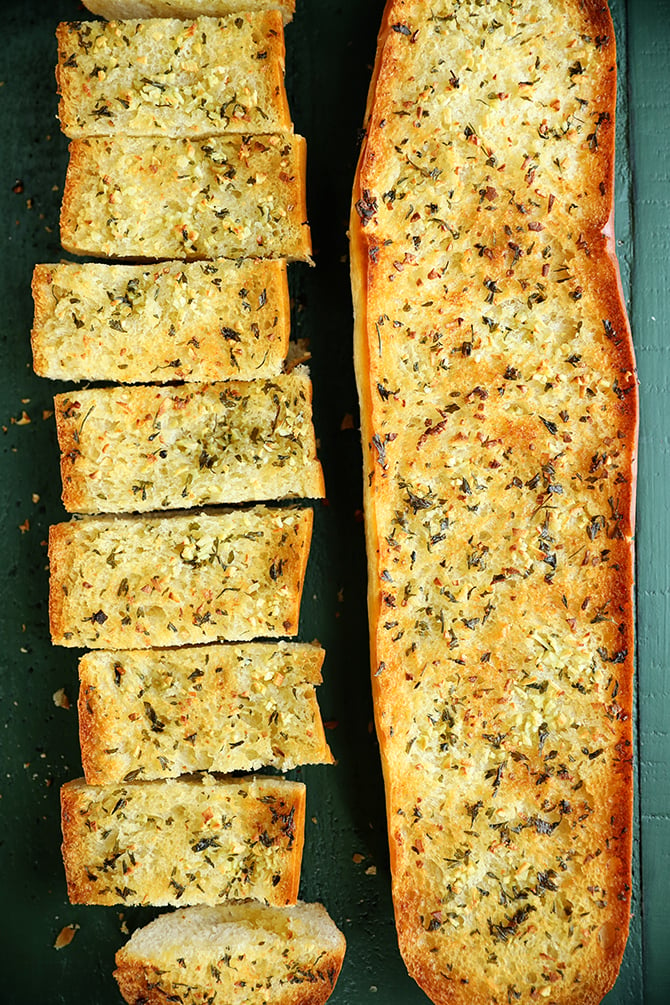
California Garlic Bread with Sourdough
Ingredients
Method
- Preheat your oven to 400°F and line a rimmed baking sheet with aluminum foil.
- Slice the loaf of bread in half lengthwise and place both halves cut side up on the prepared baking sheet.
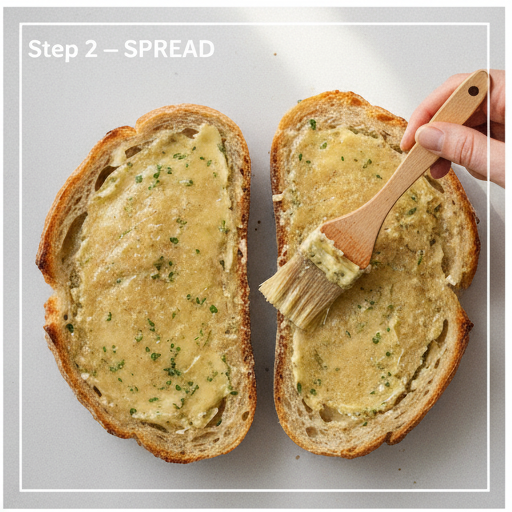
- In a small saucepan over low heat, melt the butter. Once melted, add the minced garlic and remove from heat. Let the garlic steep in the warm butter for about 3 minutes. Stir in the salt and dried parsley until well combined. Using a spoon or pastry brush, generously coat the cut sides of the bread with the garlic butter.
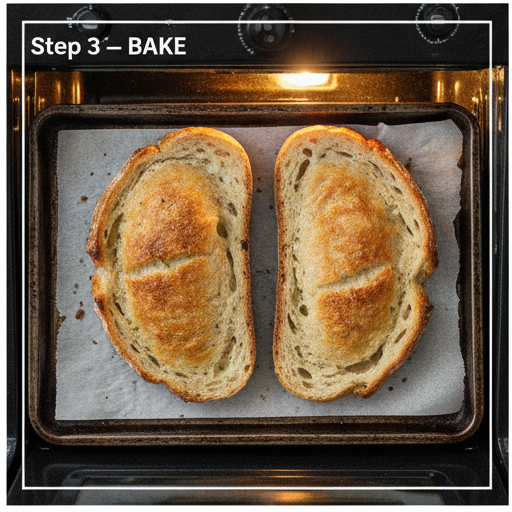
- Bake for 15 minutes, or until the edges are golden brown. For extra crispiness, switch the oven to broil and cook for 2 to 3 minutes, watching carefully to prevent burning. Slice into individual pieces and serve warm.
Nutrition
Notes
Tried this recipe?
Let us know how it was!Why This Garlic Bread Recipe Works
You know that moment when you’re staring at a beautiful loaf of sourdough, wondering what to do with it? That’s exactly where I was last Tuesday. I had a big bowl of spaghetti Bolognese almost ready, but I needed a side that would make everyone at the table actually excited about dinner.
And honestly? Nothing beats a really good garlic bread. Not the pre-made stuff from the freezer aisle. I’m talking about the kind where the butter melts into every crevice, the edges get all golden and crispy, and that first bite just… hits different.
This garlic bread recipe uses San Francisco-style sourdough for extra crunch and that tangy flavor that pairs so well with garlic. It’s simple, it’s foolproof, and it takes about 30 minutes from start to finish. Perfect for those nights when you need something reliable.
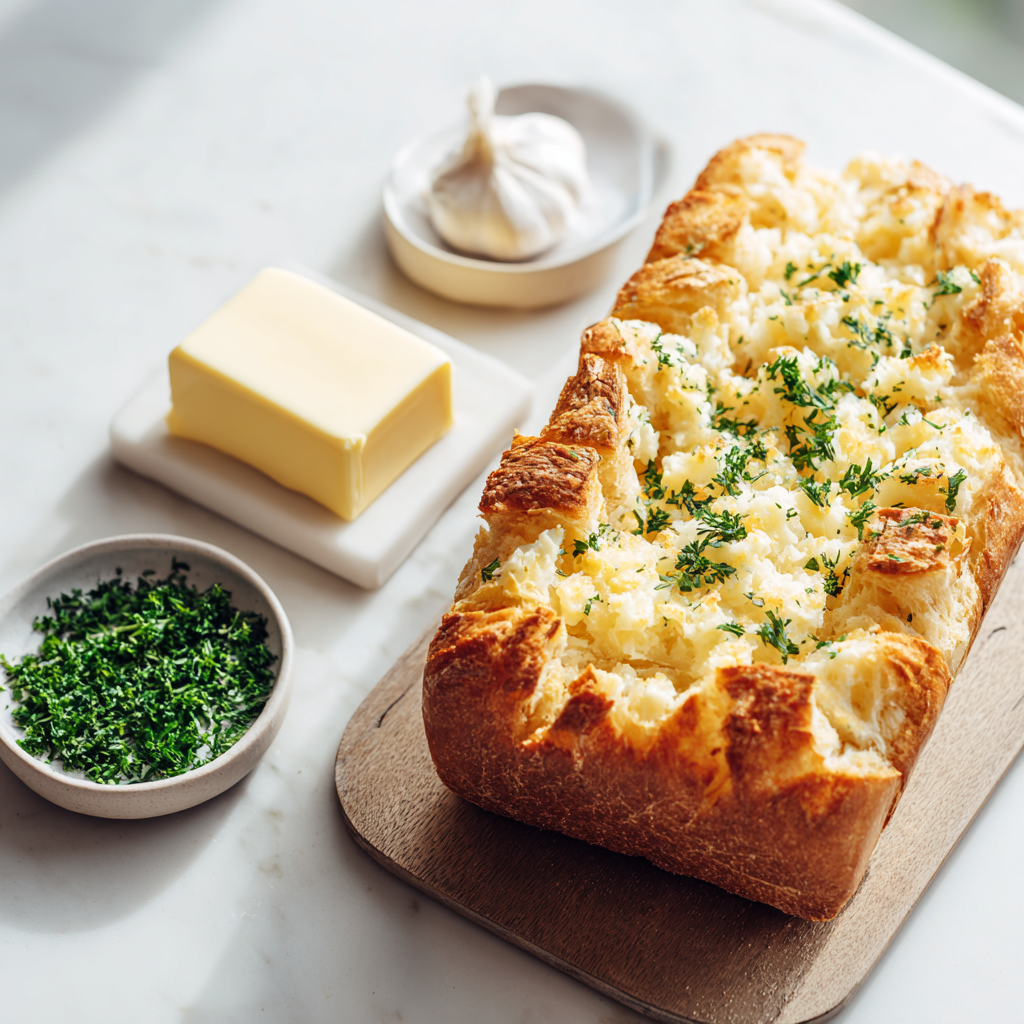
Let’s be real for a second. I’ve burnt my fair share of garlic bread. Like, the garlic gets all bitter and the bread turns into a charcoal situation. Not cute. But after some trial and error (and a few sad dinners), I figured out what actually works. And I’m sharing all of it with you.
Best Bread for Garlic Bread
This is where most people get tripped up. They grab whatever bread is cheapest, and then wonder why their garlic bread turns out soggy or too dense. The bread you choose makes a huge difference.
For this recipe, you’ve got two great options:
- Soft French bread – This gives you a lighter, airier texture. The crust isn’t too hard, so it’s great for kids or anyone who doesn’t want to fight with their food.
- San Francisco-style sourdough – This is my personal favorite. The tangy flavor balances the rich butter, and the crust gets incredibly crispy. It holds up well to the garlic butter without getting mushy.
Either way, you want a loaf that’s about 14 to 16 ounces. Not too big, not too small. And please – get a good quality loaf from a bakery section or farmers’ market. The cheap sliced bread just won’t cut it here.
Texture Targets
What to look for: The bread should be slightly firm on the outside but soft inside. When you press the crust, it should give a little but not collapse. After baking, look for golden-brown edges and a crust that sounds hollow when tapped.
Fresh Garlic Is Essential
Okay, I need to get on my soapbox for a minute. Please don’t use jarred garlic. I know it’s convenient. I know it saves time. But it tastes… flat. And sometimes a little sour. Not the vibe we’re going for.
Fresh garlic cloves are where the magic happens. When you mince them finely and let them steep in warm butter for a few minutes, something amazing happens. The garlic infuses the butter with this rich, mellow flavor that isn’t sharp or bitter.
Here’s the thing about garlic – if you burn it, it gets bitter. That’s why we’re not cooking the garlic directly in the butter. We’re melting the butter first, then adding the garlic and letting it steep off the heat. This gentle method gives you all the flavor without any of the bitterness.
For this easy garlic bread recipe, you’ll need 4 large cloves. That might sound like a lot, but trust me – it’s perfect. The sourdough can handle it.
How to Make Garlic Bread
Let’s walk through the process together. I’ll break it down into four main stages so you know exactly what to expect.
Stage 1: Prep the Bread
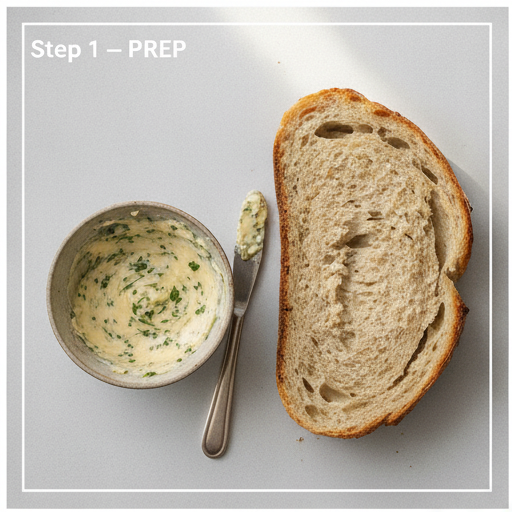
Preheat your oven to 400°F. Line a rimmed baking sheet with aluminum foil – this makes cleanup so much easier. Take your loaf of sourdough or French bread and slice it in half lengthwise. Place both halves cut side up on the prepared sheet. You want the cut sides exposed so they can soak up all that buttery goodness.
Stage 2: Make the Garlic Butter
In a small saucepan over low heat, melt the unsalted butter. Once it’s fully melted, add the minced garlic and immediately remove the pan from the heat. Let the garlic steep in the warm butter for about 3 minutes. This is where the flavor develops. Then stir in the salt and dried parsley until everything is well combined. Use a spoon or a pastry brush to generously coat the cut sides of the bread with the garlic butter. Don’t be shy – really get it in there.
Stage 3: Bake to Perfection
Pop the baking sheet into the oven and bake for 15 minutes. You’re looking for the edges to turn a beautiful golden brown. The kitchen will start smelling absolutely incredible at this point. For extra crispiness, switch the oven to broil and cook for 2 to 3 more minutes. But watch it carefully – broiling can go from perfect to burnt in seconds.
Stage 4: Slice and Serve
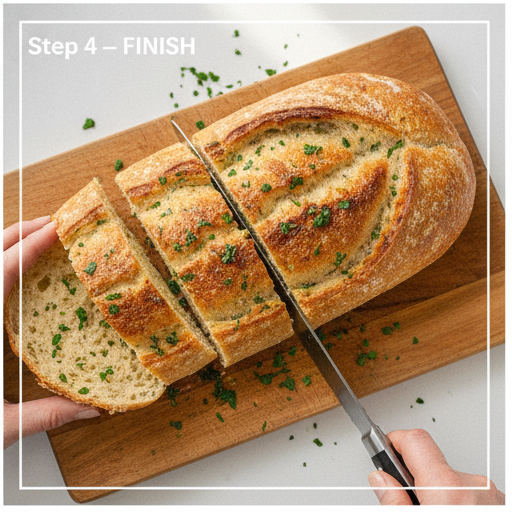
Once it’s done, remove the garlic bread from the oven and let it cool for just a minute. Then slice it into individual pieces and serve warm. The butter should still be slightly melted, and the crust should be perfectly crispy.
Tips for the Best Garlic Bread
After making this garlic bread recipe about a dozen times (literally), I’ve picked up some tricks that make a real difference. Here’s what I’ve learned:
- Soften your butter – If you’re not using the saucepan method, let your butter come to room temperature. It spreads so much more evenly.
- Mince the garlic finely – Tiny pieces melt into the butter instead of leaving you with big chunks of raw garlic.
- Don’t skip the steeping step – Letting the garlic sit in warm butter for 3 minutes is non-negotiable. It mellows the flavor beautifully.
- Use a pastry brush – A spoon works, but a brush gets the butter into every nook and cranny of the bread.
- Watch the broiler – Seriously. Set a timer. The line between perfectly crispy and burnt is very thin.
Common Mistakes to Avoid
❌ Using jarred garlic instead of fresh → ✅ Always use fresh cloves for the best flavor.
❌ Not softening butter before mixing → ✅ Soft butter blends with garlic and herbs much better.
❌ Overcooking or burning the garlic → ✅ Remove from heat immediately after adding garlic to butter.
❌ Not mincing garlic finely enough → ✅ Fine mince = even distribution throughout the butter.
❌ Being too stingy with butter → ✅ Be generous – this is garlic bread, not diet food.
Storage and Reheating
Let’s be honest – leftover garlic bread rarely lasts long in my house. But if you somehow have some, here’s how to handle it.
At room temperature: Store leftover garlic bread in an airtight container at room temperature for up to 2 days. Don’t refrigerate it – the fridge makes bread go stale faster.
Freezing unbaked: This is a great meal prep hack. Spread the garlic butter on the bread, wrap it tightly in plastic wrap, and freeze for up to 3 months. When you’re ready, bake it directly from frozen – just add 3 to 5 minutes to the baking time.
Freezing baked: Already baked it? No problem. Wrap the slices well and freeze for up to 2 months. Reheat directly from frozen in a 350°F oven for about 10 to 15 minutes until heated through and crisp again.
Reheating tips: For the crispiest results, use the oven. Wrap slices in foil and warm at 350°F for 10 minutes. If you’re in a hurry, wrap a slice in a damp paper towel and microwave for about 20 seconds. It won’t be as crispy, but it’ll still taste great.
Variations to Try
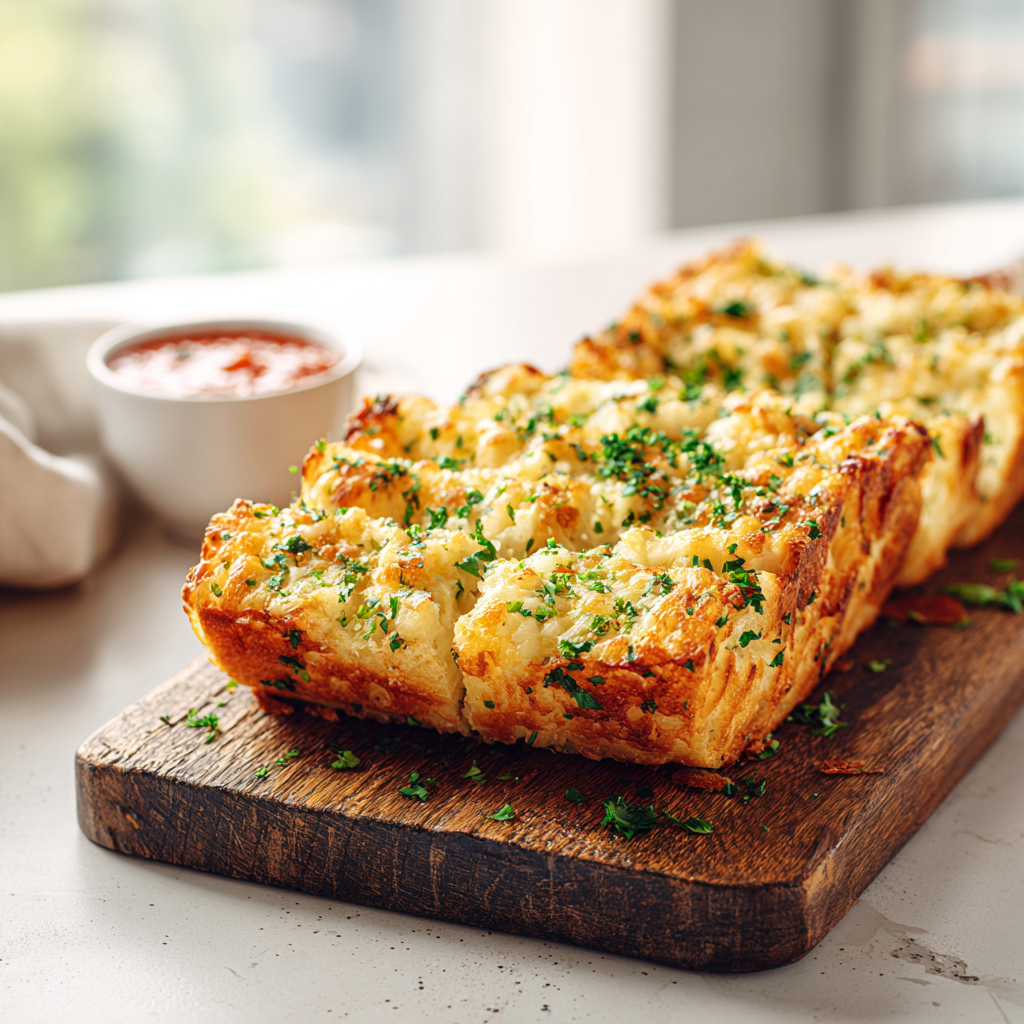
This garlic bread recipe is perfect as-is, but sometimes you want to mix things up. Here are a few variations that work really well:
- Cheesy garlic bread – Add 1/4 cup freshly grated Parmesan or 1/2 cup shredded mozzarella in the last 2 minutes of baking. The cheese gets all bubbly and golden. So good.
- Herb lovers – Swap the dried parsley for fresh chopped parsley (use 2 tablespoons fresh for 1 tablespoon dried). You can also add a pinch of dried oregano or basil.
- Spicy kick – Add a pinch of red pepper flakes to the garlic butter for some heat.
- Vegan version – Substitute regular butter with vegan butter. It works perfectly and tastes just as delicious.
- Gluten-free option – Use a good quality gluten-free baguette. Just watch the baking time – gluten-free breads can brown faster.
What to Serve with Garlic Bread
This garlic bread side dish pairs beautifully with so many things. Here are some of my favorite combinations:
- Pasta dishes – Spaghetti and meatballs, lasagna, or any pasta in marinara sauce. The bread is perfect for sopping up extra sauce.
- Soups – Tomato soup, minestrone, or a hearty vegetable soup. The crunch contrasts beautifully with the warm soup.
- Salads – A big Caesar salad or a simple green salad with vinaigrette. The garlic bread adds substance.
- Grilled meats – Perfect for summer BBQs. Serve it alongside grilled chicken, steak, or burgers.
- Slow-cooked dishes – Any braised meat or stew benefits from a side of crispy garlic bread.
Frequently Asked Questions
So there you have it – the best garlic bread recipe that’s become a staple in my kitchen. It’s crispy, buttery, garlicky, and absolutely perfect alongside just about any meal. Whether you’re serving it for a weeknight dinner or a backyard BBQ, it never disappoints.
Go make it – your family will thank you.
Want to save this recipe for later? Pin it on Pinterest so you always have it handy.
Source: Nutritional Information