
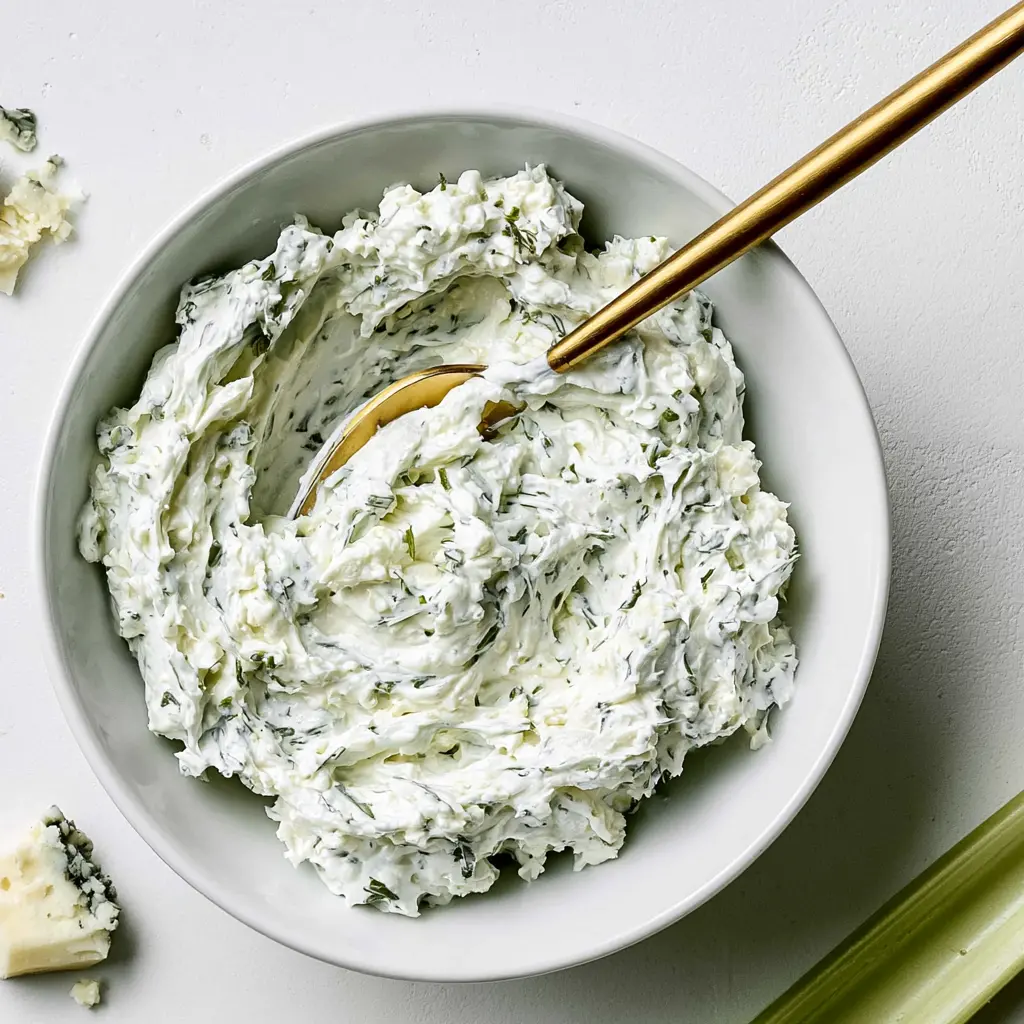
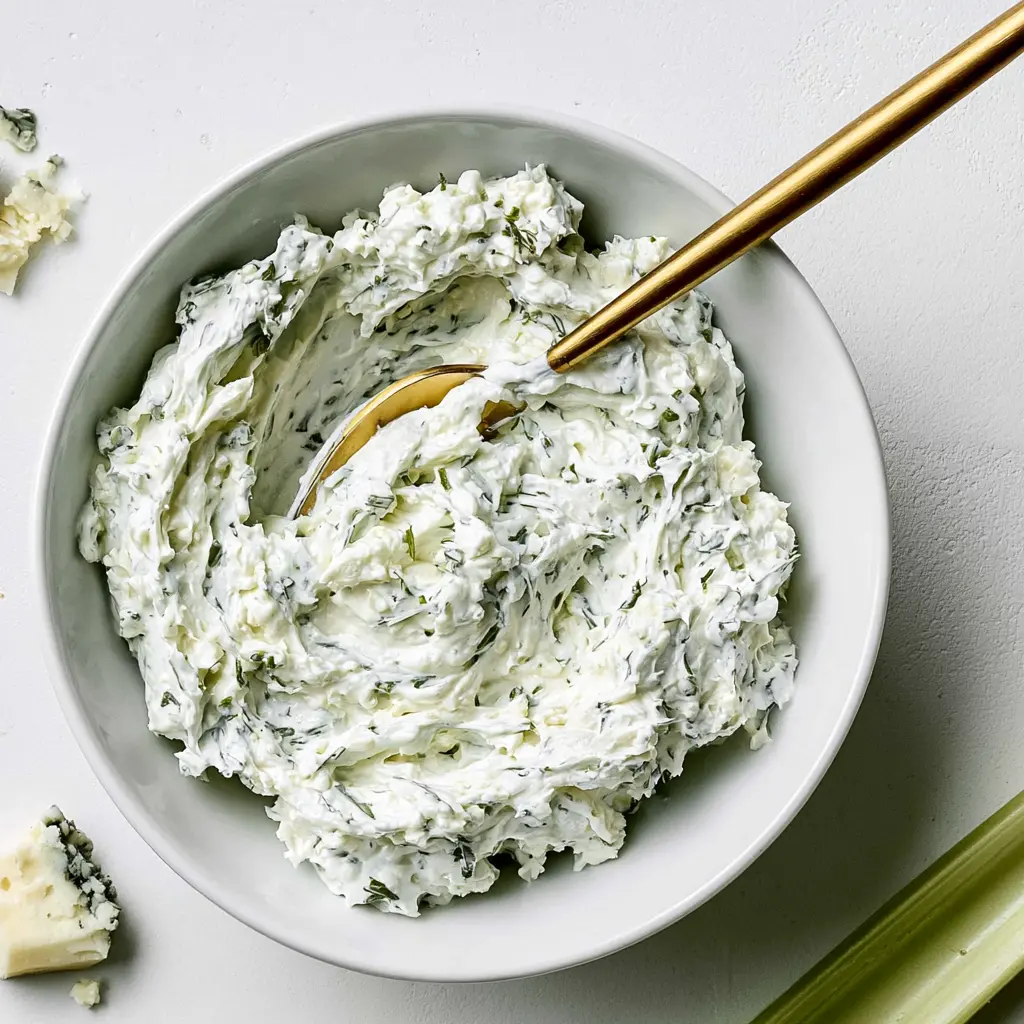
Easy Blue Cheese Dressing (Keto Friendly, 6 Ingredients)
Ingredients
Method
- In a medium bowl, whisk together the heavy cream, sour cream, mayonnaise, white wine vinegar, garlic powder, kosher salt, and black pepper until completely smooth.
- Gently fold in the crumbled blue cheese, keeping it a bit chunky. Taste and adjust the seasoning if needed, then serve immediately or chill until ready to use.
Nutrition
Notes
Tried this recipe?
Let us know how it was!Why You’ll Love This Easy Blue Cheese Dressing
I remember shaking a bottle of store-bought blue cheese dressing one last time, hoping to get anything but watery, pale liquid out of it. Total letdown. It tasted like nothing, and the bits of cheese were so tiny they just disappeared.
So I started making this easy blue cheese dressing at home. And honestly? It’s so dumb-easy it barely qualifies as a recipe. Six ingredients, about five to ten minutes, and you get a thick, creamy, chunky dressing that actually tastes like blue cheese. You’ll never go back to the bottled stuff.
This is your no-cook dressing recipe for everything. It’s the perfect five-minute dressing for a busy weeknight, but it’s also impressive enough for a summer cookout. Plus, it’s naturally keto friendly, with only 1 gram of carbs per serving.
Key Ingredients
You probably have most of these in your fridge already. That’s exactly how a quick blue cheese dressing should work. Here’s what makes this sour cream and mayonnaise base so good:
- Heavy cream: This loosens the dressing just enough to make it pourable while keeping it rich. You can swap it for buttermilk if you want a lighter, tangier dressing.
- Sour cream: This gives the dressing its signature tang and helps build that thick, creamy body.
- Mayonnaise: It’s the backbone. Mayonnaise makes it instantly creamy and stable so it won’t separate in the fridge.
- White wine vinegar: A bright, sharp pop that cuts through all that richness. Don’t skip it. Acid is what keeps the flavor from falling flat.
- Garlic powder: Savory depth without the raw bite of fresh garlic. It dissolves right into the base.
- Crumbled blue cheese: The star of the show. You want those big, beautiful chunks throughout.
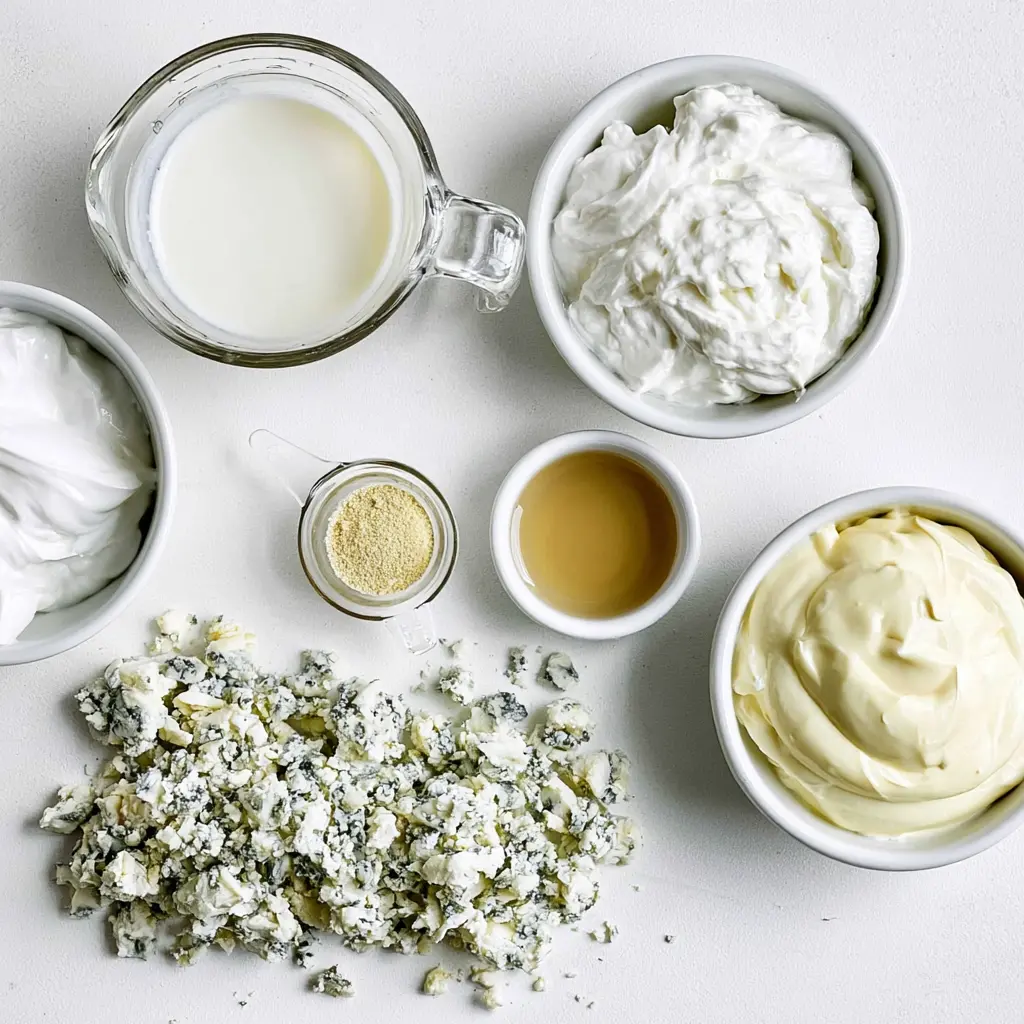
I like to use kosher salt and freshly ground black pepper for the base, but taste as you go. Blue cheese crumbles vary a lot in saltiness, so you might not need as much salt as you think.
What Kind of Blue Cheese Should I Use?
This is where you can really level up your homemade blue cheese dressing. The type of blue cheese you choose changes the whole character of the dressing.
Here’s the real talk on Gorgonzola vs blue cheese: Gorgonzola is usually creamier and milder, while a classic Roquefort or Stilton is sharper and more intense. Maytag blue from Iowa is crumbly and tangy, and Point Reyes from California is bold and peppery. Any of them work beautifully here.
For the best texture, I recommend buying a wedge instead of a pre-crumbled tub if you can. Wedges tend to be creamier and less dried out. You just break it up with your fingers as you go. But honestly, in a pinch, the pre-crumbled stuff works totally fine. Just make sure you buy good quality crumbles, not the sad, dry bits in the big bag.
Whatever you pick, save a few extra crumbles to sprinkle on top for serving. It makes the final dish look so much more appetizing.
How to Make Blue Cheese Dressing
Grab a medium bowl and a whisk. This is a homemade blue cheese dressing you can practically make with your eyes closed.
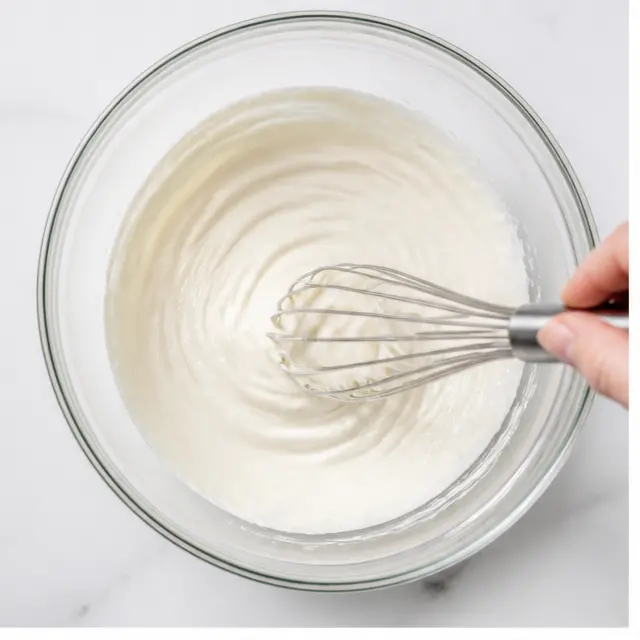
Stage 1: Whisk the Creamy Base
Add the heavy cream, sour cream, mayonnaise, white wine vinegar, garlic powder, kosher salt, and black pepper to your bowl. Whisk it all together until it’s completely smooth and there are no streaks of sour cream left. It should look like a gorgeous, pale, creamy base that’s thick but still pourable.
Stage 2: Fold in the Blue Cheese
This is the fun part. Gently fold in the crumbled blue cheese with a spatula. You want to keep it a bit chunky here. Don’t stir it aggressively or you’ll break all those glorious pockets of cheese down into nothing. You’re aiming for a creamy chunky dressing with visible blue cheese in every single bite.
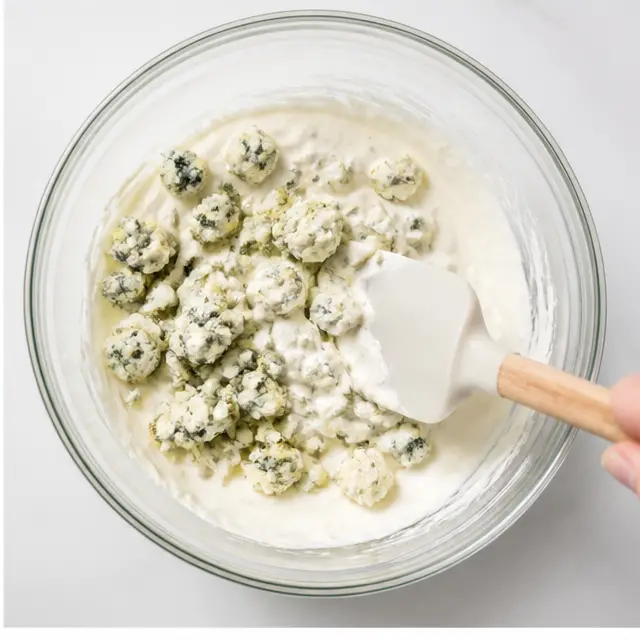
Stage 3: Taste and Adjust
Give it a taste. This is non-negotiable. Does it need more salt? A touch more vinegar for brightness? A crack more pepper? Blue cheese is unpredictable, so adjusting at this stage is what separates a good dressing from a great one.
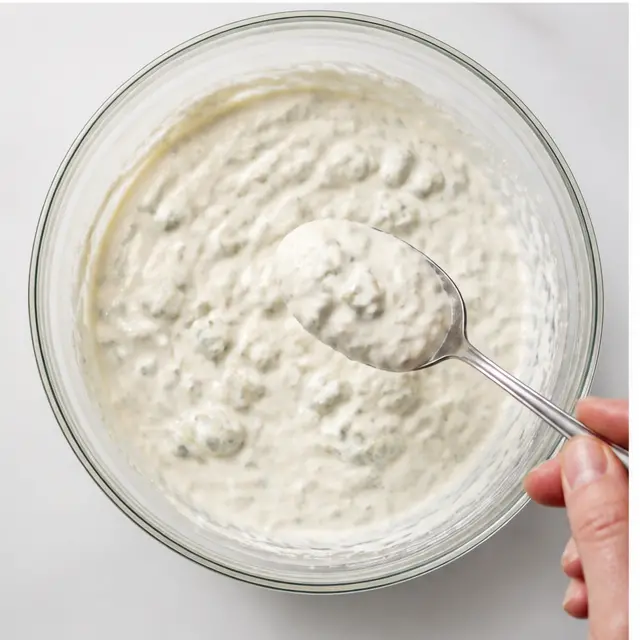
Stage 4: Refrigerate Before Serving
I know it’s tempting to dive right in, but trust me on this. Even 10 minutes in the fridge makes a noticeable difference. The flavors need a little time to get to know each other. It lets the garlic powder rehydrate and the blue cheese flavor to bloom through the whole mixture.
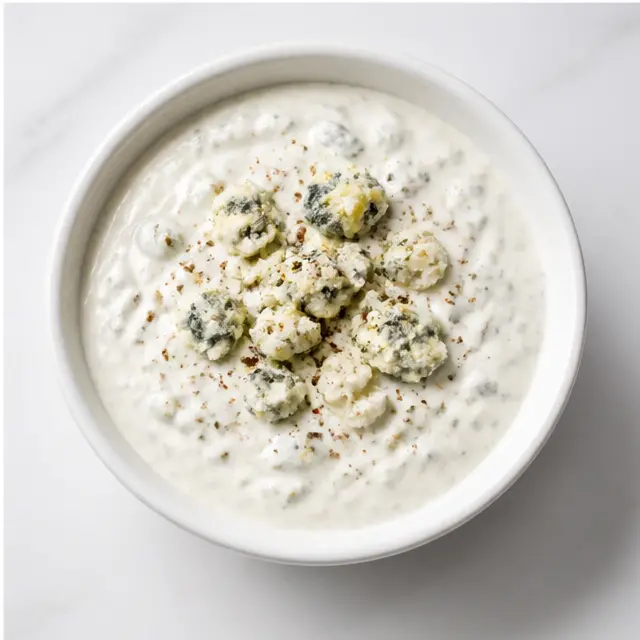
Tips for the Best Blue Cheese Dressing
Over the years, I’ve learned a few things that take this from good to absolutely perfect. Here’s how to get the best easy blue cheese dressing every single time:
- Don’t over-thin it. This recipe is perfectly thick as written. If you want a thinner dressing for a salad, add a splash of heavy cream or milk at the end. You can always add more, but you can’t take it out.
- Watch the salt. Blue cheese and mayonnaise are already salty. Taste before you add more salt. A heavy hand here can ruin the whole batch.
- Keep it chunky. The two-texture thing is what makes blue cheese dressing iconic. Fold gently, and leave some big crumbles intact.
- Let it rest. The flavor deepens after chilling. Overnight is even better, if you can wait that long.
Variations and Substitutions
This recipe is super flexible, which is why it’s such a great base to memorize. Here’s how to adapt your tangy homemade dressing depending on what’s in your fridge or what you’re serving:
- Buttermilk dressing: Swap the heavy cream for buttermilk to make a lighter, tangier version. Cut the vinegar in half to start and add more to taste.
- Greek yogurt blue cheese dressing: Replace the sour cream with whole milk Greek yogurt for extra protein and a thicker texture.
- Mayo-free: You can swap the mayonnaise for more sour cream or plain Greek yogurt if you want it lighter.
- Extra zip: Add a tiny dash of hot sauce or a pinch of cayenne for a little heat.
- Fresh garlic: Use 1 small clove of finely minced fresh garlic instead of garlic powder if that’s what you have. It’s punchier, so start with less.
How to Store Blue Cheese Dressing
One batch makes about 1 ⅓ cups, which means you’ll have plenty to use all week. Knowing how to store homemade dressing is key to making sure it stays fresh and delicious.
Transfer the dressing to an airtight container, like a mason jar or a glass container with a tight-fitting lid, and pop it in the fridge.
Homemade blue cheese dressing will keep beautifully for up to 2 weeks. Just remember to stir it well before serving, because the ingredients will naturally separate a little bit as it sits.
Also, it’s totally normal for this dressing to thicken up quite a bit after a night in the fridge. If it gets too thick to pour, loosen it with 1 tablespoon of half-and-half or almond milk and whisk it right in.
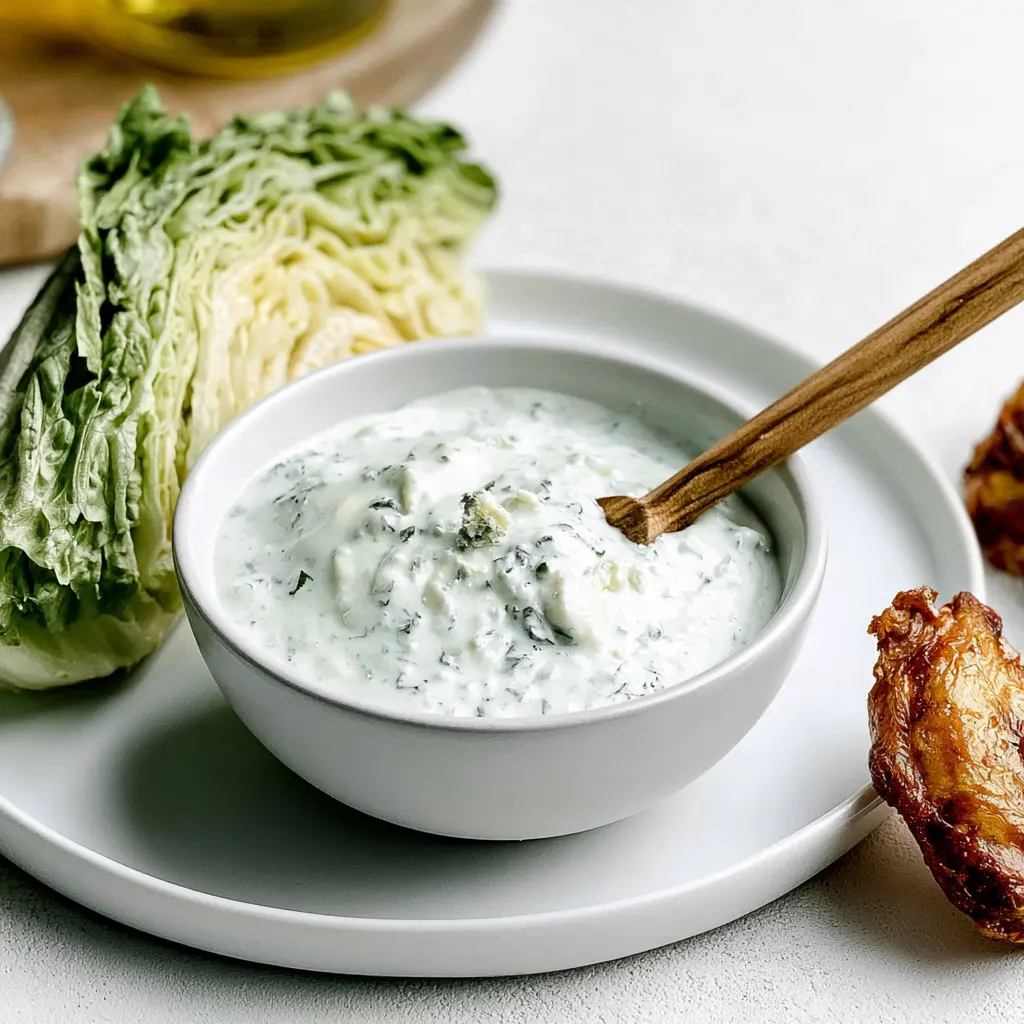
Ways to Use Blue Cheese Dressing
This stuff is liquid gold. It’s not just a salad dressing, it’s a whole vibe. When you pull this out at your Labor Day cookout, people are going to lose it. Here’s how to use it:
- Blue cheese burger sauce: Slather it on a grilled burger. It adds a cool, creamy tang that beats any slice of cheese.
- Buffalo wing dip: Honestly, this is the only blue cheese dressing for wings you’ll ever need. It’s thick enough to cling to a crispy wing, tangy enough to make you pucker.
- Classic wedge salad: This is the perfect wedge salad dressing. Drizzle it generously over crisp iceberg lettuce with bacon and tomatoes.
- Crudité platter dip: Put a bowl of this in the middle of a veggie platter with celery sticks, carrot sticks, and bell peppers. It’ll be the first thing to disappear.
- Roasted veggies: Spoon a little over warm roasted broccoli or Brussels sprouts. The cool, creamy dressing against the hot, charred veg is incredible.
Frequently Asked Questions
So go ahead and make a batch tonight. Whether you need an easy blue cheese dressing for your salad, your wings, or just a bowl to dunk veggies in, this is your recipe. It’s foolproof, fast, and genuinely better than anything you can buy at the store.
If you love this, check out more of my favorite summer recipes on my Pinterest board for endless inspiration.
Source: Learn More About This Dish