
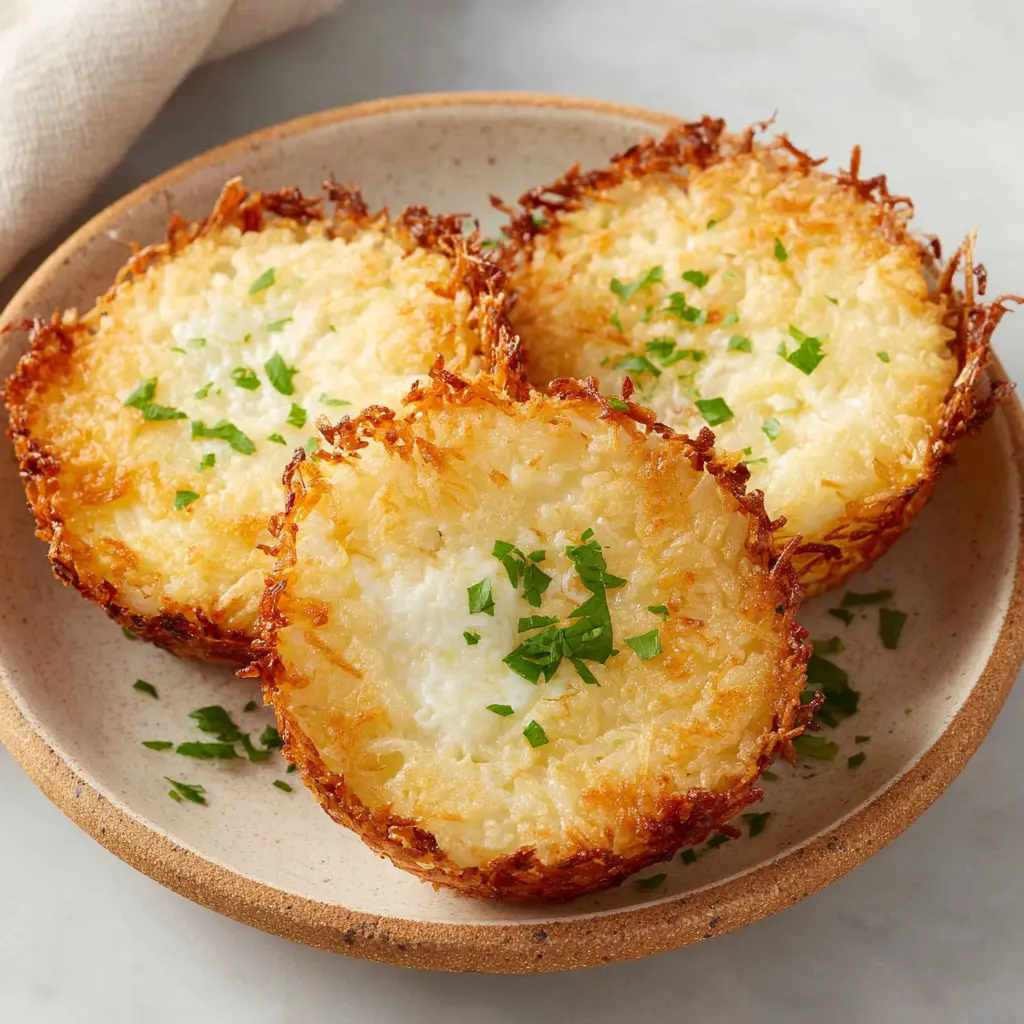
Why This Crispy Rice Egg Stack Works
You know that feeling when you want a breakfast that looks like it came from a trendy brunch spot but you’re staring at a fridge full of leftovers? That’s exactly where this crispy rice egg stack comes in. It’s the breakfast you didn’t know you needed but won’t be able to stop thinking about.
I stumbled onto this idea after a sushi night left me with way too much rice and not enough ideas. The first time I tried it, I nearly lost the whole thing to a spatula mishap. But once I figured out the technique, it became my go-to for impressing weekend guests or just treating myself on a slow morning.
Here’s the thing about this crispy rice egg stack it’s deceptively simple. You take leftover sushi rice, season it, press it into a block, chill it until firm, then pan-fry until golden and crunchy. Top it with a fried egg and whatever else you’re craving, and you’ve got a meal that feels special without the fuss.
What makes it work? Three things:
- The rice base Short-grain sushi rice is naturally sticky, which means it holds together perfectly when pressed and fried. No crumbling, no mess.
- The chill time Letting the pressed rice rest in the fridge for at least 3 hours (or overnight) firms it up so you get clean cuts and minimal splatter when frying.
- The hot oil Getting that oil shimmering before adding the rice is non-negotiable. It creates an instant crust that locks in texture and flavor.
And honestly, the best part is that it uses ingredients you probably already have. Leftover rice, eggs, a few pantry staples. No special trips to the store required.
Ingredients You Need
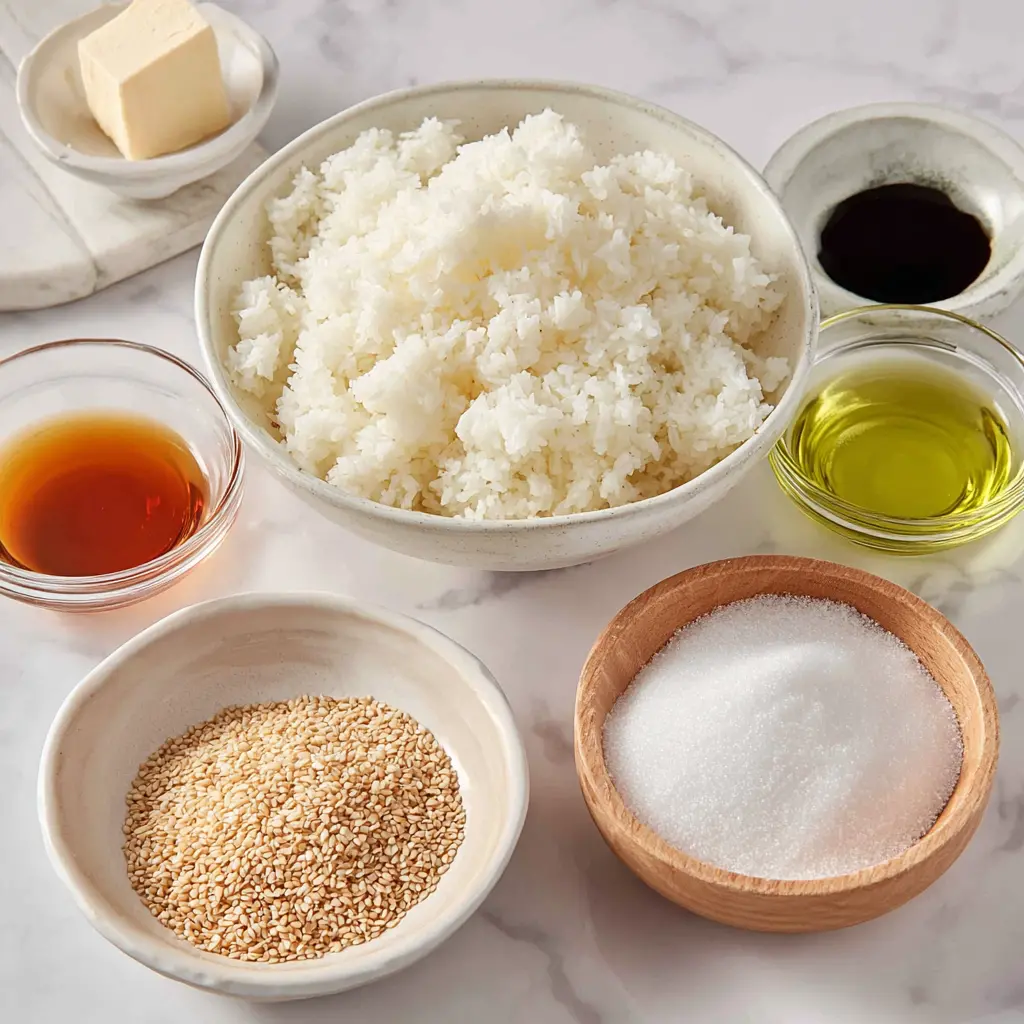
For the base of this crispy rice egg stack, you’ll need just a handful of things. Most of them are probably in your pantry right now.
For the Rice:
- 1 1/2 cups dry sushi rice short-grain is key here. It has the right starch content to hold together when pressed and fried.
- 2 cups water for cooking the rice.
- 1 teaspoon salt seasons the rice from the inside out.
- 3 tablespoons rice vinegar gives that classic sushi rice tang.
- 1 tablespoon granulated sugar balances the acidity of the vinegar.
- 1 teaspoon toasted sesame oil adds a subtle nutty flavor that makes the rice irresistible.
For Frying:
- 1/2 to 3/4 cup vegetable oil enough for a thin layer in the skillet. You want the rice to swim slightly, not drown.
That’s it. No long list of obscure ingredients. The magic happens from the technique, not from a dozen different bottles.
One thing I’ll mention if you’re using leftover rice that’s already been seasoned, you can skip the vinegar mixture. Just make sure the rice isn’t too wet or mushy. Day-old rice that’s been sitting in the fridge actually works better than freshly cooked because it’s drier and will crisp up faster.
How to Make Crispy Rice Egg Stack
Alright, let’s get into the actual process. I’ll walk you through each stage so you know exactly what to look for. No guesswork.
Cook and Season the Rice
Start by rinsing the dry sushi rice under cold water. And I mean really rinse it 4 to 5 times until the water runs clear. This removes excess starch that would make the rice gummy. Nobody wants that.
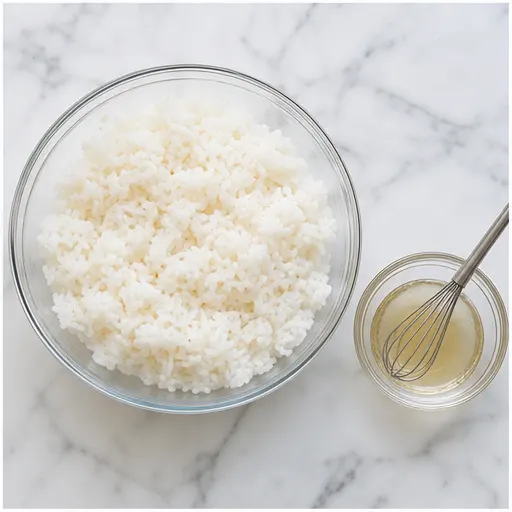
Cook the rice with 2 cups of water in a rice cooker or on the stovetop according to your package directions. While it’s cooking, whisk together the salt, rice vinegar, sugar, and toasted sesame oil in a small bowl until the sugar dissolves completely.
When the rice is done, transfer it to a large bowl and pour the vinegar mixture over it. Gently fold everything together with a rice paddle or spatula. You want every grain to get a little love from that seasoning. Be gentle here you’re coating, not mashing.
Press and Chill
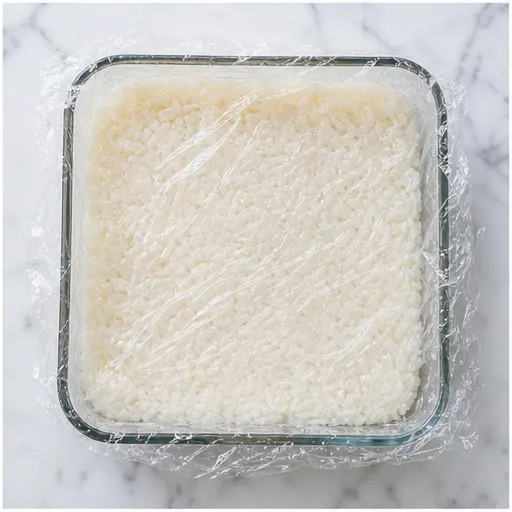
This step is where patience pays off. Line a small square baking dish with plastic wrap. Press the seasoned rice into the dish, forming an even 1/2-inch thick block. Pack it firmly but don’t smash the grains into oblivion. You want it compact enough to hold together, not so dense that it turns into a brick.
Wrap the top tightly with more plastic wrap and refrigerate for at least 3 hours. Overnight is even better. The chill time allows the rice to firm up and dry out slightly, which means cleaner cuts and way less splatter when you fry it.
I know waiting is hard. But trust me, this is the difference between a perfect crispy rice egg stack and a sad pile of fried rice bits.
Cut and Fry
Once your rice block is fully chilled, lift it out of the dish using the plastic wrap. Cut it into bite-sized rectangles. I usually go for pieces about 2 inches by 1 inch, but honestly, any shape works. Just keep them uniform so they cook evenly.
Pat the pieces dry with a paper towel. This removes any condensation that formed during chilling and helps the oil crisp up the surface faster.
In a medium skillet, heat the vegetable oil over medium-high heat until shimmering. That usually takes about 30 seconds. To test if it’s ready, drop in a single grain of rice. If it sizzles rapidly on contact, you’re good to go.
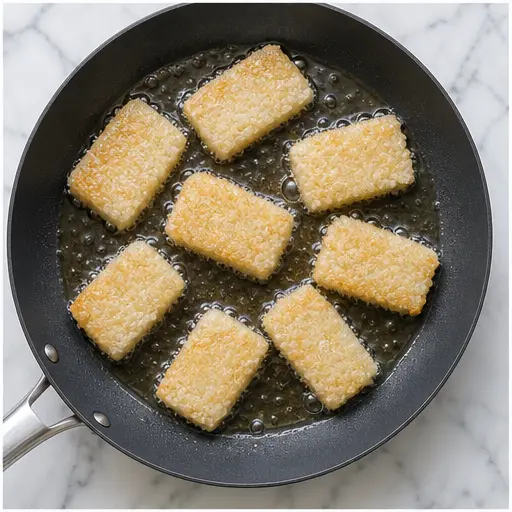
Carefully place the rice pieces in the pan, leaving about 2 inches between each. Don’t crowd the pan they need room to breathe. Fry for 1 to 2 minutes per side, until golden brown and crispy. You’ll see the edges turn deep brown and the surface will feel firm to the touch.
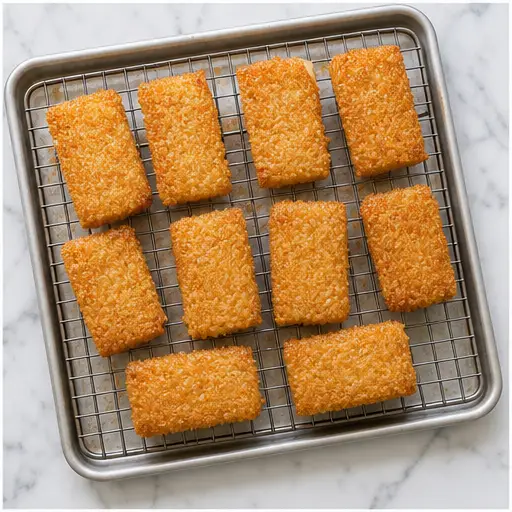
Transfer the fried rice pieces to a wire rack set over a baking sheet to drain excess oil. Don’t put them on paper towels the steam will make them soggy. A wire rack keeps them crispy.
Assemble Your Stack
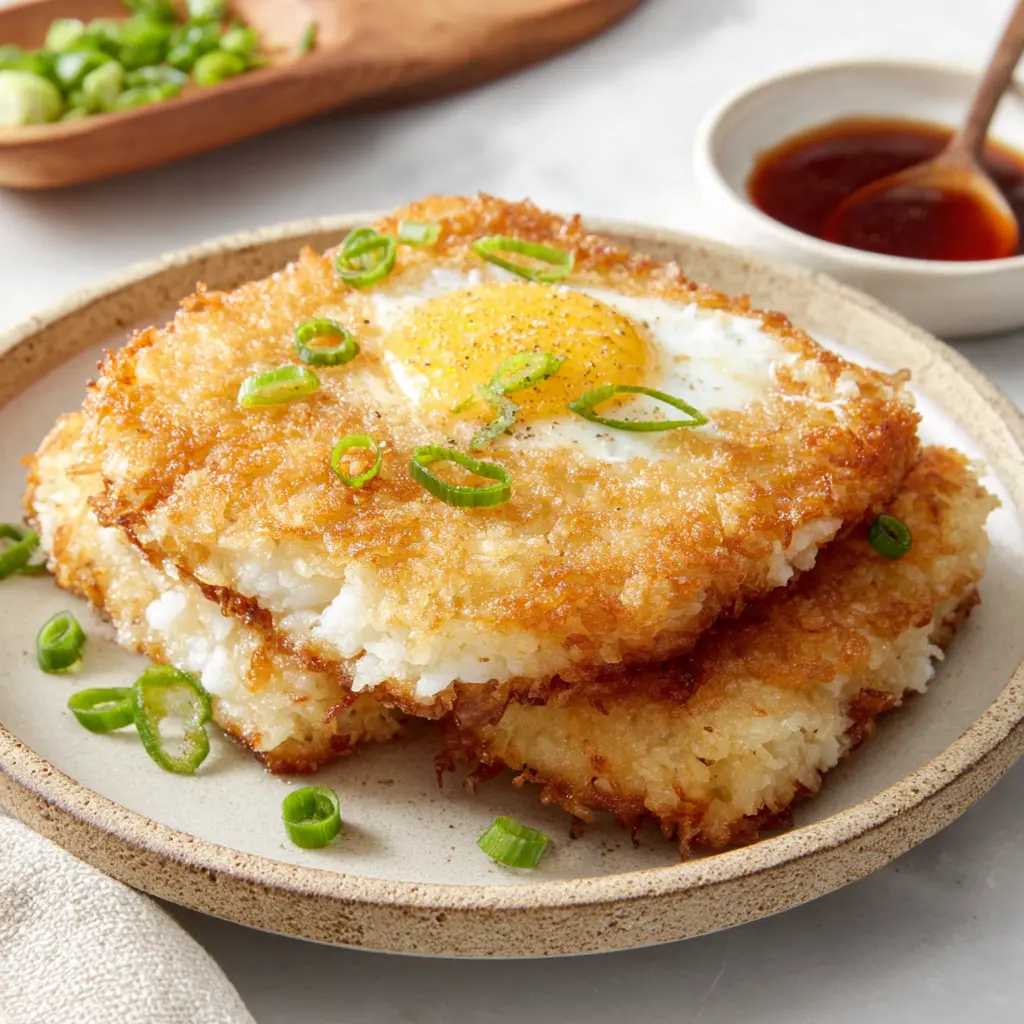
Now for the fun part. While the rice is still warm, fry an egg however you like it. I’m partial to a sunny-side-up with a runny yolk because that golden yolk dripping over the crispy rice is pure magic. But a soft-boiled egg works great too if you want something neater.
Place a few crispy rice pieces on a plate, top with your egg, and add any extras you’re craving. Sliced avocado is a no-brainer. A drizzle of sriracha mayo adds heat and creaminess. A sprinkle of furikake seasoning brings umami and crunch.
The key to a good stack is building it so nothing slides off. Start with a wide base of rice pieces, add your egg in the center, then layer toppings from there. If it topples, just call it a deconstructed bowl and enjoy anyway.
Topping Suggestions
Once you’ve mastered the base crispy rice egg stack, the topping possibilities are endless. Here are some of my favorite combinations:
- The Classic Fried egg, sliced avocado, sriracha mayo drizzle, green onions.
- The Spicy Tuna Inspired by the Nobu copycat, top with spicy tuna mixture, avocado, and sesame seeds.
- The Veggie Add sautéed spinach, roasted mushrooms, and a sprinkle of furikake.
- The Breakfast Bowl Serve the crispy rice with scrambled eggs, crispy bacon, and a dollop of sour cream.
- The Simple Just the rice and egg with a pinch of sea salt and black pepper. Sometimes less is more.
Don’t be afraid to experiment. The crispy rice base is a blank canvas that works with sweet, savory, or spicy toppings. Once you nail the base, the rest is up to you.
Tips for Perfect Crispy Rice
I’ve made this crispy rice egg stack more times than I can count, and I’ve learned a few things along the way. Here are the tips that make the biggest difference:
- Use day-old rice if possible. Freshly cooked rice is too moist and will fall apart. Day-old rice that’s been refrigerated is drier and holds its shape better.
- Don’t skip the chilling step. I know it’s tempting to rush, but chilled rice cuts cleanly and fries without splattering everywhere.
- Test your oil temperature. If the rice browns too quickly, lower the heat. You want a deep golden crust, not burnt edges.
- Pat the rice pieces dry. Condensation from the fridge creates steam that prevents crisping. A quick pat with a paper towel fixes this.
- Use a non-stick skillet. This makes flipping the rice pieces so much easier. A well-seasoned cast iron works too.
One more thing rice will crisp up at different speeds depending on your stove. Keep an eye on the first batch and adjust the heat as needed. Your stove might run hot or cool compared to mine.
Storage and Reheating
If you’re lucky enough to have leftovers, here’s how to keep that crispy rice egg stack tasting great.
Store leftover crispy rice pieces in an airtight container in the fridge for up to 3 days. Don’t store them with the egg or toppings those should be added fresh when you reheat.
To reheat and restore crispiness, place the rice pieces back in a skillet over medium heat with a tiny bit of oil. Heat for 1 to 2 minutes per side until they’re hot and crunchy again. The microwave will make them soft and chewy, so avoid it if you can.
You can also freeze the uncooked rice block for up to a month. Just wrap it tightly in plastic wrap and then foil. When you’re ready to use it, thaw it in the fridge overnight, then cut and fry as directed.
Frequently Asked Questions
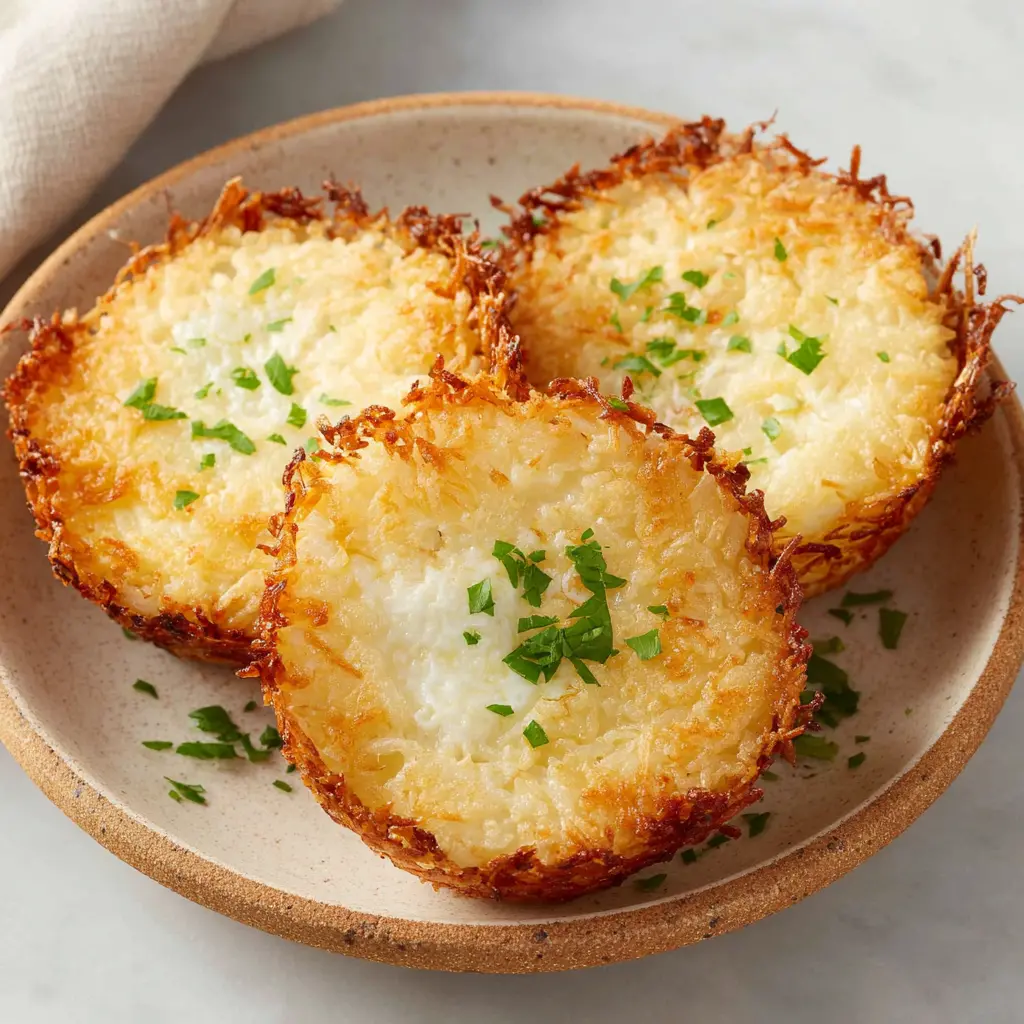
Crispy Rice Egg Stack
Ingredients
Method
- Rinse the dry sushi rice under cold water 4 to 5 times until the water runs clear. Cook the rice with 2 cups of water in a rice cooker or on the stovetop according to package directions.
- In a small bowl, whisk together the salt, rice vinegar, sugar, and toasted sesame oil until the sugar dissolves. When the rice is finished cooking, transfer it to a large bowl and pour the vinegar mixture over it. Gently fold until the rice is evenly seasoned.
- Line a small square baking dish with plastic wrap. Press the seasoned rice into the dish, forming an even 1/2-inch thick block. Wrap tightly with more plastic wrap and refrigerate for at least 3 hours or overnight, until the rice is firm and slightly dried out.
- Once chilled, lift the rice block from the dish and cut it into bite-sized rectangles. Pat the pieces dry with a paper towel to remove any condensation.
- In a medium skillet, heat the vegetable oil over medium-high heat until shimmering, about 30 seconds. Test the oil by dropping in a single grain of rice; if it sizzles rapidly, the oil is ready. Carefully place the rice pieces in the pan, leaving about 2 inches between each. Fry for 1 to 2 minutes per side, until golden brown and crispy. Transfer to a wire rack set over a baking sheet to drain excess oil.
Nutrition
Notes
Tried this recipe?
Let us know how it was!Your new favorite breakfast is waiting. Go make it! And if you try this crispy rice egg stack, I’d love to hear how it turns out. Share your creations on Pinterest and tag me I’m always inspired by what you come up with in your own kitchens.
Source: Nutritional Information
One Response
Decent recipe, but I found the rice a bit too salty with 1 teaspoon of salt plus the rice vinegar. Next time I’ll cut it to 1/2 teaspoon. The frying technique was spot on though—loved the crunch.