Why You’ll Love These Sliders
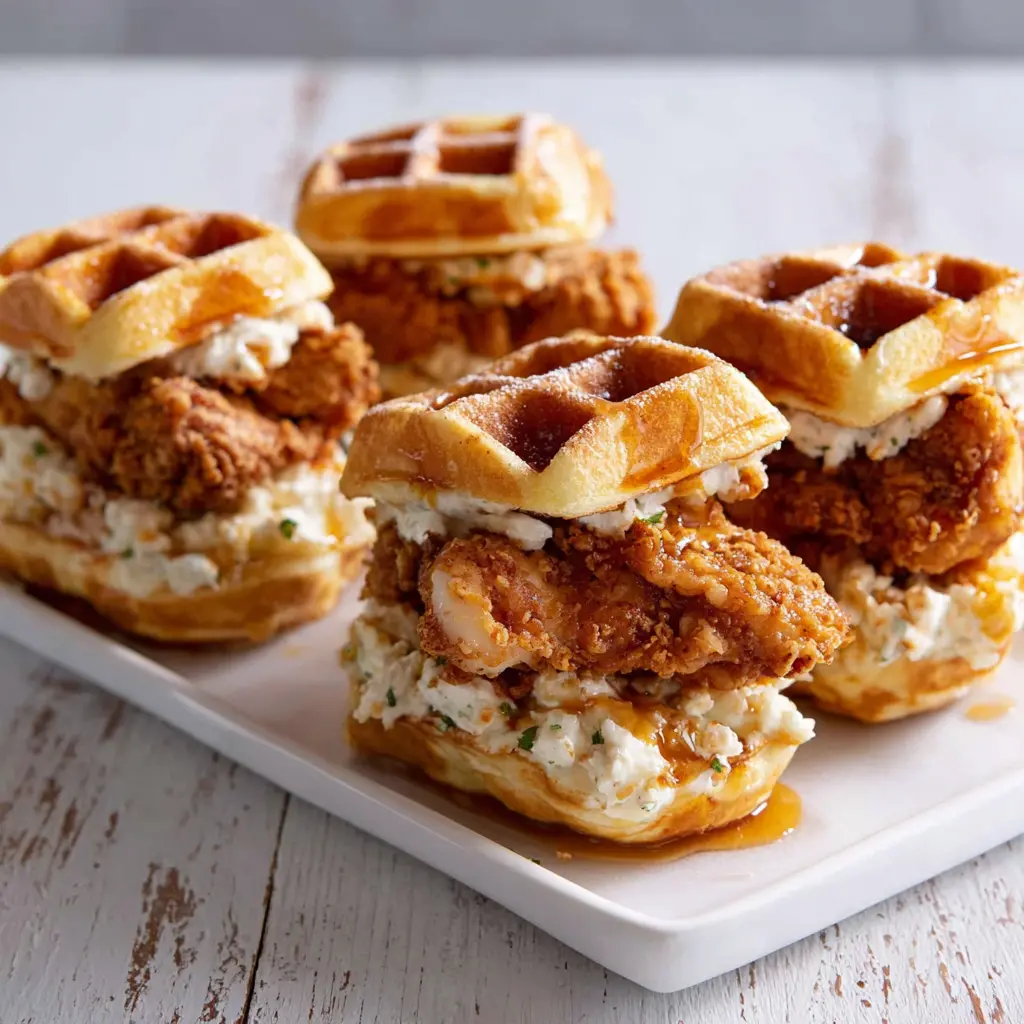
There’s nothing worse than a soggy slider at a party. You know the one the waffle is limp, the chicken is sad, and everyone’s reaching for the napkins instead of seconds. These Crispy Chicken Waffle Sliders are the exact opposite of that disaster. They’re the kind of bite that makes people stop mid-conversation and just… chew. In a good way.
I came up with this recipe after a brunch fail that still makes me cringe. I tried to assemble everything ahead of time, and by the time guests arrived, the waffles were steamed into oblivion. The chicken? Rubbery. It was a mess. So I went back to the drawing board and figured out the right order of operations. Now these sliders are my go-to for any gathering where I want to look like I have my life together.
These mini chicken and waffles are the perfect sweet and savory combo. The honey butter ties everything together it’s rich, floral, and just the right amount of sweet. And the best part? They’re way easier to make than they look. You can totally do this, even if you’ve never fried chicken before.
What Makes These Sliders Special
Crunch factor: The chicken stays crispy because we assemble at the last minute. No soggy sliders here.
Sweet and savory balance: The honey butter is the bridge between the salty, crunchy chicken and the tender waffle.
Crowd-pleaser: Kids love them because they’re basically chicken tenders in waffle form. Adults love them because they’re sophisticated enough for brunch party food.
Ingredients You’ll Need
You only need five main ingredients for these Crispy Chicken Waffle Sliders. That’s it. No long grocery list, no obscure spices you’ll never use again. Here’s what you’re grabbing:
- Crispy chicken tenders or strips (2 cups): You can use pre-cooked frozen tenders for a shortcut, or bread and fry your own. I’ll talk about both options below.
- Mini waffles (12): Store-bought frozen mini waffles work great. Or make your own from scratch if you’re feeling ambitious.
- Unsalted butter (½ cup, softened): Room temperature butter is key for a smooth honey butter. Don’t melt it just let it sit out for 30 minutes.
- Honey (⅓ cup): Use real honey, not the stuff in a plastic bear. The floral notes make a difference.
- Maple syrup (1 tablespoon, pure): This adds an extra layer of sweetness and depth. Don’t use imitation syrup it’s too thin and artificial.
That’s it. Seriously. You probably already have most of this in your kitchen right now. The beauty of this recipe is its simplicity. You don’t need a dozen ingredients to make something that tastes like it came from a fancy brunch spot.
One thing I learned the hard way: don’t skip the maple syrup in the honey butter. I tried making it with just honey once, and it was fine, but it lacked that little something. The maple syrup adds a subtle complexity that makes the honey butter feel more grown-up. Trust me on this one.
How to Make Crispy Chicken Waffle Sliders
This is where the magic happens. I’m going to walk you through the four main stages of making these sliders. No numbered steps just the flow of how it all comes together. You can totally do this.
Stage 1: Get Your Chicken Crispy
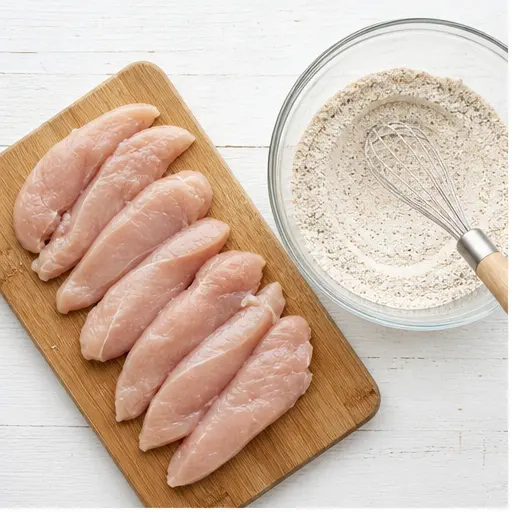
First things first the chicken. If you’re using pre-cooked frozen chicken tenders, follow the package instructions for the crispiest results. Usually that means baking or air-frying them at a high temperature. If you’re making your own, here’s the deal: you want a good breading that will stay crunchy even after it sits for a few minutes. A simple flour and cornstarch mixture works wonders. The cornstarch is the secret to that extra-crunchy crust. Season the flour well don’t be shy with salt and pepper. Taste a little piece of the breading before you coat the chicken. I know it sounds weird, but you want to make sure the seasoning is right before you commit.
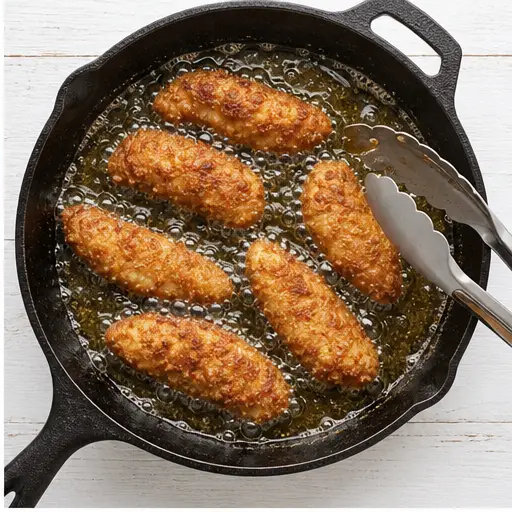
If you’re frying, heat your oil to 350°F. Don’t overcrowd the pan work in batches. The chicken should sizzle when it hits the oil. Cook until golden brown and cooked through, about 4-5 minutes per side depending on thickness. Let them rest on a wire rack (not paper towels, which trap steam and make them soggy).
Stage 2: Toast Those Waffles
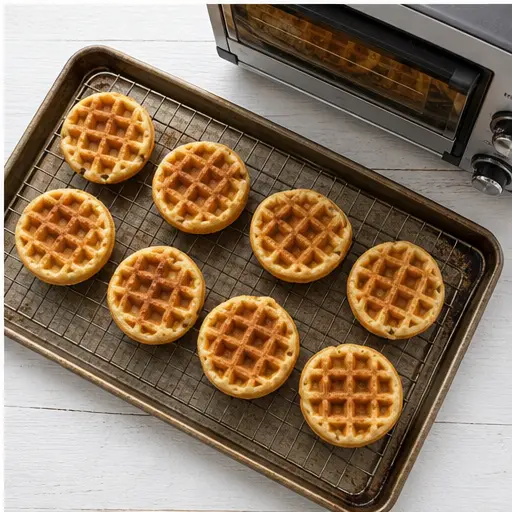
While the chicken is resting, toast your mini waffles. A toaster works fine, but I prefer the oven or toaster oven for more even browning. Spread them out on a baking sheet and pop them in at 350°F for about 5 minutes, flipping halfway through. You want them lightly golden and crisp on the edges. The centers should still be a little soft that’s what gives the slider structure without being a rock.
If you’re making your own waffles from scratch, add a pinch of salt and a dash of cinnamon to the batter. It elevates the whole thing. But store-bought works great too. No judgment here.
Stage 3: Make the Honey Butter
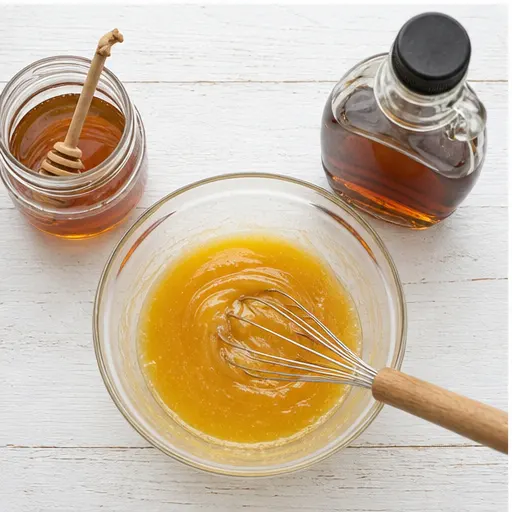
This is embarrassingly simple. In a small bowl, whisk together the softened butter, honey, and maple syrup until smooth. That’s it. The hardest part is waiting for the butter to come to room temperature. Don’t microwave it you want it soft, not melted. Melted butter won’t incorporate properly and you’ll end up with a greasy mess.
Pro tip: double the honey butter recipe. It keeps in a sealed jar in the fridge for weeks, and it’s amazing on pancakes, toast, biscuits, you name it. I always make extra and hide it from my family.
Stage 4: Assemble and Serve
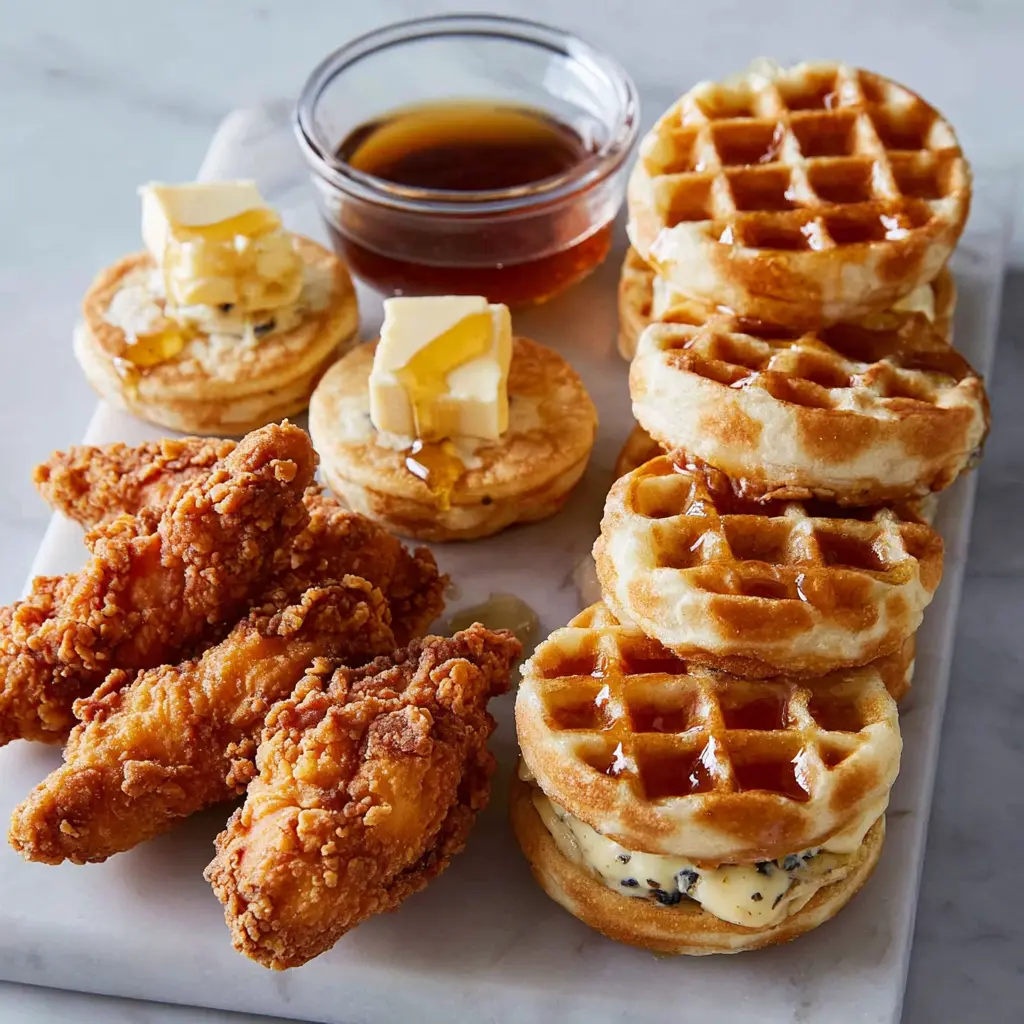
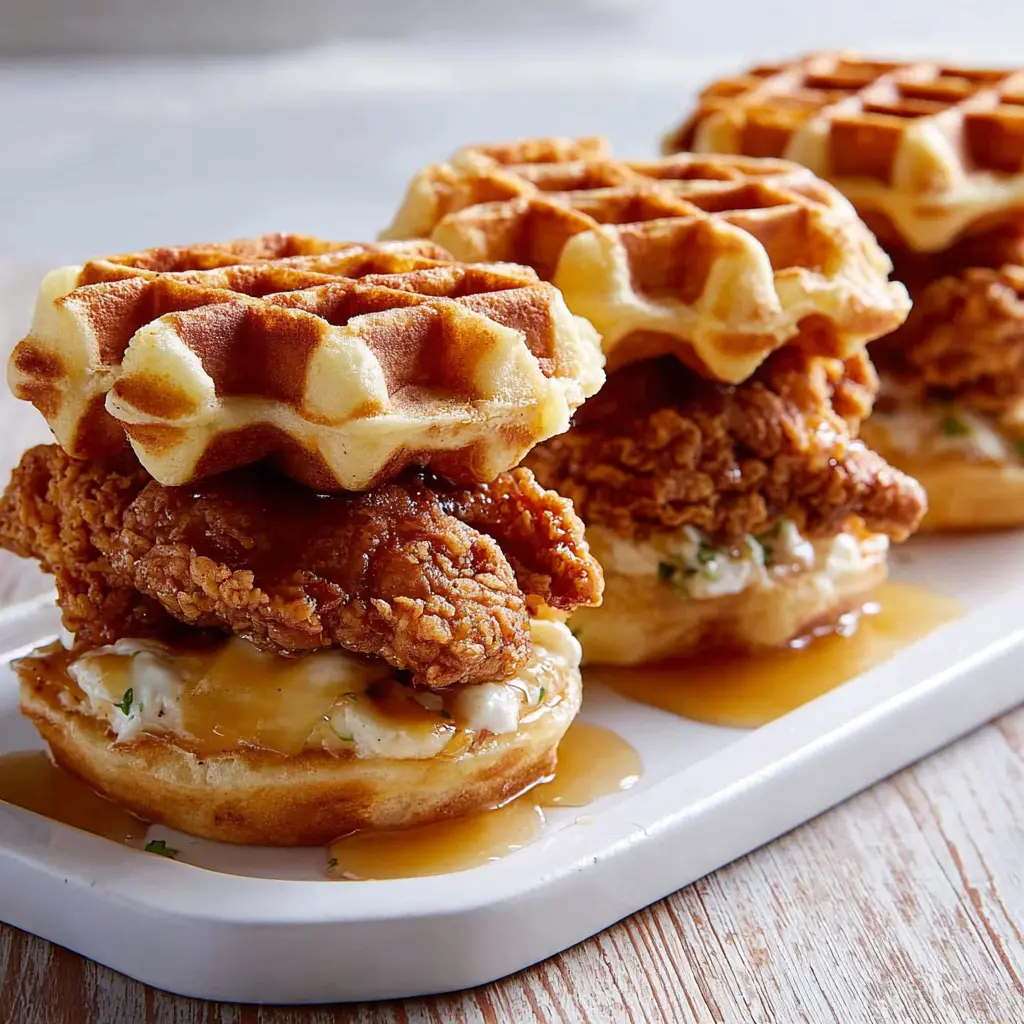
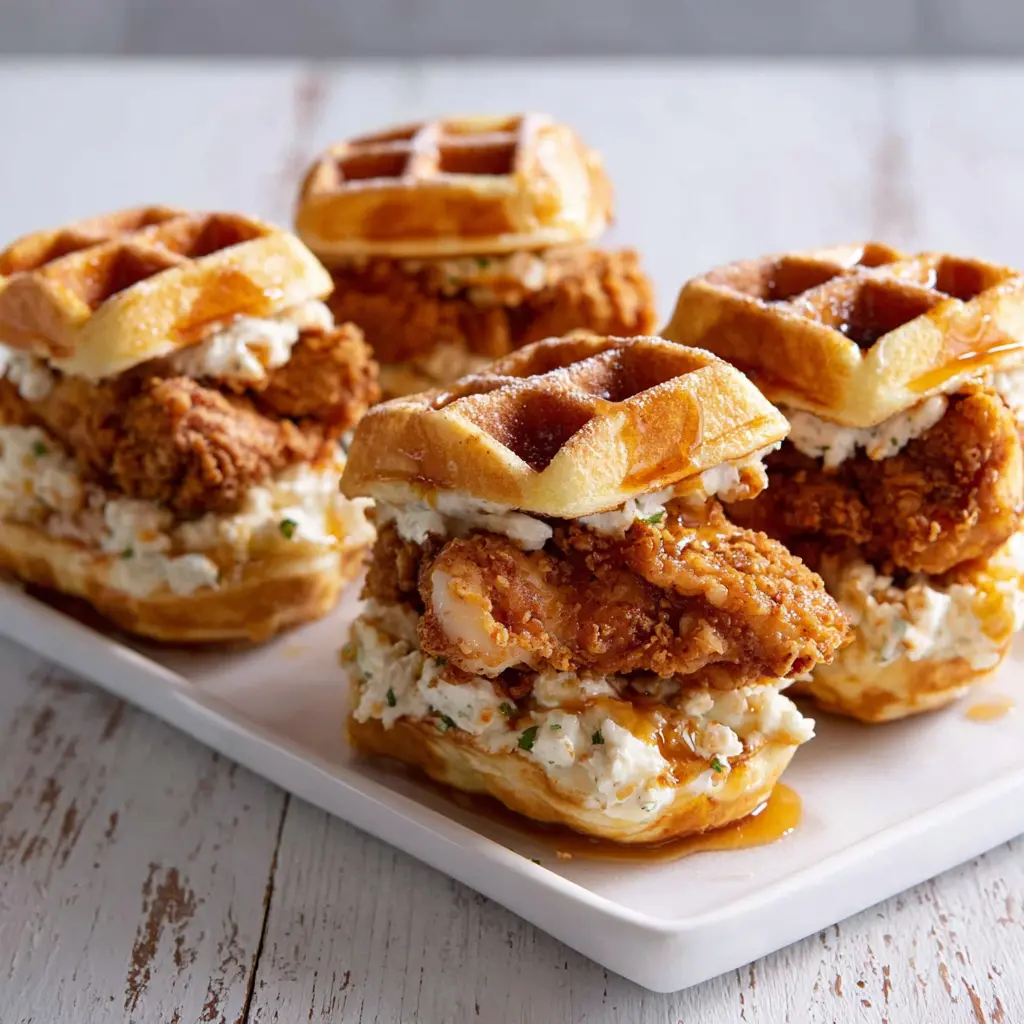
This is where timing matters. Assemble the sliders right before serving. Place one mini waffle on the bottom, add a piece of crispy chicken, and top with another mini waffle. Drizzle the honey butter over the top. Serve immediately.
I like to use toothpicks to hold the sliders together it makes them easier to grab and eat. Plus, it looks cute on a platter. If you’re serving a crowd, arrange them on a large platter and let people grab their own. They’ll disappear fast.
Tips for Extra Crispy Chicken
Let’s talk about the thing that makes or breaks these sliders: the chicken’s crunch. Here are the tricks I’ve learned from too many batches of sad, soggy chicken:
- Use cornstarch in your breading: A 50/50 mix of flour and cornstarch creates a lighter, crunchier crust. The cornstarch absorbs moisture and fries up extra crispy.
- Let the breaded chicken rest: After you coat the chicken, let it sit on a wire rack for 10-15 minutes before frying. This helps the breading adhere better and prevents it from falling off in the oil.
- Don’t crowd the pan: Frying too many pieces at once drops the oil temperature and makes the chicken greasy instead of crispy. Work in batches.
- Rest on a wire rack: After frying, place the chicken on a wire rack set over a baking sheet. This lets air circulate around the chicken, keeping it crispy. Paper towels trap steam and make the breading soft.
- Keep warm in the oven: If you’re making a big batch, keep the fried chicken warm on a wire rack in a 200°F oven while you finish the rest. It stays crispy for up to 30 minutes.
Storing and Reheating Leftovers
Here’s the thing about these sliders: they’re best eaten fresh. But if you have leftovers (unlikely, but possible), here’s how to handle them.
For the chicken: Store leftover chicken tenders in an airtight container in the fridge for up to 3 days. To reheat, let them sit at room temperature for 30 minutes, then reheat in a 400°F oven or air fryer for 5-7 minutes until hot and crispy again. Don’t microwave them it’ll turn the breading into a sad, chewy mess.
For the waffles: Store leftover waffles in a zip-top bag at room temperature for a day, or in the fridge for up to 3 days. Reheat in a toaster or oven until warm and crisp.
Do not store assembled sliders. The waffles will absorb moisture from the chicken and honey butter, and you’ll end up with a sad, soggy situation. Store the components separately and assemble fresh when you’re ready to eat.
Variations and Substitutions
These sliders are super flexible. Here are some ways to switch things up:
- Spicy version: Add a pinch of cayenne or chili powder to the chicken breading. Or drizzle with a honey hot sauce glaze instead of honey butter.
- Avocado chicken waffle slider: Add a slice of avocado between the chicken and waffle for creaminess. The healthy fats balance the crunch.
- Pickled jalapeños sliders: Top with pickled jalapeños for a tangy, spicy kick that cuts through the sweetness.
- Gluten-free waffle slider: Use gluten-free mini waffles and gluten-free breading for the chicken. Works great just watch the cooking time on the waffles.
- Cornmeal waffle swap: Use cornmeal waffles instead of regular ones for a Southern-inspired twist. The cornmeal adds a nice texture and flavor.
Frequently Asked Questions
More Delicious Slider Recipes
If you love these Crispy Chicken Waffle Sliders, you’ll want to check out some of my other favorite slider recipes. They’re all perfect for brunch parties, game day, or just a fun weeknight dinner.
I’ve got a mini burger slider recipe that uses the same honey butter (trust me, it works). And a pulled chicken slider with a tangy coleslaw that’s perfect for summer cookouts. But these chicken waffle sliders are still my most-requested recipe by far.
If you make these, I’d love to hear how they turn out. Tag me in your photos, leave a comment below, or share your own variations. Did you add something unexpected? Did you double the honey butter? (Good call.) Let me know I’m always looking for new ideas.
Source: Nutritional Information
Crispy Chicken Waffle Sliders with Honey Butter
Ingredients
Method
- Prepare the crispy chicken according to your preferred method: fry, bake, or air-fry until golden and crunchy.
- Toast the mini waffles in a toaster or oven until lightly crisp and warm.
- In a small bowl, whisk together the softened butter, honey, and maple syrup until smooth and well combined.
- Assemble each slider: place one mini waffle on the bottom, add a piece of crispy chicken, and top with another mini waffle.
- Drizzle the honey butter over the assembled sliders and serve immediately for the best texture.