
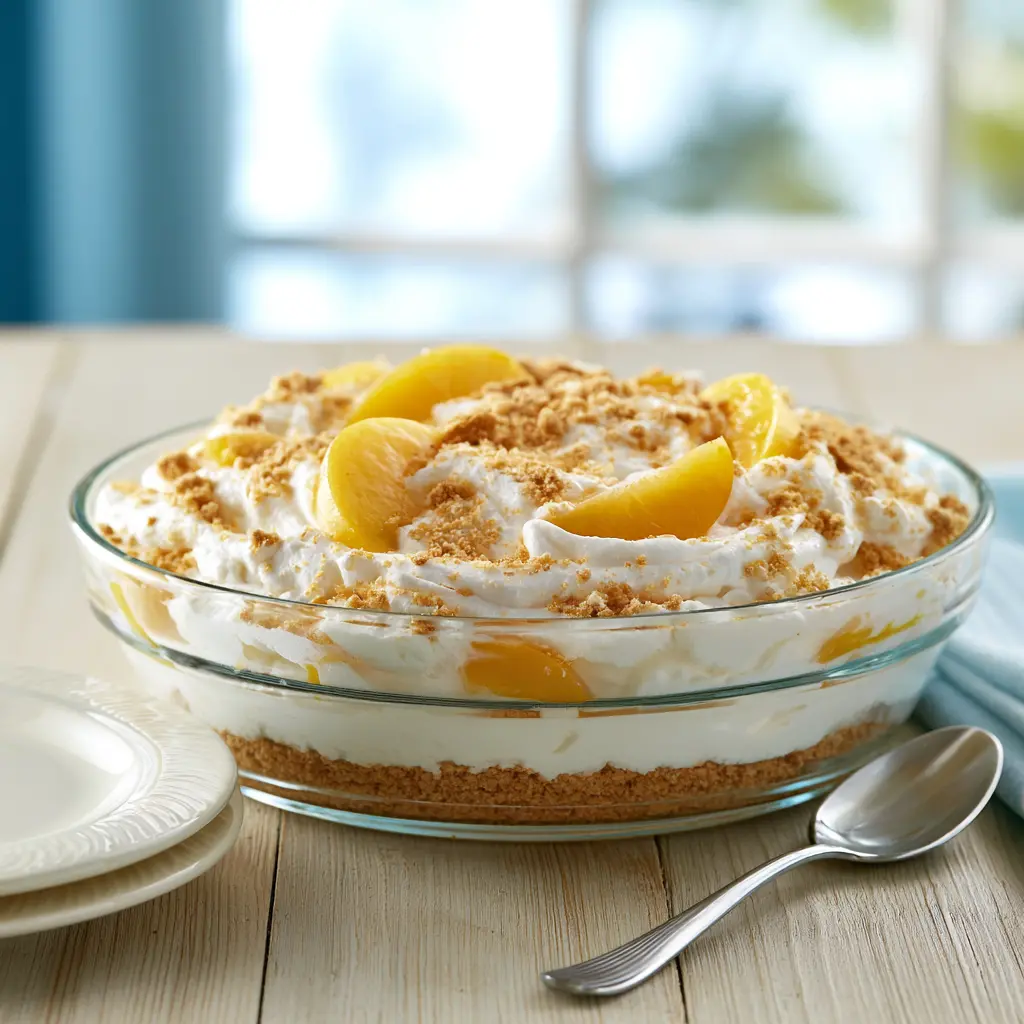
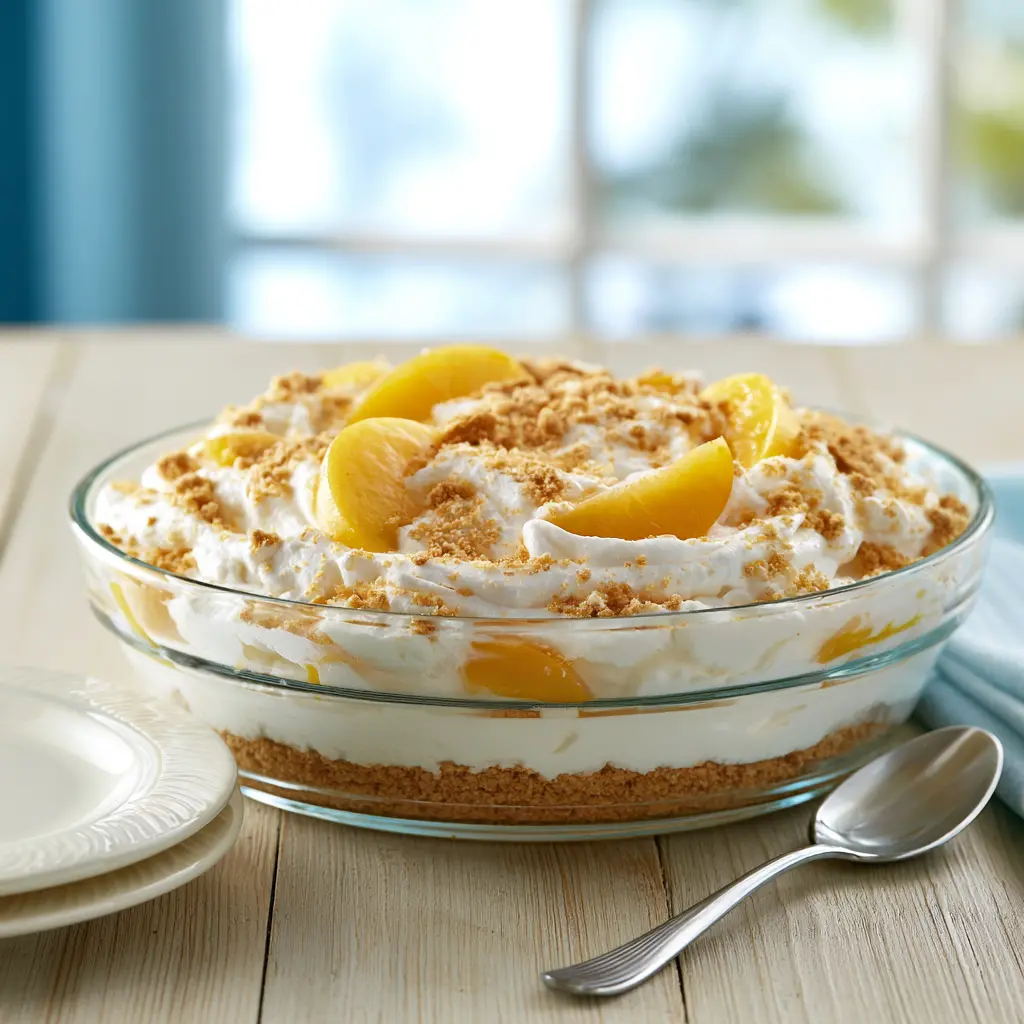
Creamy Cold Peach Dessert with No-Bake Graham Cracker Crust
Ingredients
Method
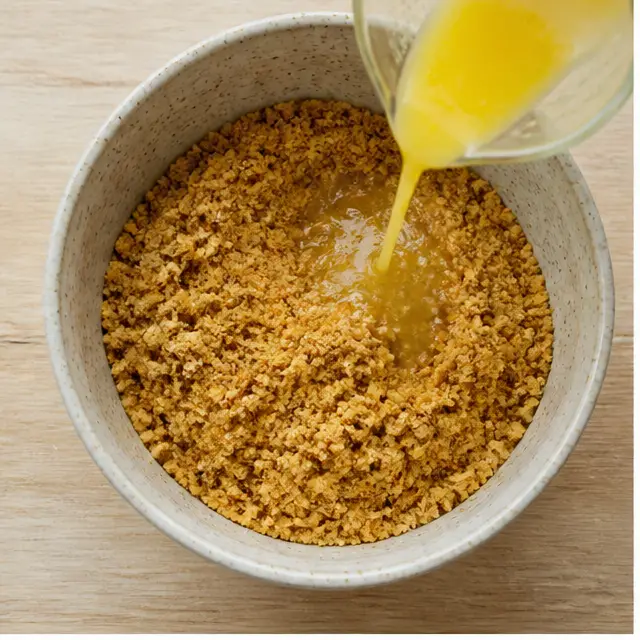
- In a medium bowl, combine the graham cracker crumbs and granulated sugar. Pour the melted butter over the top and stir until all the crumbs are moistened. Set aside 1/3 cup of the mixture to use as a topping later.
- Press the remaining crumb mixture firmly into the bottom of a 9x13-inch pan. Refrigerate the crust while you prepare the filling.
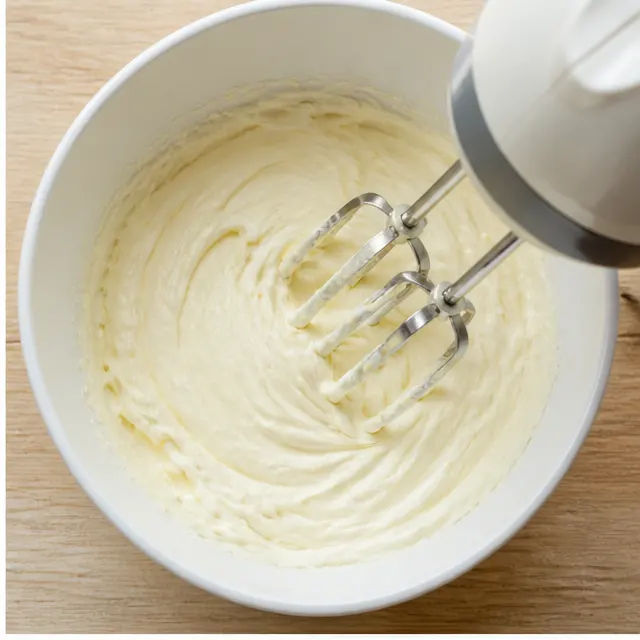
- In a large mixing bowl, beat the softened cream cheese with the confectioners' sugar using an electric mixer until smooth and light, about 1 to 2 minutes. Beat in the vanilla extract.
- Slowly pour the cold heavy cream into the cream cheese mixture, mixing on low speed to prevent splattering. Once the cream is fully incorporated, increase the speed to medium-high and beat until the filling is thick, fluffy, and holds its shape.
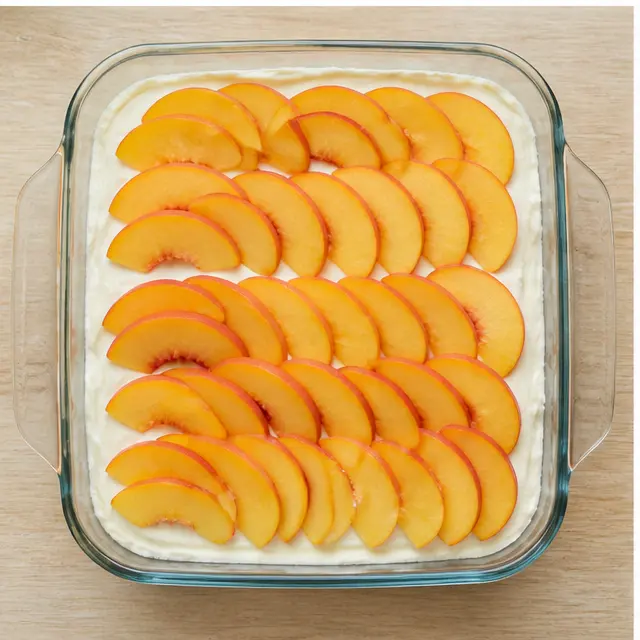
- Spread a little less than half of the cream filling over the chilled crust. Lay the sliced peaches evenly over the filling.
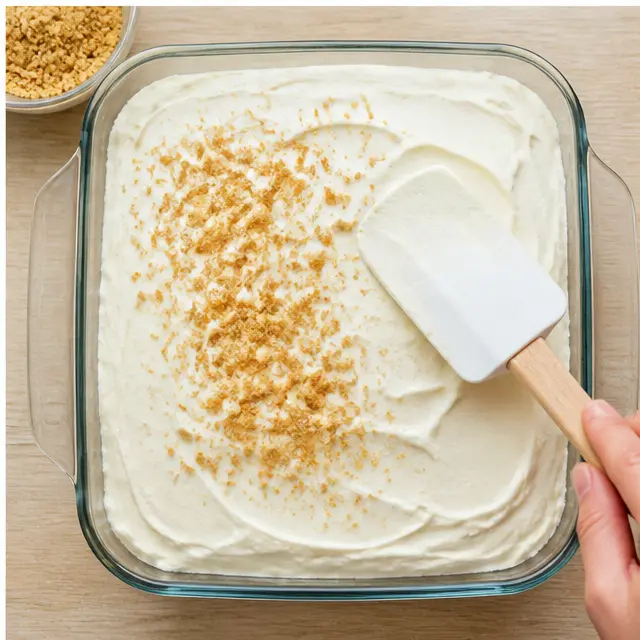
- Drop the remaining cream filling over the peaches in spoonfuls, then spread it gently to the edges to cover the fruit completely. Sprinkle with the reserved graham cracker crumbs. Cover the pan with plastic wrap and chill for at least 2 hours, or up to 12 hours, before serving.
Nutrition
Notes
Tried this recipe?
Let us know how it was!Why You’ll Love This Creamy Cold Peach Dessert
It’s the kind of August afternoon where the kitchen feels like a sauna and the oven is the last place you want to be. The peaches from the farmers market are finally, perfectly ripe, and they’re not going to wait for a cooler day. This cold peach dessert is the fix.
No oven. No sweat. Just a buttery graham cracker crust, a cloud of sweetened cream, and fresh peach slices stacked right in the middle. Honestly, it’s an easy no-bake dessert that tastes like summer in a spoon, and it’s simpler than it has any right to be.
Here’s what you’re getting:
- A creamy cold peach dessert that feeds a crowd straight from a 9×13 pan
- Zero oven heat, which matters when it’s 95 degrees outside
- A make-ahead summer dessert that gets even better after a few hours in the fridge
- That “you made this?!” reaction at the BBQ
This cold peach dessert has become my most-requested summer recipe, the peach cobbler alternative nobody expects. There’s something about the cold, silky filling hitting that little tart edge of fresh peach juice that just works.
Key Ingredients for This Cold Peach Dessert
The ingredient list is short, and you probably have most of it already. For the crust: graham cracker crumbs, a little granulated sugar, and melted butter. That’s it. You press it into the pan, and it firms up in the fridge while you build the filling.
The creamy layer is where this cold peach dessert earns its name. Full-fat cream cheese, confectioners’ sugar, vanilla extract, and cold heavy whipping cream with at least 36% milkfat. That fat percentage matters more than you’d think. It’s what gives you those clean, sliceable layers instead of a puddle.
And then the star of the show: 5 to 6 medium fresh peaches, peeled, pitted, and sliced thin. Ripe peaches are non-negotiable here. You want the ones that smell like summer the second you walk past the bowl.
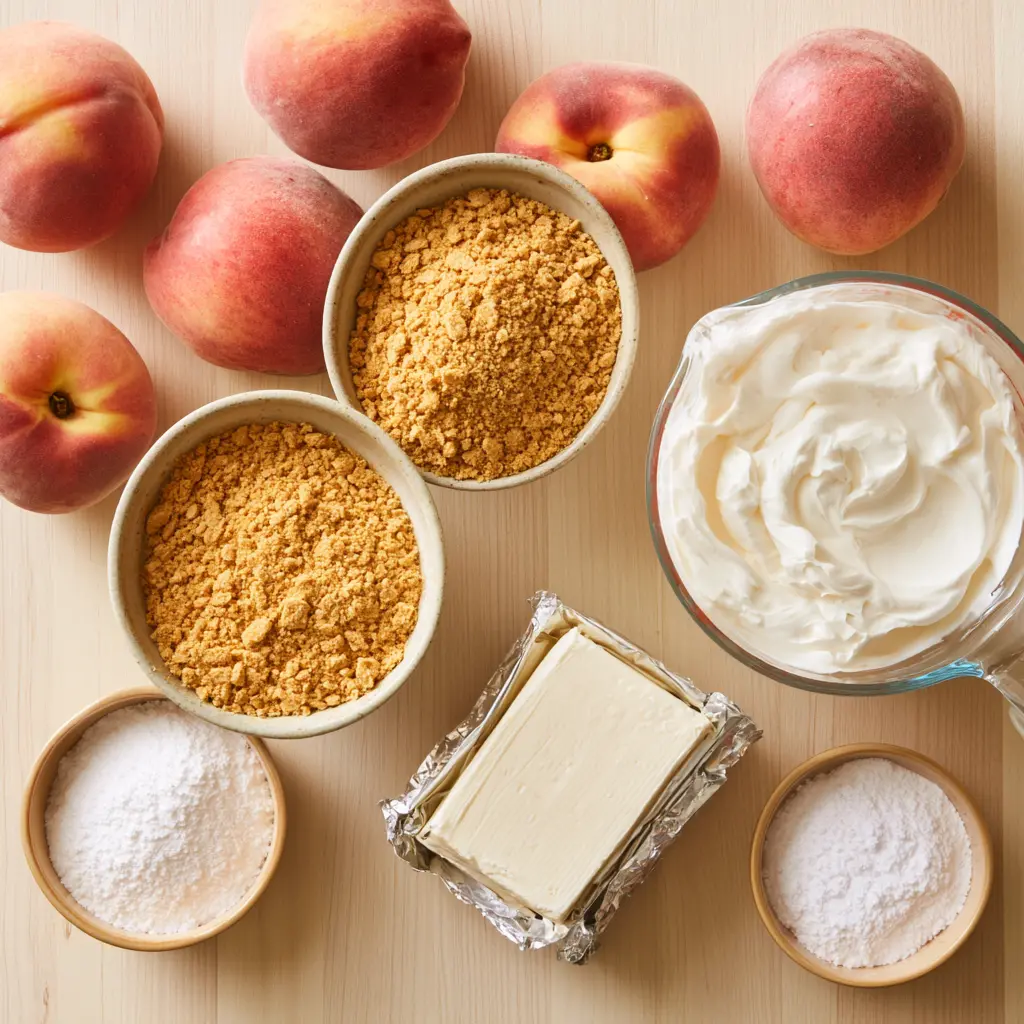
A quick word on peeling. If the thought of standing over the sink with a vegetable peeler makes you sigh, blanch them instead. Drop the peaches in boiling water for 30 seconds, then shock them in ice water. The skins slip right off. It takes less time than finding a good peeler, and it feels weirdly satisfying.
How to Make This Creamy Cold Peach Dessert
Stage 1: Press the Crust
Mix the graham cracker crumbs with the sugar and melted butter until every crumb is moistened. Set aside about a third of a cup for topping later. Press the rest firmly into the bottom of your pan, and I mean firmly. A loose crust crumbles when you cut it, and nobody wants a fork fight over a slice.
Stage 2: Whip the Creamy Filling
Beat the softened cream cheese with the confectioners’ sugar until it’s smooth and light. Softened is doing a lot of work in that sentence. If you skip it, you’ll get lumps. Then beat in the vanilla, pour the cold cream in on low speed, and once it’s incorporated, crank it up. Beat until the filling is thick, fluffy, and holds its shape when you lift the beater.
Stage 3: Layer the Peaches and Cream
Spread a little less than half the filling over the chilled crust. Lay the peach slices evenly across the top. Then drop the remaining filling over the peaches in spoonfuls and spread it gently to the edges. You want the cream to whisper over the peaches, not drown them. Covering the fruit completely also keeps it from browning on you.
Stage 4: Chill and Set
Cover the pan and chill for at least 2 hours, though overnight is even better. The filling needs that time to firm up into clean layers. The first time I made this, I skipped the chill time. Soupy. Beautiful soup, but soup. So no, you can’t skip the chill. Yes, it’s worth it. If it looks loose right now, good, that’s the chill doing its thing.
Tips for the Best No-Bake Peach Dessert
A few things I’ve learned the hard way so you don’t have to:
❌ Using low-fat cream or ignoring the 36% rule → ✅ The filling won’t thicken properly. Heavy whipping cream with at least 36% milkfat whips up light and holds its shape. If you only have lighter cream, whip it to soft peaks first, then fold it into the cream cheese.
❌ Not softening the cream cheese → ✅ Lumpy filling. Let it sit on the counter for 30 minutes before you start. Your arm will thank you.
❌ Peaches that are extremely ripe and sweet, then dumping in all the sugar anyway → ✅ Reduce the confectioners’ sugar by 2 tablespoons. Taste your peaches first, they’ll tell you what to do.
❌ Leaving the top cream layer patchy → ✅ Spread it all the way to the edges. Exposed peach slices oxidize and turn brown, and that’s the saddest thing to see right before serving.
Creamy Cold Peach Dessert Variations
This cold peach dessert is forgiving, and it loves a good swap. Here are some of my favorites:
- Other fruits: Sliced strawberries, raspberries, blueberries, or bananas all work in place of peaches. Juicier fruits need extra draining, or they’ll water out the filling.
- Different crust: Golden Oreos or Nilla Wafers make a fun twist on the classic graham cracker base. Same butter, same press, same chill.
- Canned or frozen peaches: Both work. Thaw frozen peaches and drain them thoroughly. Canned peaches should be drained well and patted dry. Too much liquid ruins the whole thing.
- Light cream cheese: You can sub it, but the filling will be runnier. Full-fat gives the structure that holds everything together.
- Dairy-free: Coco Whip can stand in for the heavy cream if you need a dairy-free version. It won’t set quite as firm, but it’ll still taste great.
And if you’re hunting for more no-bake summer sweets, I’m always pinning fresh ideas over on my Pinterest board. Come browse with me.
Storage and Make-Ahead Instructions
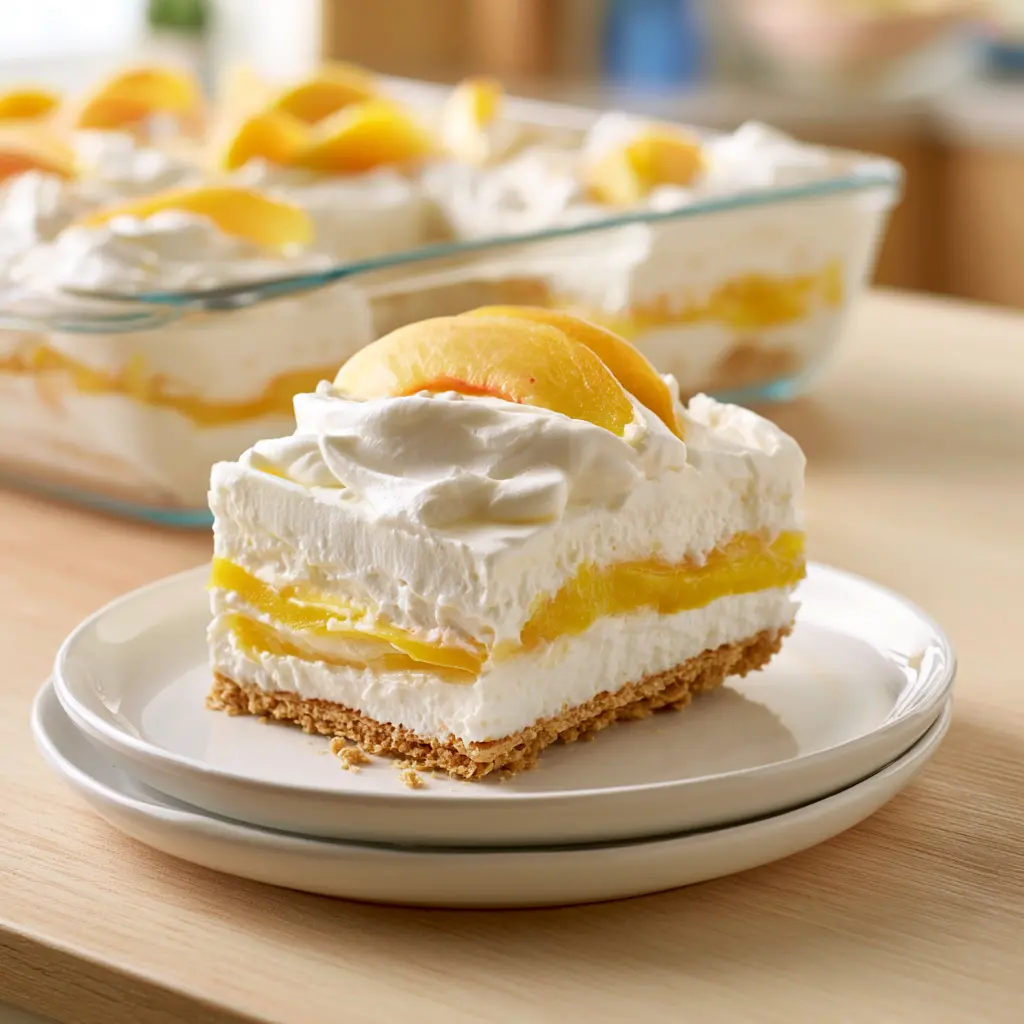
Here’s the beauty of this chilled dessert recipe: it’s built for make-ahead. The 12 to 24 hour window is the sweet spot. Make it the night before, let it chill overnight, and it’s ready when you are. The crust softens slightly but never gets soggy, and the flavors really come together.
- Refrigerate covered for at least 2 hours before serving. Overnight is better.
- Leftovers keep in the fridge, covered, for up to 3 days. The texture is best in the first 2.
- Don’t freeze this one. Cream-based no-bake desserts turn grainy and weepy when they thaw.
Frequently Asked Questions
What Readers Are Saying
This peaches and cream dessert has a 4.81-star average from 196 ratings, and the feedback keeps rolling in. People are loud about this one.
“This was gone in ten minutes at our family dinner. My sister asked for the recipe twice before we cleared the plates.”
“I’ve made this three times this summer. The overnight chill is the secret. Don’t skip it.”
That’s the thing about a great cold peach dessert. It makes you look like you fussed for hours, when really you just pressed some crumbs and whipped some cream. When you set this on the table, tell me how fast it disappears.
Source: Learn More About This Dish