
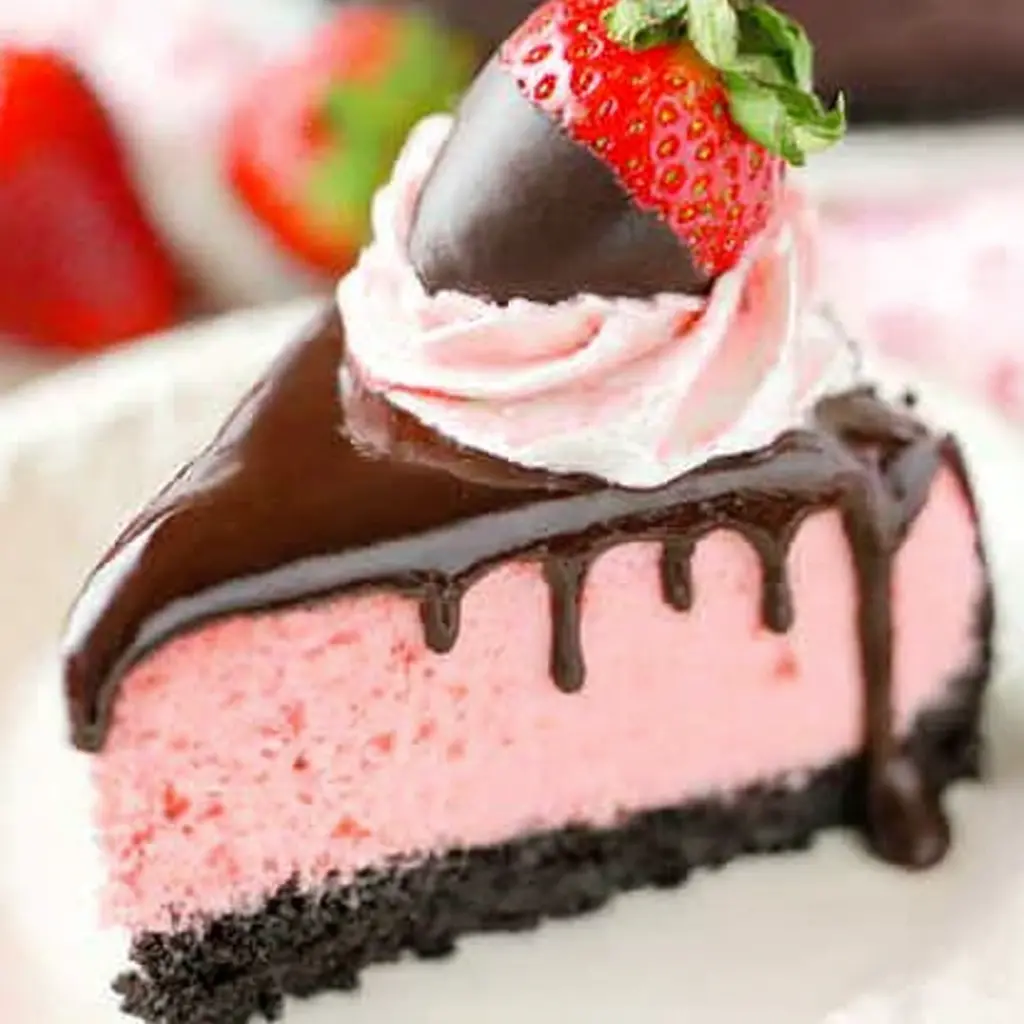
Chocolate Strawberry Cheesecake Layered Cake
Ingredients
Method
- Preheat oven to 325°F (163°C). Line a 9-inch (23cm) springform pan with parchment paper in the bottom and grease the sides.
- Combine the crust ingredients in a small bowl. Press the mixture into the bottom of the springform pan.
- Bake the crust for 10 minutes, then set aside to cool.
- Cover the outsides of the pan with aluminum foil so that water from the water bath cannot get in (see how I prepare a pan for a water bath). Set prepared pan aside.
- Add the strawberries to a food processor or blender and puree until smooth, then strain through a fine mesh sieve to discard the seeds.
- Add the puree to a medium sized saucepan and cook over medium heat. Allow the mixture to come to a boil and continue to boil, stirring consistently to keep it from burning, until it has thickened and reduce to 1/2 cup, about 20 minutes. To measure, pour the puree into a measuring cup. If it’s more than 1/2 cup, add it back to the pan and continue to cook it.
- When the puree has thickened and reduced, pour into a small bowl and allow to cool to at least room temperature. This strawberry mixture can be made ahead, if you like.
- When ready to proceed with the filling, set oven temperature to 300°F (148°C).
- In a large bowl, beat the cream cheese, sugar and flour on low speed until completely combined and smooth. Be sure to use low speed to reduce the amount of air added to the batter, which can cause cracks. Scrape down the sides of the bowl.
- Add the sour cream and mix on low speed until well combined.
- Add the strawberry puree and strawberry extract and mix on low speed until well combined.
- Add the eggs one at a time, mixing slowly to combine after each addition. Scrape down the sides of the bowl as needed to make sure everything is well combined.
- Stir in the red food color to your desired shade of pink.
- Pour the cheesecake batter evenly into the crust.
- Place the springform pan inside another larger pan. Fill the outside pan with enough warm water to go about halfway up the sides of the springform pan. The water should not go above the top edge of the aluminum foil on the springform pan.
- Bake for 1 hour 10 minutes. The center should be set, but still jiggly. See how to tell when your cheesecake is done baking.
- Turn off the oven and leave the door closed for 30 minutes. The cheesecake will continue to cook, but slowly begin to cool as well.
- Crack the door of the oven for 30 minutes to allow the cheesecake to continue to cool slowly. This process helps prevent cracking.
- Remove the cheesecake from the oven and water bath wrapping and refrigerate until firm, 5-6 hours or overnight.
- When the cheesecake is cool and firm, remove from the springform pan and set on a serving plate. See my tips for removing your cheesecake from the pan.
- To make the chocolate ganache, put the chocolate chips in a heat proof bowl.
- Microwave the heavy whipping cream until it just begins to boil, then pour it over the chocolate chips. Allow it to sit for 2-3 minutes, then whisk until smooth.
- Pour the ganache onto the cheesecake and spread into an even layer. Allow to cool and firm.
- To make the whipped cream, add the heavy whipping cream, powdered sugar, and vanilla extract to a large mixer bowl and whip on high speed until stiff peaks form. Add some pink icing color to your desired shade of pink.
- Pipe the whipped cream around the edge of the cheesecake, then top with chocolate covered strawberries. The fresh chocolate covered strawberries are best added fresh before serving, since they can spoil more quickly.
- Refrigerate cheesecake until ready to serve. Cheesecake is best when stored well covered and eaten within 3-4 days.
Nutrition
Notes
Tried this recipe?
Let us know how it was!Why You’ll Love This Chocolate Strawberry Cheesecake Cake
You know that feeling when you want to make something truly special, something that’ll make people’s eyes go wide, but you’re a little worried it’s going to be a weekend-long project? I’ve been there. Honestly, I think we all have. That’s why I love this chocolate strawberry cheesecake cake so much. It looks like you spent days on it, but the process, while it requires some patience, is actually pretty straightforward. It’s the ultimate showstopper for a birthday, Mother’s Day, or honestly, just because you deserve a slice of something amazing.
What you get is this incredible layered dessert. Imagine a rich, creamy cheesecake layer, swirled with real strawberry flavor, sandwiched between two layers of soft, tender chocolate cake. The whole thing is wrapped in a silky chocolate ganache and topped with fresh berries. It’s the best of both worlds, you know? The tangy cream cheese against the deep chocolate, the sweet berry notes cutting through the richness. It’s a masterpiece, and I’m going to walk you through every single step to make sure yours turns out perfectly.
Gathering Your Ingredients & Tools
Before we start, let’s talk ingredients. This is where a lot of recipes go wrong, honestly. Using the right stuff makes all the difference. First up, cream cheese. You have to use full-fat cream cheese. I mean it. The low-fat stuff has more water and stabilizers, and it’ll give you a runny filling and a weepy frosting. It just won’t set up right. Grab the good stuff, like Philadelphia brand, and make sure it’s softened to room temperature. Cold cream cheese will leave lumps no matter how long you mix.
For the strawberries, fresh is best for the chunks inside the cheesecake layer. You want that burst of real fruit. For an intense strawberry flavor throughout the cheesecake itself, I use a bit of strawberry extract. Some recipes suggest puree, but that adds too much liquid and can mess with the setting. If you want that gorgeous pink color and extra berry punch, a freeze-dried strawberry powder is amazing. I get mine from a brand called Honeyberry on Amazon. It’s optional, but it really takes the flavor up a notch without changing the texture.
As for tools, a 9-inch springform pan is non-negotiable. It’s the only way to cleanly release this layered beauty. You’ll also want a stand mixer or a very good hand mixer for the cheesecake batter, and a separate bowl for the cake layers. A food processor makes quick work of the Oreo crust, but if you don’t have one, no worries. I’ve got a trick for that.
The Step-by-Step Process: Building Your Masterpiece
We’re going to build this chocolate strawberry cheesecake cake in stages. Don’t let that intimidate you. Think of it like meal prep for a dessert. Breaking it down makes it totally manageable.
First, the Oreo crust. This is your foundation. You’re going to blitz up those Oreos, mix them with melted butter, and press them firmly into the bottom of your springform pan. A good tip? Use a flat-bottomed glass or measuring cup to press it down evenly. You want it compact. This goes into the oven for just 10 minutes to set. That quick bake gives it a head start so it doesn’t get soggy from the cheesecake filling later.
Next is the star: the strawberry cheesecake layer. This is where room temperature ingredients are your best friend. Beat that softened cream cheese until it’s completely smooth. I’m talking no lumps at all. Then you’ll add the sugar, sour cream, a touch of flour (this helps stabilize it), and that strawberry extract. The eggs go in last, one at a time, and you mix just until they’re incorporated. Over-beating the eggs incorporates too much air and can cause cracks. Gently fold in your chopped fresh strawberries and a little red food coloring if you’re using it. Pour this over your pre-baked crust.
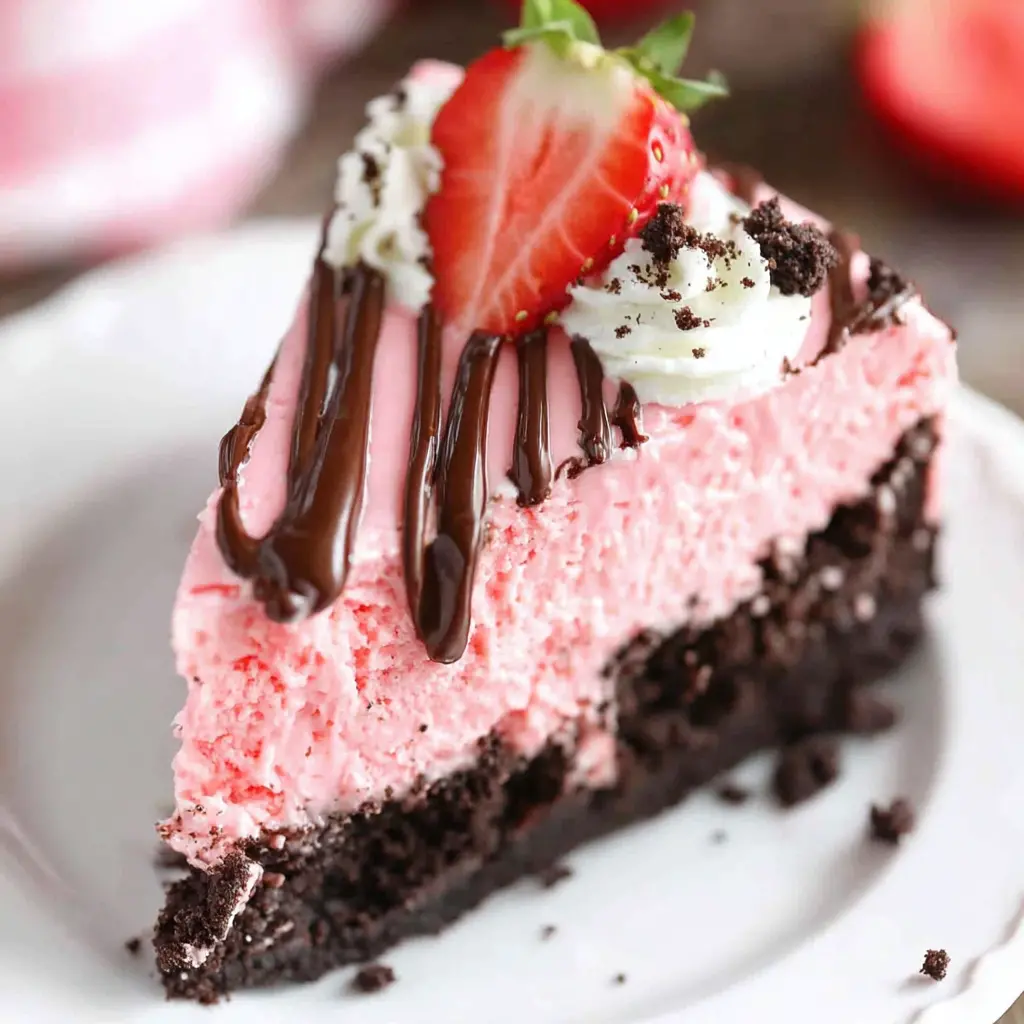
Now, here’s a pro move for a crack-free top: the water bath. Place your springform pan inside a larger roasting pan. Pour hot water into the roasting pan until it comes about halfway up the sides of the springform. This creates a gentle, steamy environment in the oven that cooks the cheesecake evenly and prevents the top from drying out and cracking. Bake it until the edges are set but the center still has a slight jiggle, like Jell-O. Then, you turn the oven off, crack the door, and let it cool slowly inside for an hour. This gradual temperature change is another crack-prevention secret.
While the cheesecake cools completely, you can bake your chocolate cake layers. It’s a simple, one-bowl recipe using cocoa powder for that rich chocolate flavor. Let them cool completely, too. Rushing this step is a common mistake. Warm cake layers will melt your frosting and make a mess.
Assembly, Frosting, and the Grand Finale
Once everything is stone-cold, the fun begins. Place one chocolate cake layer on your serving plate. Spread a thin layer of the strawberry cream cheese frosting on top. Carefully remove the cooled cheesecake from the springform pan and place it right on top of the frosted cake layer. Spread another thin layer of frosting on the cheesecake, then top with the second chocolate cake layer.
Now, apply a thin “crumb coat” of frosting over the entire cake. This is just a light layer that traps any loose crumbs. Pop the whole thing in the fridge for about 30 minutes to set. This makes the final frosting step so much cleaner. After it’s chilled, pile on the rest of your strawberry frosting and smooth it out.
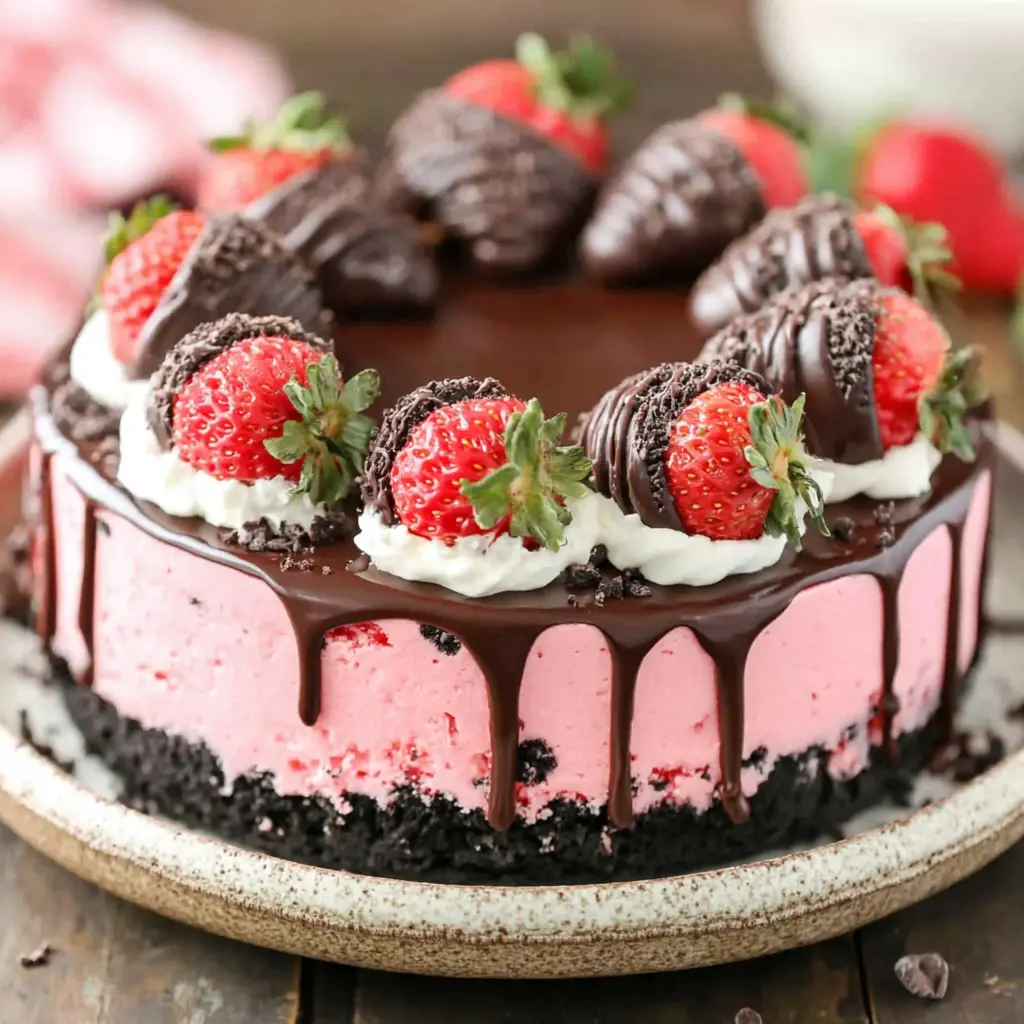
The final touch is the chocolate ganache. Heat your heavy cream until it’s just simmering, then pour it over the semi-sweet chocolate chips. Let it sit for a minute, then stir until it’s gloriously smooth and shiny. Let it cool slightly so it thickens a bit, then pour it over the top of your frosted cake, encouraging it to drip down the sides artfully. Top with chocolate-covered strawberries, and maybe a few fresh strawberry halves. Honestly, it’s a sight to behold.
Common Mistakes & Fixes
Mistake: The cheesecake layer is runny or didn’t set.
Solution: You probably used low-fat cream cheese or didn’t chill it long enough. Always use full-fat and chill the assembled cake overnight. It’s not a suggestion, it’s a requirement for the perfect texture.
Mistake: The cake layers are dry or tough.
Solution: Over-mixing the cake batter develops the gluten in the flour. Mix the dry ingredients in just until you no longer see streaks of flour. A few small lumps are okay.
Mistake: The frosting is too soft and runny.
Solution: This happens if your butter or cream cheese was too warm, or if you tried to add strawberry puree instead of extract or powder. Make sure your ingredients are cool, and use powdered flavorings for the best consistency.
Mistake: The crust is soggy.
Solution: You skipped the pre-bake for the crust. That 10 minutes in the oven is crucial to create a moisture barrier before the wet filling goes on top.
Expert Tips for the Perfect Chocolate Strawberry Cheesecake Cake
I’ve made this more times than I can count, and you know, you pick up little tricks along the way. First, softening cream cheese. If you forgot to take it out of the fridge, cut the blocks into small cubes and microwave them in 15-second bursts. Watch it closely. You just want it soft, not melted and oily.
For the Oreo crust, if you don’t have a food processor, put the cookies in a heavy-duty zip-top bag and go to town with a rolling pin. It’s a great stress reliever, and you’ll get fine crumbs. I use the whole Oreo, filling and all. It takes about half a standard package to get the 2 cups of crumbs you need.
When you’re baking the cheesecake, don’t panic if you see a small crack or two around the edge. It happens sometimes, even with a water bath. That’s what the beautiful frosting and ganache are for. They cover a multitude of sins, honestly. The goal is creamy, delicious perfection on the inside.
And about that chilling time. I know it’s hard to wait. You’ve created this beautiful thing and you want to dive in. But the overnight chill in the fridge is magic. It allows the cheesecake to fully set and the flavors to meld together beautifully. Slicing into a properly chilled chocolate strawberry cheesecake cake gives you those clean, sharp layers. It’s worth the wait, I promise.
Make-Ahead, Storage, and Serving Suggestions
This cake is actually a fantastic make-ahead dessert, which makes it perfect for entertaining. You can bake the cheesecake layer and the chocolate cake layers up to two days in advance. Wrap them tightly in plastic wrap and store them in the fridge (cheesecake) or at room temperature (cake layers). Assemble and frost the cake the day before your event. The flavors just get better.
Once assembled, the uncut cake will keep beautifully in the refrigerator for 3 to 4 days. Just make sure it’s covered or in a cake carrier. After you’ve cut into it, place any leftover slices in an airtight container to keep them from drying out.
For serving, use a sharp, thin-bladed knife. Run it under hot water, wipe it dry, and make your slice. The warm knife glides through the cold layers like a dream, giving you that picture-perfect cross-section. Serve it straight from the fridge. The cool, creamy texture is part of the experience.
Frequently Asked Questions
Your New Go-To Celebration Dessert
When you serve this chocolate strawberry cheesecake cake at your next gathering, get ready for the compliments. It’s that kind of dessert. It has the wow factor of a bakery cake with the heart of a homemade treat. The process might seem involved, but each step is simple, and the result is so incredibly rewarding.
You’ve got all the tips, the tricks, and the reasons why each step matters. Trust the process, especially the chilling time. I mean, you’ve come this far. The final wait is the easiest part. Slice into that beautiful layered creation, serve it up, and enjoy every single bite. You’ve absolutely earned it.
For more decadent dessert inspiration and plating ideas, check out my Pinterest boards. I’m always pinning new twists on classics.
Source: Nutritional Information