


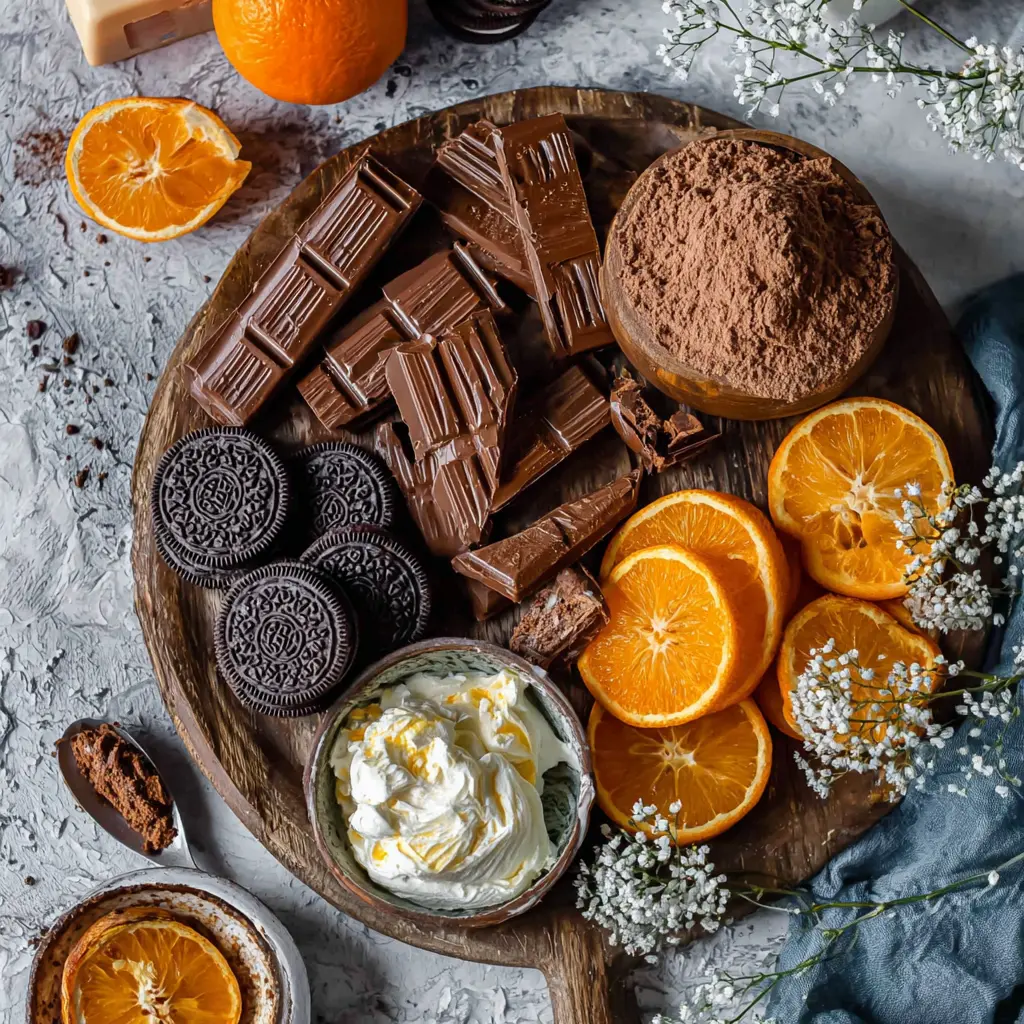
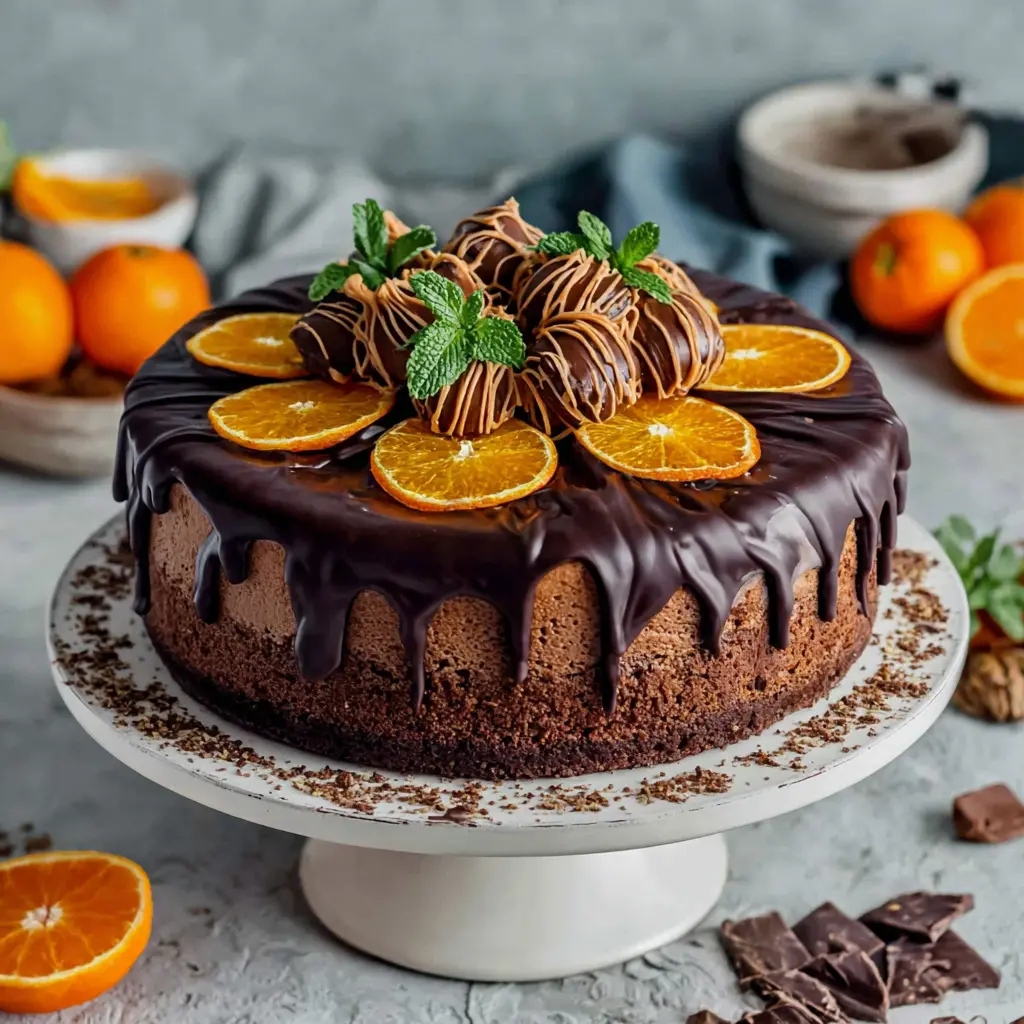
Chocolate Orange Cheesecake Cake
Ingredients
Method
- Lightly spray an 8-inch springform pan with nonstick spray. Line the bottom and sides with parchment paper.
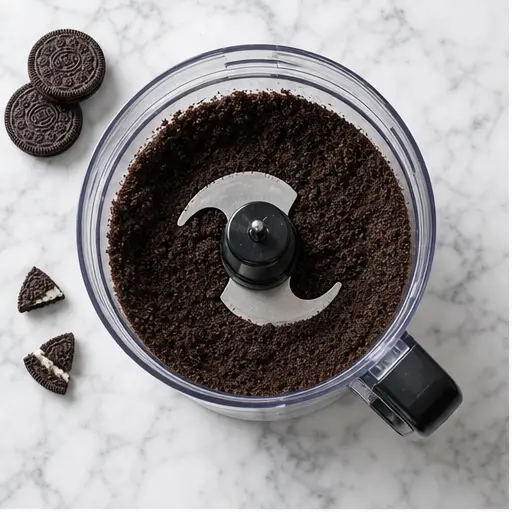
- Pulse the Oreo cookies in a food processor until fine crumbs form. Alternatively, crush them in a sealed bag with a rolling pin.
- Mix the crumbs with melted butter until the mixture looks like wet sand.
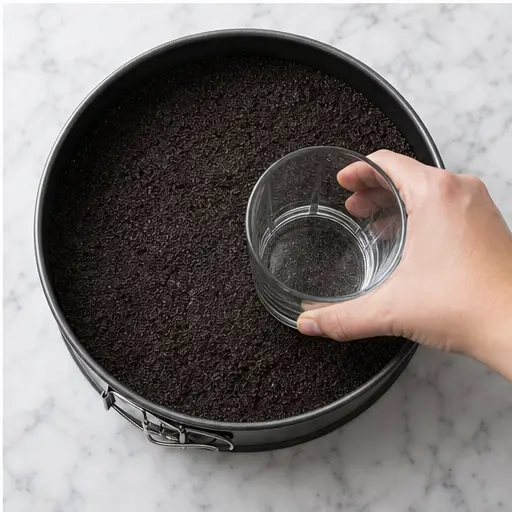
- Press the crumb mixture firmly into the bottom of the prepared pan. Place in the fridge or freezer to chill while you make the filling.
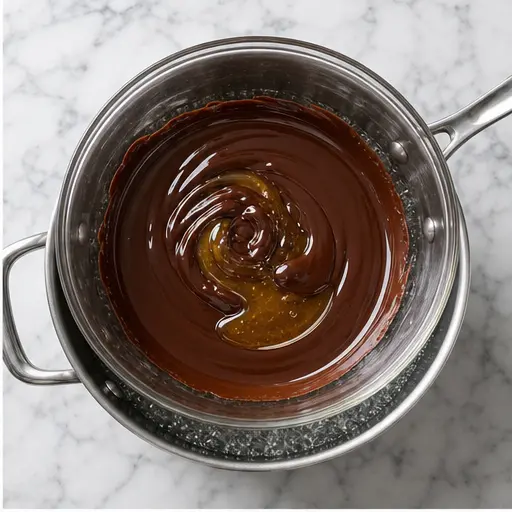
- Break the chocolate orange bar into small pieces and place in a heatproof bowl with the golden syrup. Set the bowl over a saucepan of barely simmering water, ensuring the bottom does not touch the water. Stir until smooth and melted. Let cool slightly.
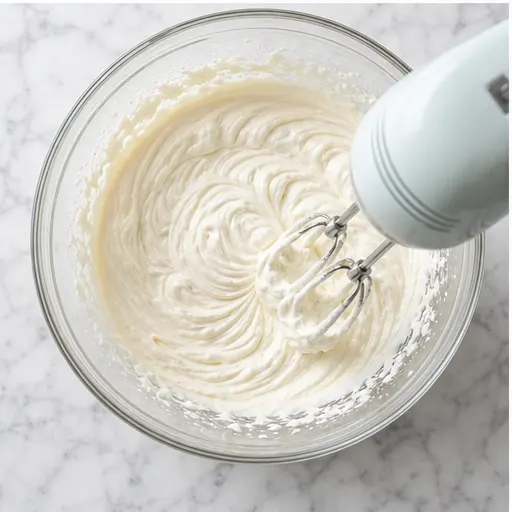
- In a large mixing bowl, beat the mascarpone and half of the heavy cream on medium speed until smooth and combined.
- Add the melted chocolate mixture and the remaining cream. Beat until the filling is smooth and holds soft peaks.
- Fold in the orange zest and 2 tablespoons of orange juice.
- Spoon the filling over the chilled crust and spread evenly with a spatula. Refrigerate for at least 6 hours, or overnight, until firm.
- For the topping, melt the chocolate orange bar and butter together in a double boiler as before. Stir until smooth and let cool slightly.
- Carefully remove the cheesecake from the pan and peel off the parchment. Smooth the sides with a bench scraper if desired. Transfer to a serving plate.
- Pour the melted chocolate topping over the cheesecake and spread gently to cover the top.
- Decorate with orange zest strips, Terry's Chocolate Orange segments, and chocolate sprinkles. Slice with a large knife, wiping it clean between cuts.
Nutrition
Notes
Tried this recipe?
Let us know how it was!Why You’ll Love This Chocolate Orange Cheesecake Cake
I still remember the first time I tried to make a layered dessert for a party. It was a total disaster. The cake slid right off the plate, the filling oozed out the sides, and I spent twenty minutes trying to salvage something that looked vaguely presentable. My friends were kind about it, but I knew. I knew I needed a better approach.
That’s where this Chocolate Orange Cheesecake Cake comes in. It’s the dessert that finally made me feel like I knew what I was doing in the kitchen. The no-bake cheesecake filling is incredibly forgiving, the chocolate and orange flavors work together in a way that feels both classic and surprising, and the whole thing comes together without a water bath or a complicated baking schedule. Honestly, it’s the kind of recipe that makes you look like a hero with minimal stress.
You get a rich, dark Oreo crust, a creamy mascarpone filling infused with fresh orange zest and juice, and a glossy chocolate topping that cracks just a little when you slice into it. Each bite has that perfect balance of tangy citrus and deep cocoa. It’s the kind of dessert that makes people close their eyes when they eat it.
And here’s the best part: you can make it a day ahead. Actually, I’d argue it’s better that way. The flavors meld together overnight, and the texture firms up just right for those clean, Instagram-worthy slices.
Key Ingredients
Let me walk you through what makes this Chocolate Orange Cheesecake Cake work. I’m a big believer in understanding why each ingredient matters. It’s not just about following a list, it’s about knowing what each component does so you can adjust and troubleshoot as you go.
The Crust: We’re using Oreo cookies here, about 22 of them. The chocolate cookie with the cream filling gives you that dark, almost black base that contrasts beautifully with the pale filling. You can use the whole cookie, cream and all. Just pulse them in a food processor until they’re fine crumbs, then mix with melted butter. The mixture should look like wet sand. Press it firmly into the bottom of your springform pan. I like to use the bottom of a glass to really compact it.
The Filling: This is where the magic happens. You’ll need mascarpone cheese, which is creamier and less tangy than cream cheese. It gives the filling a silky, almost luxurious texture. Heavy cream adds structure and lightness. Golden syrup (or light corn syrup) helps stabilize the chocolate mixture and keeps it from seizing. And of course, the chocolate orange candy bar is the star. I use Terry’s Chocolate Orange for that distinct flavor, but any good quality chocolate orange bar works. Fresh orange zest and juice brighten everything up and keep it from being too heavy.
The Topping: Another chocolate orange bar melted with a little butter. Simple, but it creates a glossy, rich ganache that pours beautifully over the chilled cheesecake.
The Decoration: Segments of Terry’s Chocolate Orange, strips of orange zest, and chocolate sprinkles. This is where you can get creative, but I find the classic look is hard to beat.
Ingredient Substitutions
I get it, sometimes you can’t find exactly what the recipe calls for. Here’s how to swap things out without losing the magic.
- Mascarpone: You can use full-fat cream cheese instead. The texture will be slightly tangier and a bit firmer, but it’ll still work beautifully. Just make sure it’s room temperature before mixing.
- Chocolate Orange Candy Bar: If you can’t find one, use 7 ounces of dark chocolate (around 60-70% cocoa) and add 1/2 teaspoon of orange extract to the melted mixture. It won’t be exactly the same, but it’ll get you close.
- Golden Syrup: Light corn syrup is the easiest swap. Honey might work, but it’ll change the flavor a bit. I’d stick with corn syrup if you can.
- Oreos: Any chocolate sandwich cookie with cream filling will do. If you use graham crackers, you’ll need to add a bit more melted butter to help it bind.
- Oranges: Meyer lemons could be a fun twist, though I haven’t tested it myself. The flavor would be more floral and less sweet.
How to Make Chocolate Orange Cheesecake
Alright, let’s walk through the process. I’ll break it down into four main stages so you can see the flow. The recipe card above has the full details, but here I want to explain the why behind each step.
Stage 1: Build the Crust
Start by spraying your 8-inch springform pan with nonstick spray. Then line the bottom and sides with parchment paper. This step is non-negotiable if you want clean release later. The parchment should come up about an inch above the rim to help you lift the cheesecake out if needed.
Pulse those Oreos until they’re fine crumbs. I’ve also done the old-fashioned method of putting them in a sealed bag and crushing with a rolling pin. Both work, but the food processor is faster and gives you more consistent results. Mix the crumbs with melted butter until it looks like wet sand. Press it firmly into the bottom of the pan. I use the bottom of a measuring cup to really pack it down. Pop it in the fridge or freezer while you make the filling.
Stage 2: Make the Filling
Break the chocolate orange bar into small pieces and put them in a heatproof bowl with the golden syrup. Set the bowl over a saucepan of barely simmering water. Make sure the bottom of the bowl doesn’t touch the water. Stir gently until everything is smooth and melted. Let it cool slightly while you work on the mascarpone.
In a large mixing bowl, beat the mascarpone with half of the heavy cream on medium speed. You want it smooth and combined, no lumps. Then add the melted chocolate mixture and the remaining cream. Beat until the filling is smooth and holds soft peaks. This usually takes about 2-3 minutes with a hand mixer. Finally, fold in the orange zest and 2 tablespoons of orange juice. The zest adds that bright citrus aroma, and the juice balances the richness.
Stage 3: Assemble and Chill
Spoon the filling over the chilled crust and spread it evenly with a spatula. Give the pan a gentle tap on the counter to release any air bubbles. Then refrigerate for at least 6 hours. Overnight is better. I know it’s hard to wait, but the longer it sets, the cleaner your slices will be.
This is where patience pays off. I once tried to rush the cooling process and cut into it after only 4 hours. Total disaster. The filling was still soft, and the slices looked like a melted mess. Learn from my mistake. Give it the full time.
Stage 4: Finish and Decorate
Once the cheesecake is fully set, make the topping. Melt another chocolate orange bar with butter in the same double boiler method. Stir until smooth. Let it cool slightly so it’s pourable but not hot.
Carefully remove the cheesecake from the springform pan. Peel off the parchment paper. If the sides look a little rough, you can smooth them with a bench scraper. Transfer the cheesecake to a serving plate. Pour the melted chocolate topping over the center and spread it gently to cover the top. Let it drip down the sides naturally, that’s part of the charm.
Decorate with orange zest strips, Terry’s Chocolate Orange segments, and chocolate sprinkles. Slice with a large knife, wiping it clean between cuts. That’s the secret to those perfect, photogenic slices.
Expert Tips for Perfect Results
I’ve made this Chocolate Orange Cheesecake Cake more times than I can count. Here are the things I’ve learned along the way.
- Room temperature ingredients matter. Take the mascarpone out of the fridge about 30 minutes before you start. Cold mascarpone creates lumps that are hard to get rid of.
- Don’t overbeat the filling. Once it holds soft peaks, stop. Overbeating can make it grainy or cause it to separate.
- Chill the cheesecake for at least 8 hours overnight. This is the number one tip for clean slices. The filling needs time to firm up completely.
- Use full-fat mascarpone and heavy cream. Low-fat versions have too much water and won’t set properly.
- Wipe your knife between slices. This keeps the chocolate topping from smearing onto the white filling. It makes a huge difference visually.
- Let the topping cool slightly before pouring. If it’s too hot, it’ll melt the top of the cheesecake. If it’s too cold, it won’t spread evenly.
Make Ahead and Storage
This is the perfect make-ahead dessert. In fact, I think it’s better made a day in advance. The flavors have time to meld, and the texture firms up beautifully.
To make ahead: Prepare the cheesecake completely through the chilling step. Cover it with plastic wrap and refrigerate for up to 2 days before adding the topping and decorations. Add the topping and garnishes on the day you plan to serve it for the freshest look.
Storage: Leftover cheesecake can be stored in the refrigerator, covered, for up to 3 days. The crust might soften slightly over time, but it’ll still taste amazing. I don’t recommend freezing this one, the texture of the mascarpone filling can become a bit icy.
To serve: Take the cheesecake out of the fridge about 15 minutes before slicing. This takes the chill off and makes cutting easier. Use a large, sharp knife and wipe it clean between each cut.
If Your Cheesecake Develops a Crack
I know this is a no-bake cheesecake, so cracks aren’t as common, but they can still happen if the filling is overbeaten or if the cake shifts while chilling. Here’s what to do.
If you see a small crack on the surface: Don’t panic. The chocolate topping will cover it completely. Just pour the ganache over the top and spread it gently. No one will ever know.
If the crack is large or the filling separates: This usually happens when the filling is overbeaten or the mascarpone was too cold. You can try to smooth it with a spatula, but if it’s really bad, you might need to start over. To prevent this, always beat the filling just until it holds soft peaks, and make sure your mascarpone is at room temperature.
If the crust crumbles when you slice: This means the crust wasn’t pressed firmly enough or it didn’t chill long enough. Next time, use a flat-bottomed glass to really compact the crumbs. And give it at least 30 minutes in the freezer before adding the filling.
Recipe FAQs
What to Serve with This Cheesecake
This Chocolate Orange Cheesecake Cake is rich enough to stand on its own, but a few thoughtful accompaniments can elevate it even further. A dollop of lightly sweetened whipped cream adds a nice airy contrast. Fresh berries, especially raspberries or sliced strawberries, bring a bright tartness that cuts through the richness.
For drinks, a cup of strong coffee or espresso is a classic pairing. The bitterness balances the sweetness beautifully. If you’re serving it at a spring gathering, a tall glass of cold milk works surprisingly well too. It’s simple, but sometimes simple is exactly right.
I’ve also served this alongside a light lemon sorbet for a refreshing contrast. The citrus notes in both desserts play off each other without competing. It’s a great way to end a heavy meal.
Final Thoughts
I hope this Chocolate Orange Cheesecake Cake becomes as much of a go-to for you as it has for me. It’s one of those recipes that feels special enough for birthdays and holidays, but is simple enough for a random weekend when you just want something beautiful to eat.
The combination of creamy mascarpone, bright orange, and rich chocolate is honestly hard to beat. And the fact that it’s no-bake? That’s just a bonus. No water baths, no worrying about cracks, no complicated timing. Just a stunning dessert that tastes as good as it looks.
If you try it, I’d love to hear how it goes. Comment below with your flavor variations or any questions you have. I read every single one, and I’m always excited to see what you create. Happy baking, friends!
Source: Health & Nutrition Research


