
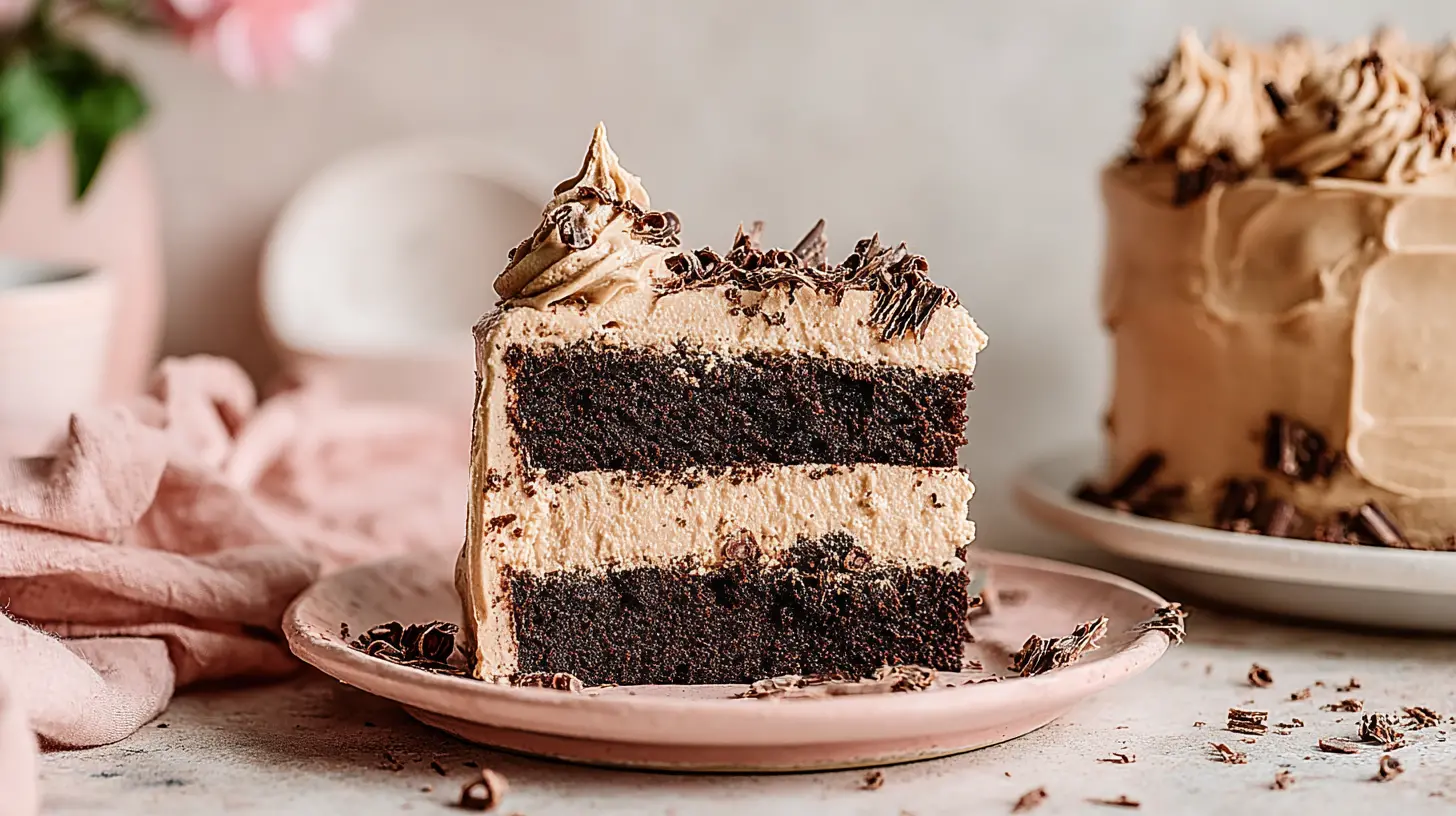
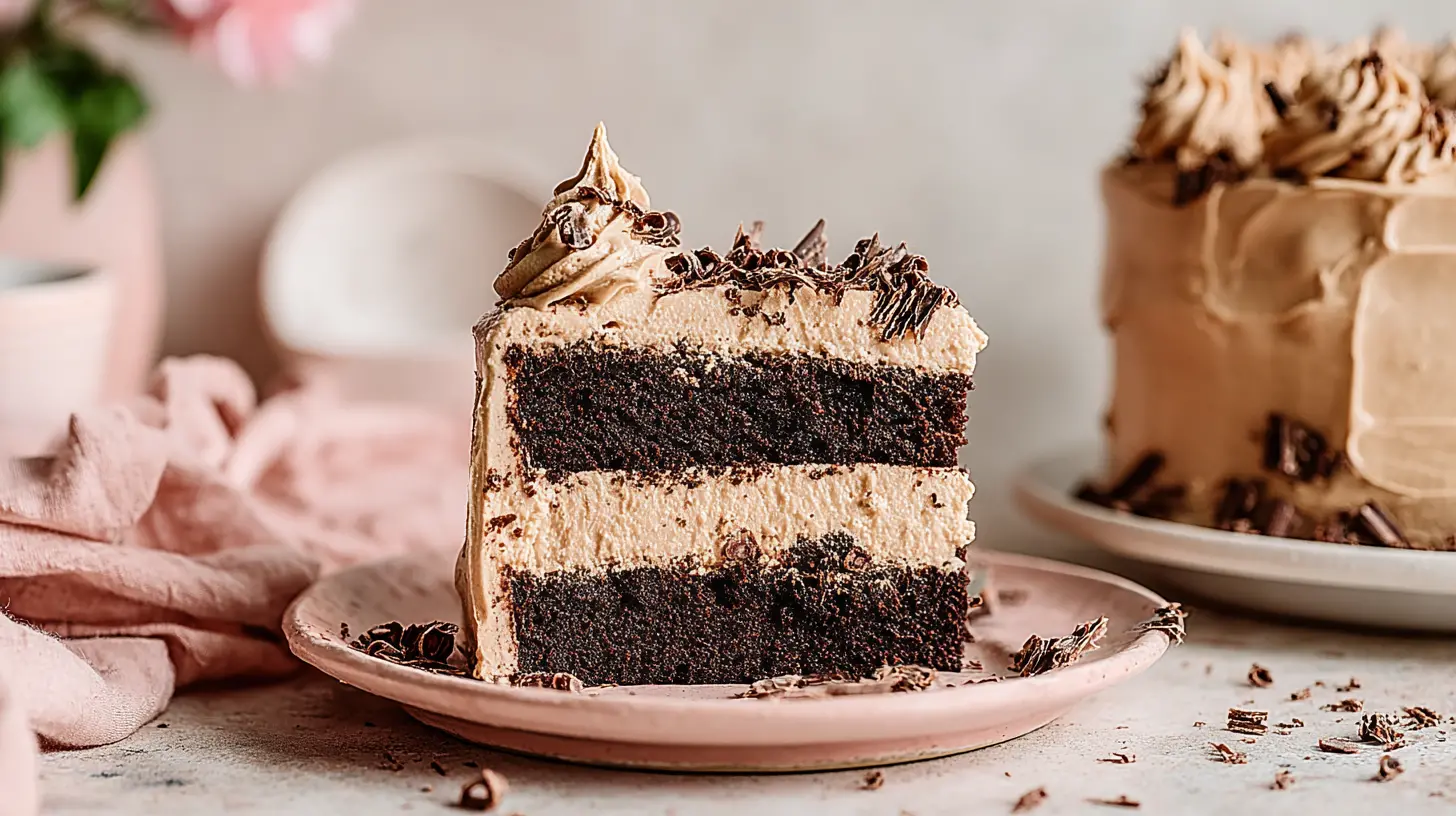
Impressive Chocolate Espresso Layer Cake & Curls
Ingredients
Method
- Preheat the oven to 350°F. Spray the bottoms of three 8-inch round cake pans with non-stick spray.
- Sift together flour, sugar, cocoa powder, baking powder, baking soda, and salt in a bowl, then whisk until completely combined.
- In another large bowl, whisk together eggs, milk, sour cream, oil, vanilla, and espresso powder until smooth. Add the dry ingredients to the wet mixture and whisk for about 30 seconds until well combined and mostly lump-free.
- Divide the batter evenly among the pans. Lightly tap the pans on the counter a few times to release large air bubbles. Bake the cakes on the center rack for 25-30 minutes, or until a toothpick inserted into the center comes out clean or with moist crumbs, and the tops spring back when gently touched.
- Place the pans on a cooling rack, cover loosely with a clean kitchen towel, and cool completely before frosting.
- In the bowl of a stand mixer fitted with the whisk attachment, beat the butter for one minute until smooth.
- With the mixer on low speed, add the powdered sugar and meringue powder, mixing to combine.
- Separately, stir together vanilla, cream, and espresso powder until the espresso is completely dissolved, then add this mixture to the mixing bowl.
- Whip the buttercream on medium speed for 4-5 minutes, scraping the bowl occasionally, until very light and fluffy.
- Stack and fill the cooled cakes with buttercream. Apply a thin crumb coat of buttercream all over the cake. Chill in the refrigerator for 30 minutes, then finish frosting the cake with a final layer of buttercream.
- Use a double boiler (a heatproof bowl set over a saucepan of simmering water) to melt the chocolate and shortening, stirring until smooth. Remove from heat.
- Pour the melted chocolate and shortening onto the bottom side of a 9x13 glass baking dish. Use an offset spatula to spread the chocolate into a thin layer, extending to the edges.
- Place the pan in the refrigerator and chill for several minutes, until the chocolate is firm and no wet patches remain in the center.
- Remove the pan from the refrigerator. Using a putty knife or bench scraper, hold it at a 45-degree angle and push the chocolate away from you, allowing it to curl up. Make curls as wide or narrow as desired (e.g., 1/4-1/2 inch wide).
- If the chocolate flakes instead of curling, it is too cold; wait 20-30 seconds and try again. If the chocolate pushes up in sheets instead of curling, it is too warm; return the pan to the refrigerator for 45-60 seconds and try again.
- Work quickly but be patient; expect to return the pan to the refrigerator several times throughout the process.
- As you create curls, use tweezers to transfer them to a container. Cover and refrigerate until needed, then use tweezers to place them on your cake to prevent melting from finger heat.
Nutrition
Notes
- Make in Advance.
- The baked cakes can be wrapped individually in plastic wrap and frozen until needed. Let thaw overnight at room temperature before frosting your cake.
- Buttercream also freezes very well, if you need to make it in advance. Freeze in a plastic freezer bag, thaw in the refrigerator overnight, then let come to room temperature to frost your cake.
- The chocolate curls should be kept refrigerated until you’re ready to place them on your cake.
- Leftover cake should be stored in an airtight container or cake carrier, at room temperature, for up to 5 days.
Tried this recipe?
Let us know how it was!Why This Chocolate Espresso Layer Cake is Your Next Obsession
Honestly, who doesn’t love a really good chocolate cake? But when you add that deep, bold coffee hit? That’s when it becomes something truly special, something unforgettable. I mean, we’re talking about a rich, moist, and intensely flavored Chocolate Espresso Layer Cake that just screams “special occasion,” even if your occasion is just a Tuesday night treat.
I know what you’re probably thinking. A layer cake? That sounds like a lot of work, right? Maybe a little intimidating? Trust me, I get it. Multi-layered desserts can feel like a big project. But I’ve broken this down into super manageable steps, and you’ll find it’s easier than you think to create this showstopper. You’ve got this, I promise.
This isn’t just any chocolate cake. It’s a decadent coffee chocolate dessert cake that marries the deep flavor of cocoa with the robust kick of espresso powder. It’s perfect for spring gatherings, a sophisticated alternative to those lighter, fruit-based desserts you see everywhere. It’s an elegant dessert that will absolutely impress everyone who tries it.
Chocolate Espresso Cake: A Quick Overview to Get You Started
Before we dive into the nitty-gritty, let’s talk about what makes this Chocolate Espresso Layer Cake so amazing. The secret, I think, lies in a few key areas. First, we’re building a rich espresso cocoa sponge that’s incredibly moist. Then, there’s a delicate coffee soak, which is a little pro tip that makes all the difference.
Finally, we’re going to whip up a dreamy espresso buttercream. You’ll end up with a dark mocha cake slice that’s perfectly balanced in flavor and texture. It’s a homemade cake that tastes like it came from your favorite Los Angeles bakery, maybe even better. It’s truly a rewarding challenge to conquer, you know?
Here’s what I wish someone had told me when I first started baking layer cakes: organization is your best friend. Get all your ingredients out, read through the recipe twice, and you’ll feel so much more confident. This isn’t being fussy, it’s the difference between a smooth baking experience and, well, a little kitchen chaos.
Ingredients You’ll Need for This Bold Espresso Cake
Okay, let’s talk ingredients. Quality matters here, but you don’t need to break the bank. You’ll find most of these staples at your local Ralphs or Vons, and maybe a quick trip to Trader Joe’s for some good chocolate.
For the cake layers, we’re looking at all-purpose flour, granulated sugar, unsweetened Dutch-processed cocoa powder, baking powder, baking soda, and coarse Kosher salt. Then, for that essential moisture, we’ll use large eggs, whole milk, sour cream, vegetable oil, and vanilla extract. And, of course, the star: instant espresso powder for that deep coffee chocolate dessert flavor.
For the espresso buttercream, you’ll need unsalted butter, powdered sugar, meringue powder (which helps stabilize it, trust me!), more vanilla extract, whole milk or cream, and more instant espresso powder. Finally, for the chocolate ganache, you’ll want good-quality chocolate, chopped, and a touch of vegetable shortening for shine and stability. This is what gives it that beautiful, velvety texture.
Natural vs. Dutch-Process Cocoa: What’s the Difference?
This is important, I think. This recipe calls for unsweetened Dutch-processed cocoa powder. The thing is, Dutch-processed cocoa has been treated with an alkali, which neutralizes its acidity. This gives it a darker color and a milder, less bitter chocolate flavor. It also reacts differently with leavening agents.
Natural cocoa powder, on the other hand, is acidic. If you wanted to substitute it, you’d need to adjust the baking soda and baking powder in the recipe. For this Chocolate Espresso Layer Cake, sticking with Dutch-processed cocoa is crucial for the intended flavor and rise. It’s just right for that rich flavor we’re after.
Make sure your cocoa powder, like your flour, is measured correctly. Spoon it into your measuring cup and then level it off. Don’t pack it in there, you know? That’s a common mistake that can lead to a dry, dense cake, and we definitely don’t want that.
How to Make Chocolate Espresso Layer Cake
Alright, it’s time to get baking! Don’t be intimidated by the steps; we’re going to take it slow. Remember to have all your ingredients at room temperature. This is a game-changer, honestly. Room temperature butter, eggs, and milk incorporate so much better, giving you a smoother batter and a more perfectly tender cake.
I mean, I’ve had my share of curdled batters when I rushed this step, and it’s just not worth it. So, pull everything out maybe an hour or two before you start. You’ll thank yourself later, I promise.
Prepare the Mocha Cake Layers
First things first, preheat your oven. And here’s a pro tip: use an oven thermometer. Ovens can be off by many degrees, and an accurate temperature is key for even baking. Nobody wants an underbaked or overbaked cake. Also, make sure your baking powder is fresh; you can test a small amount in boiling water. If it bubbles, it’s good to go.
You’ll want good nonstick layer cake pans with perfectly straight sides. This really helps with achieving even cake layers. Once your batter is ready, divide it evenly among your prepared pans. I think eyeballing it is okay, but for precision, you could use a kitchen scale. Bake until a toothpick inserted into the center comes out clean. That’s how you’ll know it’s just right.
Let your cakes cool completely in their pans before trying to remove them. This is crucial. I learned this the hard way, you know, trying to rush it and having a warm cake crumble on me. Once cooled, use a large bread knife to carefully slice off the domed tops for perfectly even layers. This makes stacking so much easier later on.
Coffee Soak for Flavor
This step is a little secret weapon for the most flavorful Chocolate Espresso Layer Cake. While your cake layers are cooling, you’ll want to prepare a simple coffee soak. It’s just strong coffee or brewed espresso, maybe with a touch of sugar if you like. The idea is to brush or drizzle this over your cooled cake layers.
It adds an extra layer of coffee chocolate dessert flavor and, honestly, it really helps keep the cake moist. You don’t want to drench it, just a light, even coating. This small step truly elevates the cake, giving you that rich espresso cocoa sponge that everyone raves about.
I mean, it seems like a small detail, but these are the things that make a homemade cake taste truly professional. It’s about building those layers of flavor, you know?
Whip Up Espresso Buttercream
Now for the espresso buttercream. This is where we get that lovely, velvety texture. You’ll start by creaming your unsalted butter until it’s light and fluffy. This is another area where room temperature butter makes a huge difference. Then you’ll gradually add your powdered sugar, instant espresso powder, vanilla extract, and meringue powder.
Meringue powder might seem like an unusual ingredient, but it really helps stabilize the buttercream, making it easier to work with, especially in a warmer Los Angeles kitchen. Slowly add your whole milk or cream until you reach that perfect, spreadable consistency. You want it fluffy, but not too soft.
If your frosting seems too soft, maybe pop it in the fridge for a few minutes. It’s amazing what a little chill can do to firm it up. You’ll know it’s just right when it holds its shape beautifully on your offset spatula.
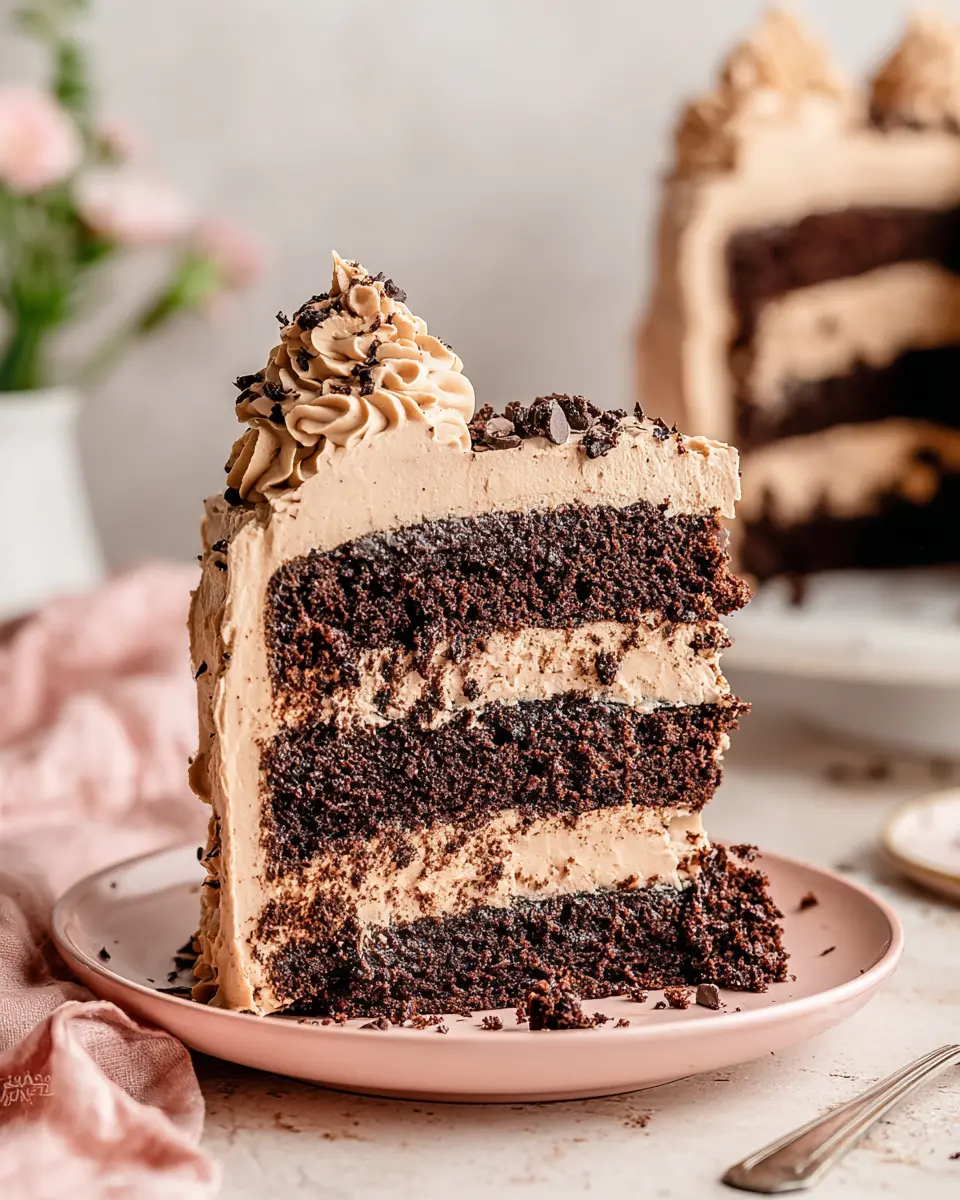
Assemble Your Layer Cake
Okay, the moment of truth: assembly! This is where your layered coffee chocolate cake really comes to life. First, make sure your cake layers are completely cool. You can even freeze them, wrapped tightly, for 30 minutes or overnight. This makes them much easier to handle and reduces crumbs, honestly.
Place your first cake layer on your serving plate or cake stand. A cake turntable makes getting nice, even frosting much easier, I think. Spread a generous layer of espresso buttercream, then top with your next cake layer. Repeat until all layers are stacked.
Next, apply a thin “crumb coat.” This is a light layer of frosting all over the cake that seals in any loose crumbs. It’s super important for a smooth, professional-looking final coat. Chill the cake in the fridge for about 15-20 minutes after the crumb coat, just until it’s firm. Then, you can apply your final, thicker layer of buttercream. Use an offset spatula and a bench scraper for a perfect, smooth outside frosting. It’s so good when it looks just right.
Tips for the Perfect Chocolate Espresso Layer Cake
Baking, like anything, has its little tricks. Here are some baking tips I’ve picked up over the years that will help you nail this bold espresso cake every single time.
Use good quality ingredients. I mean, for your chocolate ganache and frosting, use good quality bars of chocolate, like Baker’s or couverture chocolate. Avoid regular chocolate chips; they have protective coatings that can make your frosting clumpy or gritty. It’s worth it for that velvety texture.
Chill your layers. As I mentioned, freezing cake layers for at least 30 minutes before assembly really helps prevent crumbs and makes frosting so much easier. If the cake gets difficult to stack or work with during frosting, don’t hesitate to chill it in the fridge for a few minutes.
Measure accurately. Using weight measurements for flour and cocoa powder will give you the best accuracy in baking. If you’re using cups, remember to spoon and level, not pack, your flour. This prevents a dense, dry cake. And don’t forget that oven thermometer; it’s a small investment that makes a big difference.
Decorating doesn’t have to be complicated. For elegant chocolate curls, simply take a bar of good quality dark chocolate and use a vegetable peeler to shave off curls. A piping set with a #32 open star tip can also create beautiful borders or rosettes. You’ll be amazed at how simple touches make it look like a special occasion cake.
Common Mistakes & Fixes for Your Layered Coffee Chocolate Cake
Mistake: Dry, dense cake layers.
Solution: You probably packed your flour or didn’t use room temperature ingredients. Always spoon and level flour, and ensure butter, eggs, and milk are at room temp for better emulsification.
Mistake: Curdled batter or frosting.
Solution: Again, room temperature ingredients are key. If your butter and eggs aren’t the same temperature, they won’t emulsify properly. Take your time creaming butter and sugar, too.
Mistake: Frosting that’s too soft or too stiff.
Solution: If it’s too soft, chill it for 10-15 minutes. If it’s too stiff, add a tiny bit more milk or cream, a teaspoon at a time, until it’s just right. The consistency should be spreadable but hold its shape.
Mistake: Crumbs in your final frosting.
Solution: You skipped or rushed the crumb coat! A thin, initial layer of frosting seals in all those loose crumbs. Chill it well before applying your final, smooth layer.
Mistake: Uneven cake layers.
Solution: Make sure you’re using cake pans with straight sides. After cooling completely, use a long, sharp bread knife to level the tops of your cakes. Freezing them helps with this too.
Serving & Storing Your Chocolate Espresso Layer Cake
Once your beautiful Chocolate Espresso Layer Cake is complete, the hardest part is waiting to eat it! For the best taste and texture, I think it’s just right if you let the cake sit at room temperature for at least 30 minutes before serving. This allows the frosting to soften slightly and the flavors to really shine through.
To cut clean slices, use a long, sharp knife run under hot water, wipe it dry, and then cut in a straight down, non-sawing motion. Wipe the knife clean between each slice for a truly elegant presentation. It makes a huge difference, honestly.
Storage Instructions for Freshness
If you have any leftover dark mocha cake slice (and that’s a big “if,” I mean, it’s so good!), you’ll want to store it properly to keep it fresh. In an airtight container, this Chocolate Espresso Layer Cake will last in the fridge for up to 4 days, maybe even a week. I think it’s best served at room temperature though, so pull it out a bit before you plan to enjoy it.
Can you make the chocolate cake layers in advance? Absolutely! You can wrap cooled cake layers tightly in plastic wrap and store them at room temperature for a day or two, or freeze them for up to a month. For freezing the whole cake, individual slices wrapped tightly and placed in an airtight container will keep for up to 3 months. Let them thaw at room temperature before enjoying.
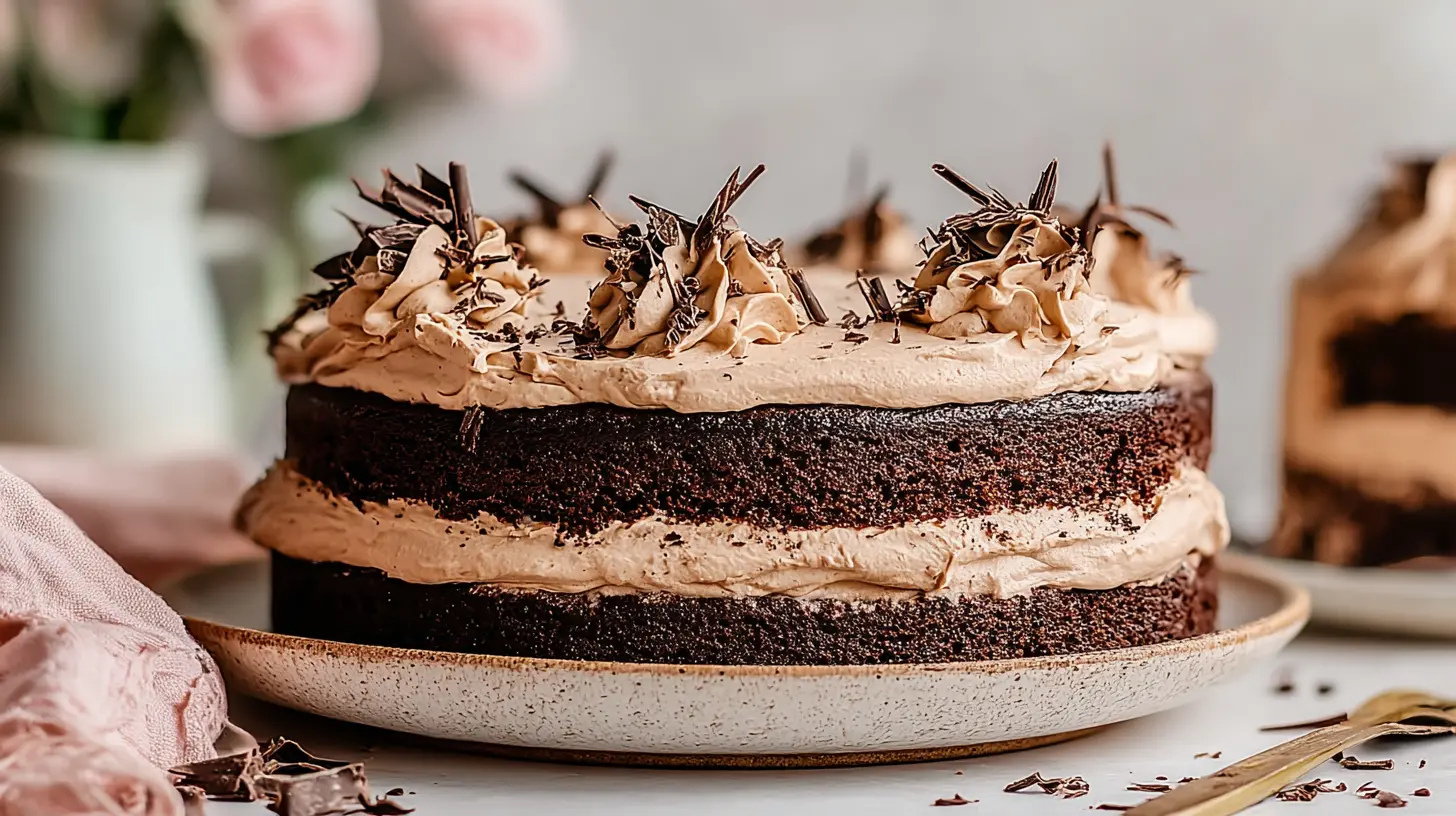
Chocolate Espresso Cake FAQ
Watch the Recipe Video
Sometimes, seeing is believing, right? I know this sounds complicated, but watching someone go through the steps can make all the difference. I’ve put together a quick video guide that walks you through making this amazing Chocolate Espresso Layer Cake from start to finish. You’ll see exactly how to prepare the cake layers, whip up that amazing buttercream, and assemble it like a pro.
It’s like having me right there in your kitchen, showing you all the little tricks. I mean, it really helps visualize the consistency of the batter and frosting, and how to handle the cake layers. Give it a watch before you start, and you’ll feel even more confident.
Visual cues are so helpful, especially for something like layering and frosting. You’ll see how easy it is to achieve that smooth, elegant finish. Trust me on this, it’ll make your baking journey even smoother.
You did it! You’ve created an absolutely stunning and delicious Chocolate Espresso Layer Cake. Take a moment to really appreciate the rich flavor, the velvety texture, and how impressive it looks. You’ve conquered a multi-layered dessert from scratch, and that’s something to be incredibly proud of, honestly!
Now, go on and share this masterpiece with your friends and family. They’re going to be so impressed, and you’ll get all the compliments, I mean it. Happy baking, and don’t forget to grab that instant espresso powder on your next Trader Joe’s run!
For more baking inspiration and delicious recipes, check out my Pinterest boards. I love sharing new ideas there!
Source: Nutritional Information