
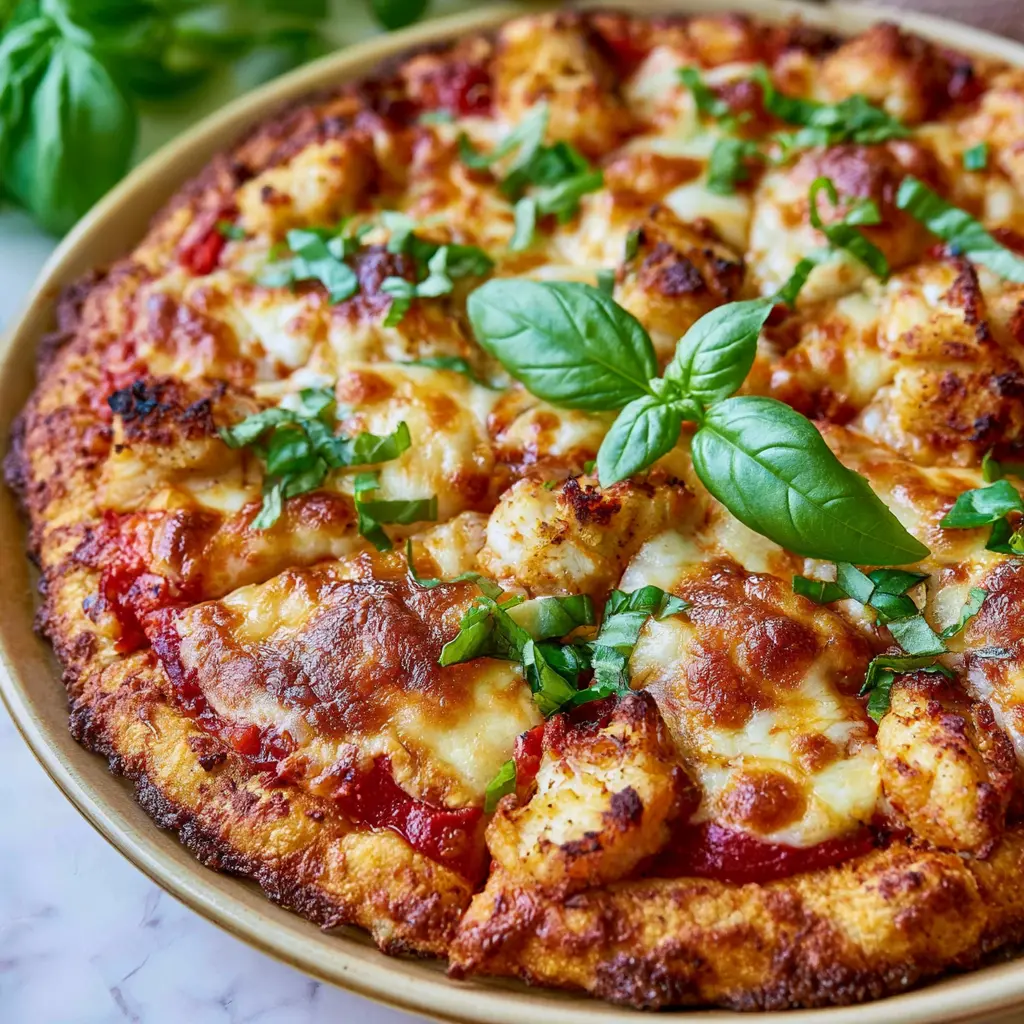
Why You’ll Love This Chicken Margherita Pizza
It’s 6 p.m. on a Tuesday. The kids are hungry, you’re tired, and everyone’s staring at you waiting for a decision. Ordering out seems easy, but then you remember the last soggy delivery pizza and think, I can do better. And honestly? You can.
This chicken margherita pizza takes the classic Italian favorite and gives it a little extra oomph. We’re talking juicy, fajita-spiced chicken, charred peppers, red onion, and fresh basil all piled onto a crisp golden crust. It’s the best of both worlds: the fresh tomato-basil-mozzarella vibe of a classic margherita, plus the savory satisfaction of a loaded chicken pizza.
I’ve made this on busy weeknights, lazy Sundays, and even for a small get-together. Every single time, people ask for the recipe. And the best part? It’s way easier than you think.
Ingredients You’ll Need
Here’s the thing about this recipe: most of the ingredients are probably already in your kitchen. No fancy trips to a specialty store required.
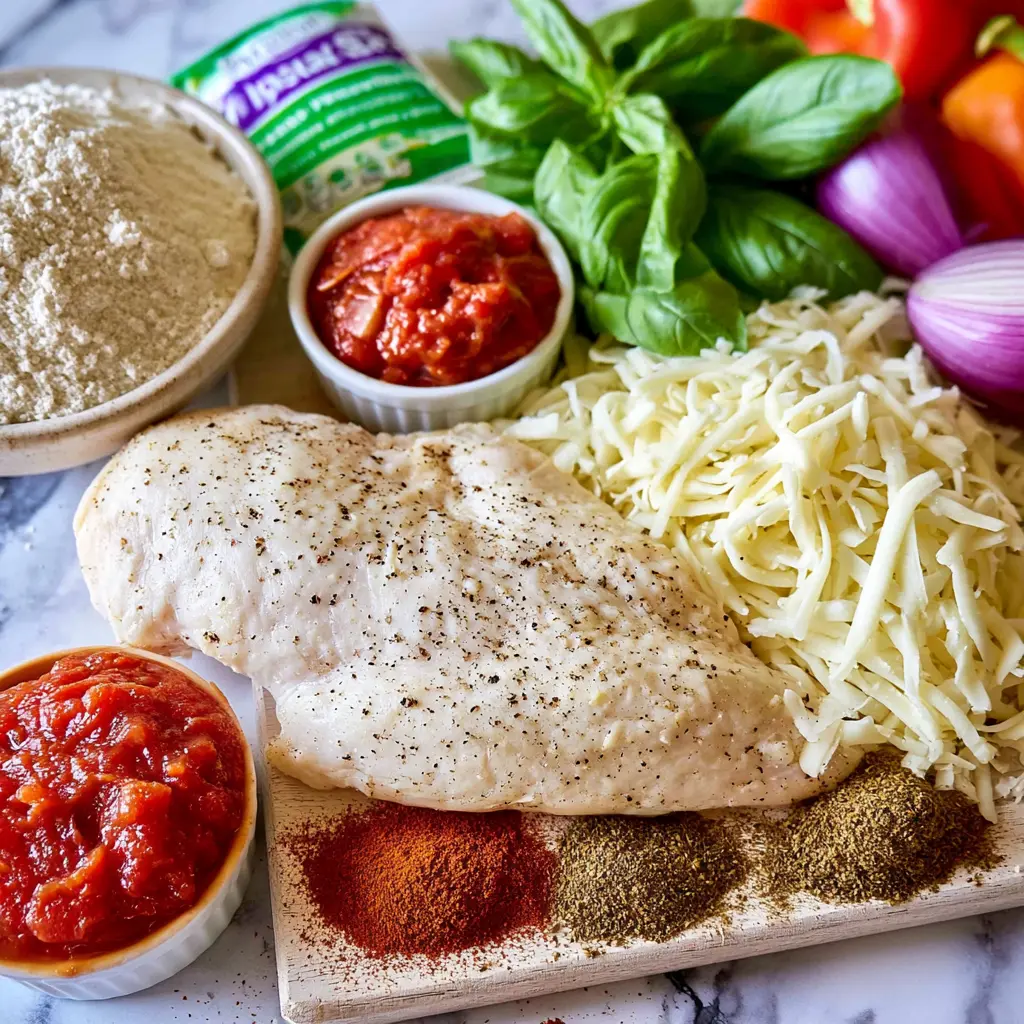
For the dough: all-purpose flour, instant yeast, a pinch of sugar, fine salt, lukewarm water, and a splash of olive oil. If you’re short on time, grab store-bought pizza dough. Seriously, no one will know and you’ll be eating in 30 minutes.
For the fajita seasoning: paprika, cayenne, ground cumin, garlic powder, ground coriander, and dried Italian seasoning. This little mix is what takes the chicken from plain to phenomenal.
For the toppings: tomato paste mixed with water for the sauce, a small red onion, shredded mozzarella, bell pepper, and fresh basil leaves. The basil is non-negotiable in my book, that’s the margherita heart right there.
Keep a basil plant on your windowsill if you can, it’s cheaper than buying those little plastic packets and you’ll always have some on hand.
How to Make Chicken Margherita Pizza
Making this pizza is a journey, but a fun one. I’ll walk you through the four big stages so you know exactly what you’re doing and why.
Stage 1: Make the Dough
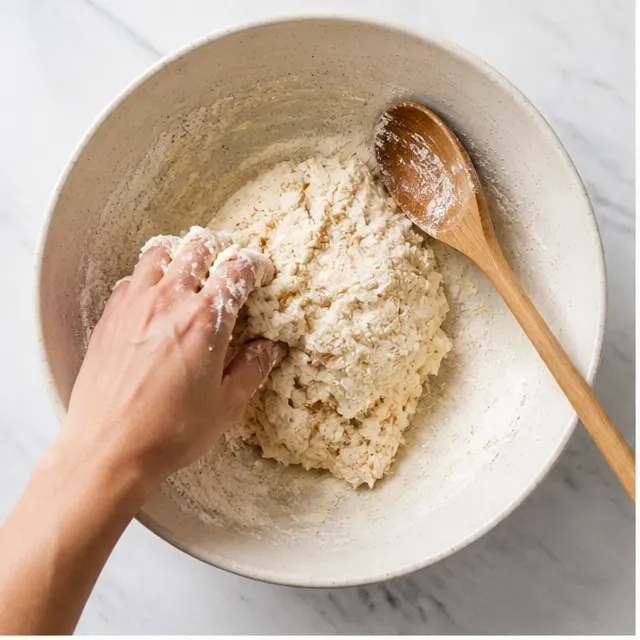
This is where the magic starts. Mix your dry ingredients, add the olive oil and warm water, and stir until a shaggy dough forms. Then comes the fun part: kneading. For 5 to 10 minutes, just work that dough until it’s smooth and elastic. I like to put on some music and enjoy the process, it’s oddly therapeutic.
The key here is to let it rest. Cover the bowl and let the dough double in size, about 1 ½ to 2 hours. This gives you that light, chewy texture that makes homemade pizza so special. Don’t rush this step, your patience will pay off.
Stage 2: Prep the Chicken
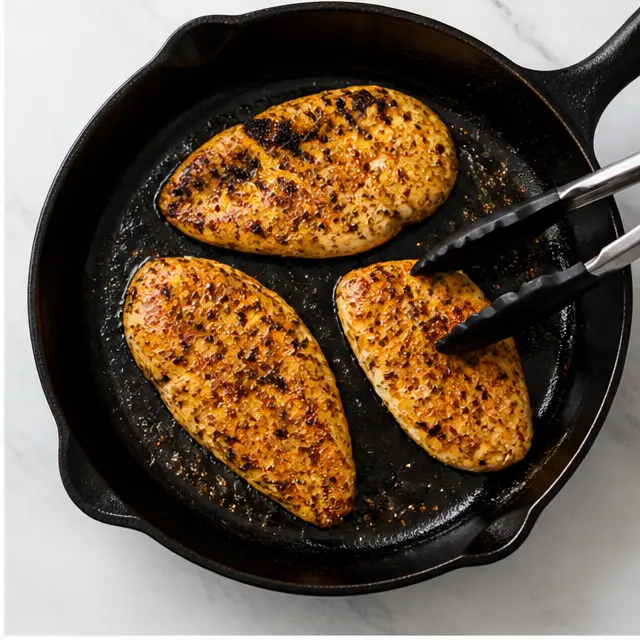
While the dough is rising, mix up your fajita seasoning and whip together the simple tomato sauce. Then slice your chicken breast horizontally into two thin cutlets. This is a game-changer, thinner cutlets cook faster and stay juicier than one big thick piece.
Rub the chicken with that fajita seasoning and sear it in a hot skillet with a little olive oil. About 3 to 5 minutes per side until it’s golden and cooked through. Tent with foil and let it rest. This resting time helps the juices redistribute, so your chicken stays moist and flavorful instead of drying out.
Stage 3: Assemble the Pizza
Now the fun part. Place a baking sheet on the middle rack and preheat your oven to 450°F, or your hottest setting. A piping hot baking sheet is key for a crisp bottom crust, so don’t skip this step.
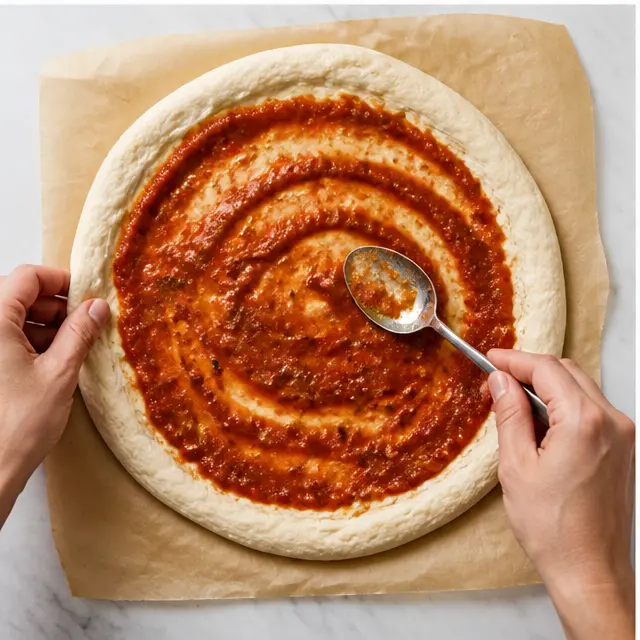
Stretch your dough into an 11-inch round on parchment paper, keeping the edges a bit thicker for that classic crust. Spread the sauce thinly, leaving a border. Then scatter on the red onion and shredded mozzarella. Top with your sliced or shredded chicken, bell pepper strips, and fresh chili if you’re feeling brave.
Stage 4: Bake Until Golden
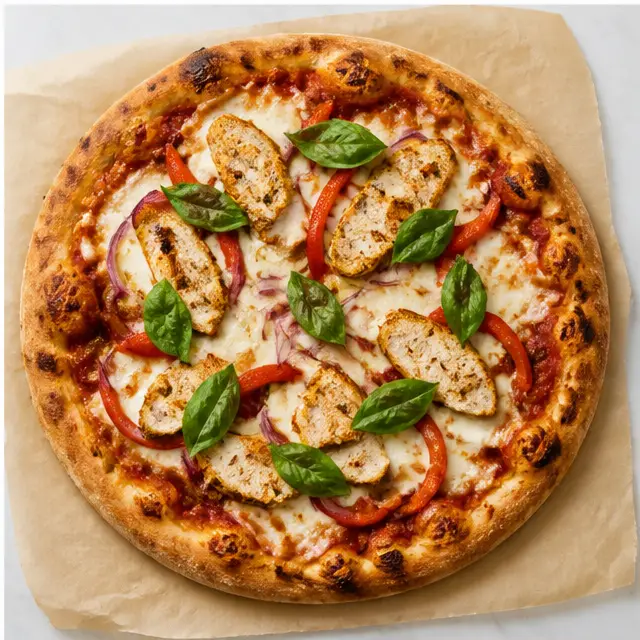
Carefully slide the pizza, parchment and all, onto the hot baking sheet. Bake for 12 to 14 minutes, until the crust is golden and the cheese is bubbly and slightly blistered in spots.
The smell that fills your kitchen during these last minutes? Unreal. That combination of garlic, charred peppers, and melting cheese is what Friday nights were made for. Let it cool for a minute before slicing, if you can wait that long.
How to Get a Crispy Pizza Crust
Soggy crust is the enemy of good pizza. We’ve all dealt with it, that sad, floppy middle that makes you wish you’d just ordered out. Here’s how to avoid it with this chicken margherita pizza.
The number one trick? Heat. You need a screaming hot oven and a hot surface to bake on. I use a baking sheet, but a pizza stone or steel works even better if you have one. Preheat it, and I mean really preheat it, while the oven comes to temperature.
Another culprit is watery mozzarella. If you’re using fresh mozzarella, pat it dry before adding it. I’ve made this pizza with a literal pool of milky water in the center, it was still good, but not great. For this recipe, shredded mozzarella is the way to go. It melts beautifully without releasing all that extra liquid.
And don’t overload the toppings. It’s tempting to pile everything on, but too much moisture equals a soggy crust. A thin layer of sauce, a generous but not crazy amount of cheese, and your toppings will bake up perfectly.
Easy Substitutions and Variations
This is the kind of recipe that’s made to be adapted. Here are some of my favorite ways to switch it up:
- Store-bought dough: Grab a ball from the refrigerated section at Trader Joe’s or Whole Foods. It’s a total lifesaver on busy nights.
- Rotisserie chicken: Already have leftover chicken? Shred it up and use that instead of cooking fresh. It’s the ultimate shortcut.
- Swap the seasoning: Out of cumin or coriander? Store-bought taco seasoning works in a pinch.
- Milder heat: If you’re not into spice, reduce the cayenne and skip the fresh chili. Use a mild pepper like Anaheim instead.
- California twist: Top with fresh avocado slices or a squeeze of lime after baking. So good.
These swaps make this pizza perfect for picky kids, spice lovers, and everyone in between. It’s a crowd-pleaser no matter how you customize it.
Common Mistake to Avoid
❌ Adding fresh basil before baking. I learned this the hard way. The first time I made this, I sprinkled basil on top and popped it in the oven. It came out looking like black confetti, sad and crispy.
✅ Add the basil after baking. Toss the fresh leaves on top right when the pizza comes out of the oven. The residual heat will warm the basil and release that amazing peppery perfume without burning it. Your nose (and taste buds) will thank you.
How to Store, Freeze, and Reheat
If you have leftovers, lucky you. This chicken margherita pizza is just as good the next day, if you reheat it right.
Storing: Put any leftover slices in an airtight container and pop them in the fridge. They’ll stay good for up to 3 days. I honestly love cold pizza for breakfast the next morning, but that’s just me.
Freezing: This pizza freezes beautifully. Wrap individual slices in plastic wrap, then foil, and freeze for up to 3 months. I like to keep a few slices in the freezer for those days when I need an emergency lunch.
Reheating: The microwave is a trap. It makes the crust soft and sad. Instead, reheat in a preheated oven at 375°F on a foil-lined baking sheet. It only takes a few minutes and the crust gets crispy again, just like it came out of the oven.
More Great Pizza Ideas
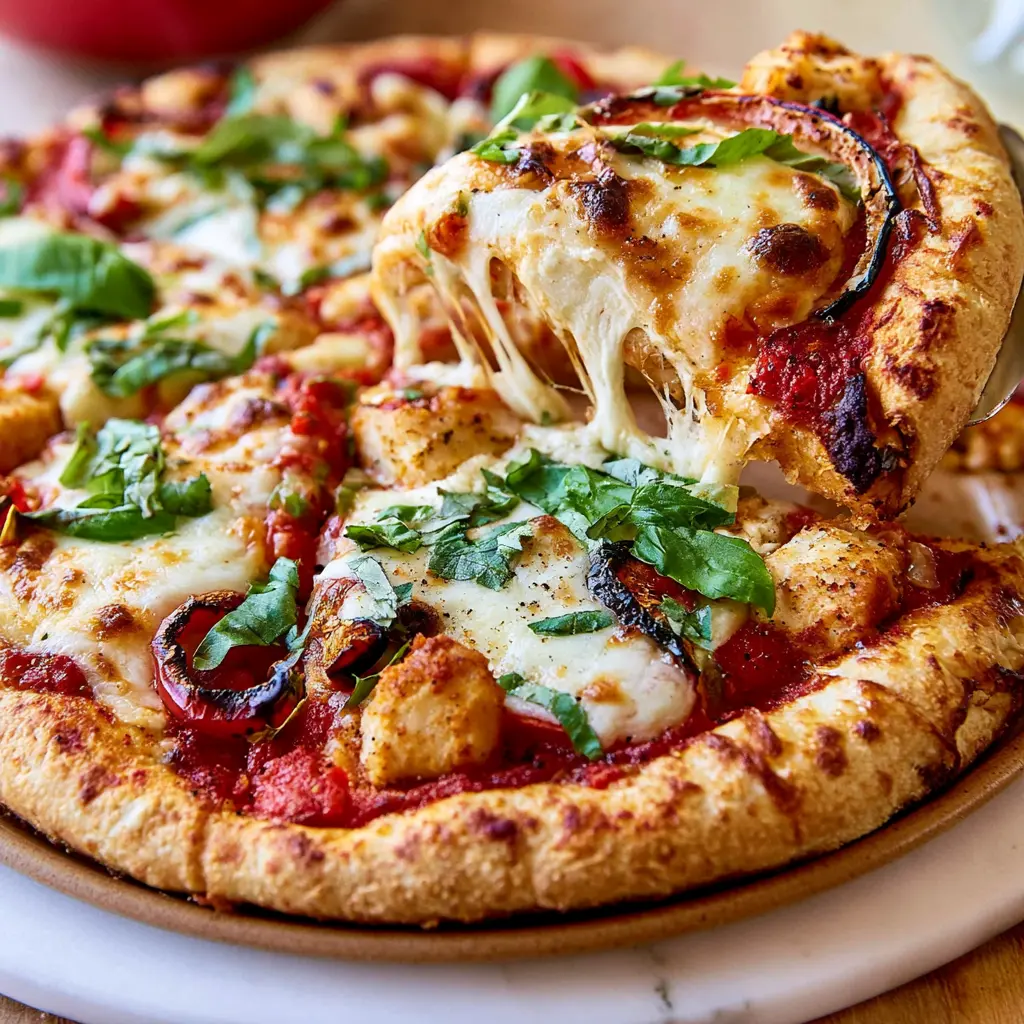
Once you nail this chicken margherita pizza, you’ll want to try more variations. It becomes addictive once you realize how easy homemade pizza night can be.
Not in the mood for chicken? Keep the same dough and sauce base, then load it up with whatever veggies you have on hand. Pesto instead of tomato sauce is another favorite in my house. The possibilities are endless when you nail that crisp crust and fresh topping combination.
I save all my best pizza experiments, along with tons of other family dinner ideas, on my Pinterest board. Come say hi and grab some inspiration for your next meal.
Chicken Margherita Pizza
Ingredients
Method
- In a large mixing bowl, whisk together the flour, yeast, sugar, and salt. Add the olive oil and warm water, stirring until a shaggy dough forms. Turn out onto a lightly floured surface and knead for 5 to 10 minutes until smooth and elastic (or use a stand mixer with a dough hook).
- Transfer the dough to a lightly oiled bowl, cover with plastic wrap, and let rest at room temperature for 1 1/2 to 2 hours, until doubled in volume.
- Meanwhile, combine all fajita seasoning ingredients in a small bowl.
- Mix the tomato paste, water, and half the fajita seasoning in another bowl to make the sauce.
- Slice the chicken breast horizontally into two thin cutlets and rub with the remaining fajita seasoning.
- Heat oil in a large skillet over medium-high heat; cook the chicken 3 to 5 minutes per side until golden and cooked through. Tent with foil and set aside.
- Place a baking sheet on the middle rack and preheat the oven to 450°F (230°C) or the hottest setting.
- On a large piece of parchment paper, stretch or roll the dough into an 11-inch (28 cm) round, keeping the edge thicker for the crust.
- Spread the tomato sauce evenly over the dough, leaving a 1/2-inch border at the edge.
- Scatter the red onion and shredded mozzarella over the sauce.
- Shred or slice the cooked chicken. Arrange the chicken, bell pepper strips, and fresh chili (if using) over the cheese, then sprinkle with torn basil.
- Carefully slide the pizza, still on the parchment, onto the hot baking sheet. Bake for 12 to 14 minutes, until the crust is golden and the cheese is bubbly.
Nutrition
Notes
Tried this recipe?
Let us know how it was!Frequently Asked Questions
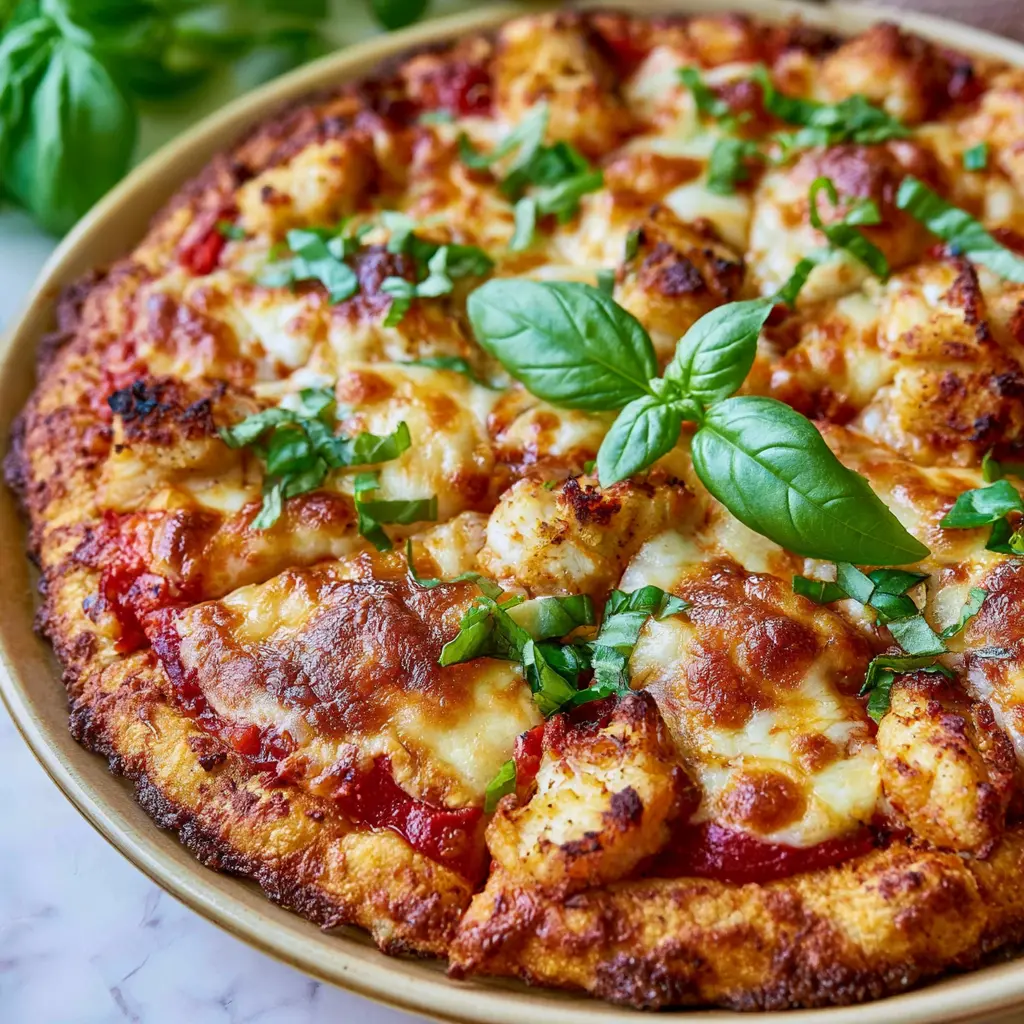
When you make this chicken margherita pizza, and you will, tell me what your family said. Mine fights over the last slice, every single time. It’s become our favorite homemade pizza night tradition, and I have a feeling it’s about to become yours too.
Source: Learn More About This Dish