
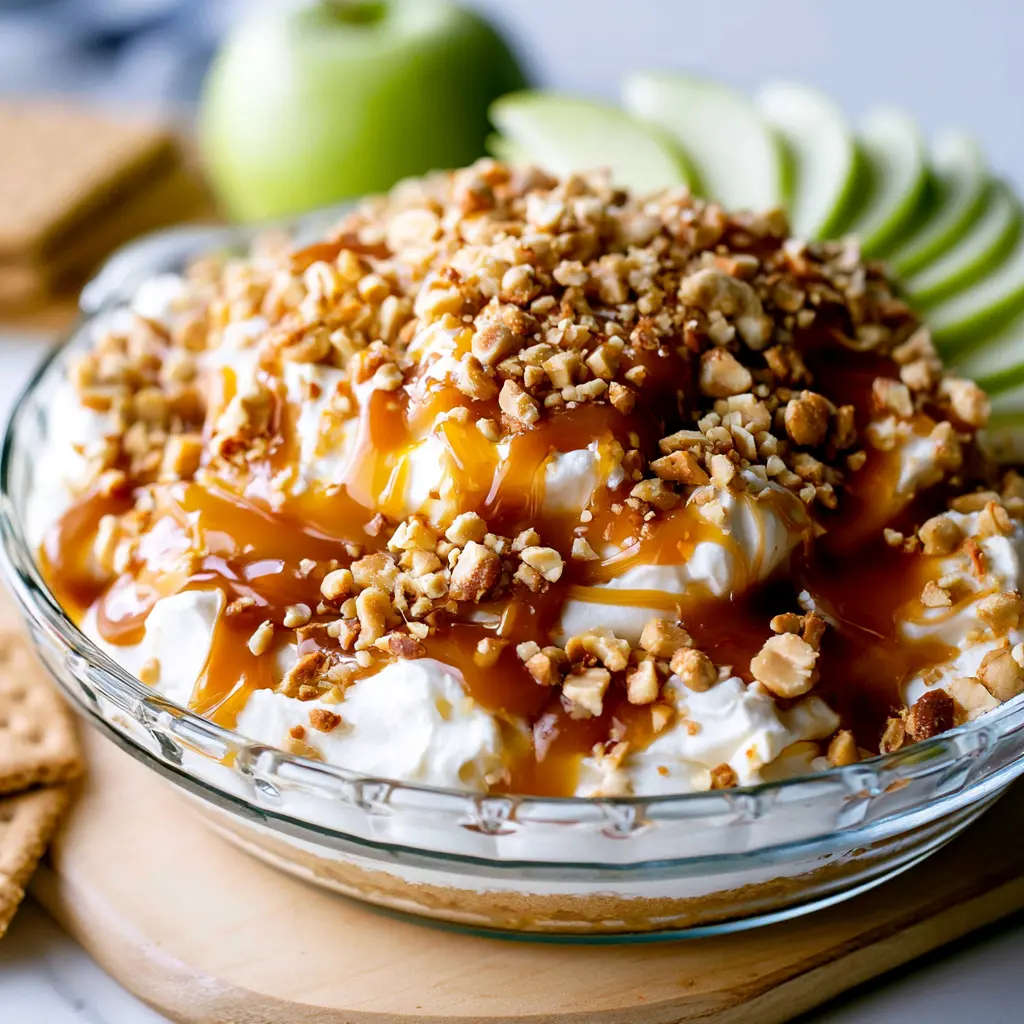
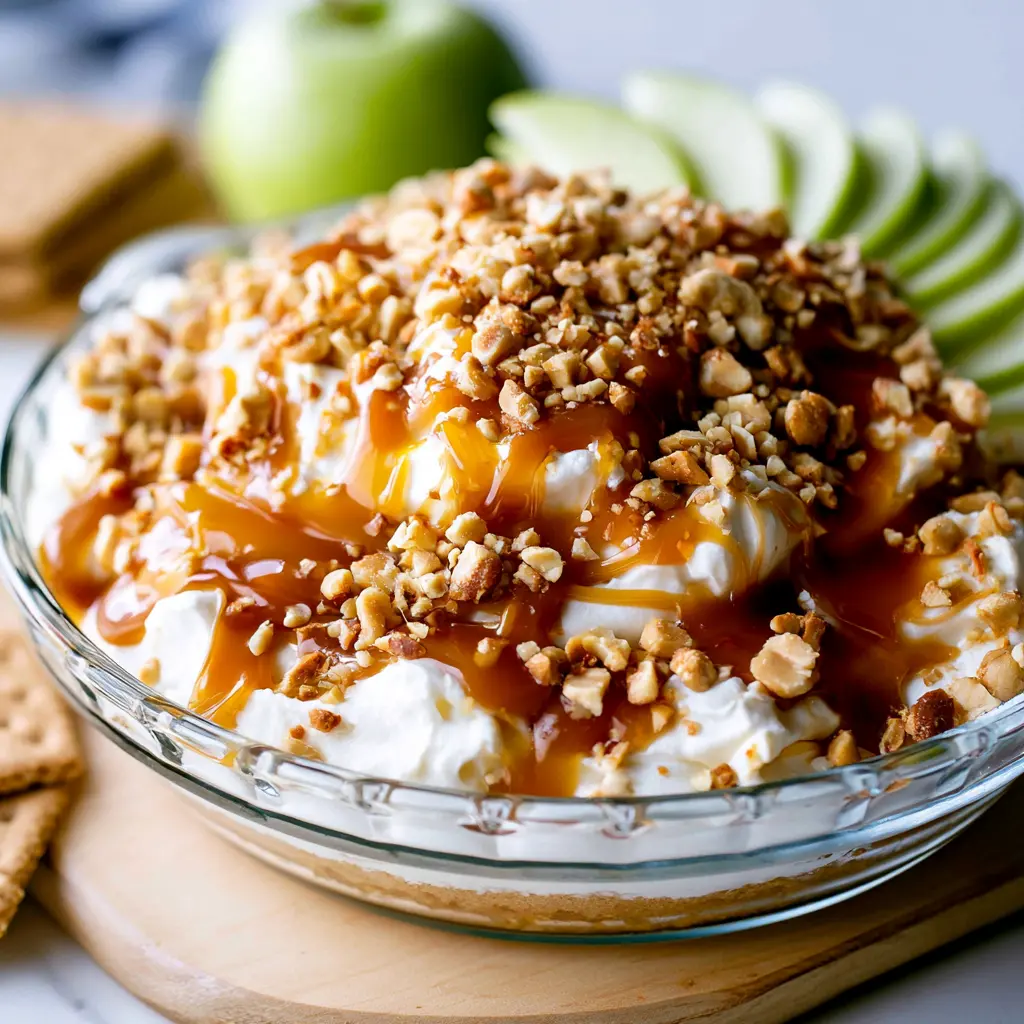
Easy Caramel Apple Cheesecake Dip with Crunchy Peanuts
Ingredients
Method
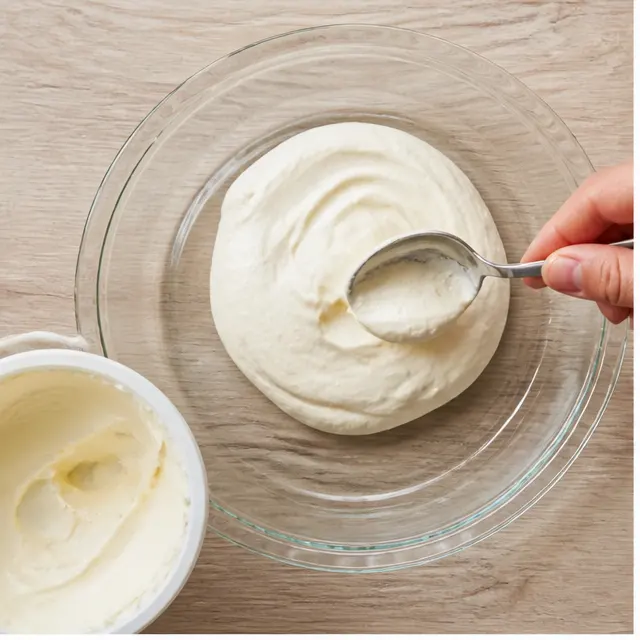
- Spoon the no-bake cheesecake filling into your serving dish and spread it into an even, smooth base layer.
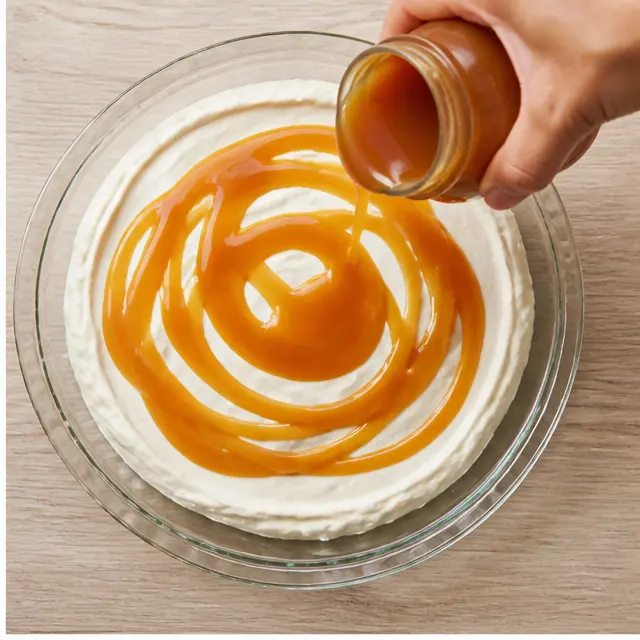
- Drizzle the caramel sauce over the cheesecake, letting it cascade across the surface to create a rich, glossy layer.
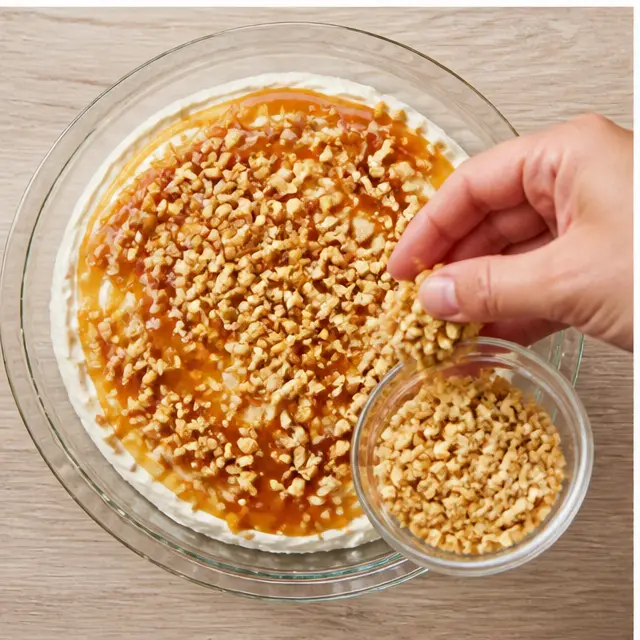
- Evenly scatter the crushed peanuts over the caramel so every scoop has a satisfying crunch.
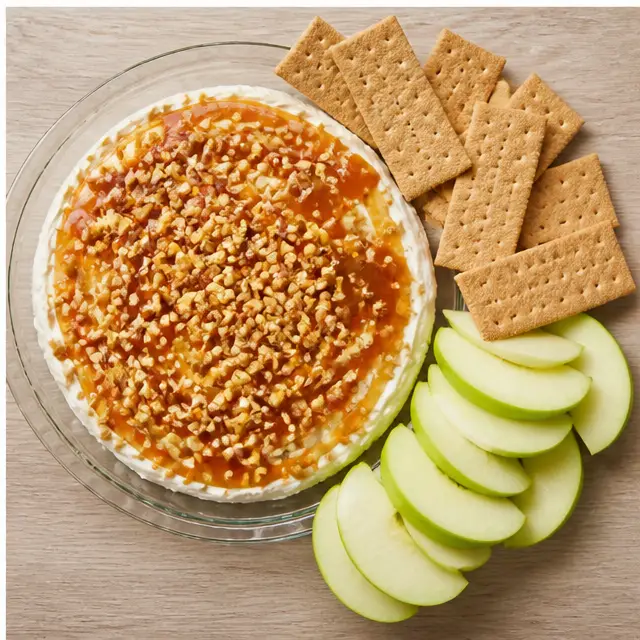
- Chill for 15 minutes (if you are patient!) to help the layers set, then serve with apple slices, pretzels, or graham crackers.
Nutrition
Notes
Tried this recipe?
Let us know how it was!Why This Caramel Apple Cheesecake Dip Works
It’s mid-August. The vibe is 97 degrees, the AC is fighting for its life, and the kids are staring at me with that “feed us or we riot” look. Back-to-school is basically knocking on the door, and honestly? I just can’t with a hot oven right now. This is exactly why I created this caramel apple cheesecake dip. It’s the no-bake dessert dip that saves the afternoon, every single time.
You’ll use a tub of prepared no-bake cheesecake filling, some good caramel sauce, and a handful of crushed peanuts. That’s it. You’ll be done before the oven preheats. Oh wait, there is no oven. That’s the whole point.
I love that this cream cheese dip for fruit looks like you spent forever on it. The glossy caramel on top? The crunch from the peanuts? People will literally gather around the bowl. It happens every time I bring it to a potluck. It’s the ultimate labor day potluck dessert because it feeds a crowd without breaking a sweat.
And the best part? The apples. There’s something about that tart, crisp crunch against the velvety sweet dip that makes everyone feel like they’re at a fall festival, even in the middle of a heatwave. It’s the perfect way to sneak some fruit into the snack rotation without the kids groaning. They think it’s dessert. You know it’s just apples.
Ingredients and Equipment You’ll Need
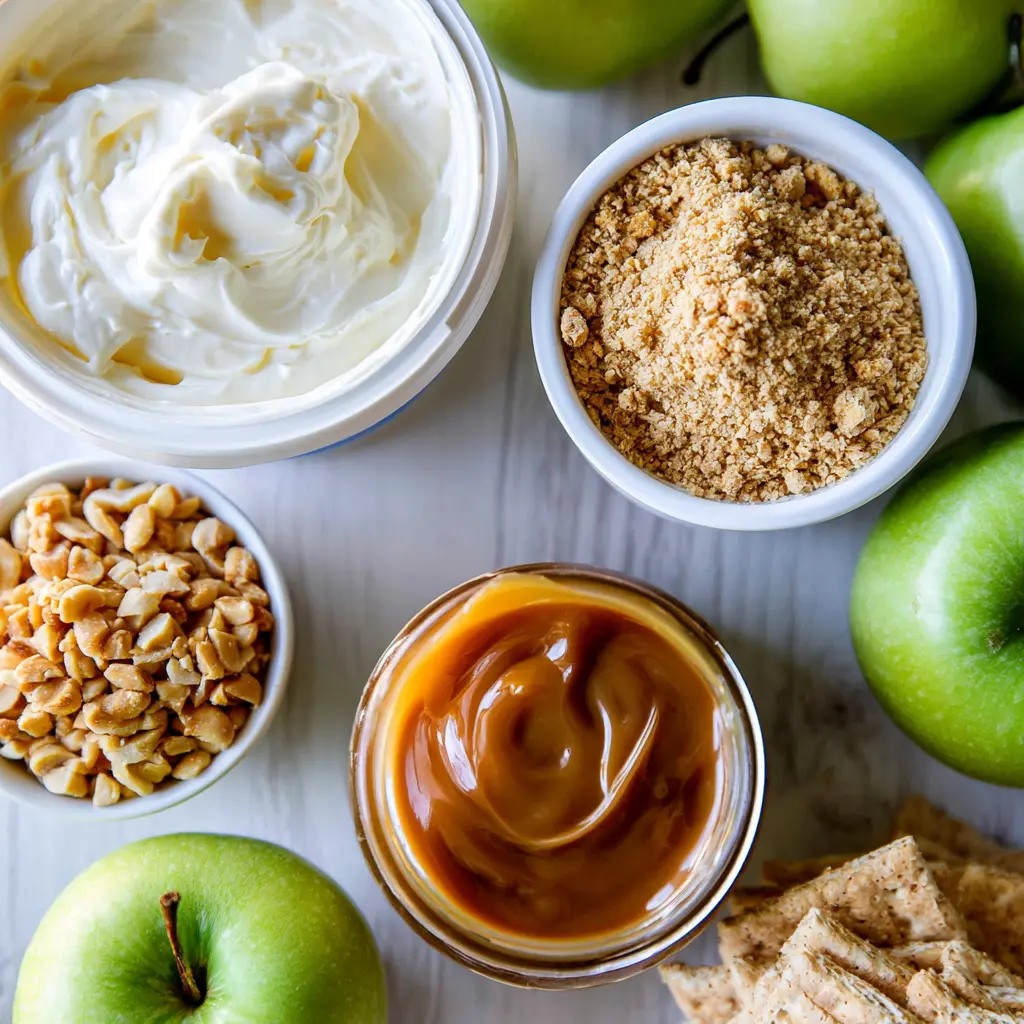
Since this is a shortcut recipe at heart, you don’t need much. I promise, the grocery list is short. Let’s break it down so you know exactly what to grab at Ralphs or Trader Joe’s on your next run.
- Prepared no-bake cheesecake filling: This is the hero. You’ll find it in the refrigerated section near the fruit or desserts at most supermarkets. It’s smooth, creamy, and already sweetened. Perfect.
- Caramel sauce: Store-bought is absolutely fine here. This is the smart shortcut, not the lazy one. Go for a thick, rich one, not the watery ice cream topping. If you’re feeling fancy, a salted caramel topping works wonders.
- Crushed peanuts: These add that essential salty crunch that makes the dip addictive. Roasted and lightly salted are my go-to.
- Graham cracker crumbs or toffee bits (optional): A quick sprinkle on top adds even more texture and looks extra pretty on the serving platter presentation.
For equipment, you just need a serving dish. I like a shallow dish or pie plate so everyone can easily get their dippers in. A spatula for spreading and you’re good. No mixer, no food processor, no stand mixer vs hand mixer debate. This is the kind of simple recipe that feels like cheating.
Pro Tips for the Best Caramel Apple Cheesecake Dip
Okay, so the recipe itself is a no-brainer. But I’ve made this a dozen times, and I’ve learned a few things the hard way. The first time I made a similar caramel apple dip, I made the mistake of using cream cheese straight from the fridge. Lumps everywhere. Learn from my chaos and just use the prepared filling. It’s designed to be smooth.
Here are my non-negotiables for the best results:
- Choose the right apples for dipping. Granny Smith apples are ideal because their tartness cuts through the sweetness of the dip. It’s a flavor match made in heaven. Honeycrisp apple slices are also amazing if you want something a little sweeter with a serious crunch. Pink Lady and Fuji work great too.
- Prevent apple browning. No one wants sad, brown apples. My favorite trick is to toss the slices in a little lemon juice for apple browning. It works, but it can make them too tart. Instead, try soaking the apple slices in salt water (1 teaspoon of salt per cup of water) for about 15 minutes, then rinse them well. They stay crisp and fresh for hours.
- Layer it right. The order matters. Spoon the cheesecake into your dish and spread it into an even, smooth base layer. Then, get artistic with the caramel, letting it cascade across the surface. Finally, scatter the peanuts over the caramel so every single scoop has a satisfying crunch.
- Chill for a quick set. While you can serve it immediately, I suggest chilling for 15 minutes if you are patient. It helps the layers set just enough so dipping is easier. This makes it the perfect make ahead dessert dip.
Easy Variations to Try
This is where you get to make it yours. The base recipe is perfect, but I love playing around with it depending on the season, the occasion, or just what’s in the pantry. It’s endlessly flexible.
- Swap the peanuts: Use toffee bits instead of peanuts for added crunch and a butterscotch vibe. Toasted pecans are also a fantastic swap if you want a more sophisticated twist. They add a warmth that’s perfect for fall flavors early.
- Make it a different dip: Mix the caramel sauce directly into the cheesecake filling for a smooth, swirled dulce de leche dip. It changes the texture completely and is just as delicious.
- Seasonal flair: While the base recipe is pure caramel apple, you can stir in a little vanilla extract if you have it on hand. Or try using a flavored cheesecake filling, like a brown sugar cinnamon or pumpkin spice variety. It gives a huge boost of fall flavor with zero extra effort.
- Healthier spin: For a healthier spin, use date caramel or sugar-free caramel sauce. Pair it with extra fresh fruit. It’s a great way to practice portion control while still satisfying that sweet tooth.
Remember, for the base caramel apple cheesecake dip, I love the simplicity of the four original ingredients. These variations are just your playground.
How to Serve Caramel Apple Cheesecake Dip
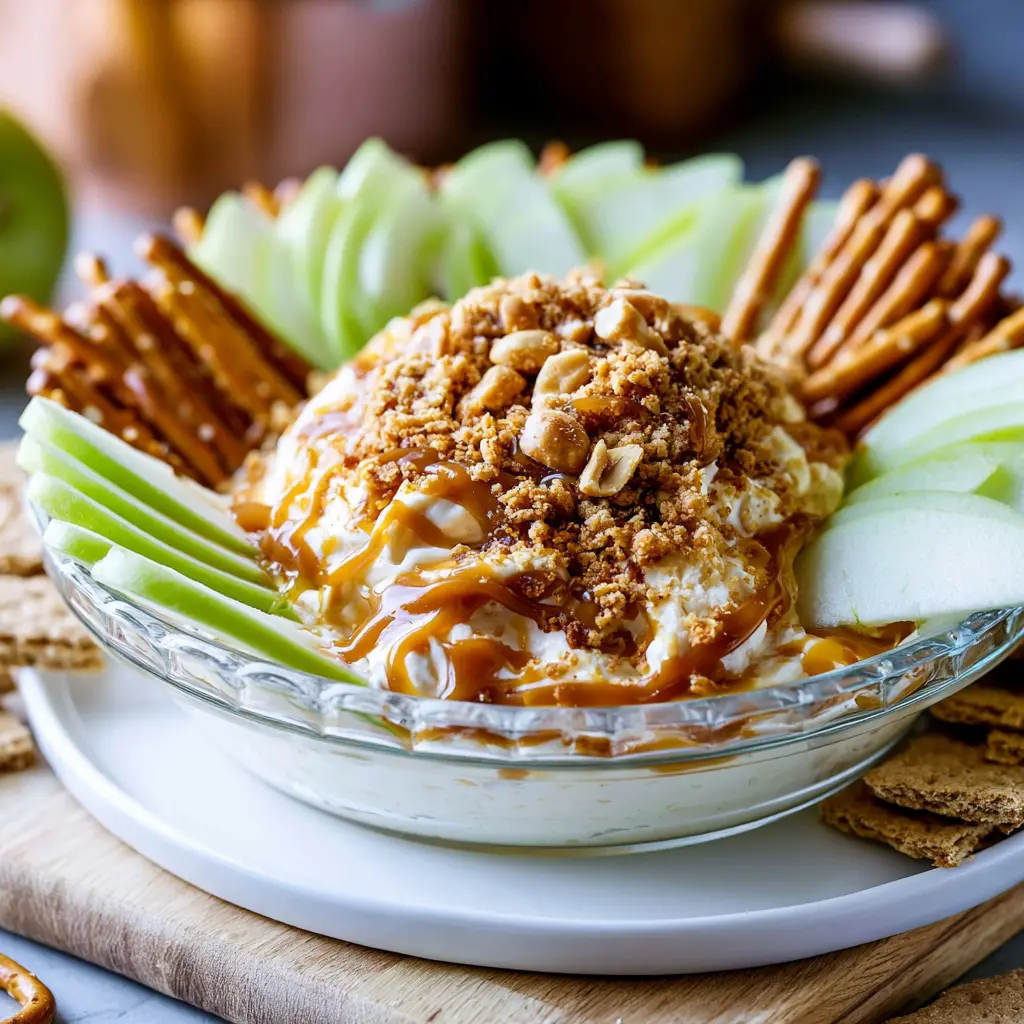
The dippers are half the fun. While apples are the classic choice that gives the dish its name, a board full of options is always a hit. It turns a simple dip into an interactive dessert board where everyone can mix and match. Here are some of my go-to dippers, beyond the obvious granny smith apples for dipping:
- Fresh apple slices: Granny Smith and Honeycrisp are my absolute favorites.
- Pretzel sticks: That salty crunch against the sweet, cool dip is chef’s kiss. They’re also sturdy enough for heavy scooping.
- Graham cracker dippers: Classic. They add a slight honeyed toastiness that echoes the crust of a cheesecake.
- Buttery shortbread cookies or biscotti: For a richer, more indulgent scoop.
- Fresh sliced pears and strawberries: They add a pop of color and are a lighter option.
- Cinnamon pita chips or ginger snaps: These spices add an extra layer of fall flavor.
When I serve it for get-togethers, I like to arrange the dippers on a large wooden board around the bowl of dip. It looks impressive and invites people to grab and go. Just remember to choose a shallow dish so every dipper can easily reach the caramel and peanuts without knocking everything over.
How to Store and Make Ahead
This is a dream recipe for prepping. You can absolutely make this a few hours ahead of time, which is a lifesaver when you’re trying to pull together a dish for a Labor Day BBQ.
- Make ahead: You can spoon the cheesecake filling into your serving dish and add the caramel before storing it. Cover the entire dish tightly with plastic wrap or a lid and pop it in the fridge. But wait on the peanuts and any crunchy toppings until you’re ready to serve. Adding them too early means they’ll get soft and lose their crunch.
- Storage: Keep any leftovers in the fridge in an airtight container for up to 3 days. You want to cover it properly so it doesn’t absorb other smells from your fridge.
- Softening: The caramel layer may firm up in the fridge. That’s normal. Let the dip sit at room temperature for about 10 minutes before serving to soften the layers. It’ll be smooth and scoopable again in no time.
Common Mistakes and Quick Fixes
- ❌ Toppings added too far ahead are soggy. ✅ Add the peanuts and graham cracker crumbs right before serving.
- ❌ A lumpy dip texture. ✅ Use the pre-made no-bake cheesecake filling. It’s naturally smooth. If you must use block cream cheese, let it come to room temperature first and beat until it’s creamy.
- ❌ Overly tart apples. ✅ Skip the lemon juice for apple browning; it can make them too tart. Use the saltwater soak instead.
- ❌ Caramel that’s too runny. ✅ Let the dip chill for at least 15 minutes to help the layers set up. You can also use a thicker, jarred caramel topping.
Frequently Asked Questions
More Apple Desserts to Try
If you’re loving this easy caramel apple dip recipe, you’ll probably want to try a few more fall and dessert favorites. Apples are so versatile, and once the weather starts to turn, there’s nothing quite like the flavor combinations you can create.
I love this recipe as an after school snack idea, but it also makes me crave the warmth of a baked apple dessert. There’s just something magical about the apple-and-caramel pairing. If you’re looking for other ways to fill your house with that cozy smell, consider making a classic apple crisp or a cinnamon apple bundt cake.
Bring this dip to your next cookout and guard the bowl, it goes fast. And when you make it, tag me! I love seeing your beautiful serving platter presentations. For even more delicious inspiration and everyday recipe ideas, make sure to check out my Pinterest board. You can find plenty of no-bake treats and party favorites that are sure to become new family staples.
If you’re a fan of this easy, no-bake style, you might want to explore more recipes featuring easy dessert dips and party snacks we’ve curated just for you.
This is the kind of dessert that makes you look like a hero with almost zero effort. The creamy, cool cheesecake filling, the rich, sticky caramel, and that final pop of salty, crunchy peanuts against a crisp, tart apple slice is pure magic. Trust me on this one.
Source: Learn More About This Dish