
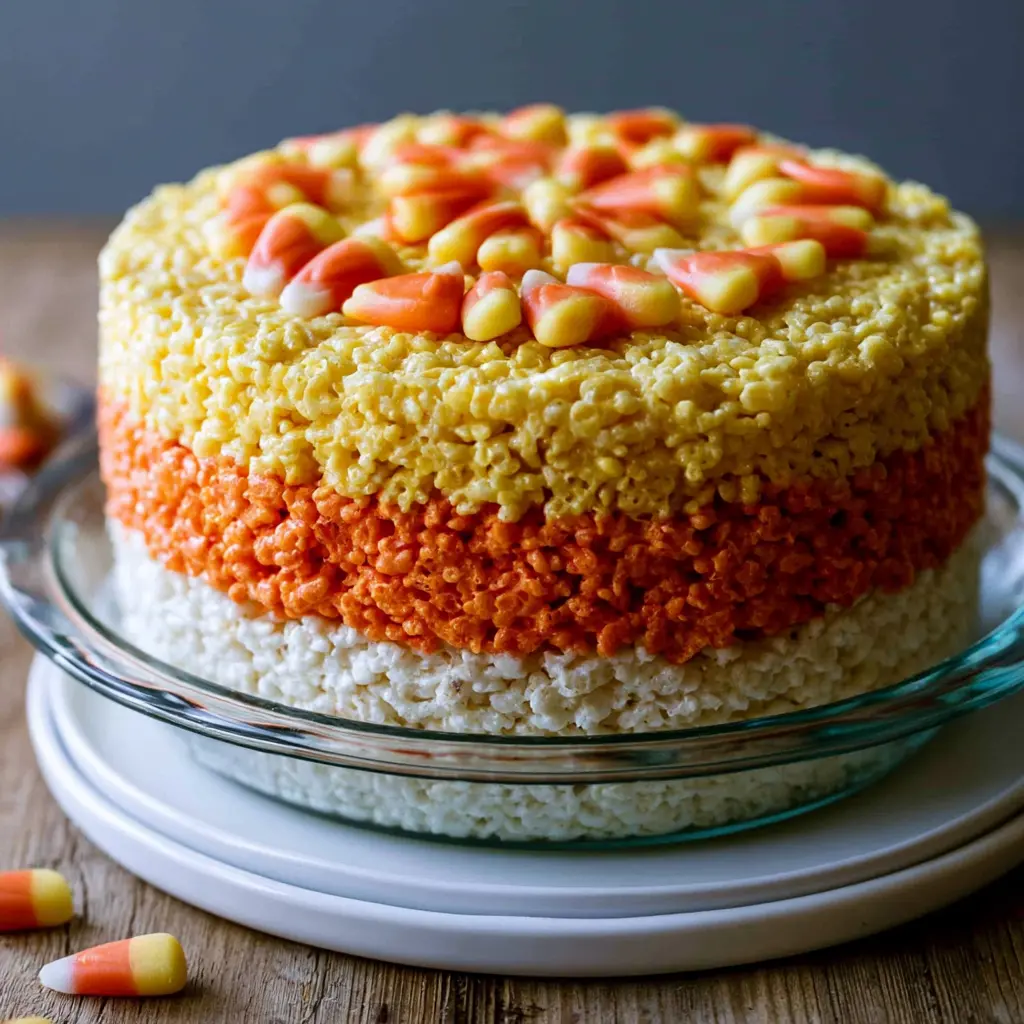
Why You’ll Love Candy Corn Rice Krispie Treats
It’s 9:12 p.m., your kid just announced tomorrow is the Halloween class party, and you signed up for treats. Your heart is doing that little panic thump, isn’t it?
Deep breath. You’ve got this. These candy corn rice krispie treats take about 25 minutes from start to finish, require zero oven time, and use ingredients you probably already have in your pantry. I promise this is the easiest Halloween classroom treat you’ll ever make.
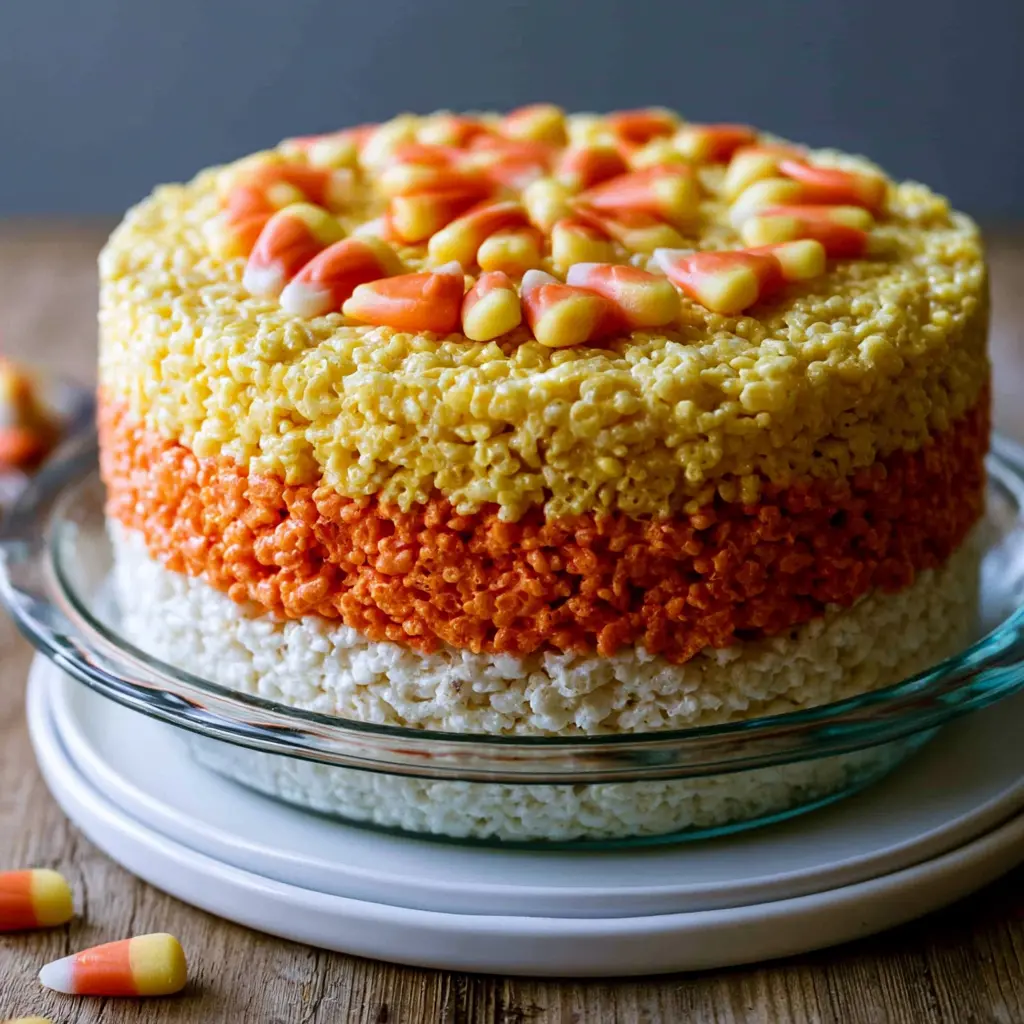
These tri-color layered rice krispie bars look like you spent hours. But here’s the secret: they’re just yellow, orange, and white layers pressed into a round pan. That’s it. When you walk into that classroom with a tray of these, you’ll be the hero parent. The one whose treats get photographed and asked about at pickup.
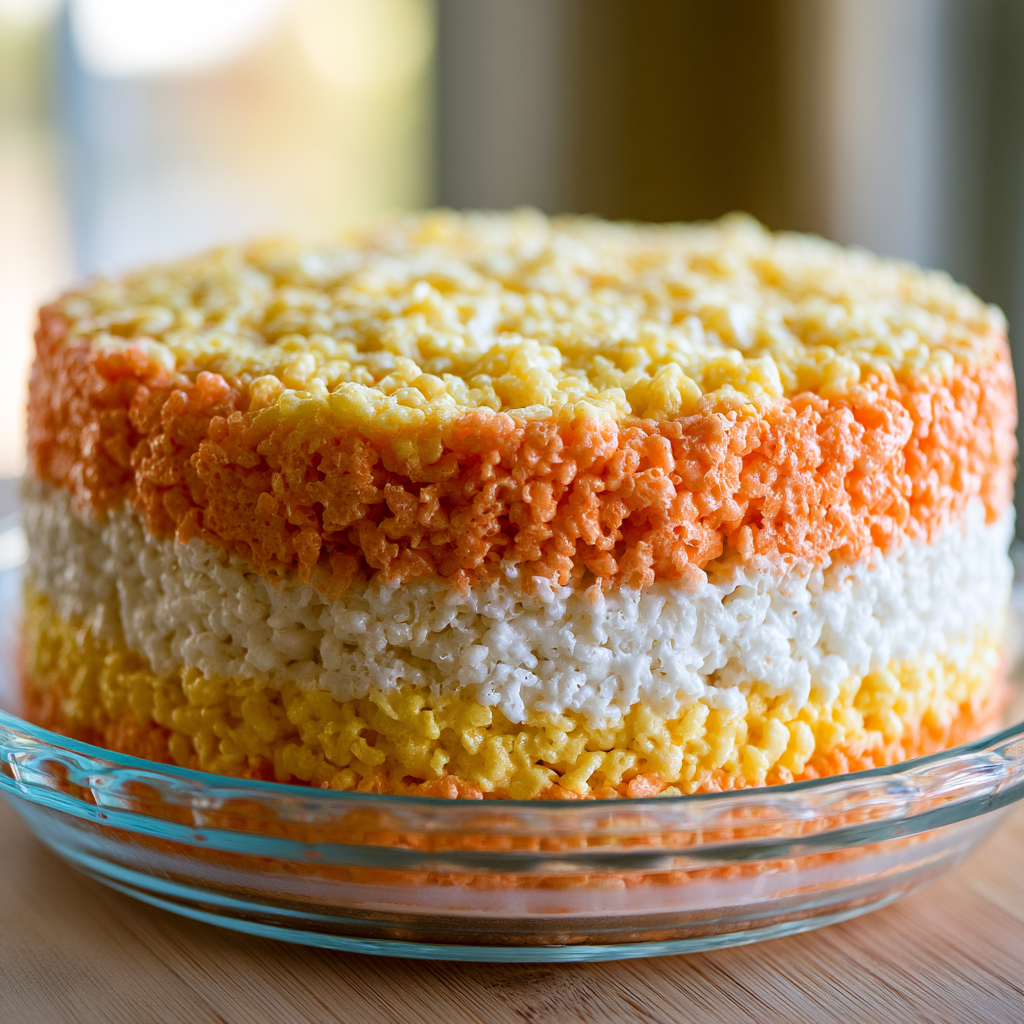
And the best part? The kids get to help. This is a genuinely fun, kid-friendly no-bake baking activity that doesn’t require a hot oven or fancy equipment. Just a microwave, a mixing bowl, and some buttered hands.
Candy Corn Rice Krispie Treats Ingredients
You need just five base ingredients for these festive fall dessert bars. Most of them are probably in your kitchen right now.
- Miniature marshmallows (you’ll use different amounts for each layer)
- Butter
- Salt
- Yellow and red gel food coloring
- Crisp rice cereal
That’s the whole list. No fancy candy melts, no special extracts, no trips to three different stores. I like to grab everything at Vons or Ralphs on my regular weekly run, and the gel food coloring is easy to find at any large supermarket or craft store.
Now, about that marshmallow butter ratio for rice krispie treats. The classic ratio is 3 tablespoons of butter to 4 cups of marshmallows to 6 cups of cereal, but this recipe breaks it down per layer. Each layer has its own proportions, which matters more than you’d think. Too much butter and your treats get greasy. Too little and they crumble.
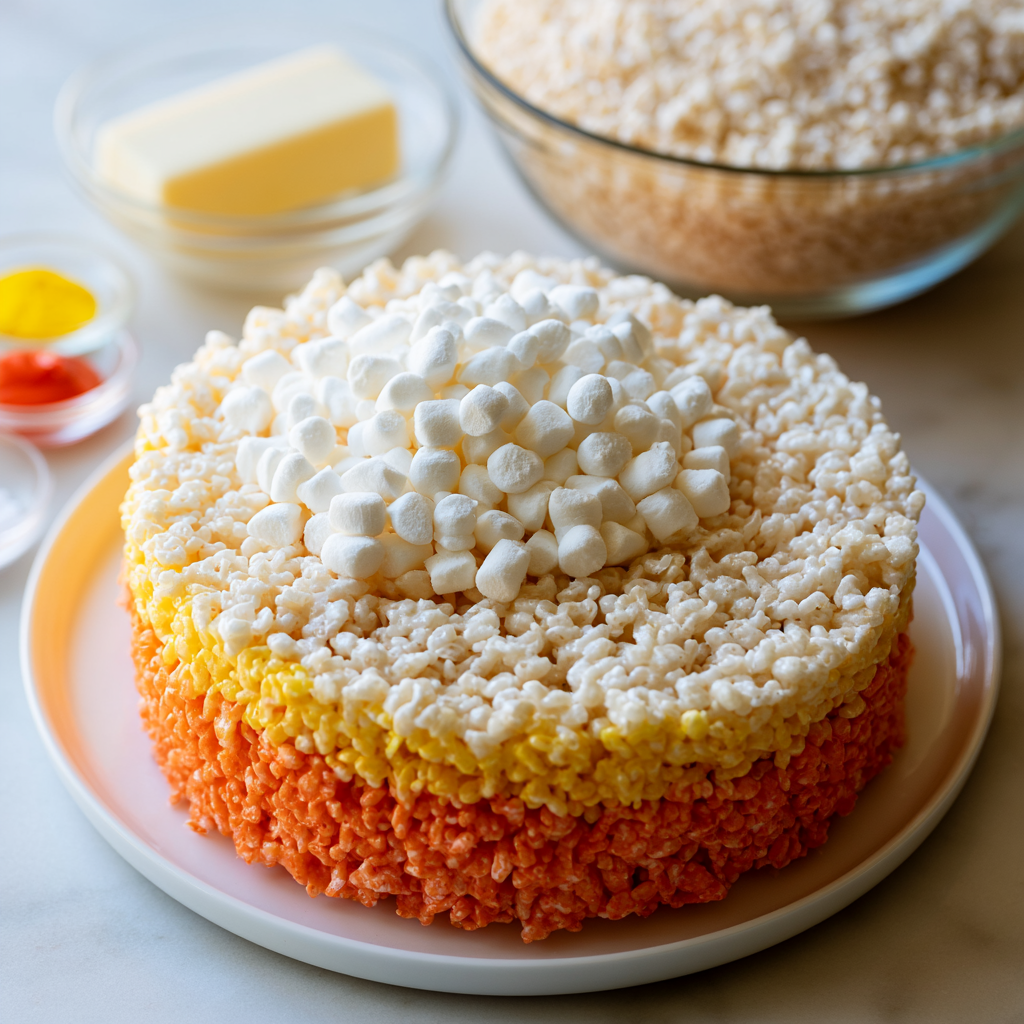
One note on marshmallows: I use miniature marshmallows, not the big ones. They melt faster and more evenly in the microwave. Just pour them into a liquid measuring cup and don’t press them down.
As for butter versus margarine? Real butter, every time. Margarine makes the treats turn out greasy and they don’t hold their shape as well. Trust me on this one.
How to Make Candy Corn Rice Krispie Treats
Here’s where the magic happens. Making these no-bake Halloween desserts is all about building three separate layers, then pressing them together into a round cake pan. I’m going to walk you through the entire process, stage by stage.
Stage 1: Prep Your Pan and Melt the Yellow Layer
First things first, you need a round cake pan. An 8- or 9-inch round works perfectly. Lightly coat it with nonstick cooking spray, or rub a bit of extra butter around the bottom and sides. This step is non-negotiable, honestly. You don’t want to be prying these bars out later.
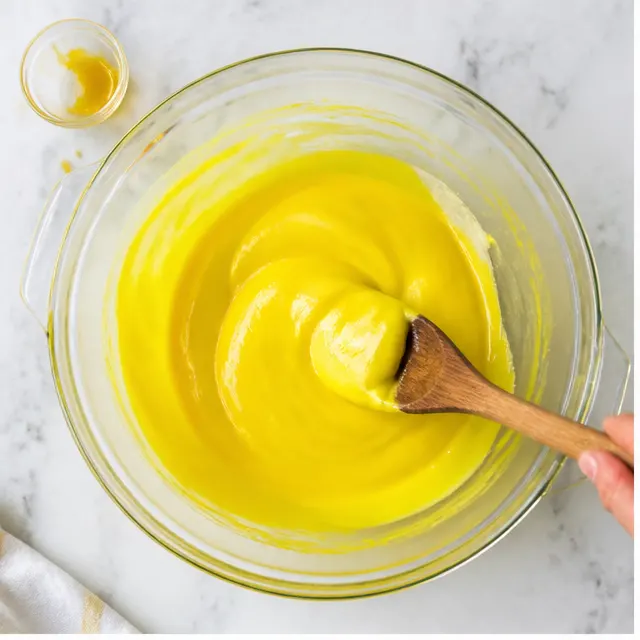
For the yellow layer, combine 2 1/2 cups of marshmallows, 2 tablespoons of butter, and a pinch of salt in a large microwave-safe bowl. Microwave on HIGH for 30 seconds, then stir. The heat from the bowl melts things further, so keep stirring until it looks like glossy snow. If there are still lumps, give it another 15 seconds. Do not overdo it. Overheated marshmallows get stiff and rubbery, and that’s how you end up with hard candy corn rice krispie treats.
Stir in 5 drops of yellow gel food coloring, then fold in 2 1/4 cups of crisp rice cereal. This is the melted marshmallow technique that makes all the difference: fold gently until everything is coated, but don’t smash the cereal.
Stage 2: Press the Yellow Ring
Now comes the slightly awkward but totally doable part. Use buttered hands to press the yellow mixture firmly around the edges of the pan to form a ring. Pack it tightly against the sides and bottom, like you’re building a little yellow fort.
I’ll admit, this feels weird the first time. Your hands will be sticky. That’s normal. Just butter them again if things get grabby. You want the ring to be solid enough that the orange layer can nestle inside it without everything blending together.
Stage 3: Build the Orange and White Layers
Here’s a trick I learned after my first attempt turned into an orange-streaked disaster: reuse the same bowl for the orange layer. It saves on dishes and honestly, a little residual yellow just deepens the orange. For this layer, melt 1 3/4 cups of marshmallows with 2 tablespoons of butter and a pinch of salt, just like before. Stir in 5 drops of yellow gel and 1 to 2 drops of red gel to get a deep, vibrant orange. Then mix in 1 1/4 cups plus 2 tablespoons of cereal.
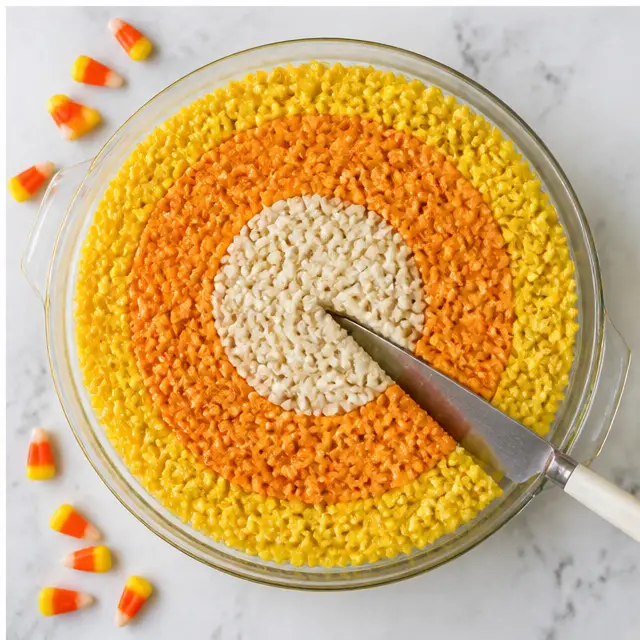
Press the orange mixture into the pan, just inside the yellow ring. It should fit snugly, like a puzzle piece.
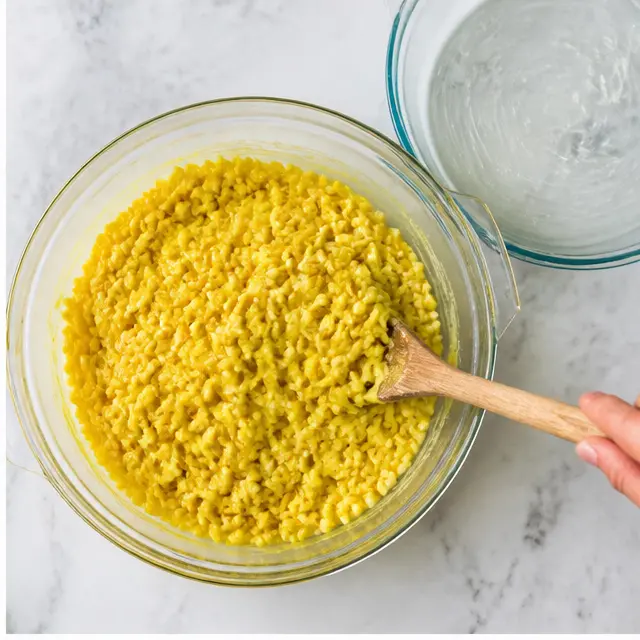
Finally, in a clean microwave-safe bowl, prepare the white layer with 3/4 cup of marshmallows, 1 tablespoon of butter, a pinch of salt, and 3/4 cup of cereal. This one goes in the center of the pan.
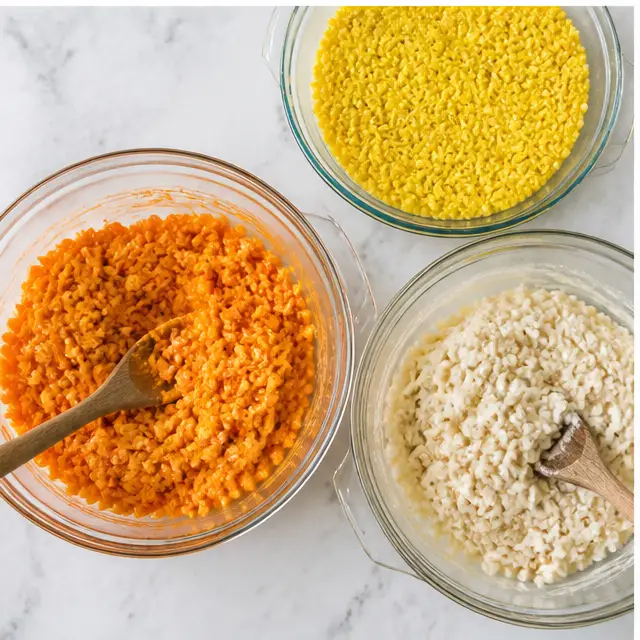
Stage 4: Let It Set and Slice
Here’s the part nobody likes but everybody needs: waiting. Let the treats cool completely at room temperature for at least 2 hours. I know, I know. But if you slice too early, you’ll get a gooey mess instead of beautiful triangles. The cooling time is what lets these candy corn treats set up properly.
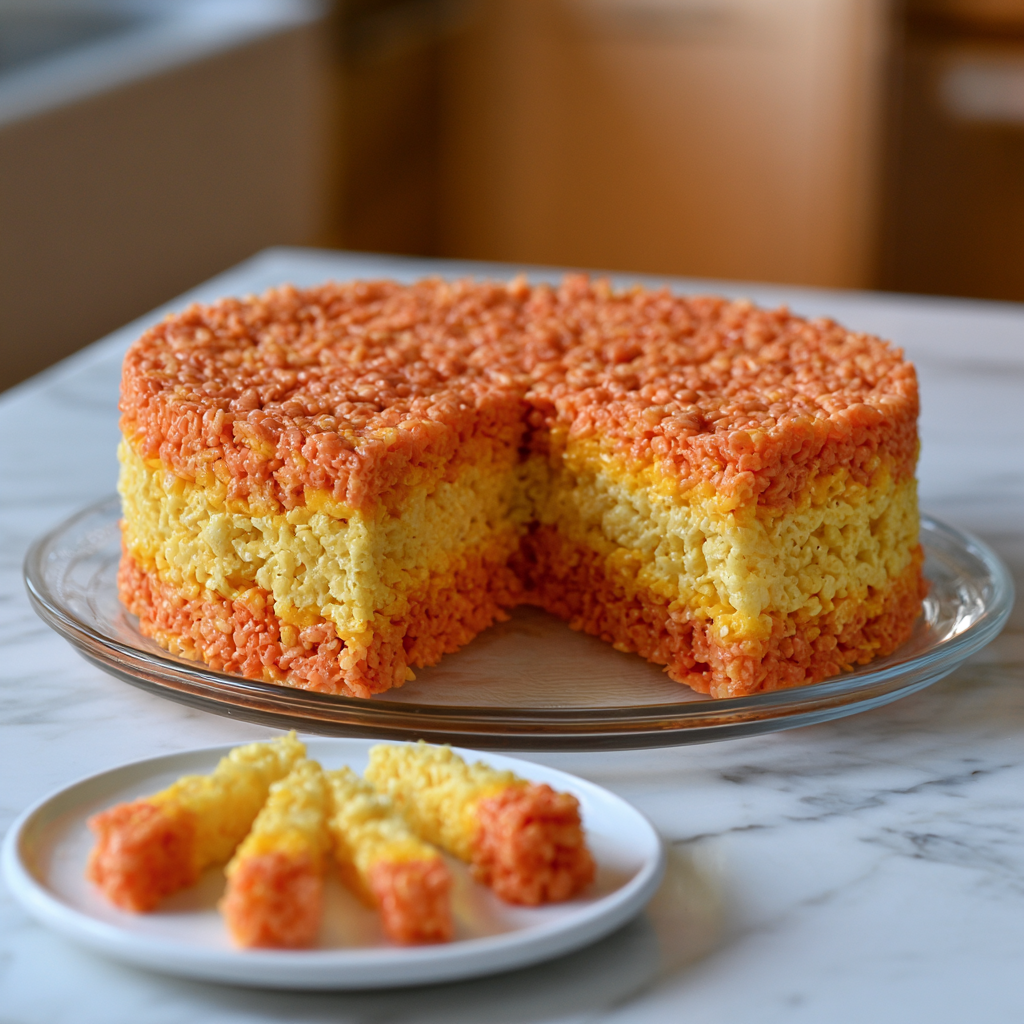
When you’re ready to serve, turn the whole thing out onto a cutting board. Now comes my favorite part about using a round pan: it slices naturally into candy corn shaped triangles. Cut with a buttered knife to get clean, sharp wedges. It’s so satisfying to see those perfect tri-color layers.
Tips for Perfect Candy Corn Rice Krispie Treats
I’ve made these more times than I care to count, and I’ve learned a few things the hard way. Here’s my honest advice:
- Use gel food coloring, not liquid drops. Liquid coloring thins the marshmallow mixture and gives you washed-out, pastel colors. Gel gives you that punchy, candy-corn-orange depth.
- Butter your hands before pressing each layer. It’s the difference between a smooth process and a sticky nightmare.
- Press firmly but not like you’re squashing a bug. You want the layers to hold together, but pressing too hard makes dense, hard bars. Aim for snowball-packing pressure.
- Don’t overheat the marshmallows. They become stiff and tough if they get too hot. Melt them just until smooth.
- Slice with a buttered knife for clean cuts through the gooey layers.
If your kitchen is warm, like an August afternoon in LA, the mixture stays stickier longer. Just be patient. You can even pop the pan in the fridge for 15 minutes to speed up the setting.
Fun Variations for Candy Corn Treats
Once you’ve mastered the classic, the sky’s the limit. Here are some optional twists, just remember these are additions to the base recipe, not part of the original.
- Press a handful of candy corn pieces into the top before the treats fully set. Just make sure the mixture has cooled slightly, otherwise the candy melts into a sticky mess. I learned that one the hard way.
- Swap the round pan for an 8×8 square pan and cut into bars for a more traditional school snack.
- Use halloween cookie cutters, ghosts, pumpkins, or cats, to cut festive shapes instead of slicing wedges.
- Go for a full Halloween color scheme with green, purple, and orange layers. It’s a fun twist on the classic candy corn look.
If you want to skip the layered approach entirely, just make a single batch of regular rice krispie treats and press candy corn on top. It’s faster, though honestly less impressive. But you do you.
How to Store Candy Corn Rice Krispie Treats
These treats are at their absolute best on day one, when the marshmallow is soft and the cereal still has a little crunch. But they’ll keep pretty well for a few days if you store them right.
Place them in an airtight container at room temperature for up to 3 days. This is important: put a piece of parchment paper between layers so the colors don’t bleed into each other. I promise these stay soft for 4 days if you store them properly.
You can absolutely make these candy corn rice krispie treats ahead of time. Make them up to 2 days before your event, but plan to serve them the day you make them for the freshest texture. They’re not a “make it a week ahead” kind of dessert.
If they do get a little stale or dry, here’s a trick: pop them in the microwave for 5 seconds. Just 5 seconds. It softens them right back up. Do not turn them into a marshmallow puddle.
For school parties, wrap individual wedges in little treat bags. It makes them easy to pass out, and honestly, they look adorable.
How to Serve Candy Corn Krispie Treats
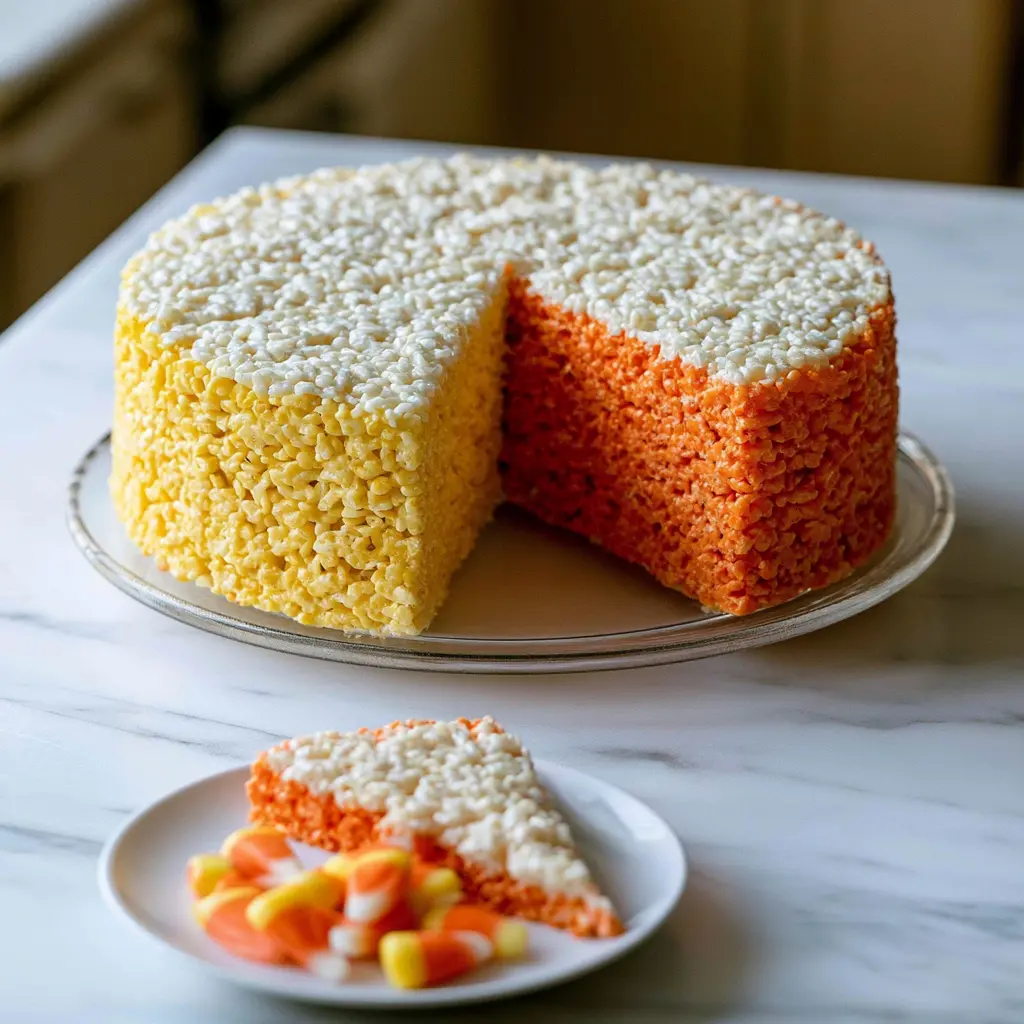
These festive fall dessert bars deserve a proper presentation. Since you’re slicing from a round pan, the natural wedges look like giant, oversized candy corn. It’s impossible not to smile when you see them.
For a class party, arrange the wedges on a platter in a circle, like a flower. The yellow, orange, and white rings will create a gorgeous spiral pattern. I’ve also served them on sticks at birthday parties, which is always a hit with the little ones.
These are also genuinely great Halloween party food ideas for kids because they’re portable, not too messy, and they don’t require a fork or plate. Grab and go, that’s the way.
Arrange them on a festive fall platter with some candy corn scattered around, and you’ve got a centerpiece that also happens to be dessert.
Frequently Asked Questions
There you have it, a foolproof recipe for candy corn rice krispie treats that will save you at the last minute and make you look like a total pro. When you walk into that classroom with your tray of tri-color triangles, you’ll be the hero. I’m sure of it.
If you make these, tag me and send me a photo. I love seeing your versions. Find more inspiration on my Pinterest boards here.
Candy Corn Rice Krispie Treats
Ingredients
Method
- Lightly coat an 8- or 9-inch round cake pan with nonstick cooking spray, or grease the bottom and sides with a little extra butter.
- For the yellow layer, combine 2 1/2 cups marshmallows, 2 tablespoons butter, and a pinch of salt in a large microwave-safe bowl. Microwave on HIGH for 30 seconds, then stir until smooth. If the mixture isn't fully melted, heat in 15-second increments. Stir in 5 drops yellow food coloring, then fold in 2 1/4 cups crisp rice cereal until well coated.
- Using buttered hands, press the yellow mixture firmly around the edges of the pan to form a ring. Pack it tightly against the sides and bottom.
- Use the same bowl to make the orange layer. Melt 1 3/4 cups marshmallows, 2 tablespoons butter, and a pinch of salt in the microwave as before. Stir in 5 drops yellow food coloring and 1-2 drops red food coloring to achieve a deep orange, then mix in 1 1/4 cups plus 2 tablespoons crisp rice cereal. Press the orange mixture into the pan, just inside the yellow ring.
- In a clean microwave-safe bowl, prepare the white layer with 3/4 cup marshmallows, 1 tablespoon butter, a pinch of salt, and 3/4 cup crisp rice cereal. Press the white mixture into the center of the pan.
- Let the treats cool completely at room temperature for at least 2 hours. Turn out, then slice into triangle wedges to serve.
Nutrition
Notes
Tried this recipe?
Let us know how it was!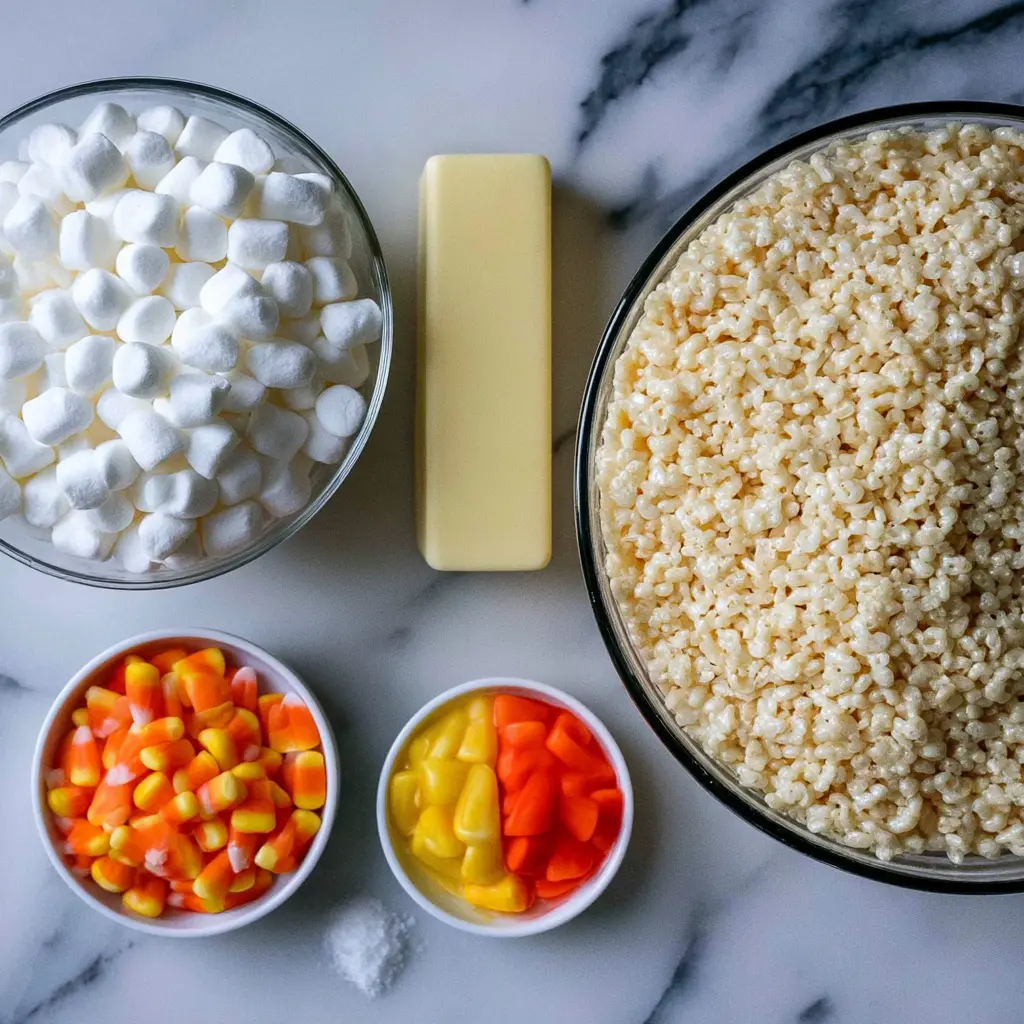
Source: Learn More About This Dish