
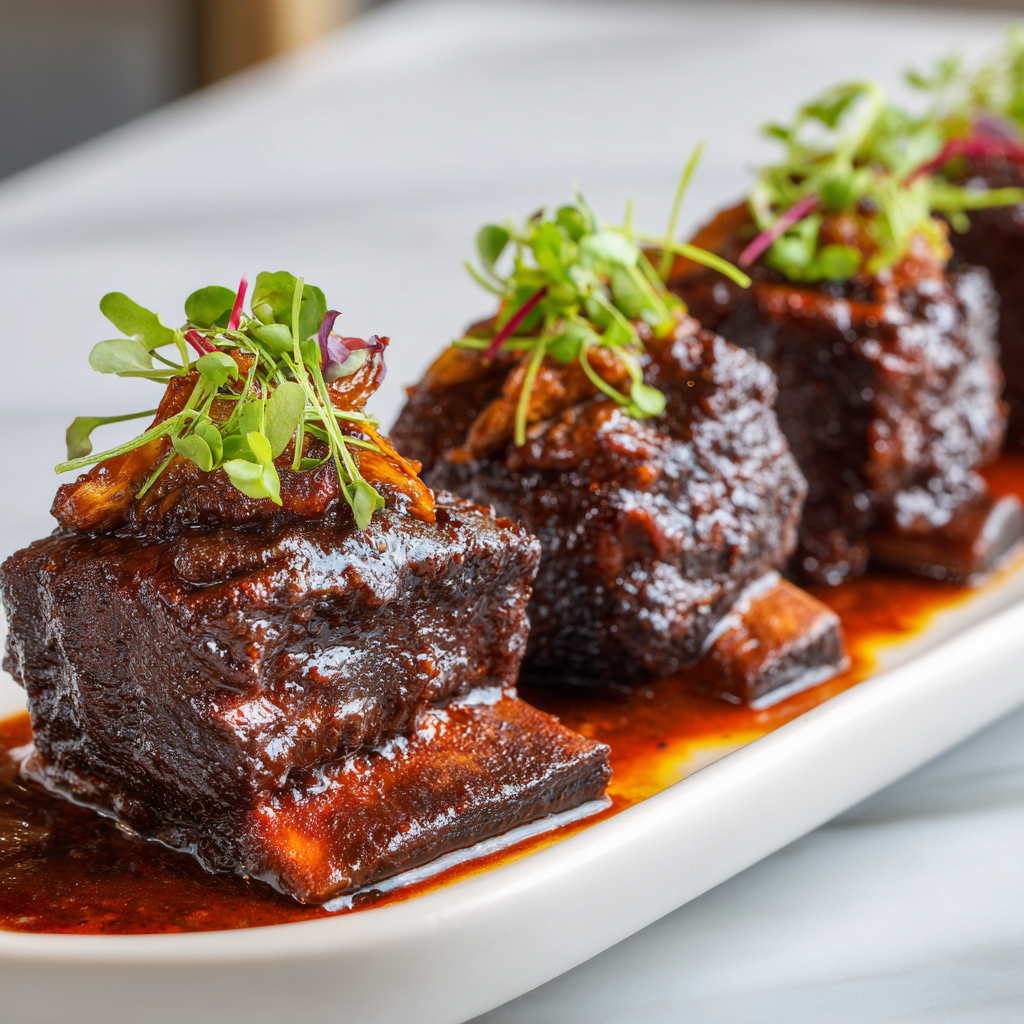
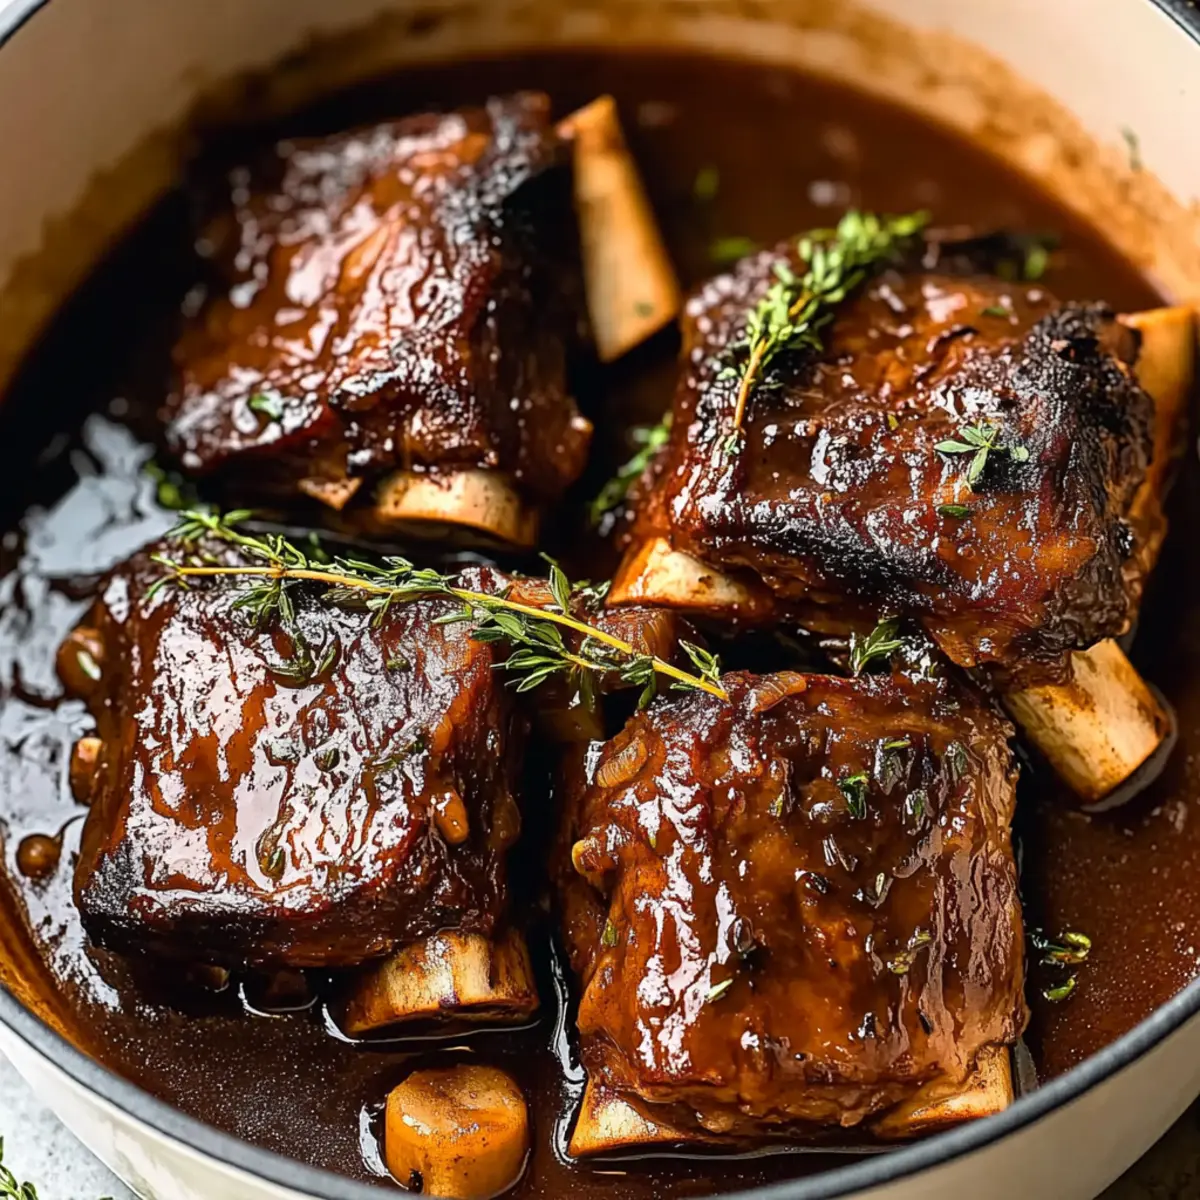
California Braised Beef Short Ribs with Napa Valley Red Wine
Ingredients
Method
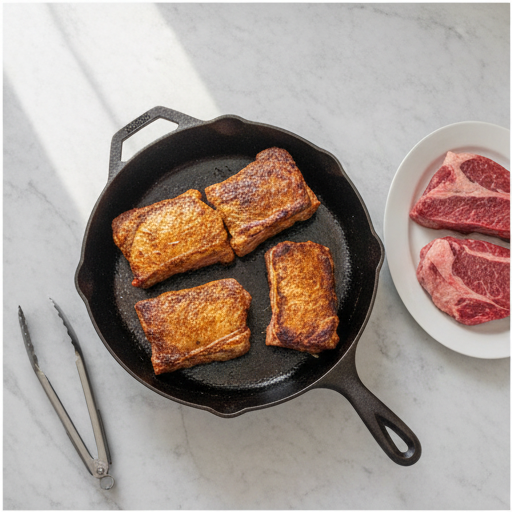
- Heat the olive oil in a large skillet over medium-high heat. Season the short ribs with salt and pepper, then sear them in batches, turning occasionally, until deeply browned on all sides, about 3 minutes per batch. Transfer to a plate.
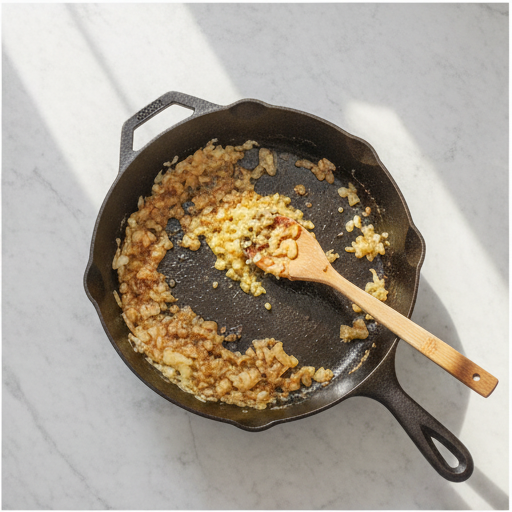
- In the same skillet, add the diced onion and cook, stirring often, until softened and translucent, about 5 minutes. Add the minced garlic and cook for 1 minute more until fragrant.
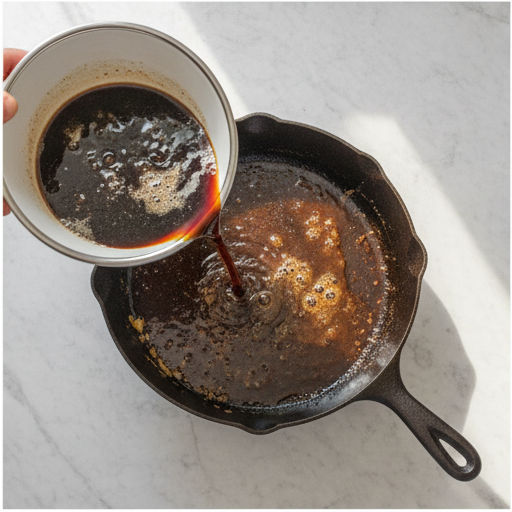
- Pour in the red wine and use a wooden spoon to scrape up any browned bits from the bottom of the skillet. Let the wine simmer for 2 minutes to reduce slightly.
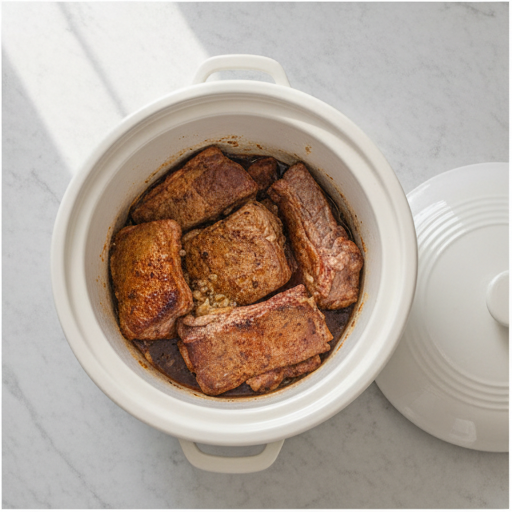
- Transfer the seared ribs, onion mixture, and wine to a slow cooker. Add the beef broth, balsamic vinegar, brown sugar, and thyme. Stir gently to combine.
- Cover and cook on low heat for 6 to 8 hours, until the meat is fork-tender and nearly falling off the bone.
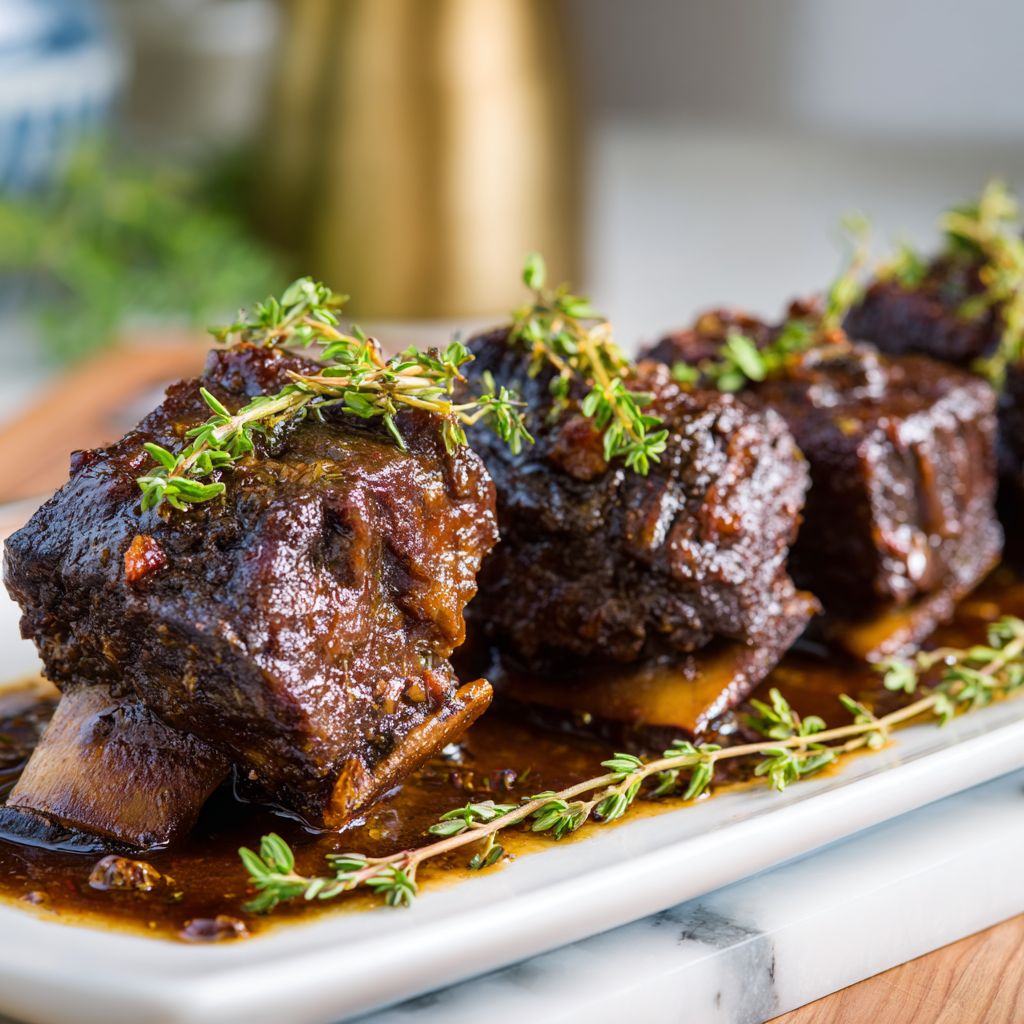
- Spoon the braising liquid over the ribs. Serve hot with mashed potatoes or crusty sourdough bread for a comforting California-style meal.
Nutrition
Notes
Tried this recipe?
Let us know how it was!What Is Braising?
Braising is a cooking method where you first sear meat at high heat, then cook it slowly in a small amount of liquid in a covered pot. The science is simple but brilliant. The collagen in tougher cuts like short ribs breaks down into gelatin, which makes the meat incredibly tender and gives the sauce that silky, almost velvety texture.
Think of it as the best of both worlds. You get the deep, caramelized flavor from the sear, and then the gentle, low-and-slow cooking makes everything fall apart. It’s the same technique used for pot roast, coq au vin, and osso buco. And for these braised beef short ribs, it’s pure magic.
The key is patience. You can’t rush it. But the good news? Most of that time is hands-off. You sear, you sauté, you deglaze, and then you let the slow cooker or oven do the work. I’ll walk you through the whole thing.
Why You’ll Love This Recipe
I know the last thing you want on a 90° July day is to turn on the oven. But I promise, this braised beef short ribs recipe is worth the heat. And honestly, you can use a slow cooker or even a stovetop Dutch oven to keep your kitchen from turning into a sauna.
Here’s what makes this recipe a winner:
- It’s nearly foolproof. The slow cooker does all the heavy lifting. You just need to sear the ribs and combine the ingredients.
- It’s impressive. Serve these at a July 4th cookout and watch everyone’s eyes widen. They’ll think you slaved all day. You can tell them the truth later.
- It’s make-ahead friendly. Cook it a day or two before your gathering. The flavors actually get better overnight. Just reheat gently before serving.
- It’s gluten free. No flour, no roux. The sauce thickens naturally from the collagen and the reduction.
- It uses California ingredients. Napa Valley olive oil and a good red wine (or a non-alcoholic substitute) bring that West Coast farm-to-table vibe.
I’ve made this recipe more times than I can count. And every single time, the reaction is the same. Silence at the table, then a chorus of “how did you do this?”
Essential Tools for Braising Short Ribs
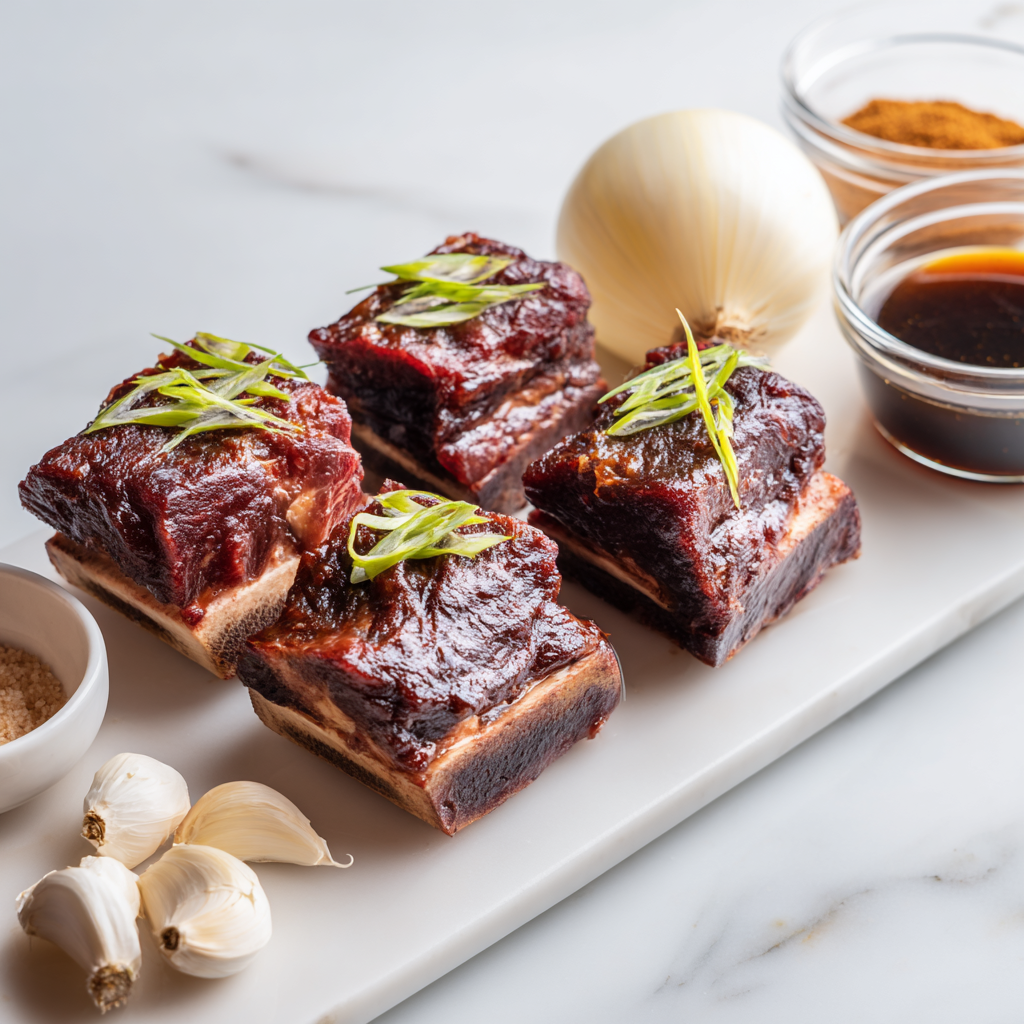
You don’t need a ton of fancy equipment. But having the right tools makes the process smoother. Here’s what I use:
- A large skillet or Dutch oven. For searing the ribs. Cast iron is ideal, but any heavy-bottomed pan works.
- A slow cooker. This is my preferred method for summer. It keeps the kitchen cool and the results are consistent. A 6-quart model is perfect.
- Tongs. For flipping the ribs without piercing them. You want to keep those juices locked in.
- A wooden spoon. For deglazing the pan. It’s gentle on the pan and does a great job scraping up all those browned bits.
- A sharp knife and cutting board. For dicing the onion and mincing the garlic.
If you don’t have a slow cooker, you can use a Dutch oven in the oven at 325°F for about 3 to 4 hours. I’ll cover that more in the cooking options section.
Ingredients for Braised Beef Short Ribs
Let’s talk about what goes into this dish. The ingredient list is short, but each one plays a crucial role. I’ve tested this combination more times than I can count, and it’s the sweet spot.
- Beef short ribs (3 pounds). Go for bone-in, English-cut short ribs. They have more flavor and stay tender during the long cook. Look for ribs that are meaty and well-marbled.
- 1 large onion, diced. Yellow or white onion works. It adds sweetness and body to the sauce.
- 4 cloves garlic, minced. Fresh garlic, not the jarred stuff. Trust me on this.
- 2 cups beef broth. Use a good quality broth. Low-sodium is fine, just adjust the salt later.
- 1 cup red wine. The recipe calls for a Napa Valley Cabernet. But honestly, use any red wine you’d sip. If you don’t drink alcohol, swap it for extra beef broth plus a tablespoon of balsamic vinegar.
- 1/4 cup balsamic vinegar. This adds acidity and depth. It balances the richness of the beef.
- 1/4 cup brown sugar, packed. A touch of sweetness to round out the savory flavors and help with caramelization.
- 1 teaspoon dried thyme. Earthy and aromatic. It pairs beautifully with beef.
- Salt and black pepper, to taste. Season generously at every stage.
- 2 tablespoons California olive oil. For searing. A good quality olive oil adds a subtle fruity note.
That’s it. No secret ingredients, no complicated spice blends. Simple, honest food.
How to Braise Beef Short Ribs
Now for the fun part. Here are the four major cooking stages. I’ll explain the why behind each step, not just the how.
Stage 1: Sear the Ribs
Heat the olive oil in your skillet over medium-high heat. Pat the short ribs dry with paper towels (this is key for a good sear). Season them generously with salt and pepper. Then, working in batches so you don’t overcrowd the pan, sear the ribs for about 3 minutes per side. You want a deep, dark brown crust. That crust is pure flavor.
I once made the mistake of rushing this step. The ribs were pale and sad. The sauce was bland. Don’t be like me. Take the time to get that beautiful color.
Stage 2: Sauté the Aromatics
Once the ribs are seared and resting on a plate, lower the heat to medium. Add the diced onion to the same skillet. Cook it, stirring often, until it’s soft and translucent, about 5 minutes. Then add the minced garlic and cook for just 1 minute more. The smell at this point is intoxicating.
Stage 3: Deglaze the Pan
Now for the magic. Pour the red wine (or broth substitute) into the skillet. Use your wooden spoon to scrape up all those browned bits from the bottom. That’s called deglazing, and it’s where so much flavor lives. Let the liquid simmer for 2 minutes to reduce slightly and cook off the raw alcohol.
I forgot to deglaze once. Just once. The sauce was thin and lacked depth. Never again. Those browned bits are flavor gold.
Stage 4: Assemble and Slow Cook
Transfer the seared ribs to your slow cooker. Pour the onion mixture and the deglazed liquid over them. Add the beef broth, balsamic vinegar, brown sugar, and dried thyme. Give everything a gentle stir. Cover and cook on low for 6 to 8 hours. The meat is ready when it’s fork-tender and nearly falling off the bone.
If you’re using a Dutch oven in the oven, cook at 325°F for 3 to 4 hours. Check at the 3-hour mark. The meat should be tender but not quite falling apart. That’s the sweet spot.
Cooking Options: Slow Cooker vs. Dutch Oven
You have options. And I’ve tested both. Here’s the breakdown:
- Slow cooker (my go-to for summer). Low heat for 6 to 8 hours. No oven heat in your kitchen. Perfect for a July 4th gathering. The results are consistently tender.
- Dutch oven in the oven. 325°F for 3 to 4 hours. This is faster but heats up your kitchen. The advantage is you can reduce the sauce on the stovetop right after cooking.
- Stovetop Dutch oven. A low simmer for 2.5 to 3 hours. You need to watch it more closely, but it works well if you’re short on time.
Honestly, the slow cooker is my favorite. Set it and forget it. Especially on a hot day when you don’t want to be near the stove.
Tips and Tricks for Success
I’ve made every mistake in the book so you don’t have to. Here are my best tips:
- Sear in batches. Overcrowding the pan lowers the temperature and steams the meat instead of browning it. You want that deep crust.
- Don’t skip the deglaze. Those browned bits are pure flavor. Wine works, but beef broth with a splash of balsamic is just as good.
- Use bone-in short ribs. They have more flavor and stay moister during the long cook. Boneless can work, but reduce the cooking time a bit.
- For a thicker sauce. After cooking, remove the ribs and simmer the liquid on the stovetop for 10 to 15 minutes until it reduces and thickens. You can also whisk in a tablespoon of cornstarch mixed with a tablespoon of cold water.
- Season as you go. Season the ribs before searing. Taste the sauce before serving and adjust salt and pepper. Layers of seasoning build depth.
- Make it ahead. This dish tastes even better the next day. Cook it, let it cool, and refrigerate. Reheat gently on the stovetop or in a low oven.
Common Mistakes to Avoid
Let’s save you some trouble. Here are the most common mistakes and how to avoid them:
❌ Not browning the beef enough. A pale sear means a bland sauce. You want a deep, dark brown crust. Take your time.
✅ Solution: Pat the ribs dry, get the pan screaming hot, and don’t move them for at least 3 minutes per side.
❌ Overcrowding the pan while searing. This steams the meat instead of browning it. You lose all that flavor.
✅ Solution: Sear in batches. It takes a few extra minutes, but it’s worth it.
❌ Using too much braising liquid. The ribs should be partially submerged, not swimming. Too much liquid dilutes the flavor.
✅ Solution: Aim for the liquid to come about halfway up the sides of the ribs.
❌ Cooking at too high a temperature. High heat toughens the meat and evaporates the liquid too quickly. Low and slow is the way.
✅ Solution: Keep the slow cooker on low, or the oven at 325°F. Patience pays off.
❌ Skipping the resting time. Cutting into the ribs right away lets all the juices run out. Let them rest for 10 minutes before serving.
✅ Solution: Let the ribs rest in the warm sauce for 10 minutes. The meat will be more tender and flavorful.
Serving Suggestions
These braised beef short ribs are rich and decadent. You want sides that can stand up to them without competing. Here are my favorites:
- Creamy mashed potatoes. The classic pairing. The sauce pools in the potatoes and it’s heaven. Use Yukon Gold potatoes for extra creaminess.
- Crusty sourdough bread. San Francisco-style sourdough is perfect. Use it to soak up every last drop of that glossy sauce.
- A green salad with Meyer lemon vinaigrette. The acidity cuts through the richness. A simple salad of mixed greens, shaved fennel, and a bright lemon dressing is ideal.
- Roasted vegetables. Summer vegetables like zucchini, bell peppers, and cherry tomatoes, roasted until caramelized, add color and freshness.
- Creamy polenta. Another great option. The soft, buttery polenta is a wonderful contrast to the tender ribs.
For a July 4th feast, I’d go with the mashed potatoes and a simple green salad. It feels festive and satisfying without being over the top.
Storage and Leftovers
This recipe is a gift that keeps on giving. Here’s how to handle leftovers:
- Refrigerate: Store the ribs and sauce in an airtight container in the fridge for up to 4 days. The flavors meld and deepen overnight.
- Freeze before cooking: You can freeze the raw ribs for up to 4 to 5 months. Thaw in the fridge overnight before cooking.
- Freeze after cooking: Cool the cooked ribs completely, then transfer to a freezer-safe container. They’ll keep for 3 to 4 months. Thaw in the fridge overnight.
- Reheat: The best way is on the stovetop over low heat, covered, for about 15 to 20 minutes. You can also reheat in a 300°F oven for 20 minutes. Add a splash of broth if the sauce seems too thick.
Pro tip: Make a double batch and freeze half. You’ll thank yourself on a busy weeknight.
Frequently Asked Questions
Final Thoughts
I hope this guide gives you the confidence to make these braised beef short ribs for your next gathering. Whether it’s a July 4th cookout, a holiday dinner, or just a cozy Sunday at home, this recipe delivers. The key is patience with the sear and trust in the low-and-slow process.
If you try this recipe, I’d love to hear how it goes. Drop a comment and tell me how your July 4th feast went – I’ll be right there answering questions. And if you want more inspiration, follow me on Pinterest for more recipes like this one.
Source: Nutritional Information
6 Responses
Great recipe, but I found the sauce a bit too sweet with the brown sugar and balsamic. Next time I might cut the sugar in half or add a bit more vinegar to balance it out. Anyone else have this issue?
Thanks for the feedback, Mike! You can definitely adjust the sweetness to your taste—try reducing the brown sugar to 2 tablespoons or adding an extra splash of red wine vinegar for more acidity.
Made these for a family dinner last weekend and they were a huge hit! The meat was so tender it fell off the bone. I used a Merlot as suggested and the sauce was incredible. Will definitely be making these again.
This looks delicious, but I’m cooking for someone with a garlic allergy. Can I leave out the garlic or substitute it with something else without ruining the flavor?
Hi David! You can definitely skip the garlic—the recipe will still be flavorful from the herbs and balsamic. For a mild substitute, try adding a pinch of asafoetida powder or extra thyme for depth.
I don’t have a slow cooker, but I followed the stovetop Dutch oven method and it worked perfectly. The braising liquid turned into this amazing, rich sauce. My only complaint is that I didn’t make enough—everyone wanted seconds!