
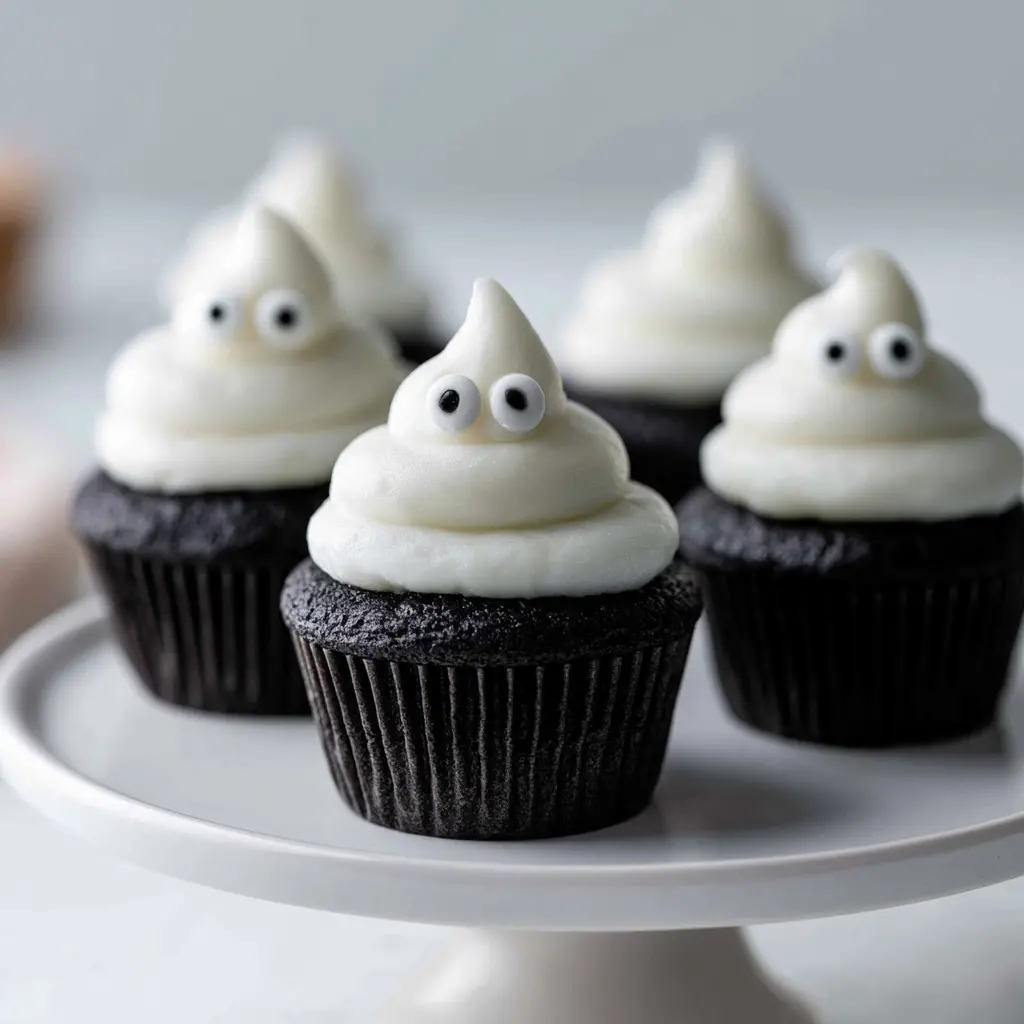
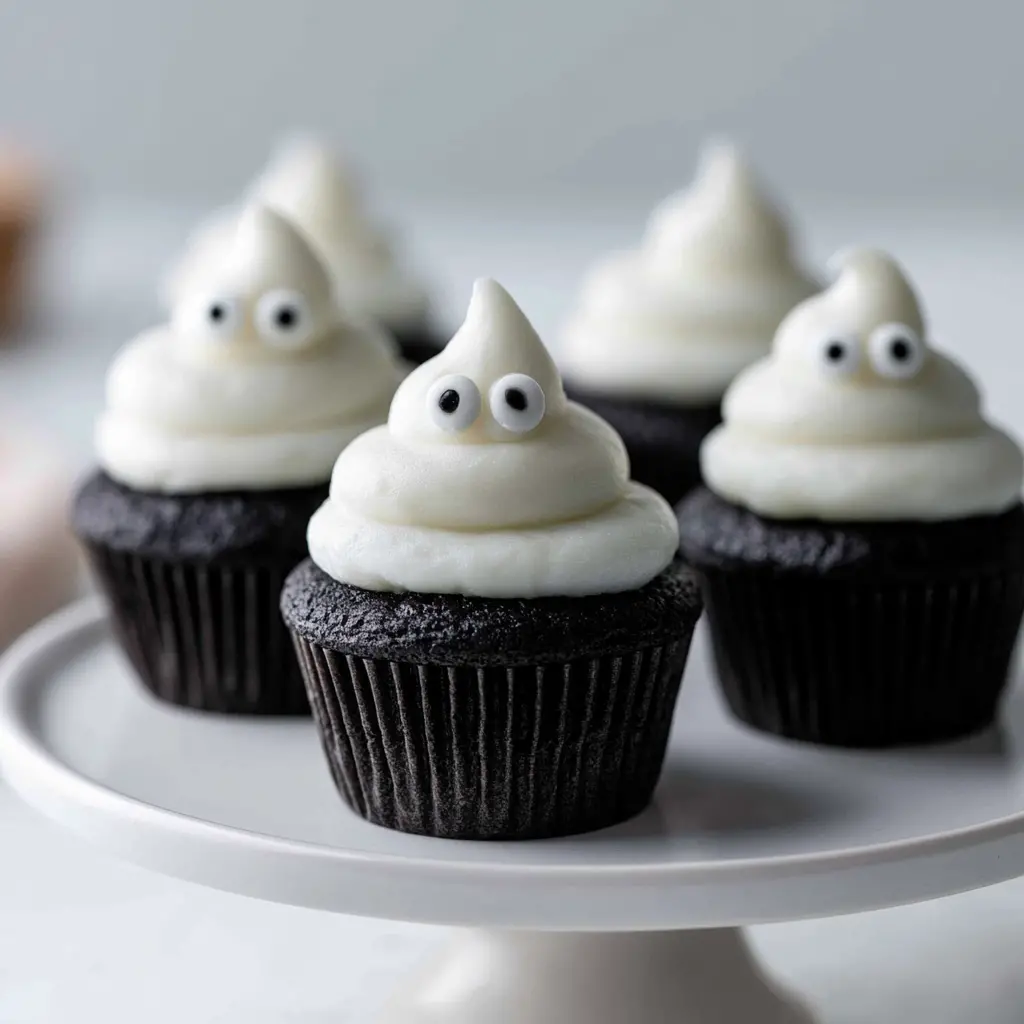
Black Cocoa Ghost Cupcakes
Ingredients
Method
- Heat your oven to 350°F and line a 12-cup muffin pan with paper liners.
- In a small bowl, whisk together the cake flour, black cocoa powder, baking powder, baking soda, and salt until the mixture is evenly combined; set aside.
- In a large bowl, whisk the vegetable oil, eggs, and vanilla extract until smooth and slightly frothy.
- Add the granulated sugar, buttermilk, and white vinegar to the egg mixture and whisk until fully blended.
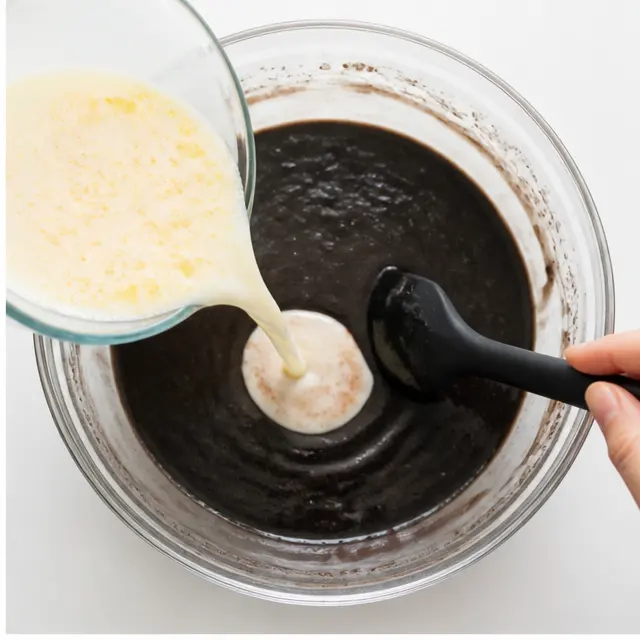
- Pour the dry ingredients into the wet mixture and stir gently with a spatula or whisk just until there are no streaks of flour left. The batter will be thin.
- Divide the batter among the lined cups, using about 1/4 cup of batter per cupcake, filling each cup about halfway.
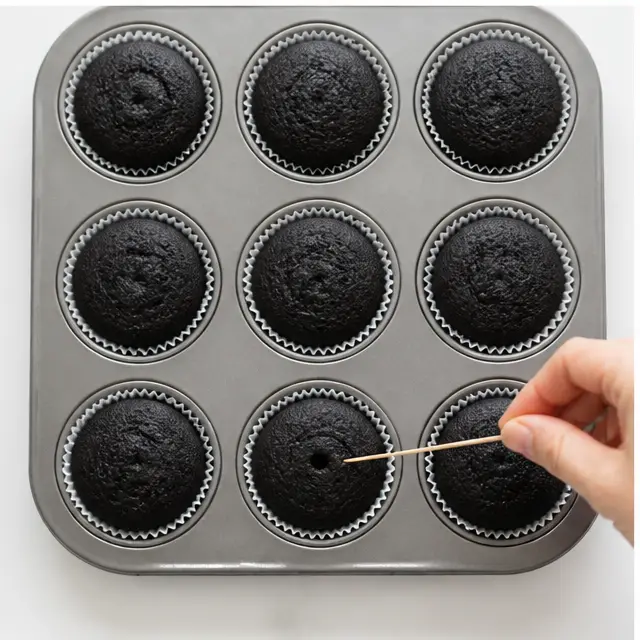
- Bake for 18 to 22 minutes, rotating the pan halfway through, until a toothpick inserted into the center of a cupcake comes out clean.
- Let the cupcakes rest in the pan for 5 minutes, then transfer them to a wire rack to cool completely.
- Double-check that the black cocoa cupcakes are fully cool before you start frosting.
- Let the butter and cream cheese sit at room temperature for at least 30 minutes so they are completely soft and lump-free.
- Using a hand mixer or a stand mixer with the paddle attachment, beat the softened butter and cream cheese together on medium speed until the mixture is smooth and creamy.
- Gradually add the powdered sugar, vanilla extract, and a pinch of salt; mix on low speed until the sugar is absorbed and the frosting is beginning to come together.
- Increase the mixer speed to high and whip for 4 to 5 minutes, scraping down the bowl as needed, until the frosting is light, fluffy, and pale in color.
- Beat in 1 to 2 tablespoons of heavy cream, one tablespoon at a time, until the frosting reaches a soft, spreadable consistency that holds its shape.
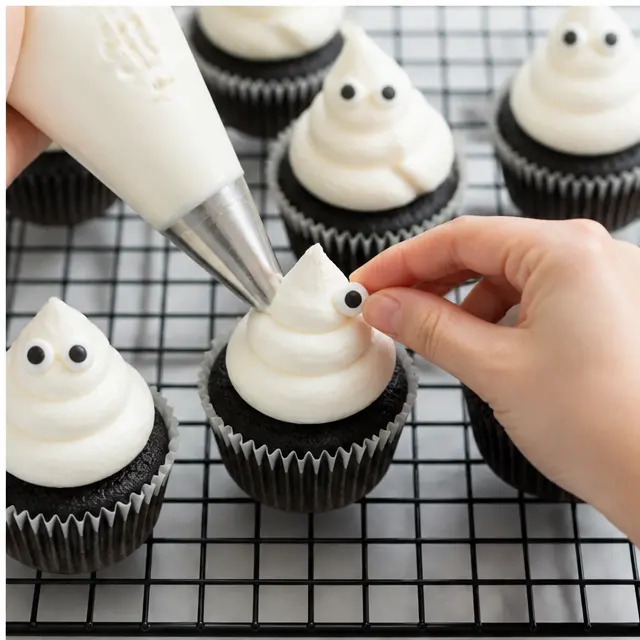
- Spread or pipe the cream cheese frosting onto the cooled cupcakes, then attach two candy eyes to each cupcake to create a ghost face.
Nutrition
Notes
Tried this recipe?
Let us know how it was!Why You’ll Love These Black Cocoa Ghost Cupcakes
Every October I swear I’ll make something amazing. Then October 30th finds me Googling frantically at 11pm, wondering if I can fake a show-stopping Halloween treat with a boxed mix and frosting from a tub.
That was before I discovered black cocoa powder.
The first batch of these black cocoa ghost cupcakes came out of my oven looking like tiny black velvet cakes. I actually laughed. They were genuinely, dramatically black, not dark brown, not “chocolate colored.” And they smelled like opening a fresh bag of Oreos.
These halloween ghost cupcakes have become my signature potluck move. I’ve brought them to school parties, neighborhood gatherings, and one birthday party where a five-year-old declared them “the best cookies ever.” (They were cupcakes. I took the win.)
The black cocoa brings two things: that unreal dark color and a flavor that’s hard to describe. It’s mellow, almost creamy, with a cookies-and-cream vibe. Oreo flavored cupcakes without a single crushed cookie in the batter.
Here’s your head start: Halloween is about 76 days away. Bake and freeze these black cocoa ghost cupcakes this weekend, and you’ll stroll into the class party looking completely stress-free.
And the ghosts? Honestly, they’re foolproof. A piping bag, a round tip, two candy eyes, and you’re done. My first ghost looked less Casper and more sad Q-tip, but even that one was adorable. This is the most forgiving frosting technique you’ll ever learn, seriously.
What Is Black Cocoa Powder?
Let’s talk cocoa, because this is where most people get tripped up.
Black cocoa powder is a type of Dutch-processed cocoa. Plain terms: it’s treated with an alkalizing agent that neutralizes its natural acidity. But black cocoa goes further than standard Dutch-processed cocoa powder. It’s processed longer and more intensely, which makes it darker, less acidic, and nearly black.
Think of it this way. Regular cocoa is a chocolate bar. Black cocoa is the Oreo. Same family, very different personality.
Flavor-wise, black cocoa is surprisingly mild. It’s not bitter or intense. It has a soft, almost nostalgic quality, like the cookies at the bottom of a milkshake. That’s why these cupcakes taste like Oreo without any cookie pieces. Yes, black cocoa really does taste like Oreos, and that never stops being fun.
Here’s the catch, and this is the part I want you to remember. Black cocoa doesn’t work well on its own. It’s too alkaline, and baked goods made with only black cocoa tend to be dry and slightly bitter. This recipe balances things out with cake flour, buttermilk, and a touch of white vinegar. The result is a moist black chocolate cupcake with a tender crumb and that dramatic color.
People sometimes ask if this is the same as dark cocoa. Not quite. Dark cocoa usually refers to regular Dutch-processed cocoa, which is darker than natural cocoa but nowhere near black cocoa’s intense shade. If you want that true black velvet look, you need the real thing. Black cocoa vs regular cocoa is a real difference, not a marketing gimmick.
Ingredient Notes
Most of these are pantry staples, but a few deserve a closer look.
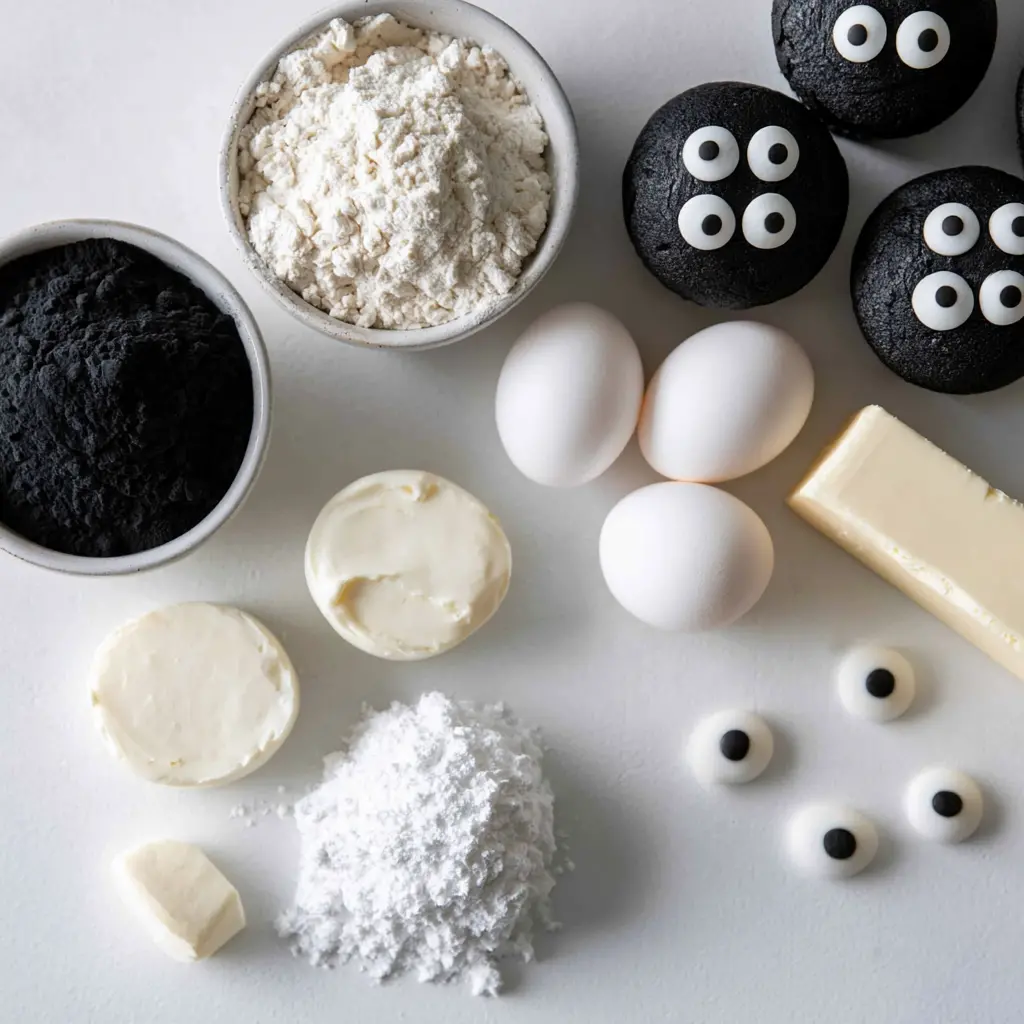
- Black cocoa powder: The star of the show. Find it at specialty baking stores, well-stocked craft stores, or online. Whole Foods and some larger supermarkets carry it too, usually in the baking aisle. It’s the only way to get that true black color.
- Cake flour: Worth buying here. Lower protein means a softer, more tender crumb. All-purpose flour works in a pinch, but the texture will be noticeably denser.
- Buttermilk: Critical. Its acid reacts with the baking soda and balances the black cocoa’s alkalinity. It also keeps the crumb moist. No buttermilk on hand? Add 2 teaspoons of lemon juice or white vinegar to half a cup of milk and let it sit for five minutes.
- White vinegar: Just a teaspoon. It reinforces the acid reaction and helps the cupcakes rise tall. It won’t make the cupcakes taste vinegary, I promise.
- Vegetable oil: Oil keeps baked goods moister than butter does. Since black cocoa can dry things out, this is your safety net.
- Butter and cream cheese: For the frosting. Both must be fully softened, at least 30 minutes at room temperature. If they’re cold, you’ll get lumps that no amount of beating will fix.
- Candy eyes: The quickest route to an adorable ghost. Find them in the baking aisle at craft stores, or just use mini chocolate chips when you’re in a hurry.
How to Make Black Cocoa Ghost Cupcakes
The full recipe is in the card above. This is the rhythm of it, four stages that flow together easily.
Stage 1: The Dry Mix
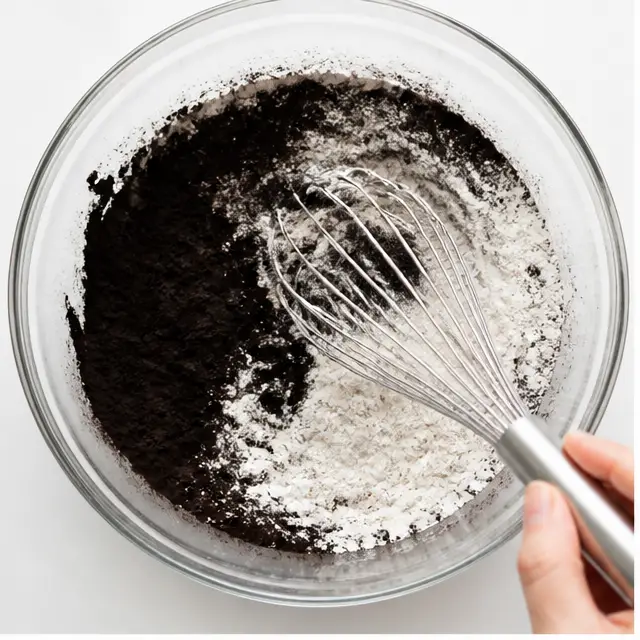
Whisk the cake flour, black cocoa powder, baking powder, baking soda, and salt together in a small bowl. Don’t rush this. Black cocoa is powdery and fine, and if you don’t whisk it properly, you’ll get bitter pockets of cocoa in your finished cupcakes. Whisk until the color looks uniform. That dusty gray is totally normal.
Stage 2: The Wet Mix
In a large bowl, whisk the vegetable oil, eggs, and vanilla until smooth and slightly frothy. Then add the sugar, buttermilk, and white vinegar. The batter will be thin, and that’s supposed to be the case. Thin batter makes tender cupcakes. When you add the dry ingredients, stir gently just until there are no streaks of flour left. Overmixing creates gluten and tough cupcakes, and nobody wants that after all this effort.
Stage 3: The Bake
Fill each lined cup about halfway, using about 1/4 cup of batter per cupcake. Bake at 350°F for 18 to 22 minutes, rotating the pan halfway through so they bake evenly.
Here’s the thing nobody warns you about. You can’t judge black cocoa cupcakes by color. The crumb looks dark even when they’re perfectly baked. Use a toothpick. Insert it in the center of a cupcake, and if it comes out clean, they’re done. Trust the toothpick, not your eyes. I learned that the hard way with a batch that looked finished on the outside but was still gooey in the middle. Let them rest in the pan for five minutes, then move to a wire rack to cool completely.
Stage 4: The Ghosts
Cooling is non-negotiable. If you frost warm cupcakes, the frosting will slide right off and you’ll have a sad puddle of cream cheese instead of a cute ghost. Give them a full hour.
For the ghost frosting, beat the softened butter and cream cheese until smooth and creamy. Add the powdered sugar gradually, then whip on high for 4 to 5 minutes until the frosting is light, fluffy, and pale. Beat in the heavy cream one tablespoon at a time, just until it’s soft and pipeable but still holds its shape.
Fit a piping bag with a large round tip. This matters, a star tip makes ghosts look busy instead of cute. Start at the outside edge of the cupcake and pipe a continuous swirl toward the center, like soft-serve ice cream. Add two candy eyes to create the face. For a spooky little mouth, pipe a tiny dot and drag it upward. That’s the whole ghost frosting piping technique. It looks like you worked for hours. You didn’t.
Tips for Success
These are the lessons I’ve learned the hard way so you don’t have to.
- ❌ Not using room temperature ingredients. Cold eggs and cold buttermilk won’t blend properly, and your batter will look broken. ✅ Set everything out 30 minutes before you start.
- ❌ Frosting before the cupcakes are cool. The number one cause of decorating disasters. ✅ Give them a full hour on a wire rack. Patience pays off.
- ❌ Judging doneness by color. Black cocoa makes that impossible. ✅ Use a toothpick. Clean means done.
- ❌ Adding too much heavy cream to the frosting. It goes from silky to soup in seconds. ✅ Add one tablespoon at a time and stop when it looks spreadable.
- ❌ Using a star tip for the ghosts. The ridges make them look messy, not spooky. ✅ Use a large round tip for smooth, ghostly swirls.
One more thing about warm weather. Yes, even in October, California can decide to be 85 degrees. If that happens on party day, pop the frosted cupcakes in the fridge for 15 minutes before serving. The cream cheese frosting holds up well, much better than plain buttercream, but a quick chill gives you extra insurance. And if you’re transporting these to a Halloween party, an insulated bag or a small cooler works wonders.
Variations & Decorating Ideas
Once you’ve got the ghost down, you’ll probably want to try other takes. These black cocoa ghost cupcakes are a perfect canvas for all kinds of halloween cupcake decorating ideas.
- Different ghost eyes: Mini chocolate chips work great if you don’t have candy eyes. A regular chocolate chip makes a cute little mouth.
- Spooky mouths: Pipe a tiny “O” for a surprised ghost, or skip the mouth entirely for a minimalist, modern look.
- Black cocoa buttercream: Want black frosting on white cupcakes instead? Mix a little black cocoa powder into the cream cheese frosting for a soft gray, then deepen it with a drop of black gel food coloring if you like.
- Gluten-free ghost cupcakes: A good 1:1 gluten-free flour blend can replace the cake flour. I’ve had readers confirm it works, though I haven’t tested it myself. Let me know if you try it.
- Filled cupcakes: Once the cupcakes are cool, hollow out the center with a piping tip and fill with marshmallow creme. It’s a fun surprise inside an already delicious cupcake.
- Cake version: This batter also works as a layer cake. Pour it into two greased 8-inch round pans, adjust the baking time, and use the same frosting and ghost decorations.
As for frosting preference, I usually stick with the cream cheese version for these. It pipes cleanly, holds its shape, and the tangy flavor plays beautifully against the Oreo-like cocoa. Marshmallow buttercream is delicious too, so if that’s your thing, go for it.
Want more spooky dessert inspiration? I’m always pinning new ideas, and you can follow my Halloween board on Pinterest for more tricks and treats.
How to Store Black Cocoa Ghost Cupcakes
This is where you actually win Halloween.
Unfrosted cupcakes keep in an airtight container at room temperature for up to 2 days. They also freeze beautifully for up to 1 month. Wrap them well in plastic wrap and a freezer bag, then thaw overnight in the fridge before frosting.
Frosted cupcakes stay good in the fridge for up to 3 days in an airtight container. Let them sit at room temperature for about an hour before serving so the frosting softens and the cupcake feels fresh-baked again.
Here’s the make-ahead game plan for the school party. Bake and freeze the cupcakes a week ahead. The night before the party, make the frosting and pipe the ghosts. Keep them in the fridge overnight, then pull them out an hour before you leave. You’ll arrive looking like a baking hero, and you’ll have been calm the whole time.
Skip the microwave for thawing. It turns the cupcakes rubbery and makes the frosting weep. Frozen cupcakes belong in the fridge, no exceptions.
Frequently Asked Questions
Here are the questions I get most often about these black cocoa ghost cupcakes, plus a few about Halloween baking in general.
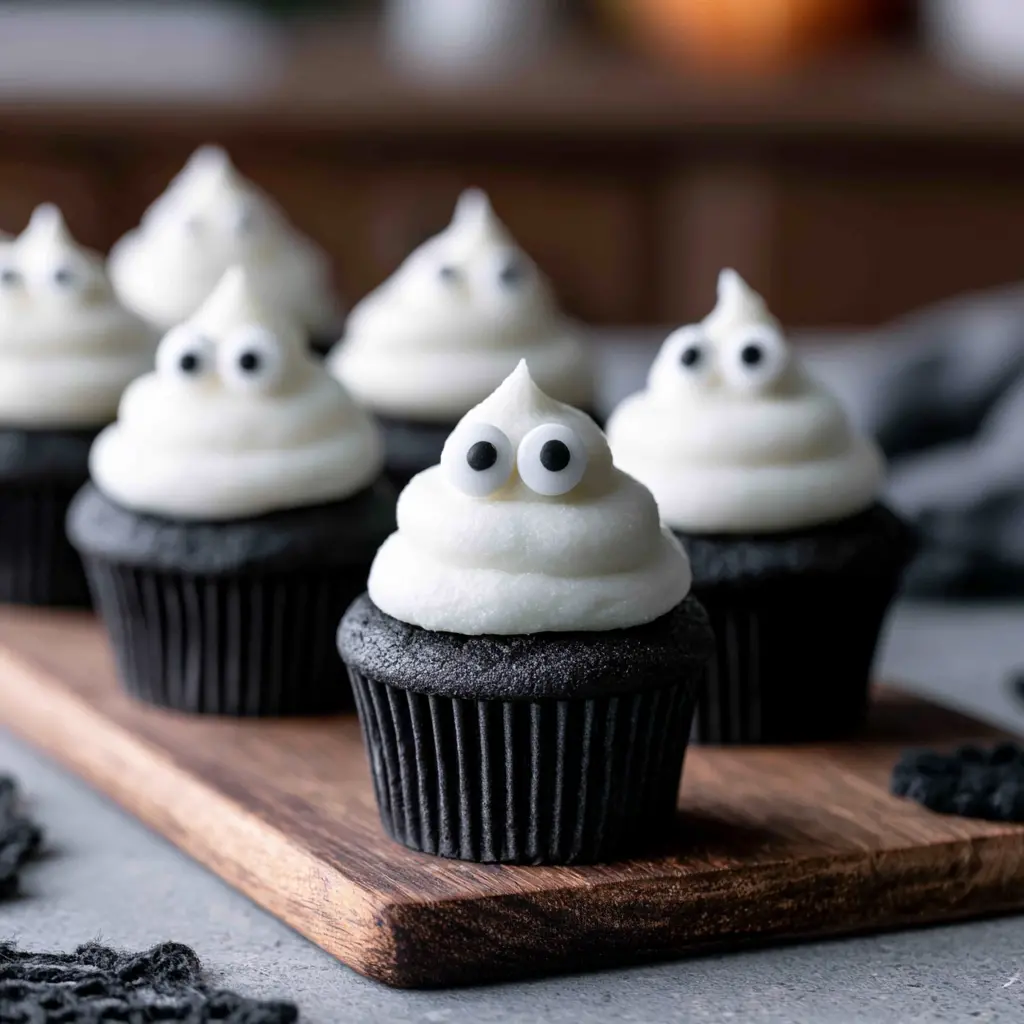
These black cocoa ghost cupcakes are the kind of recipe that becomes a tradition. They’re dramatic enough to impress, cute enough to delight the kids, and easy enough that you won’t dread making them. Imagine walking into that Halloween party with your tray of ghosts. The black cakes, the white swirls, the little candy eyes staring up at everyone. That’s the moment it all becomes worth it.
Source: Learn More About This Dish