

Why You’ll Love This Roasted Butternut Squash Cauliflower Soup
I know, I know it’s June in LA, and we’re supposed to be all about cold salads and grilled corn. But honestly, I’ve been making this roasted butternut squash cauliflower soup on repeat, and I’m not sorry. There’s something about that deep, caramelized flavor that just hits different, even when it’s warm outside. And the best part? You can stash a big batch in your freezer for those chilly October evenings when you’ll want something cozy but have zero energy to cook.
This isn’t your average bland diet soup. We’re talking velvety smooth, naturally sweet from roasted veggies and a secret ingredient sun-dried tomatoes with a rich, creamy finish from coconut milk. It’s vegan, it’s dairy-free, and it’s the kind of healthy comfort food that makes you feel good about eating a whole bowl. Trust me, this is the one.
Plus, it’s a total one-pot situation after the roasting. Minimal cleanup, maximum flavor. That’s my kind of meal prep.
Ingredients for Butternut Squash Cauliflower Soup
Let’s talk about what goes into this bowl of goodness. The ingredient list is pretty straightforward, but a few key players really make it shine.
- Butternut squash: You’ll need about 1 1/4 pounds, peeled and cubed. That’s roughly 5 cups. Look for one that feels heavy for its size.
- Cauliflower florets: About 1 pound, or 4 cups. Fresh is best here, but we’ll talk frozen options later.
- Aromatics: One small yellow onion and 3 cloves of garlic. Plus a teaspoon of fresh grated ginger for a little warmth.
- Olive oil: Two tablespoons total. I like using a California-grown one for that fruity, peppery note.
- Vegetable broth: Two cups, low-sodium if you can. Gives you control over the salt level.
- Coconut milk: Full-fat for the creamiest result. It’s what makes this a dairy free cream soup without any compromise.
- Sun-dried tomatoes: A quarter cup, oil-packed and drained. This is my little trick for adding sweetness and depth without any sugar.
- Spices: Ground sage, garlic powder, nutmeg, salt, pepper, and optional red pepper flakes for heat.
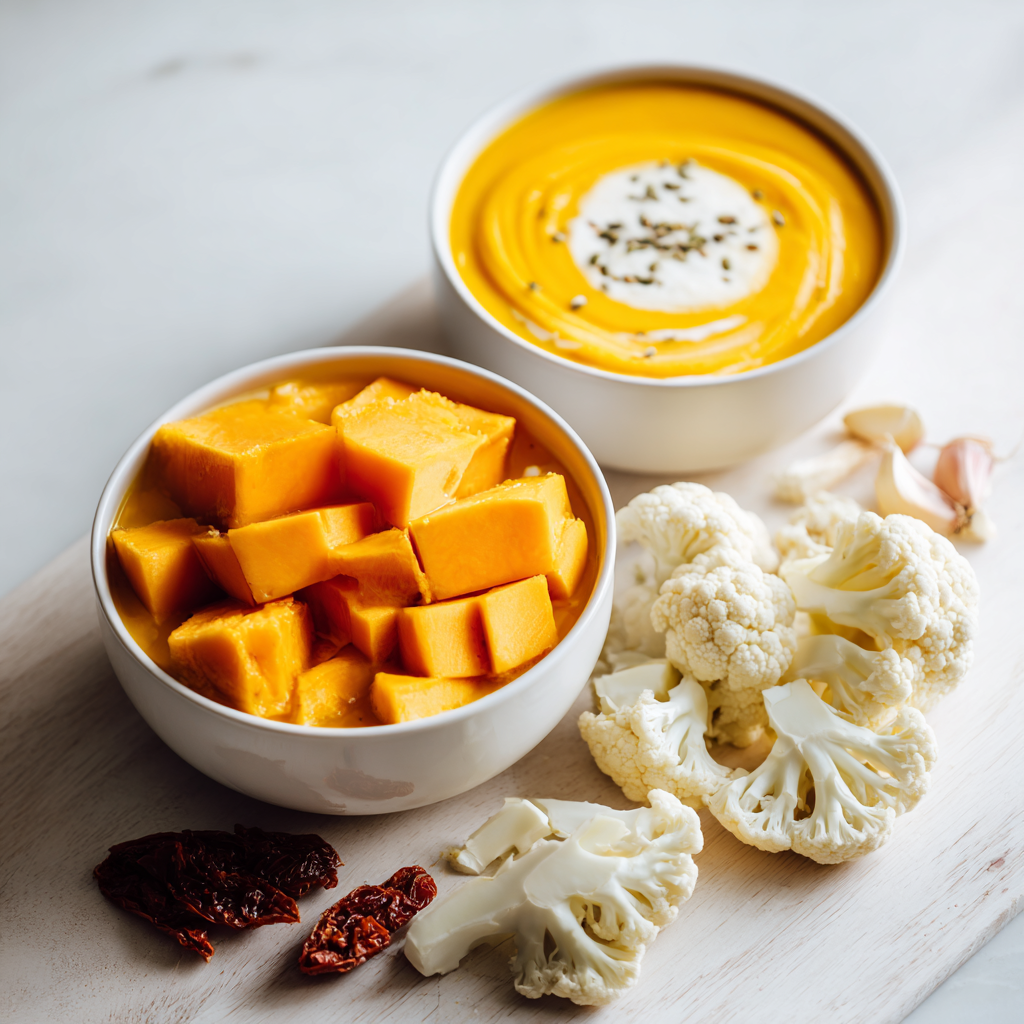
That’s it. No weird stuff. You can find all of this at your local Ralphs or Trader Joe’s without breaking a sweat.
Substitutions and Variations
One of the things I love about this recipe is how flexible it is. Don’t have sun-dried tomatoes? Swap in 1 tablespoon of tomato paste. It won’t be as sweet, but it’ll still add that lovely savory note.
For extra protein, toss in a can of rinsed chickpeas during the simmer step. They blend right in or stay chunky your call. And if you want a chunkier soup, just reserve a cup of the roasted vegetables before blending and stir them back in at the end.
Spice-wise, you can switch up the ginger for some curry powder or smoked paprika if that’s your vibe. Just keep in mind it changes the flavor profile completely, but that’s the fun of cooking.
How to Make Roasted Butternut Squash Cauliflower Soup
Alright, let’s get cooking. I’ll walk you through the four main stages. Don’t worry, it’s easier than it sounds.
Stage 1: Roast the Vegetables
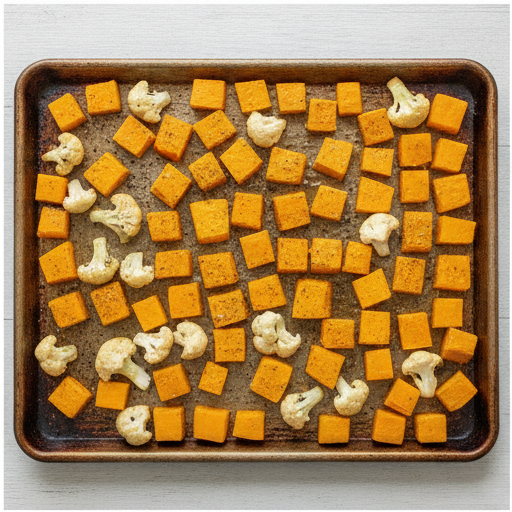
Preheat your oven to 400°F. On a large baking sheet, toss the cubed butternut squash and cauliflower florets with 1 tablespoon of olive oil, 1/2 teaspoon salt, and 1/4 teaspoon pepper. Spread everything in a single layer crowding will steam them instead of roasting. Pop them in for 25 minutes, stirring halfway through. You’re looking for tender edges with some nice browning. That caramelization is where the magic happens.
Stage 2: Sauté the Aromatics
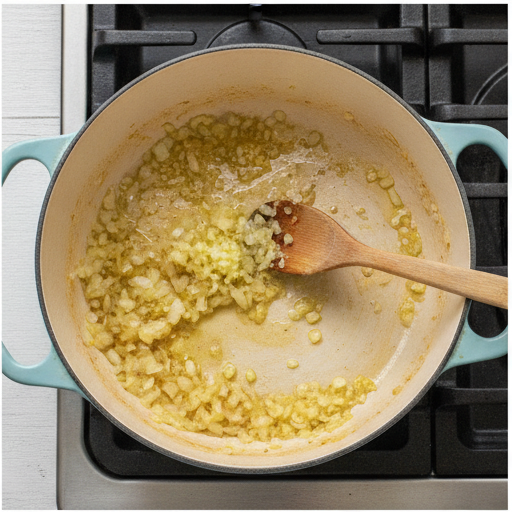
While the veggies are in the oven, heat the remaining 1 tablespoon of olive oil in a large pot over medium heat. Add the chopped onion and cook for about 5 minutes until it’s soft and translucent. Then stir in the minced garlic and grated ginger, cooking for another minute until it’s super fragrant. Your kitchen is going to smell amazing at this point.
Stage 3: Simmer Everything Together
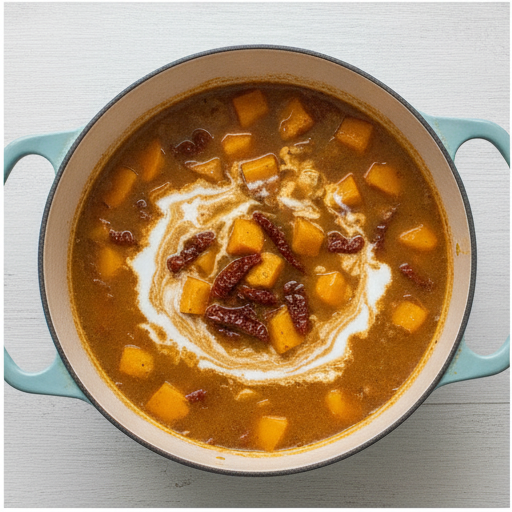
Once the roasted vegetables are done, add them to the pot along with the vegetable broth, coconut milk, sun-dried tomatoes, and all the spices sage, garlic powder, nutmeg, red pepper flakes, and the remaining salt and pepper. Bring it to a gentle boil, then reduce the heat and let it simmer for 10 minutes. This lets all those flavors get to know each other.
Stage 4: Blend Until Velvety
Here’s where the immersion blender comes in. Puree the soup directly in the pot until it’s smooth and creamy. If you don’t have an immersion blender, no problem just transfer it in batches to a regular blender. But be careful with hot liquids! Let it cool slightly and always vent the lid to avoid an explosion. Trust me, I learned that one the hard way.
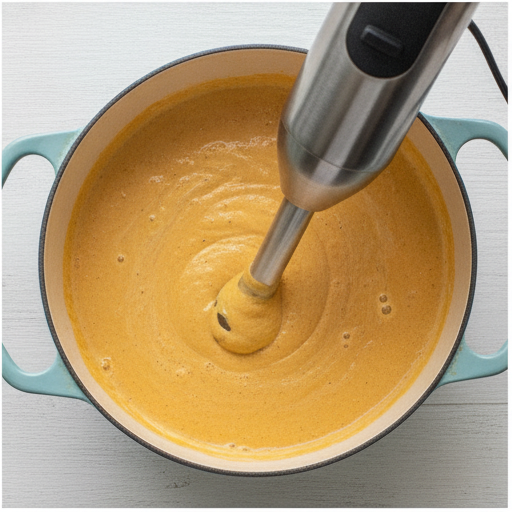
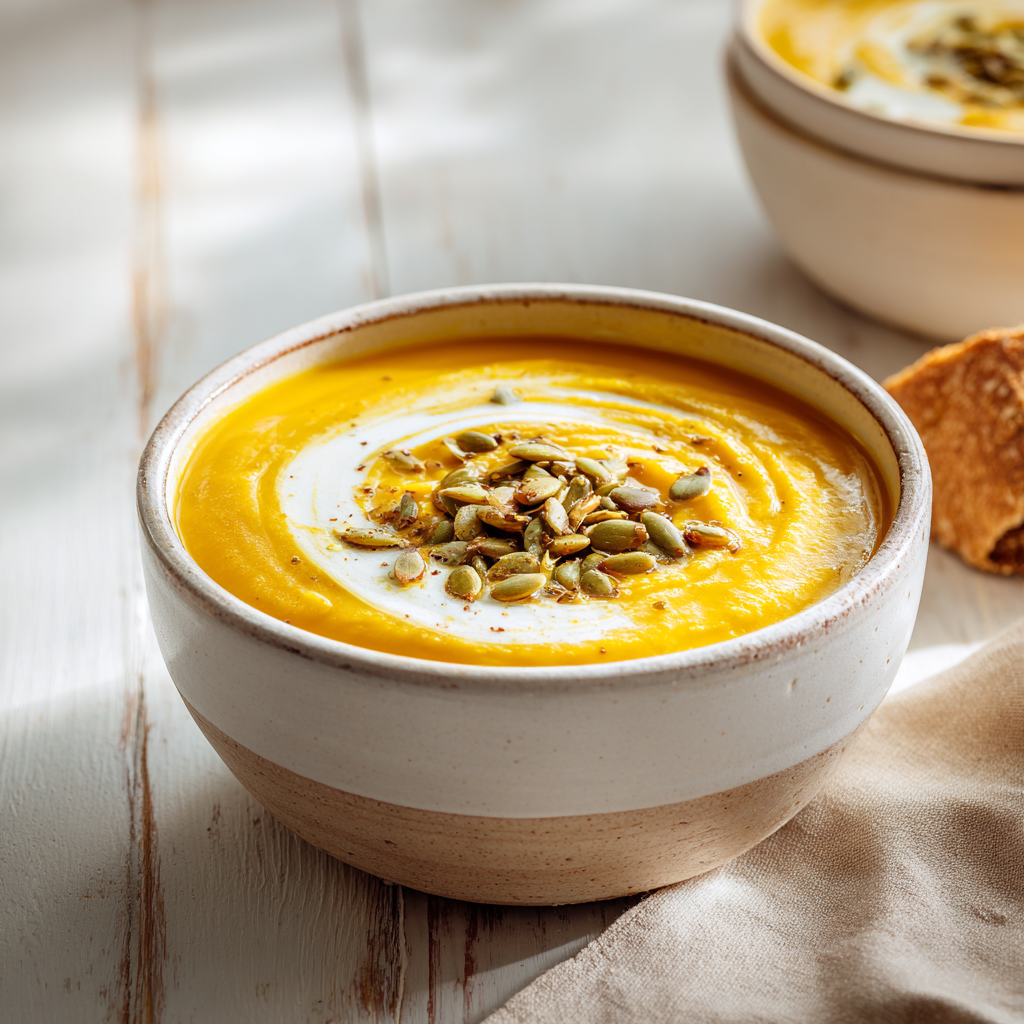
Taste and adjust the seasoning. Sometimes it needs a pinch more salt or a little extra pepper. Serve hot with a swirl of coconut milk or a sprinkle of pumpkin seeds if you’re feeling fancy.
Top Tips for the Best Soup
Over the years, I’ve picked up a few tricks that make this soup foolproof. Here are my top ones:
- Don’t skip the roasting. It’s what gives this soup its deep, sweet and savory flavor. The high heat coaxes out natural sugars and creates those beautiful browned bits.
- Watch your cauliflower. It can brown faster than the squash. If it’s getting too dark, pull it out early and let the squash finish.
- Blend safely. Always let the soup cool slightly before blending in a countertop blender. And vent the lid seriously, hot soup explosions are no joke.
- Adjust the thickness. If your soup is too thick, add a splash of water or extra broth. Too thin? Let it simmer uncovered for a few minutes to reduce.
- Use a vegetable peeler for the squash. It’s way easier than trying to cut off the skin with a knife. Trust me on this one.
Serving Suggestions
This soup is a meal in itself, but it’s even better with some good sides. I love serving it with a thick slice of crusty sourdough bread for dipping. A simple side salad with a lemony vinaigrette cuts through the richness beautifully.
For a heartier meal, add some shredded rotisserie chicken or those chickpeas I mentioned earlier. And don’t forget the garnishes a drizzle of olive oil, a few red pepper flakes, or some toasted pumpkin seeds add texture and flavor.
Storage and Freezing
This is where this soup really shines for meal prep. Let the soup cool completely, then transfer it to an airtight container. It’ll keep in the fridge for 4 to 5 days. The flavors actually get better after a day or two.
For freezing, portion it out into freezer-safe containers or Souper Cubes. It’ll last up to 6 months in the freezer. When you’re ready to eat, just thaw it in the fridge overnight and reheat on the stove or in the microwave. When you pull this soup from the freezer in October, you’ll thank yourself.
Frequently Asked Questions
Creamy Roasted Butternut Squash Cauliflower Soup
Ingredients
Method
- Preheat your oven to 400°F. On a large baking sheet, toss the cubed butternut squash and cauliflower florets with 1 tablespoon of olive oil, 1/2 teaspoon salt, and 1/4 teaspoon pepper. Spread in a single layer and roast for 25 minutes, or until tender and lightly browned, stirring halfway through.
- While the vegetables roast, heat the remaining 1 tablespoon olive oil in a large pot over medium heat. Add the chopped onion and cook for 5 minutes until softened. Stir in the minced garlic and grated ginger, cooking for 1 minute more until fragrant.
- Add the roasted vegetables to the pot along with the vegetable broth, coconut milk, sun-dried tomatoes, sage, garlic powder, nutmeg, red pepper flakes, and remaining salt and pepper. Bring to a gentle boil, then reduce heat and simmer for 10 minutes to blend flavors.
- Using an immersion blender, puree the soup directly in the pot until smooth and creamy. Alternatively, transfer in batches to a blender and blend carefully. Taste and adjust seasoning if needed. Serve hot, garnished with a swirl of coconut milk or a sprinkle of pumpkin seeds if desired.
Nutrition
Notes
Tried this recipe?
Let us know how it was!Source: Health & Nutrition Research