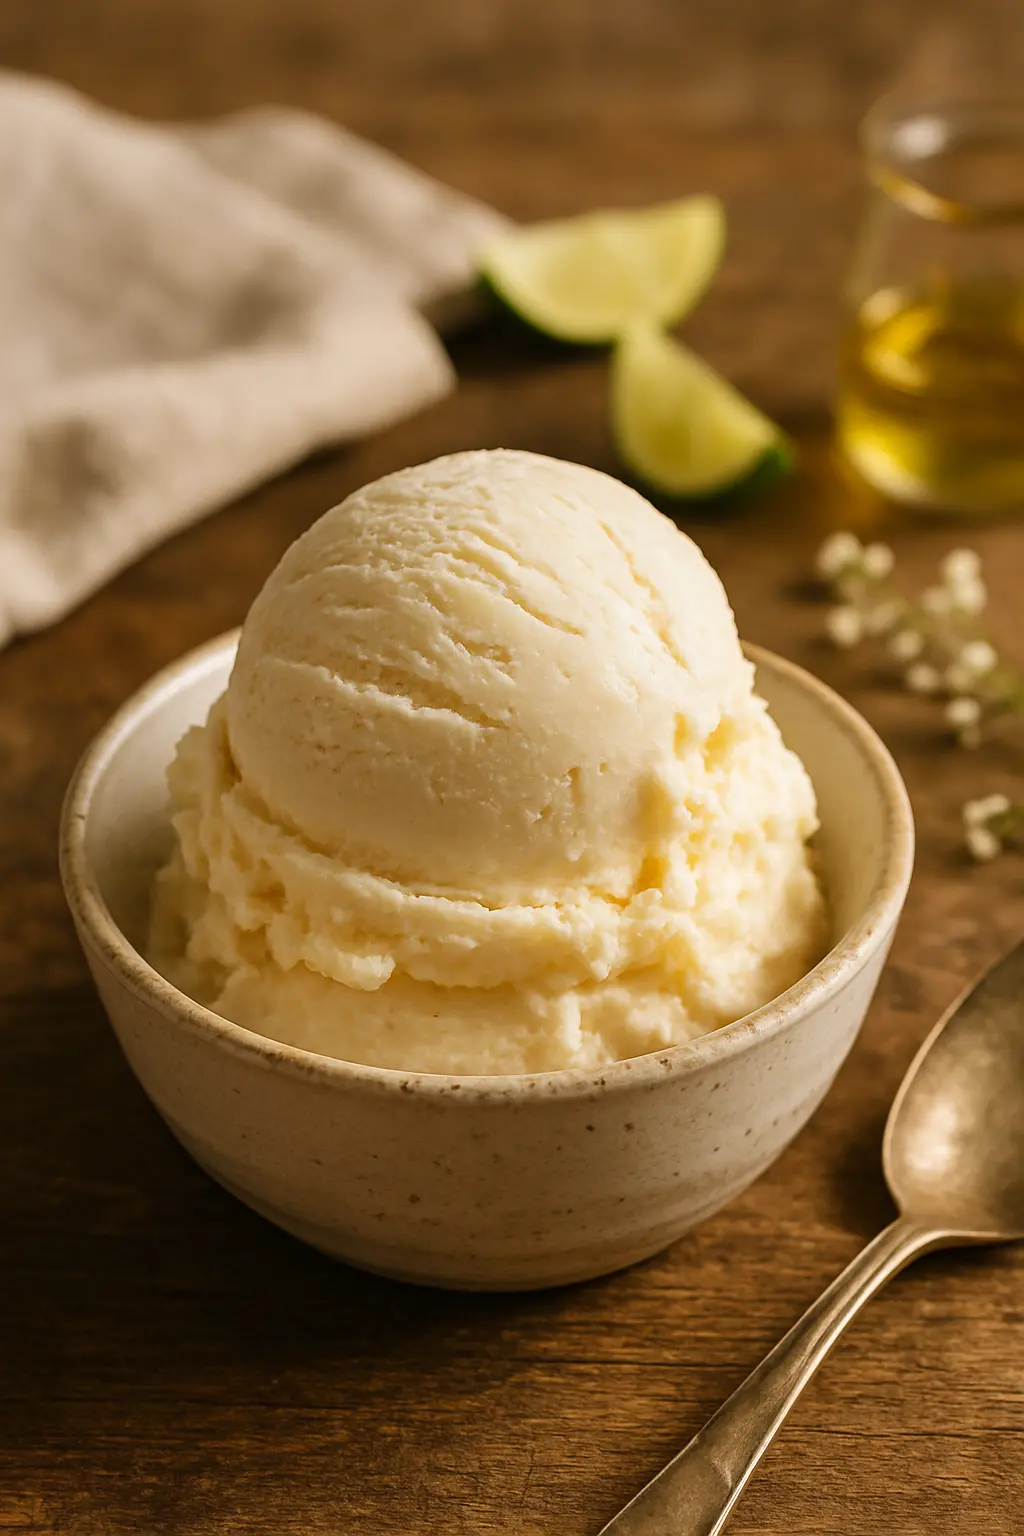
Ninja Creami Vanilla Ice Cream Recipe
Last Updated on November 7, 2024

This Ninja Creami vanilla ice cream recipe delivers restaurant-quality results with minimal effort. Perfect for hot summer days or whenever you crave a creamy frozen treat, this homemade version beats store-bought options in both flavor and texture.
Why You’ll Love This Ninja Creami Vanilla Ice Cream
- Only 5 simple ingredients
- No special skills required
- Creamier texture than traditional methods
- Endless customization options
- Cost-effective compared to premium store brands
Essential Ingredients for Perfect Ninja Creami Vanilla Ice Cream
Quality ingredients make all the difference in achieving that signature creamy texture:
- Whole milk – Provides the perfect milkfat balance
- Heavy cream – Creates luxurious mouthfeel
- Cream cheese – Adds stability and richness
- Vanilla bean paste – Delivers intense vanilla flavor
- Granulated sugar – Sweetens and improves texture
How to Make Ninja Creami Vanilla Ice Cream
Preparation
- Soften cream cheese in microwave (10 seconds)
- Whisk in sugar until fully incorporated
- Gradually add milk and cream while whisking
- Stir in vanilla bean paste
Freezing and Processing
- Pour mixture into Ninja Creami pint container
- Freeze flat for exactly 24 hours
- Process using ICE CREAM function
- Respin if needed for smoother texture

Pro Tips for Best Results
- Always use full-fat dairy products for creamiest texture
- Measure ingredients precisely for consistent results
- Freeze on a completely level surface
- Don’t skip the 24-hour freeze time
- For softer serve, let sit 5 minutes after processing
Creative Flavor Variations
Customize your Ninja Creami vanilla ice cream with these delicious ideas:
Mix-In Options
- Chocolate chips or chunks
- Crushed cookies or brownie pieces
- Toasted nuts or coconut
- Fresh fruit swirls
Flavor Twists
- Add 2 tbsp cocoa powder for chocolate version
- Mix in 1 tsp mint extract for mint chip
- Stir in 1/4 cup peanut butter for PB swirl
- Add 1 tbsp instant coffee for mocha flavor

Frequently Asked Questions
Can I use vanilla extract instead of paste?
Yes, but reduce amount by half as extract is more concentrated. Paste provides better flavor and visible specks.
Why is my ice cream crumbly?
This usually means it needs more processing time. Try the respin function or add 1 tbsp milk and process again.
How can I make it dairy-free?
Substitute with full-fat coconut milk and dairy-free cream cheese alternative. Texture will be slightly different.
Can I double the recipe?
Yes, but you’ll need to process in batches as the Ninja Creami works with one pint at a time.
Why This Recipe Works
The cream cheese in this Ninja Creami vanilla ice cream recipe acts as a stabilizer, preventing ice crystals from forming while adding luxurious texture. The balanced ratio of milk to cream ensures perfect scoopability without being overly rich.
Compared to traditional ice cream makers, the Ninja Creami’s powerful blade system creates smoother results by completely breaking down frozen particles. This method also allows for easier customization – simply add your favorite mix-ins after the initial processing cycle.
Perfect Pairings
This versatile Ninja Creami vanilla ice cream complements numerous desserts:
- Warm apple pie or crisp
- Chocolate lava cake
- Fresh berry compote
- Waffles or pancakes
- Espresso for affogato
Ready to make the creamiest homemade vanilla ice cream? This Ninja Creami recipe delivers professional results with minimal effort. Share your creations with us and don’t forget to pin your favorite variations!

Creamy Ninja Creami Vanilla Ice Cream Recipe (Easy & Homemade)
Ingredients
- 1 cup (240ml) whole milk
- ¾ cup (180ml) heavy cream
- 1 Tablespoon cream cheese
- 1 teaspoon vanilla bean paste
- ⅓ cup (67g) sugar
Instructions
- Place the cream cheese in a large bowl and microwave for 10 seconds. For the heading: "P reheat the Ove :" → "Preheat the Oven"
- Add the sugar, then gradually pour in the milk and heavy cream while stirring until smooth. --- Bake the Cake
- "St r the Mixtu e Until Smo th" → "Stir the Mixture Until Smooth" "Pour the vanilla ice cream mixture into your Ninja Creami pint, secure the lid, and freeze on a flat surface for 24 hours."
- Remove the pint container from the freezer, take off the lid, and assemble according to the quick start guide. Press the ice cream button.
- "St r the Mixtu e G ntly" → "Stir the Mixture Gently"
Nutrition
Notes
- If texture isn’t smooth, re-spin or add a splash of cream/milk. Adjust sugar to taste.
- Chill mix-ins in advance for best results.
Tried this recipe?
Let us know how it was!How long does Ninja Creami vanilla ice cream last in the freezer?
Your homemade Ninja Creami vanilla ice cream will stay fresh in the freezer for several weeks. For best results, smooth the surface flat before covering and refreezing. When ready to eat again, simply reprocess using the same setting as your initial preparation for that just-made creamy texture.