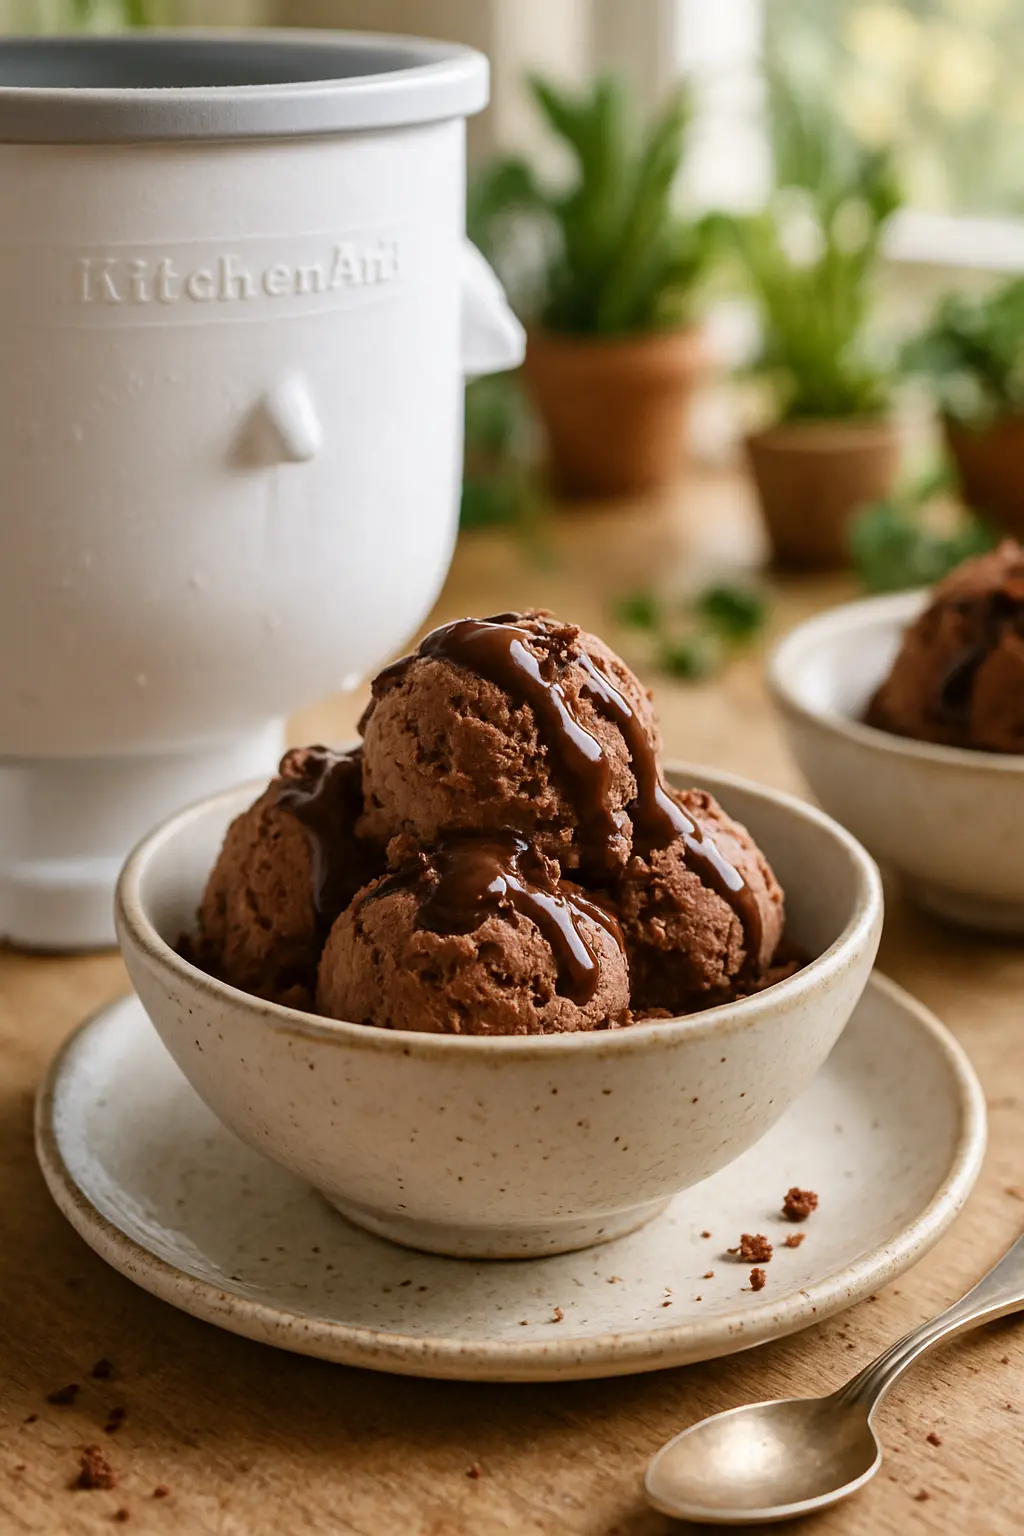
Kitchen Aid Ice Cream Attachment Recipe: The Ultimate Guide to Homemade Chocolate Ice Cream

Making homemade ice cream just got easier with this foolproof kitchen aid ice cream attachment recipe. Whether you’re a beginner or experienced cook, this guide will walk you through every step to create rich, creamy chocolate ice cream that rivals store-bought brands.
In this comprehensive guide, you’ll learn:
- The perfect ingredient ratios for creamy texture
- Exactly how long to churn ice cream in your KitchenAid
- Pro tips for getting the most from your ice cream maker
- Troubleshooting common ice cream making problems
Table of Contents

Easy Chocolate Ice Cream Recipe for KitchenAid Attachment
Instructions
- Freeze the KitchenAid Ice Cream Churner attachment in the back of the freezer for 14-16 hours.
- Whisk the egg yolks and 1/4 cup granulated sugar in a medium bowl until pale yellow. Lift the whisk to check for a ribbon-like consistency—this means the mixture is ready.
- Combine whole milk, heavy cream, and the remaining 1/4 cup (55 grams) of sugar in a medium sauce pot. Stir well and heat over medium heat. Stir frequently until the mixture becomes foamy or reaches 165°F on an instant-read thermometer.
- Lower the heat to low. Spoon about 1/4 cup of the hot milk mixture into the egg yolks. Whisk to temper the yolks. Repeat this step three more times to warm the yolks. Pour the yolk mixture into the pot.
- Increase the heat to medium-low and stir the custard constantly until it coats the back of a spoon and reaches 170°F on an instant-read thermometer.
- Take the mixture off the heat and stir in the cocoa powder until fully incorporated.
- Strain the mixture through a mesh sieve into a bowl. Press cling wrap directly onto the surface to prevent a film from forming. Cover the bowl and refrigerate for 12-16 hours to chill.
- Remove the frozen KitchenAid attachment from the freezer when ready to churn. Pour in the custard and churn for 20-30 minutes until the ice cream reaches a thick, soft-serve consistency.
- Fold in your mix-ins gently and transfer the ice cream to a 9x5-inch loaf pan.
- Cover and freeze for 2-3 more hours until firm, then serve.
Notes
Tried this recipe?
Let us know how it was!Why Use a KitchenAid Ice Cream Attachment?
The KitchenAid ice cream maker attachment transforms your stand mixer into a powerful ice cream machine. Unlike traditional ice cream makers, it uses the power of your existing appliance, saving counter space and money.
Key benefits include:
- Consistent results every time
- Faster freezing than manual methods
- Easy cleanup with dishwasher-safe parts
- Versatility for multiple frozen treats
Learn more about essential kitchen appliances in our comprehensive guide to setting up your dream kitchen.
Essential Ingredients for Perfect Ice Cream
Great ice cream starts with quality ingredients. For this kitchen aid ice cream attachment recipe, you’ll need:
- Dairy: Whole milk and heavy cream create the perfect fat content
- Egg yolks: Acts as a natural stabilizer
- Sweeteners: Granulated sugar balances flavors
- Cocoa powder: Dutch-processed for rich chocolate flavor

Step-by-Step Kitchen Aid Ice Cream Attachment Recipe
Follow these simple steps for perfect homemade chocolate ice cream:
- Prepare the attachment: Freeze the bowl for at least 15 hours
- Make the custard base: Whisk egg yolks and sugar until pale
- Heat dairy: Warm milk and cream to 165°F
- Temper eggs: Slowly add hot liquid to egg mixture
- Cook custard: Heat until thickened (170°F)
- Add chocolate: Whisk in cocoa powder
- Chill: Refrigerate base for 12-24 hours
- Churn: Process in frozen attachment
How Long to Churn Ice Cream in KitchenAid
The churning time is crucial for perfect texture. For most recipes for kitchenaid ice cream maker, you’ll need:
- 15-20 minutes: For soft-serve consistency
- 25-30 minutes: For firmer texture
- Watch for signs: The ice cream will thicken and pull away from sides
Discover more essential cooking techniques in our complete kitchen skills guide.
Professional Tips for Better Results
Elevate your kitchen aid ice cream attachment recipe with these expert techniques:
- Pre-chill ingredients: Cold bases churn faster
- Don’t overfill: Leave room for expansion
- Add mix-ins at the end: Fold in after churning
- Storage matters: Use airtight containers

Common Problems and Solutions
Even with the best recipes for kitchenaid ice cream maker, issues can arise:
| Problem | Solution |
|---|---|
| Ice cream too soft | Churn longer or freeze bowl longer |
| Grainy texture | Strain base before churning |
| Ice crystals | Use fresh ingredients and proper storage |
Delicious Recipe Variations
Once you master the basic kitchen aid ice cream attachment recipe, try these tasty variations:
- Mint Chocolate Chip: Add peppermint extract and chopped chocolate
- Cookies and Cream: Mix in crushed sandwich cookies
- Rocky Road: Fold in marshmallows and nuts
For more inspiration, check out our Pinterest board full of creative ice cream ideas.
Final Thoughts
This kitchen aid ice cream attachment recipe delivers professional-quality results at home. Remember these key points:
- Proper freezing time is essential
- Quality ingredients make better ice cream
- How long to churn ice cream kitchenaid depends on your desired consistency
Ready to try more kitchen adventures? Explore our complete collection of appliance recipes and guides for your whole kitchen.
KitchenAid Ice Cream Attachment Recipe: Classic Vanilla Bean
This creamy, rich vanilla bean ice cream is the perfect starting point for mastering your KitchenAid ice cream attachment. The recipe highlights the machine’s ability to create smooth, professional-quality ice cream at home.
Ingredients:
- 2 cups heavy cream
- 1 cup whole milk
- 3/4 cup granulated sugar
- 1 vanilla bean (or 1 tbsp pure vanilla extract)
- Pinch of salt
- 6 large egg yolks
Instructions:
- Split vanilla bean lengthwise and scrape seeds into a medium saucepan
- Add cream, milk, half the sugar, and salt to the saucepan
- Heat mixture to 170°F (just below simmering), stirring occasionally
- Whisk egg yolks with remaining sugar until pale yellow
- Temper eggs by slowly adding 1 cup hot cream mixture while whisking
- Return everything to saucepan and cook to 180°F (custard should coat spoon)
- Strain through fine mesh sieve and chill completely (at least 4 hours)
- Churn in KitchenAid ice cream attachment for 20-25 minutes
- Transfer to airtight container and freeze for 4+ hours before serving
How Long to Churn Ice Cream KitchenAid: Timing Guide
The churning time in your KitchenAid ice cream maker depends on several factors. Most recipes take between 15-30 minutes to reach perfect consistency.
| Ice Cream Type | Approximate Churn Time | Final Texture |
|---|---|---|
| Standard custard base | 20-25 minutes | Soft-serve consistency |
| Philadelphia-style (no eggs) | 15-20 minutes | Lighter texture |
| Sorbet | 15-18 minutes | Icy but smooth |
| Gelato | 25-30 minutes | Dense and creamy |
Signs Your Ice Cream Is Ready:
- Mixture has doubled in volume
- Texture resembles soft-serve
- Pulls away from bowl sides
- Temperature reads 21-23°F (-6 to -5°C)
Recipes for KitchenAid Ice Cream Maker: Flavor Variations
1. Mint Chocolate Chip
Base: Vanilla recipe above
Additions: 1 tsp peppermint extract, 1 cup chopped dark chocolate
Churn time: 20 minutes
Tip: Add chocolate during last 5 minutes of churning
2. Strawberry Cheesecake
Base: 8 oz cream cheese blended into vanilla base
Additions: 1 cup strawberry puree, 1/2 cup graham cracker crumbs
Churn time: 22 minutes
Tip: Layer crumbs with ice cream when transferring to container
3. Salted Caramel
Base: Reduce sugar to 1/2 cup, add 3/4 cup caramel sauce
Additions: 1 tsp sea salt flakes
Churn time: 18-20 minutes
Tip: Swirl extra caramel when packing
4. Coffee Toffee Crunch
Base: Steep 2 tbsp espresso powder in warm cream
Additions: 1 cup crushed toffee pieces
Churn time: 20 minutes
Tip: Toast toffee pieces for deeper flavor
Pro Tips for KitchenAid Ice Cream Success
Pre-Chilling Essentials
- Freeze bowl at least 15 hours before use
- Chill base mixture below 40°F (overnight preferred)
- Pre-chill mixing tools and storage container
Texture Troubleshooting
- Grainy: Overcooked custard or insufficient chilling
- Too hard: Need more sugar or alcohol (1 tbsp vodka helps)
- Too soft: Churn longer or reduce fat content
Storage Recommendations
- Press parchment directly on surface before freezing
- Use shallow containers for faster freezing
- Let sit at room temperature 5-10 minutes before scooping
Seasonal Specialties for Your KitchenAid Attachment
Pumpkin Spice (Fall)
Add 3/4 cup pumpkin puree and 2 tsp pumpkin pie spice to vanilla base
Peppermint Stick (Winter)
Swirl 1/2 cup crushed candy canes into chocolate base
Lemon Blueberry (Spring)
Fold 1 cup blueberry compote into lemon custard base
Grilled Peach (Summer)
Mix in 2 chopped grilled peaches with 1 tbsp bourbon
Advanced Techniques
Layering Mix-ins
For perfect distribution of cookies, candies, or fruit:
- Churn base alone until nearly set
- Alternate layers in storage container
- Gently fold just 2-3 times
Alcohol Adjustments
Alcohol lowers freezing point – ideal amounts:
- Liqueurs: 3 tbsp per quart
- Spirits: 1 tbsp per quart
- Wine: 1/4 cup per quart
Dairy-Free Options
Coconut Milk Base
Replace dairy with:
- 2 cans full-fat coconut milk
- 1/2 cup coconut sugar
- 1 tsp xanthan gum (for texture)
Cashew Cream Base
Soak 2 cups cashews overnight, blend with:
- 3 cups water
- 3/4 cup maple syrup
- 1 tbsp vanilla


