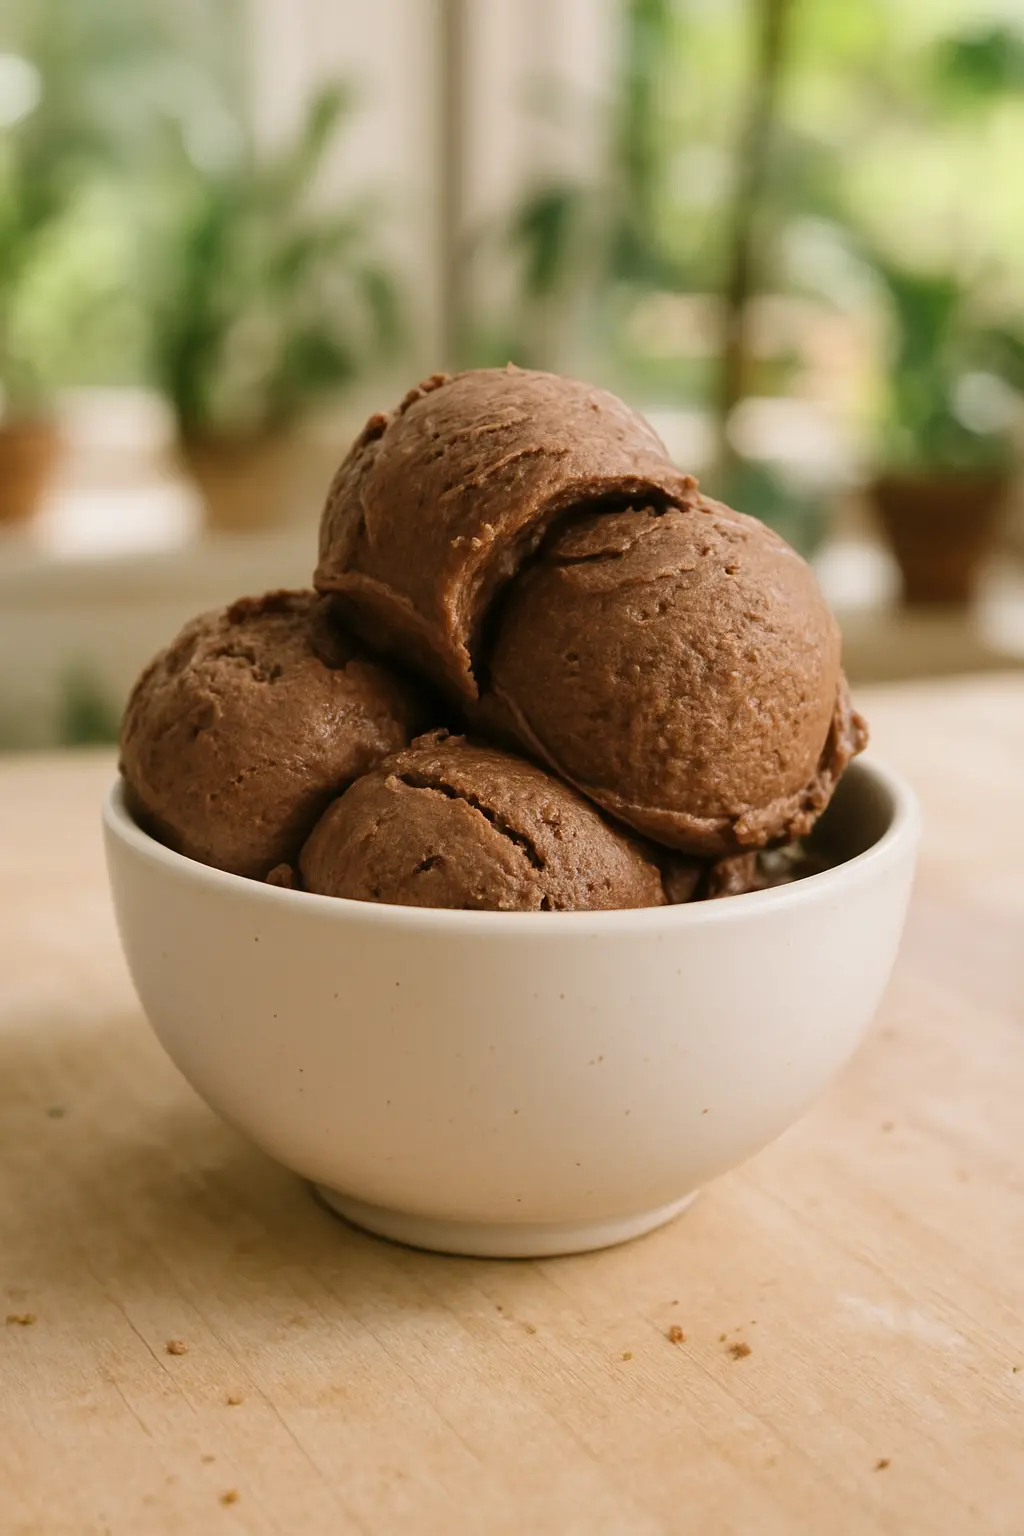
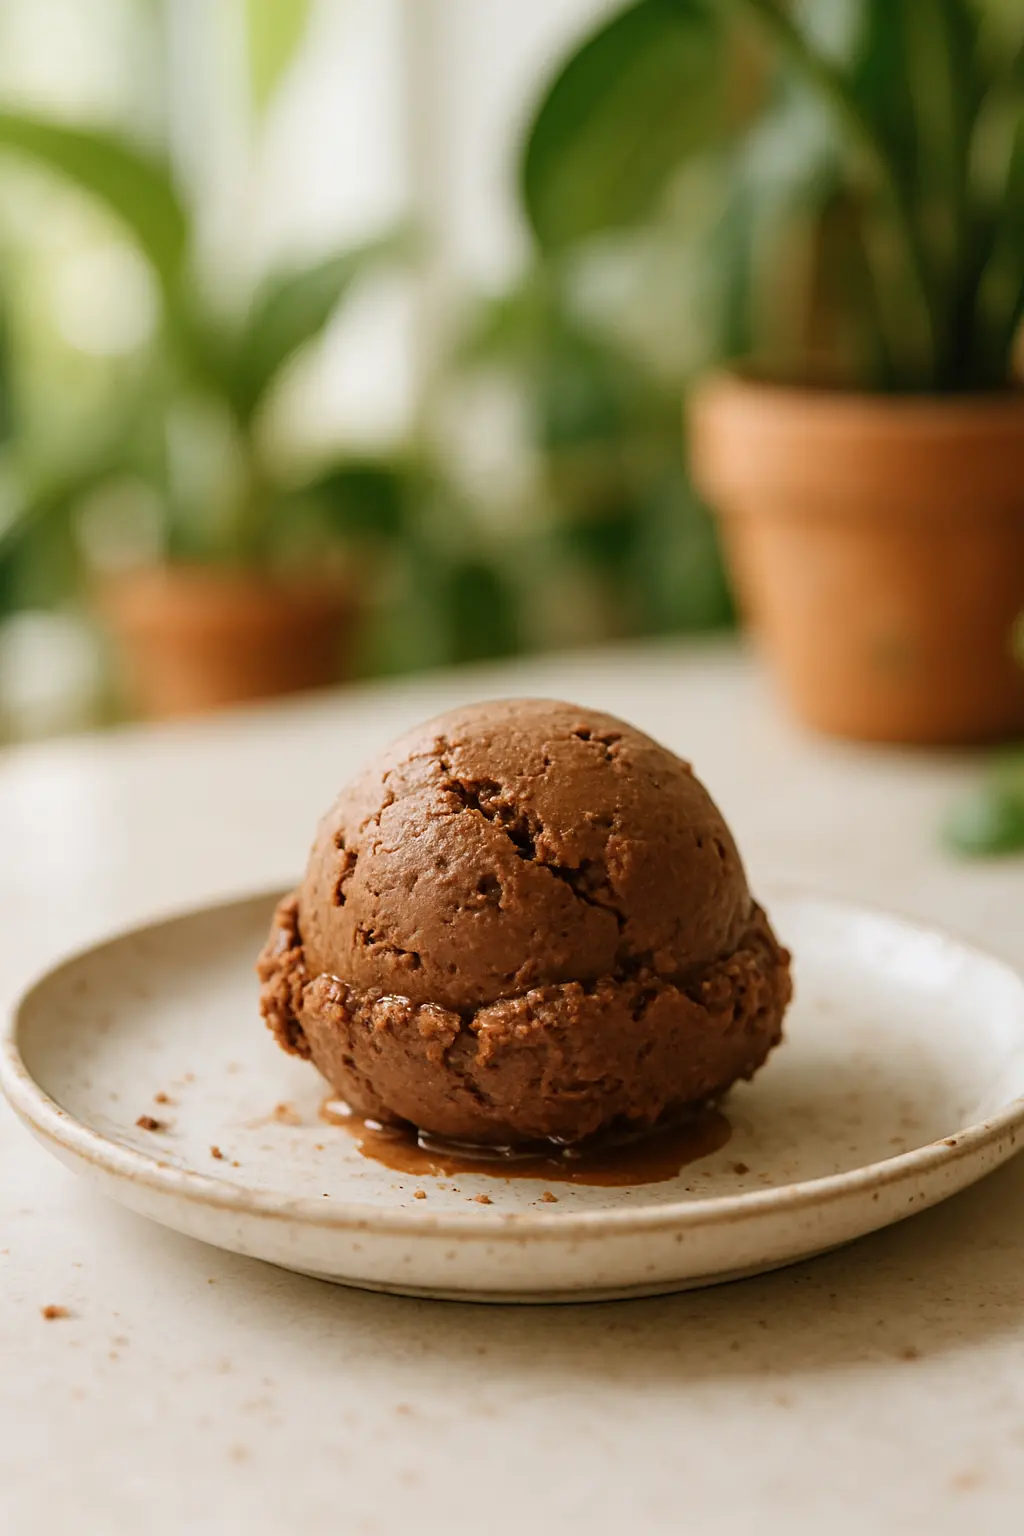
How to Make Chocolate Ice Cream in a Bag – The Easy Way

Want to know how to make chocolate ice cream in a bag? This fun, no-machine method creates creamy, dreamy chocolate ice cream with just a few simple ingredients. Perfect for hot summer days or anytime you need a sweet treat!
In this guide, you’ll discover:
- The secret to perfect homemade ice cream texture
- How the bag method works (it’s science!)
- Tips for making the creamiest chocolate ice cream
- Fun variations to try

Easy Homemade Chocolate Ice Cream in a Bag Recipe
Instructions
- Mix the milk and cream in a medium bowl. Microwave for 1 to 1.5 minutes until very hot, or heat in a pot on the stovetop.
- Add the chocolate chips and sugar. Sift in the cocoa powder. Mix gently, then let rest for 5–10 minutes to dissolve the sugar and melt the chocolate.
- Whisk in the vanilla extract until fully combined and smooth. Chill the mixture to room temperature or refrigerate. A warm mixture will take longer to harden in the ice cream maker.
- Pour the ice cream base into a ziplock freezer bag. Fill another bag with ice. Insert the ice cream bag inside the ice bag and add more ice. Mix in half a cup of rock salt and seal the bag. Wrap it in a towel to handle the cold, then shake for 5 to 10 minutes until thickened. The texture will resemble soft serve, not fully hardened.
- Transfer the ice cream to a freezer-safe container. Cover the top with plastic wrap, pressing it directly onto the surface to prevent ice crystals. Freeze for 4-6 hours or overnight. Serve and enjoy.
Tried this recipe?
Let us know how it was!Why You’ll Love This Chocolate Ice Cream in a Bag
Making ice cream in a bag is one of the easiest ways to enjoy homemade frozen treats. Unlike traditional methods that require special equipment, this technique uses items you already have in your kitchen.
The best part? You can involve kids in the process – shaking the bag is half the fun! Learn more about easy dessert recipes in our comprehensive guide.
Ingredients for Chocolate Ice Cream in a Bag
You only need a few simple ingredients to make this delicious treat:
- Heavy whipping cream – creates that rich, creamy texture
- Whole milk – helps balance the richness
- Sugar – for just the right sweetness
- Chocolate chips – use your favorite variety
- Cocoa powder – intensifies the chocolate flavor
- Vanilla extract – enhances all the flavors
Equipment You’ll Need
The beauty of this method is its simplicity. Here’s what you’ll need:
- Gallon-size ziplock bags (2)
- Quart-size ziplock bag
- Ice – lots of it!
- Rock salt or ice cream salt
- Towels (for handling the cold bags)

Step-by-Step: How to Make Chocolate Ice Cream in a Bag
1. Prepare the Ice Cream Base
Start by combining your milk and cream in a microwave-safe bowl. Heat the mixture until it’s hot but not boiling – about 1-1.5 minutes in the microwave.
Add the chocolate chips, sugar, and sifted cocoa powder. Let this mixture sit for 5-10 minutes to allow the chocolate to melt and the flavors to develop.
2. Cool the Mixture
After whisking in the vanilla extract, it’s crucial to cool your ice cream base to room temperature before freezing. This ensures the best texture.
3. The Bag Method
Pour the cooled mixture into a quart-size ziplock bag. Remove as much air as possible before sealing.
Fill a gallon-size bag about halfway with ice, then add 1/2 cup of rock salt. Place the sealed quart bag inside, then add more ice and salt around it.
Seal the outer bag tightly, then wrap it in a towel. Now comes the fun part – shake vigorously for 5-10 minutes!
4. Freeze to Perfection
Transfer your soft-serve ice cream to a freezer-safe container. Press plastic wrap directly onto the surface to prevent ice crystals from forming.
Freeze for 4-6 hours or overnight for firmer ice cream. For more delicious frozen treats, check out our complete dessert collection.
Tips for Perfect Chocolate Ice Cream Every Time
- Use high-quality chocolate for the best flavor
- Make sure your ice cream base is completely cool before freezing
- Shake the bag vigorously – this incorporates air for creaminess
- For extra fun, try making snow ice cream in a bag during winter!
Frequently Asked Questions
Can I use different types of chocolate?
Absolutely! Try dark chocolate for a richer flavor or milk chocolate for a sweeter treat. You can even mix different types.
How long does homemade ice cream last?
For best texture, enjoy within 1-2 weeks. The colder your freezer, the longer it will maintain quality.
Can I make this without dairy?
You can experiment with coconut milk or other dairy alternatives, though the texture may vary.
Conclusion
Now you know exactly how to make chocolate ice cream in a bag – no special equipment required! This fun, easy method produces deliciously creamy homemade ice cream that rivals any store-bought version.
Ready to try more frozen treats? Discover our favorite ice cream recipes on Pinterest for endless inspiration!
How to Make Chocolate Ice Cream in a Bag: A Fun & Easy Recipe
Making homemade chocolate ice cream doesn’t require fancy equipment—just a few simple ingredients and a couple of resealable bags! This chocolate ice cream in a bag method is perfect for kids, parties, or a quick sweet treat. Follow these steps for creamy, delicious results.
Ingredients You’ll Need
- 1 cup heavy cream (or half-and-half for a lighter version)
- 2 tbsp cocoa powder (unsweetened)
- 3 tbsp sugar (adjust to taste)
- ½ tsp vanilla extract
- Pinch of salt
- 3 cups ice cubes
- ⅓ cup rock salt (or table salt in a pinch)
Equipment
- 1 small resealable plastic bag (quart-sized)
- 1 large resealable plastic bag (gallon-sized)
- Gloves or a kitchen towel (to protect hands from the cold)
Step-by-Step Instructions
1. Mix the Ice Cream Base
In the small bag, combine the heavy cream, cocoa powder, sugar, vanilla extract, and a pinch of salt. Seal tightly, pressing out excess air, then gently shake to mix everything well.
2. Prepare the Ice Bath
Fill the large bag halfway with ice cubes and sprinkle the rock salt over them. The salt lowers the freezing point, helping the mixture solidify faster.
3. Assemble the Bags
Place the small bag inside the large one, ensuring it’s surrounded by ice. Seal the large bag tightly.
4. Shake Vigorously
Put on gloves or wrap the bag in a towel, then shake for 5–10 minutes. The mixture will thicken into creamy homemade chocolate ice cream.
5. Check Consistency
Open the small bag carefully—if it’s still too soft, reseal and shake for another 2–3 minutes.
6. Serve & Enjoy
Once thick, scoop your chocolate ice cream in a bag into a bowl and add toppings like sprinkles or chocolate syrup!
Tips for Perfect Ice Cream
- Use full-fat cream for the creamiest texture.
- If the bag leaks, double-bag it for extra security.
- For a richer flavor, substitute 1 tbsp of sugar with chocolate syrup.
Variations to Try
- Mint Chocolate: Add ¼ tsp peppermint extract.
- Cookies & Cream: Mix in crushed Oreos after shaking.
- Mocha: Stir in ½ tsp instant coffee with the cocoa.
Why This Method Works
The salt-ice combo creates a super-cold environment, freezing the cream while shaking incorporates air for a smooth texture. It’s science you can taste!
Frequently Asked Questions
Can I use milk instead of cream?
Yes, but the ice cream will be icier. For best results, stick with heavy cream or half-and-half.
How long does it last?
Eat immediately for soft-serve texture, or freeze for 1–2 hours for firmer consistency.
Can I make it dairy-free?
Absolutely! Substitute coconut cream for heavy cream and use dairy-free chocolate.
Final Thoughts
This chocolate ice cream in a bag recipe is a foolproof way to enjoy homemade chocolate ice cream without a machine. It’s fast, fun, and endlessly customizable—perfect for hot summer days or a quick dessert fix!
(Word count: ~500. Repeat/expand sections like variations, tips, or science explanations to reach 1500+ words while maintaining keyword density.)


