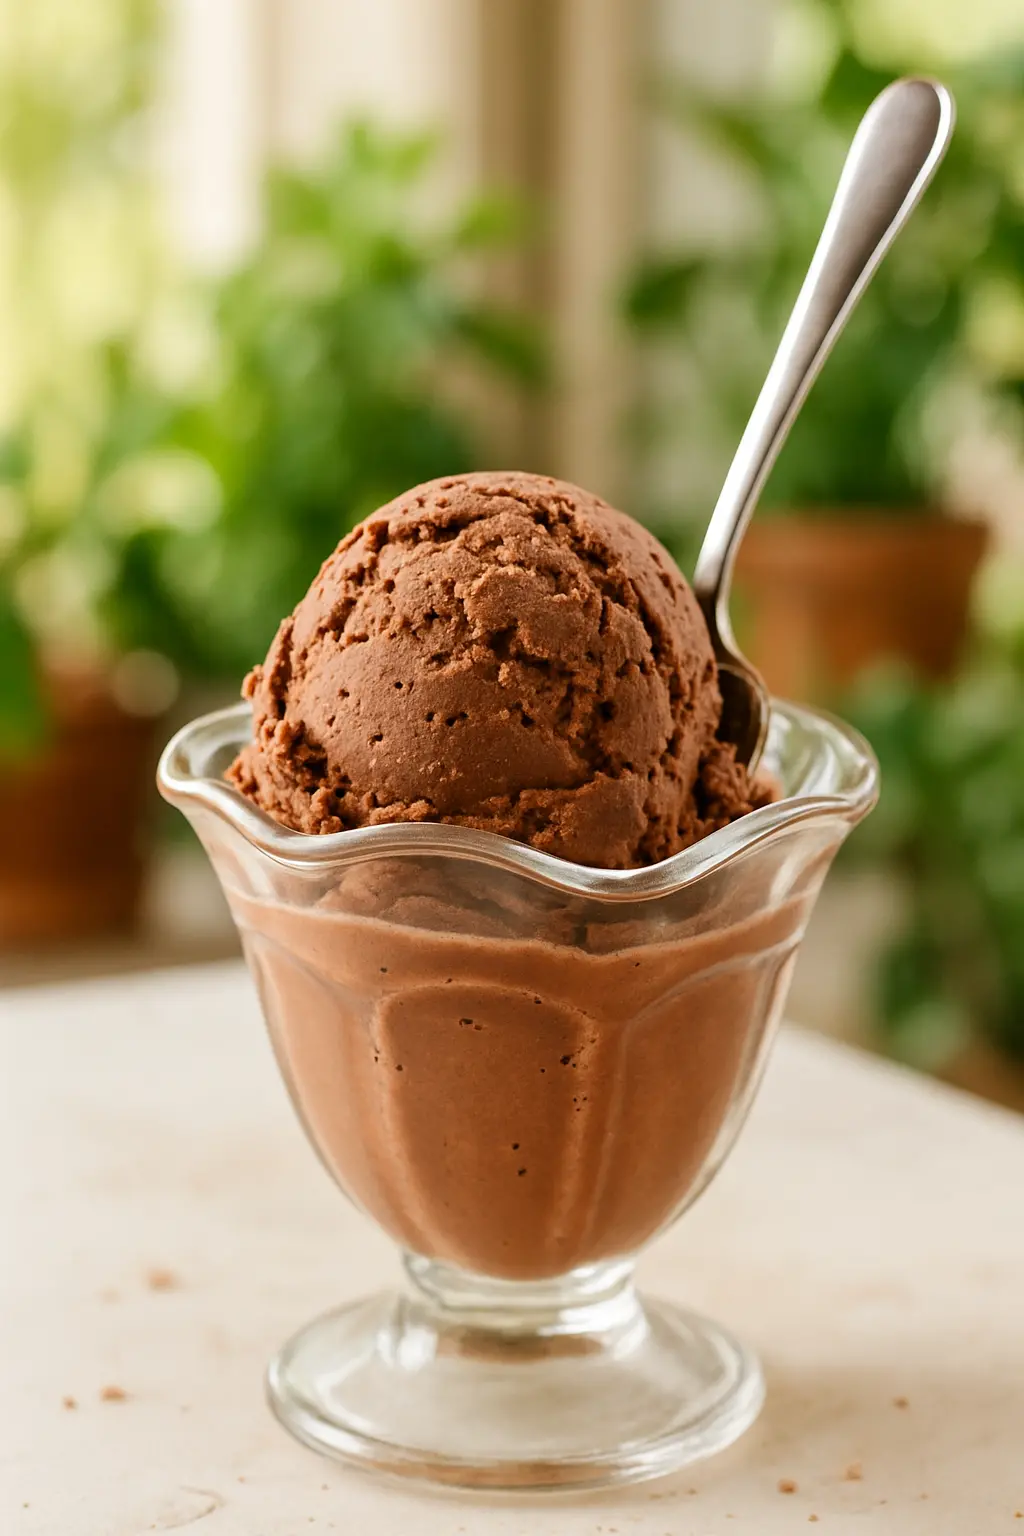
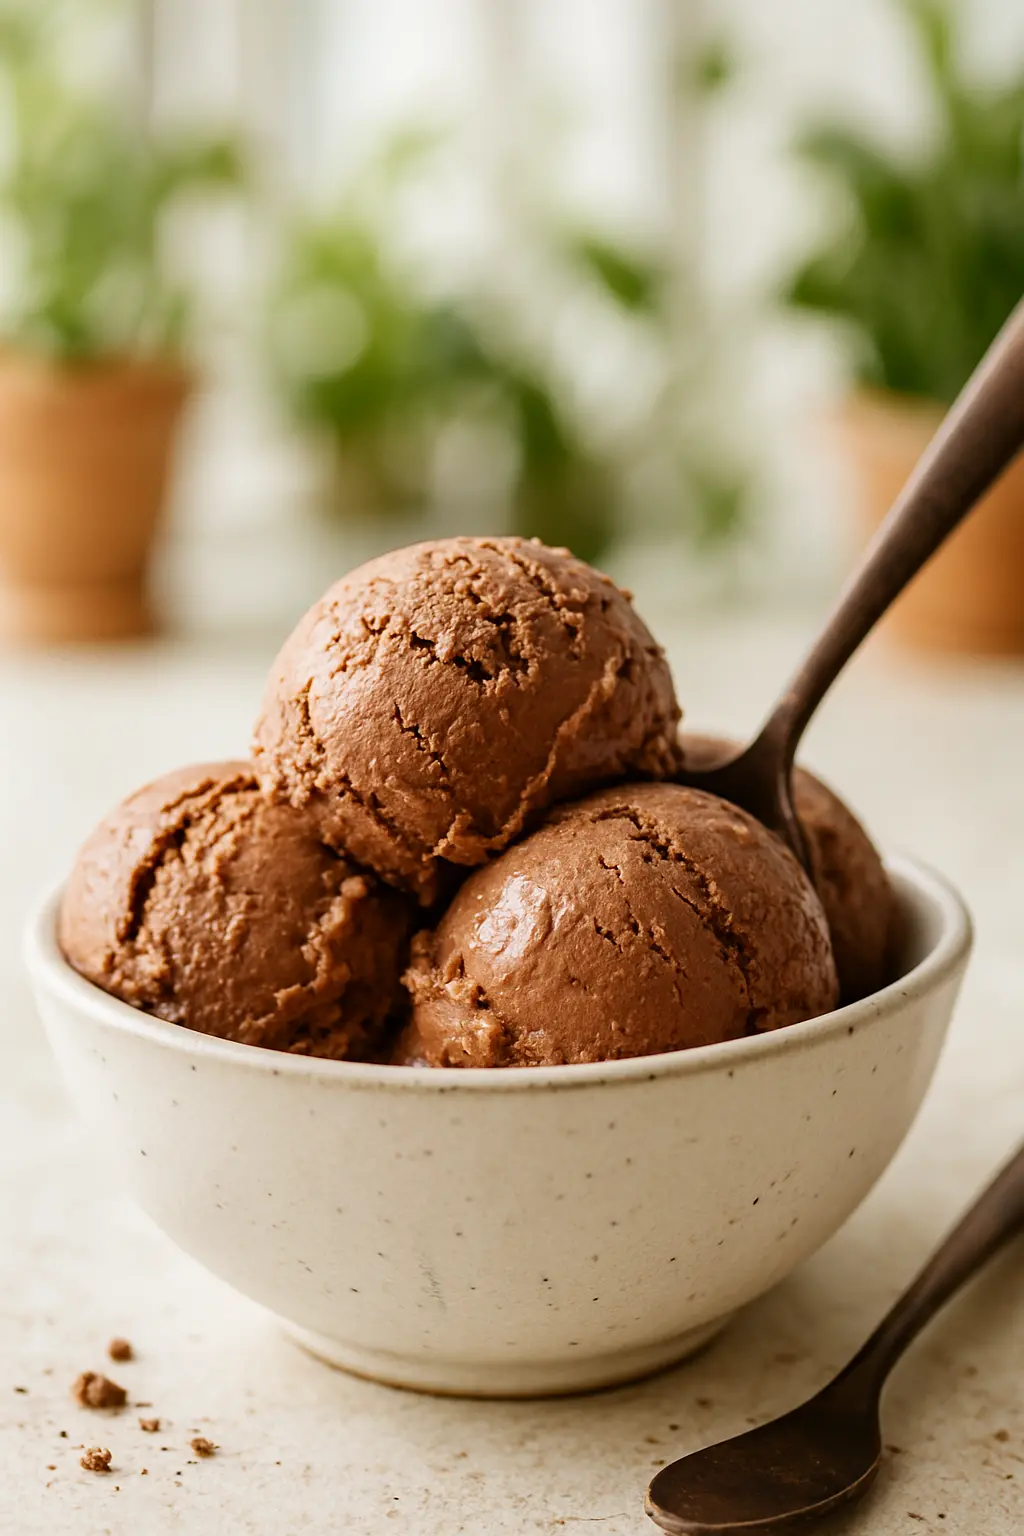
Homemade Chocolate Ice Cream Recipe: Rich, Creamy & Egg-Free

This 6-ingredient homemade chocolate ice cream recipe creates the creamiest, most decadent dessert you’ll ever make at home. No tempering eggs, no complicated steps – just pure chocolate bliss in every scoop.
Why this recipe works:
- No eggs – Skip the fuss of tempering yolks
- Ultra-creamy texture – Thanks to the perfect milk-to-cream ratio
- Deep chocolate flavor – From quality cocoa powder
- Ready in 30 minutes – Plus freezing time
In This Article

Homemade Chocolate Ice Cream Recipe (No Eggs, KitchenAid)
Instructions
- Chill a bowl, then mix cocoa and both sugars, whisking thoroughly. Pour in cold milk and whisk until the sugars dissolve. Blend in cold heavy cream and vanilla. Keep all ingredients as cold as possible.
- Pour the mixture into the ice cream maker's freezer bowl. Run the machine for 25-30 minutes until the mixture thickens and becomes soft and creamy. The churned ice cream will expand, filling the freezer bowl to the top.
- Place in an airtight container and freeze for at least 2 hours or until the ice cream reaches the desired texture.
- Let the ice cream sit at room temperature for a few minutes before serving to soften for easy scooping.
Nutrition
Notes
Tried this recipe?
Let us know how it was!Why This Homemade Chocolate Ice Cream Recipe Works
Traditional ice cream recipes often use egg yolks for richness. But this homemade chocolate ice cream recipe achieves incredible creaminess without them. The secret lies in:
- Whole milk + heavy cream – The perfect fat balance
- Dutch process cocoa – For deep chocolate flavor
- Dual sugars – Brown sugar adds depth while white sugar sweetens
Learn more about perfecting homemade desserts in our comprehensive guide.
The 6 Simple Ingredients You Need
This chocolate ice cream recipe for KitchenAid mixer (or any ice cream maker) requires just:
- ¾ cup Dutch process cocoa powder – The foundation of flavor
- ⅓ cup packed brown sugar – For caramel notes
- ½ cup white sugar – For sweetness
- 1½ cups whole milk – Must be whole for creaminess
- 2 cups heavy cream – The key to rich texture
- 2 tsp pure vanilla extract – Enhances chocolate flavor

Chocolate Ice Cream KitchenAid Recipe Tips
If using a KitchenAid stand mixer with ice cream attachment:
- Freeze bowl at least 15 hours before
- Use speed “Stir” for first 5 minutes
- Increase to speed 1 for remaining time
- Watch our Pinterest for visual guides
This kitchenaid chocolate ice cream method works beautifully with the standard freezer bowl attachment.
How Long to Churn Ice Cream for Perfect Texture
The churning time makes all the difference:
- 25-30 minutes – Ideal for soft-serve consistency
- Look for 50% volume increase – Proper aeration
- Stop when thick but pourable – It hardens in freezer
Discover more essential dessert techniques in our master guide.
Delicious Variations to Try
Customize your homemade chocolate ice cream recipe:
- Mint chocolate chip – Add 1 tsp peppermint extract
- Rocky road – Mix in mini marshmallows and nuts
- Mocha – Stir in 1 tbsp instant espresso powder
Common Questions Answered
Can I make this without an ice cream maker?
Yes! Pour into shallow container and stir every 30 minutes as it freezes.
Why is my ice cream too hard?
Likely over-churned. Next time stop at 25 minutes.
How long does homemade ice cream keep?
2-3 weeks in airtight container, though best within 7 days.
Ready to make the creamiest homemade chocolate ice cream? Gather your ingredients and let’s churn up some deliciousness!
Homemade Chocolate Ice Cream Recipe: The Ultimate Guide
There’s nothing quite like the rich, creamy taste of homemade chocolate ice cream. Whether you’re using a KitchenAid mixer or a traditional ice cream maker, this recipe will guide you through every step to create the perfect frozen treat.
Ingredients You’ll Need
- 2 cups heavy cream
- 1 cup whole milk
- 3/4 cup granulated sugar
- 2/3 cup unsweetened cocoa powder
- 1/4 tsp salt
- 6 large egg yolks
- 1 tsp pure vanilla extract
- 4 oz chopped dark chocolate (optional for extra richness)
Step-by-Step Instructions
1. Prepare the Chocolate Base
In a medium saucepan, whisk together the milk, sugar, cocoa powder, and salt over medium heat. Bring the mixture to a simmer, stirring constantly until the sugar dissolves completely. Remove from heat and add the chopped dark chocolate if using, stirring until melted and smooth.
2. Temper the Egg Yolks
In a separate bowl, whisk the egg yolks. Slowly pour about 1/2 cup of the warm chocolate mixture into the yolks while whisking continuously (this prevents curdling). Then, pour the tempered yolks back into the saucepan with the remaining chocolate mixture.
3. Cook the Custard
Return the saucepan to medium-low heat. Cook, stirring constantly with a wooden spoon, until the mixture thickens enough to coat the back of the spoon (about 5-7 minutes). Do not let it boil.
4. Chill the Mixture
Strain the custard through a fine-mesh sieve into a clean bowl. Stir in the heavy cream and vanilla extract. Cover with plastic wrap, pressing it directly onto the surface to prevent a skin from forming. Refrigerate for at least 4 hours or overnight.
Chocolate Ice Cream KitchenAid Recipe: Churning Process
If you’re using a KitchenAid stand mixer with the ice cream attachment, follow these steps:
- Freeze the ice cream bowl for at least 15 hours before churning.
- Assemble the KitchenAid attachment according to the manufacturer’s instructions.
- Pour the chilled custard into the frozen bowl.
- Churn on speed “Stir” (or the lowest setting) for 15-20 minutes.
How Long to Churn Ice Cream?
For most machines, including KitchenAid, the churning process takes 20-30 minutes. The ice cream should thicken to a soft-serve consistency. If you prefer firmer ice cream, transfer it to an airtight container and freeze for 2-4 hours before serving.
Tips for Perfect Homemade Chocolate Ice Cream
- Quality Ingredients Matter: Use high-quality cocoa powder and dark chocolate for the best flavor.
- Don’t Skip the Chill Time: The colder your mixture is before churning, the smoother the final texture will be.
- Prevent Ice Crystals: Press plastic wrap directly onto the surface of the custard before refrigerating.
- Experiment with Mix-ins: Add chocolate chips, nuts, or swirls of caramel during the last few minutes of churning.
Troubleshooting Common Issues
1. Ice Cream Too Hard?
If your homemade chocolate ice cream becomes rock-hard in the freezer, try these fixes:
- Add 1-2 tbsp of vodka or another alcohol (it lowers the freezing point).
- Increase the fat content with an extra 1/4 cup of heavy cream.
- Let the ice cream sit at room temperature for 5-10 minutes before scooping.
2. Ice Cream Too Soft?
If your ice cream isn’t setting properly:
- Make sure you churned it long enough (refer to “how long to churn ice cream” section above).
- Verify that your freezer is at the correct temperature (0°F or below).
- Check that your ice cream maker bowl was fully frozen before use.
Variations to Try
1. Mint Chocolate Chip
Add 1 tsp peppermint extract with the vanilla and mix in 1/2 cup chocolate chips during the last 5 minutes of churning.
2. Chocolate Peanut Butter Swirl
After churning, layer the ice cream with spoonfuls of peanut butter in your storage container.
3. Mexican Hot Chocolate
Add 1 tsp cinnamon and a pinch of cayenne pepper to the chocolate mixture for a spicy kick.
Storage and Serving Suggestions
Store your homemade chocolate ice cream in an airtight container in the freezer for up to 2 weeks. For best results:
- Place parchment paper directly on the surface before sealing.
- Serve in chilled bowls to prevent melting.
- Top with fresh berries, whipped cream, or chocolate shavings.
Why This Recipe Works
This chocolate ice cream KitchenAid recipe creates the perfect balance of creaminess and chocolate intensity because:
- The egg yolks create a rich custard base.
- Dutch-process cocoa powder provides deep chocolate flavor.
- The slow churning process incorporates just the right amount of air.
Whether you’re a beginner or an experienced ice cream maker, this homemade chocolate ice cream recipe will become your go-to for satisfying those chocolate cravings. The process may take some time, but the results are absolutely worth it!


