Best Homemade Chocolate Ice Cream Recipe

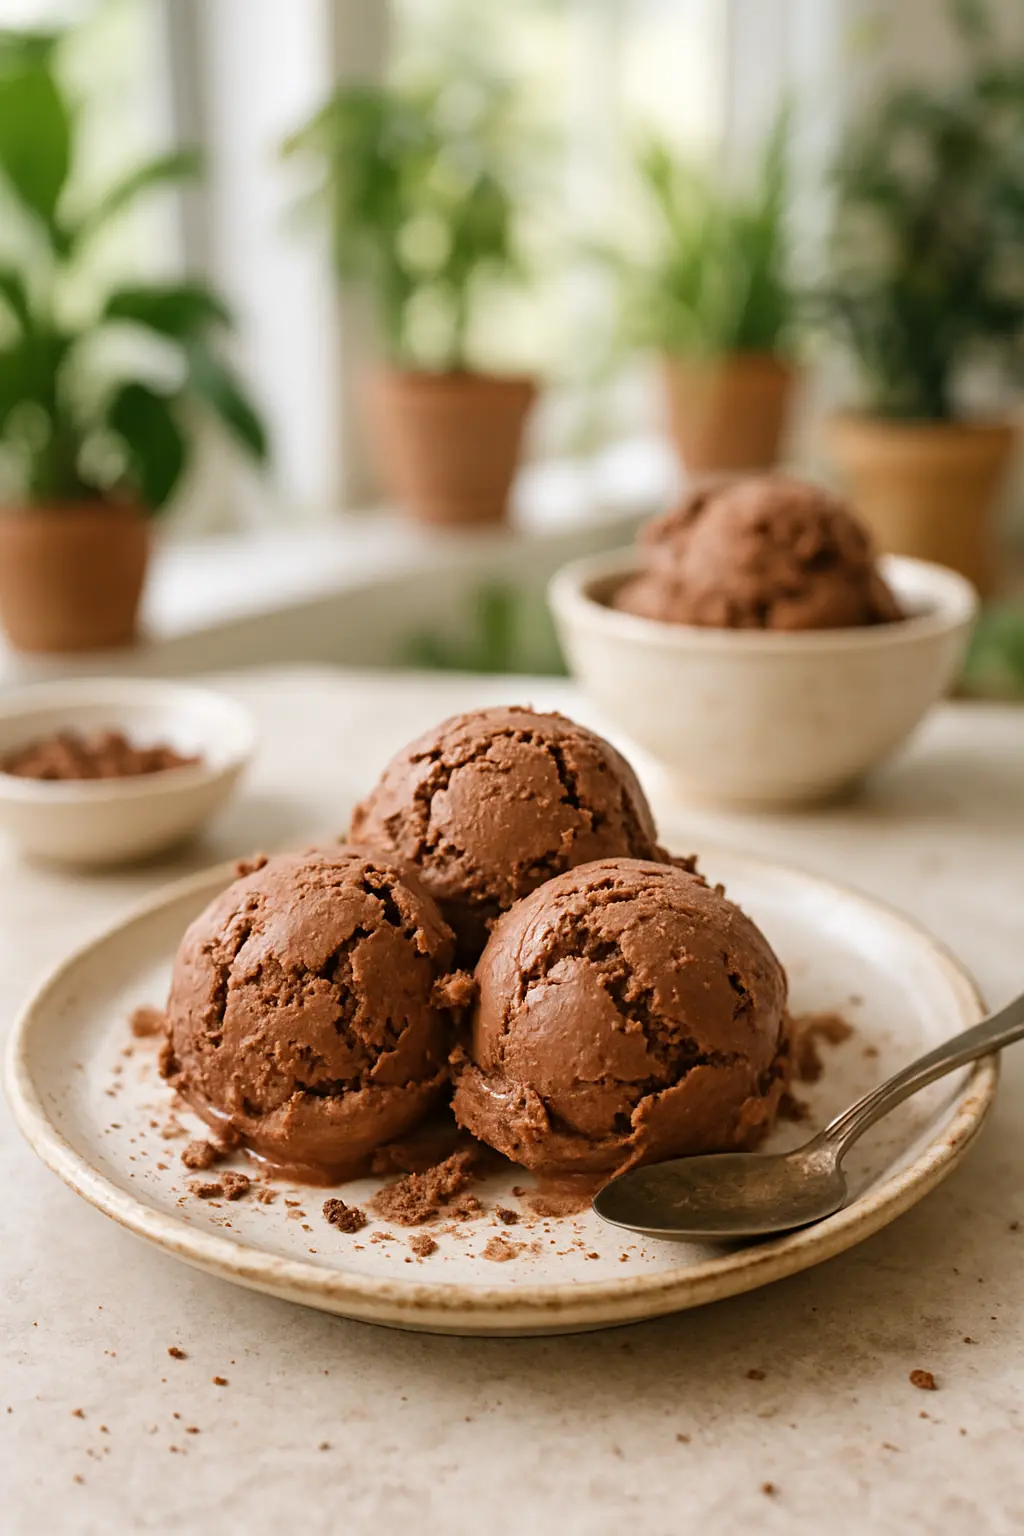
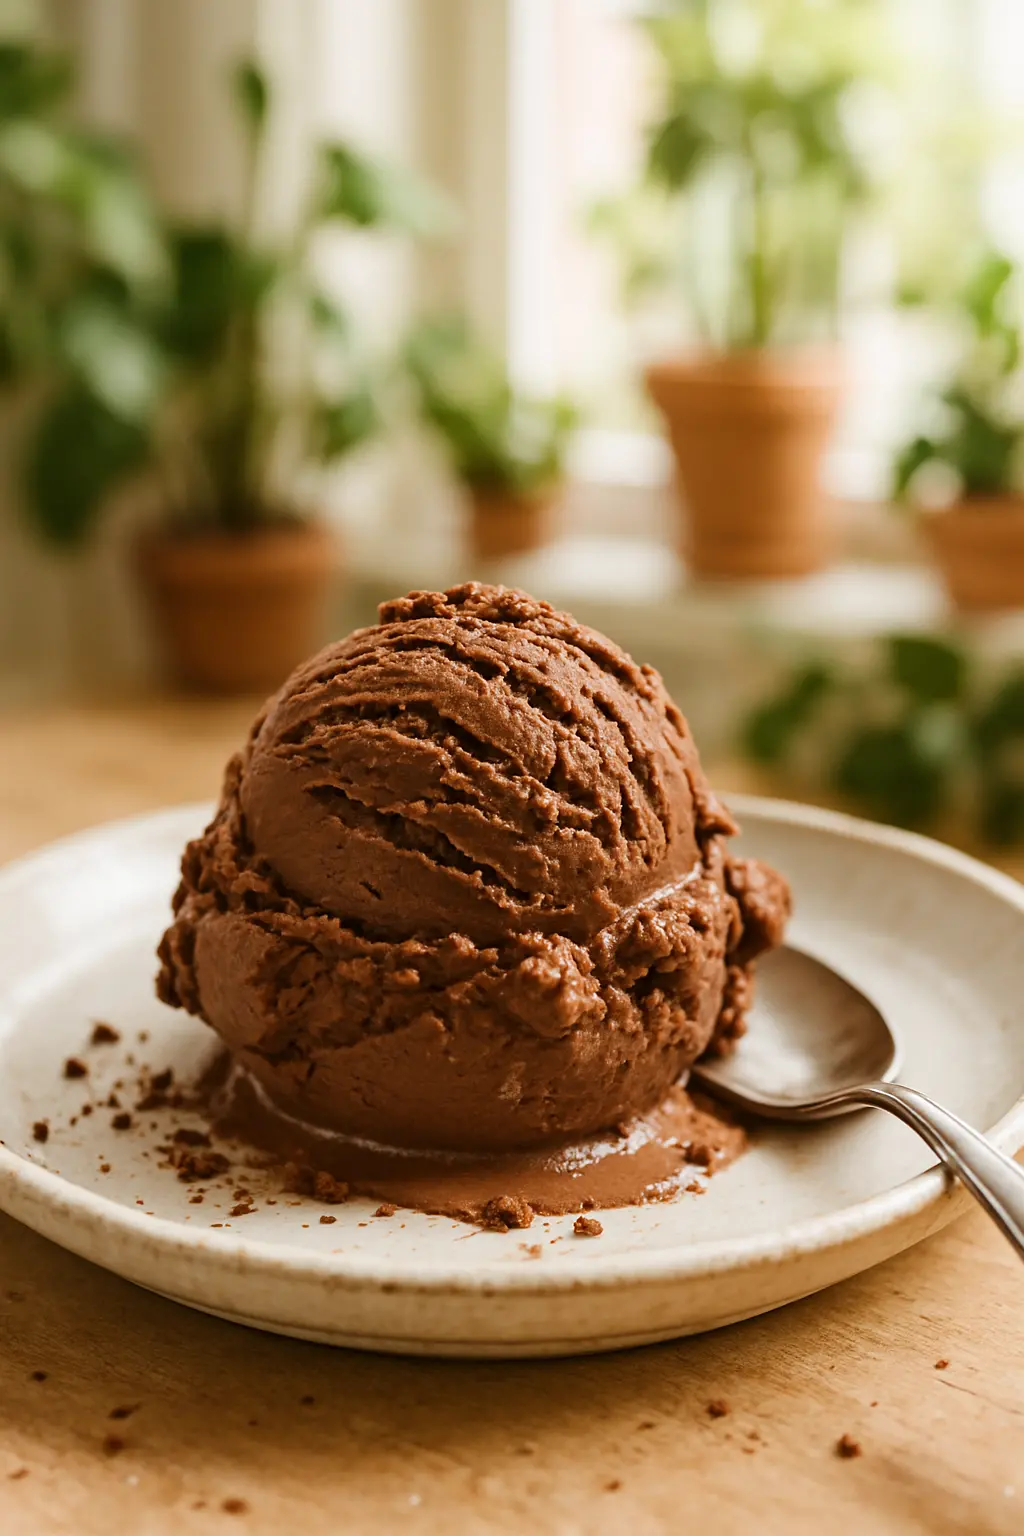
This homemade chocolate ice cream recipe creates the richest, creamiest dessert you’ll ever taste. With just 7 simple ingredients and no artificial flavors, it’s better than anything from an ice cream shop. The secret? We use two types of chocolate for maximum flavor.
Key features of this perfect chocolate ice cream:
- Ultra-creamy texture from real heavy cream
- Deep chocolate flavor from cocoa powder and real chocolate
- Not overly sweet – balanced flavor profile
- No ice crystals – smooth as silk

Creamy Homemade Chocolate Ice Cream Recipe (KitchenAid)
Instructions
- Combine 1 cup cream and cocoa powder, whisking thoroughly. Bring the mixture to a boil. Lower the heat and simmer for 30 seconds, whisking continuously.
- Take off the heat, stir in chopped chocolate, and whisk until smooth. Mix in the remaining 1 cup of cream and whisk to blend.
- Pour the mixture into a large bowl and place a fine mesh strainer on top. Let it sit.
- Whisk the egg yolks in a small bowl.
- Heat milk, sugar, and sea salt in a saucepan over medium heat while whisking.
- Heat the milk mixture until slightly warm. Mix ½ cup of the warm milk into the beaten egg yolks and whisk until combined. Pour the milk and egg mixture back into the saucepan while whisking continuously.
- Cook the custard over medium heat, stirring constantly with a spatula until thickened and lightly coating the spatula (about 170°F).
- Strain the thickened custard into the bowl with the other ingredients. Mix thoroughly. Remove any leftover custard from the strainer.
- Mix in the vanilla and stir until fully blended.
- Cover with a lid and refrigerate the mixture for at least 6 hours or overnight. For faster cooling, submerge the chocolate ice cream base in an ice bath and stir frequently.
- Chill the ice cream mixture, then churn it in an ice cream maker until thick and frozen (30-40 minutes).
- Place in an airtight container and freeze for a minimum of 6 hours.
- Plate and enjoy.
Nutrition
Notes
Tried this recipe?
Let us know how it was!Why This Homemade Chocolate Ice Cream Recipe Works
Most homemade ice creams turn out icy or lack flavor. Our version solves these problems with a custard base and premium ingredients. The egg yolks create richness while the dual chocolate approach delivers intense flavor.
Essential Equipment
While you can make this chocolate ice cream recipe for KitchenAid mixer owners, any ice cream maker will work. Here’s what you’ll need:
- Ice cream maker (KitchenAid attachment works great)
- Heavy-bottomed saucepan
- Fine mesh strainer
- Mixing bowls
- Whisk and spatula

Ingredients Breakdown
Every ingredient plays a crucial role in this kitchenaid chocolate ice cream:
Heavy Cream
The foundation of creamy texture. Don’t substitute – the high fat content prevents ice crystals.
Cocoa Powder
Use natural unsweetened cocoa for best results. Dutch-process works too for deeper flavor.
Chocolate
Semisweet (60% cacao) provides perfect balance. Dark chocolate makes it more intense.
For more amazing dessert recipes, check out our complete dessert guide featuring over 50 crowd-pleasing treats.
Step-by-Step Instructions
Now let’s walk through exactly how to make this chocolate ice cream KitchenAid recipe:
1. Create the Chocolate Base
Whisk together 1 cup cream and cocoa powder. Bring to a boil while whisking constantly. Remove from heat and add chopped chocolate, stirring until melted and smooth.
2. Make the Custard
In a separate bowl, whisk egg yolks. Heat milk, sugar and salt until warm. Temper the eggs by slowly adding some warm milk mixture, then combine everything.
Looking for more kitchen inspiration? Our essential baking tools guide covers all the equipment you need for perfect desserts.
3. Combine and Chill
Strain the custard into the chocolate mixture. Add vanilla and refrigerate for at least 6 hours – this step is crucial for flavor development.
4. Churn the Ice Cream
Pour the chilled mixture into your ice cream maker. For how long to churn ice cream? About 30-40 minutes until thick and creamy.
5. Freeze to Perfection
Transfer to an airtight container and freeze for 6+ hours. This hardens it to perfect scooping consistency.
Pro Tips for Best Results
- Chill your ice cream bowl at least 24 hours before churning
- Don’t skip the straining step – it removes any cooked egg bits
- For extra creaminess, use 1/4 teaspoon xanthan gum
- Add mix-ins during the last 5 minutes of churning
Follow us on Pinterest for more delicious recipe ideas and inspiration!
Frequently Asked Questions
Can I make this without an ice cream maker?
Yes! Pour into a shallow pan and freeze, stirring every 30 minutes for 3-4 hours. It’s more work but still delicious.
How long does homemade ice cream keep?
Up to 2 months in an airtight container. Place parchment directly on the surface to prevent ice crystals.
Why is my ice cream too hard?
This usually means it needs more fat. Next time, increase cream or add 1 tablespoon vodka (alcohol doesn’t freeze).
Serving Suggestions
This homemade chocolate ice cream shines on its own, but here are some delicious ways to serve it:
- With warm chocolate sauce
- Sandwiched between cookies
- Topped with toasted nuts
- As part of an ice cream cake
For more creative ways to use your homemade treats, visit our dessert presentation guide.
Nutrition Information
While this is definitely a treat, here’s what you’re getting in each serving:
- Calories: 304
- Fat: 22g
- Carbs: 24g
- Protein: 4g
Final Thoughts
This homemade chocolate ice cream recipe proves you don’t need fancy equipment or hard-to-find ingredients to make incredible desserts. The rich chocolate flavor and ultra-creamy texture will make this your go-to recipe all summer long.
Have you tried this recipe? Share your creations with us on Pinterest – we love seeing your delicious results!
The Ultimate Homemade Chocolate Ice Cream Recipe
There’s nothing quite like the rich, creamy taste of homemade chocolate ice cream. Whether you’re using a KitchenAid mixer or a traditional ice cream maker, this recipe delivers decadent results every time. Below, we’ll walk you through the steps to create the perfect batch, along with tips on how long to churn ice cream for the ideal texture.
Ingredients You’ll Need
- 2 cups heavy cream
- 1 cup whole milk
- ¾ cup granulated sugar
- ⅔ cup unsweetened cocoa powder (high-quality for best flavor)
- 4 large egg yolks
- 1 tsp pure vanilla extract
- ¼ tsp salt
- ½ cup semi-sweet chocolate chips (optional for extra richness)
Step-by-Step Instructions
1. Prepare the Base
In a medium saucepan, whisk together the milk, heavy cream, sugar, cocoa powder, and salt. Heat over medium-low heat until the mixture is warm and the sugar dissolves (do not boil).
2. Temper the Egg Yolks
In a separate bowl, whisk the egg yolks. Slowly pour about ½ cup of the warm cream mixture into the yolks while whisking constantly to prevent curdling. Then, gradually add the yolk mixture back into the saucepan.
3. Cook Until Thickened
Return the saucepan to low heat and stir continuously until the mixture thickens enough to coat the back of a spoon (about 5–7 minutes). Remove from heat and stir in the vanilla extract.
4. Chill the Mixture
Strain the mixture through a fine-mesh sieve into a clean bowl to remove any lumps. Cover with plastic wrap (pressed directly onto the surface to prevent a skin from forming) and refrigerate for at least 4 hours or overnight.
5. Churn the Ice Cream
Pour the chilled mixture into your ice cream maker (or KitchenAid attachment) and churn according to the manufacturer’s instructions. For most machines, how long to churn ice cream is typically 20–25 minutes, or until it reaches a soft-serve consistency. If adding chocolate chips, fold them in during the last 2 minutes of churning.
6. Freeze to Firm Up
Transfer the churned ice cream to an airtight container and freeze for at least 4 hours before serving for a firmer texture.
KitchenAid Ice Cream Maker Tips
If you’re using a chocolate ice cream KitchenAid recipe, ensure the freezer bowl is completely frozen (usually 15+ hours in advance). Attach the dasher and pour in the chilled mixture while the mixer runs on the “Stir” setting. The ice cream will be ready in about 20 minutes.
Common Questions
Why is my homemade chocolate ice cream too hard?
Over-churning or insufficient fat content can cause hardness. Ensure you follow the recommended how long to churn ice cream time and use full-fat dairy.
Can I make this without an ice cream maker?
Yes! Pour the mixture into a shallow dish, freeze for 1 hour, then whisk vigorously to break up ice crystals. Repeat every 30 minutes until set (about 3–4 cycles).
How do I store leftovers?
Keep in an airtight container in the freezer for up to 2 weeks. Let it sit at room temperature for 5–10 minutes before scooping.
Variations to Try
- Mint Chocolate Chip: Add 1 tsp peppermint extract and fold in chopped dark chocolate.
- Rocky Road: Mix in mini marshmallows and toasted almonds after churning.
- Spiced Mocha: Dissolve 1 tbsp instant espresso powder into the warm base and add a pinch of cinnamon.
Final Tips for Creamy Perfection
- Use high-fat dairy for a smoother texture.
- Chill the mixture thoroughly before churning to speed up the process.
- Don’t skip straining—it ensures a silky consistency.
- For intense chocolate flavor, use Dutch-process cocoa powder.
Now that you’ve mastered this homemade chocolate ice cream recipe, experiment with mix-ins and toppings to make it your own. Happy churning!