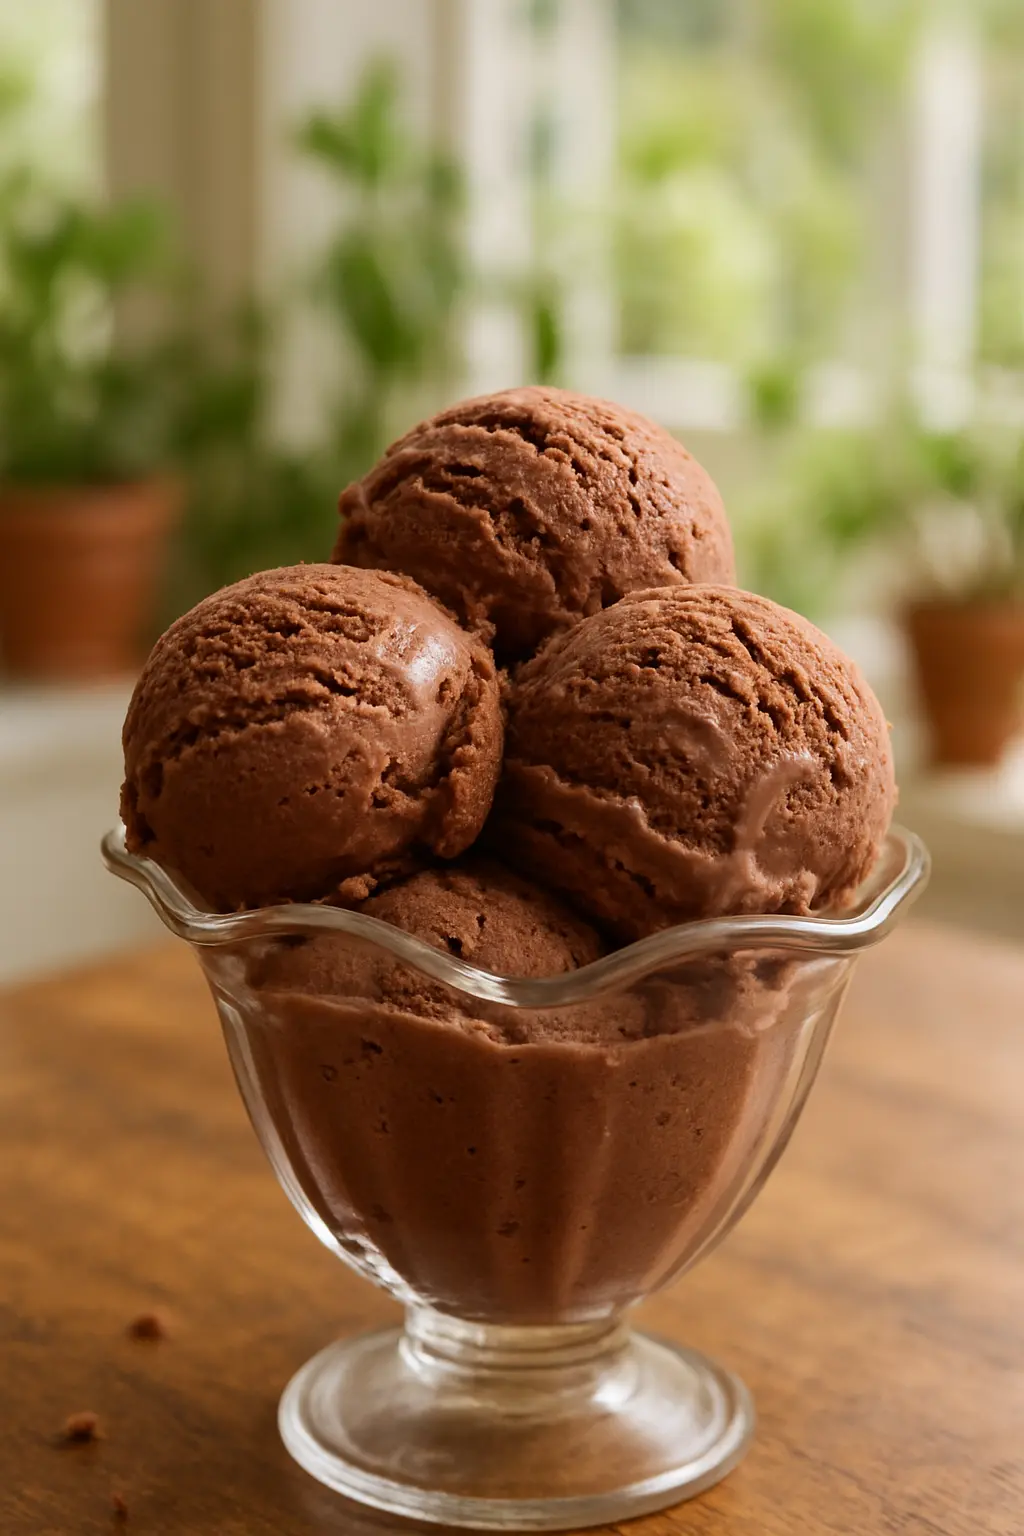
Chocolate Ice Cream KitchenAid Recipe: The Ultimate Homemade Treat

Nothing beats homemade chocolate ice cream, especially when you use your KitchenAid mixer to create that perfect creamy texture. This chocolate ice cream KitchenAid recipe delivers rich, velvety results every time. Whether you’re a beginner or an experienced home chef, you’ll love how simple it is to make professional-quality ice cream right in your kitchen.
For more delicious dessert ideas, check out our complete guide to homemade frozen treats.

Creamy Homemade Chocolate Ice Cream Recipe for KitchenAid
Instructions
How to make Chocolate Ice cream
- Beat eggs and sugar for 5 minutes until thick and pale. Stir in cocoa powder and beat until creamy. Blend in cream, milk, and vanilla. Refrigerate batter for at least 4 hours.
- Pour the batter into an ice cream maker and churn for 30 minutes. The ice cream will appear gritty at this point.
- Scoop the ice cream into a container and freeze until solid or serve immediately for a soft consistency.
Nutrition
Notes
Tried this recipe?
Let us know how it was!Why This KitchenAid Chocolate Ice Cream Stands Out
What makes this homemade chocolate ice cream recipe special? It’s all about the perfect balance of ingredients and the power of your KitchenAid mixer. The machine’s sturdy construction and consistent churning action create smaller ice crystals, resulting in smoother texture than store-bought versions.
Key Benefits:
- Creamier texture than hand-churned ice cream
- Faster preparation time
- Consistent results every time
- Customizable flavor options
Essential Ingredients for Perfect Chocolate Ice Cream
The secret to amazing kitchenaid chocolate ice cream lies in quality ingredients. Here’s what you’ll need:

- High-quality cocoa powder or melted chocolate
- Fresh heavy cream
- Whole milk for perfect consistency
- Granulated sugar (adjust to taste)
- Pinch of salt to enhance flavors
- Pure vanilla extract for depth
Discover more about selecting the best ingredients in our ice cream making essentials guide.
Step-by-Step: How Long to Churn Ice Cream Perfectly
The churning process makes all the difference in your homemade chocolate ice cream recipe. With a KitchenAid, you’ll typically need 20-30 minutes of churning time, depending on:
- The temperature of your mixture
- Your freezer bowl’s frozenness
- Desired consistency
Pro Tip:
For best results, freeze your KitchenAid ice cream attachment bowl for at least 15 hours before use. This ensures maximum cold retention during the how long to churn ice cream process.
Customizing Your Chocolate Ice Cream Recipe for KitchenAid Mixer
One advantage of making kitchenaid chocolate ice cream at home is the ability to customize. Try these variations:
- Add crushed cookies for texture
- Swirl in caramel or fudge sauce
- Mix in chopped nuts
- Experiment with different chocolate types
For more creative ideas, visit our Pinterest board full of ice cream inspiration.
Mastering the Perfect Chocolate Ice Cream KitchenAid Recipe
There’s nothing quite like the rich, velvety taste of homemade chocolate ice cream. With a KitchenAid mixer, crafting this frozen delight becomes effortless. Below, we dive into a foolproof KitchenAid chocolate ice cream recipe that guarantees creamy, decadent results every time.
Ingredients for Homemade Chocolate Ice Cream Recipe
- 2 cups heavy cream
- 1 cup whole milk
- ¾ cup granulated sugar
- ⅔ cup unsweetened cocoa powder (high-quality)
- ¼ teaspoon salt
- 4 large egg yolks
- 1 teaspoon pure vanilla extract
- ½ cup semi-sweet chocolate chips (optional, for extra richness)
Step-by-Step Chocolate Ice Cream Recipe for KitchenAid Mixer
Step 1: Prepare the Ice Cream Bowl
Ensure your KitchenAid ice cream maker attachment is fully frozen (at least 15 hours in advance). Assemble the mixer with the frozen bowl and dasher.
Step 2: Heat the Base
In a medium saucepan, whisk together the milk, heavy cream, sugar, cocoa powder, and salt. Heat over medium-low until steaming (do not boil).
Step 3: Temper the Egg Yolks
In a separate bowl, whisk the egg yolks. Slowly pour ½ cup of the hot cream mixture into the yolks while whisking constantly. Then, gradually add the tempered yolks back into the saucepan.
Step 4: Thicken the Custard
Cook over low heat, stirring constantly, until the mixture coats the back of a spoon (about 5-7 minutes). Remove from heat and stir in vanilla.
Step 5: Chill the Mixture
Strain the custard through a fine-mesh sieve into a bowl. Cover and refrigerate for at least 4 hours (or overnight) until completely cold.
Step 6: Churn in the KitchenAid
Pour the chilled custard into the frozen ice cream bowl. Attach to the mixer and churn on “Stir” speed for 15-20 minutes until thick. Add chocolate chips in the last 2 minutes.
Step 7: Freeze to Perfection
Transfer the ice cream to an airtight container and freeze for 2-4 hours before serving for a firmer texture.
Pro Tips for the Best KitchenAid Chocolate Ice Cream
- Use High-Quality Cocoa: Dutch-process cocoa yields a deeper chocolate flavor.
- Don’t Skip Tempering: Prevents scrambled eggs in your custard.
- Pre-Freeze Your Bowl: A fully frozen bowl ensures proper churning.
- Add Mix-Ins Creatively: Try crushed cookies, caramel swirls, or nuts.
Why This Homemade Chocolate Ice Cream Recipe Stands Out
Unlike store-bought versions, this homemade chocolate ice cream recipe skips artificial stabilizers, letting the pure cocoa flavor shine. The KitchenAid mixer’s slow churn incorporates minimal air, creating a dense, luxurious texture.
Variations to Try
- Mint Chocolate Chip: Add 1 tsp peppermint extract and green food coloring.
- Rocky Road: Fold in mini marshmallows and chopped almonds post-churn.
- Spiced Mocha: Mix in 1 tbsp instant espresso and ½ tsp cinnamon.
Troubleshooting Common Issues
- Grainy Texture: Overcooked custard or undissolved cocoa. Always strain the mixture.
- Too Soft: Ensure the bowl is fully frozen and freeze the ice cream longer post-churn.
- Ice Crystals: Use fresh, high-fat dairy and store in an airtight container.
Serving Suggestions
Pair your KitchenAid chocolate ice cream with warm brownies, fresh berries, or a drizzle of salted caramel. For an elegant touch, serve in chilled bowls or homemade waffle cones.
Storing Your Homemade Chocolate Ice Cream
Keep in an airtight container with parchment pressed directly on the surface to prevent freezer burn. Consume within 2 weeks for optimal flavor.
Final Thoughts
This chocolate ice cream KitchenAid recipe is a game-changer for dessert lovers. With minimal effort and maximum flavor, it’s the perfect way to elevate your homemade treats. Ready your mixer and indulge in the creamiest chocolate ice cream you’ve ever tasted!


