
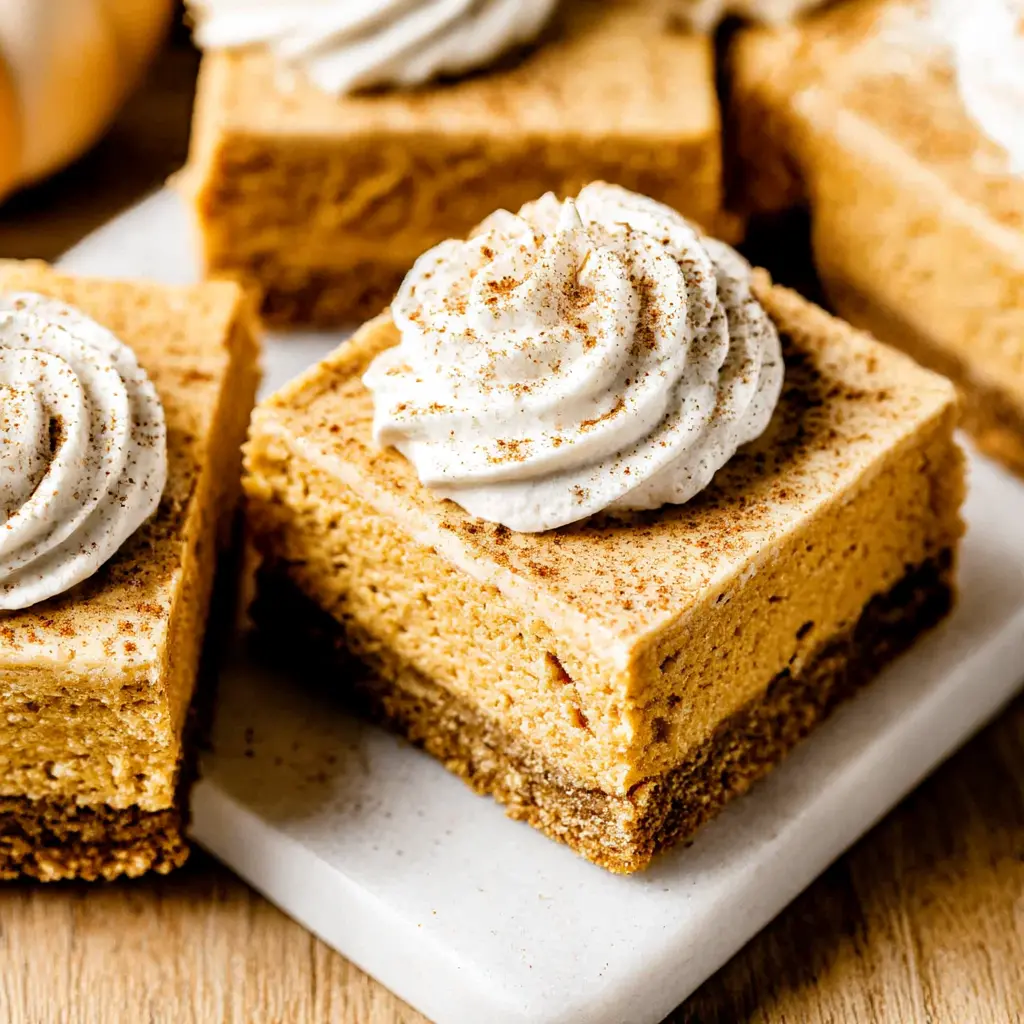
Why You’ll Love These No-Bake Pumpkin Cheesecake Bars
No. Oven. Required.
It’s late August. The calendar says summer, the thermostat says 95, and your brain is already whispering “pumpkin.” I see you. Honestly, I bought a pumpkin spice candle back in July, and my wife Sarah rolled her eyes so hard I’m surprised they stayed in her head.
These no-bake pumpkin cheesecake bars are the bridge between summer’s last cookout and fall’s first real cravings. Creamy, spiced, and completely foolproof, they skip the oven entirely. No water bath. No cracked tops. No guessing whether the center is set.
I speak from experience here. My first attempt at a baked cheesecake cracked so badly across the top that Sarah suggested we call it the Grand Canyon Cheesecake and sell tickets. It tasted fine, sure, but it looked like a geography project. That’s when I discovered the pure joy of a refrigerator cheesecake that sets itself without any drama.
Here’s why these pumpkin dessert bars earn a permanent spot in your rotation:
- No oven required. Your kitchen stays cool, even in August.
- Foolproof setting. No water bath, no cracked surface, no sinking center.
- Make-ahead perfection. Chill overnight and pull them out when guests arrive.
- Egg-free. Safe for anyone with egg sensitivities.
- Crowd-pleaser. Perfect for Labor Day cookouts, back-to-school treats, or early fall parties.
Summer’s last hurrah deserves a dessert that doesn’t make you sweat. These no-bake pumpkin cheesecake bars are that dessert, I promise.
Key Ingredients
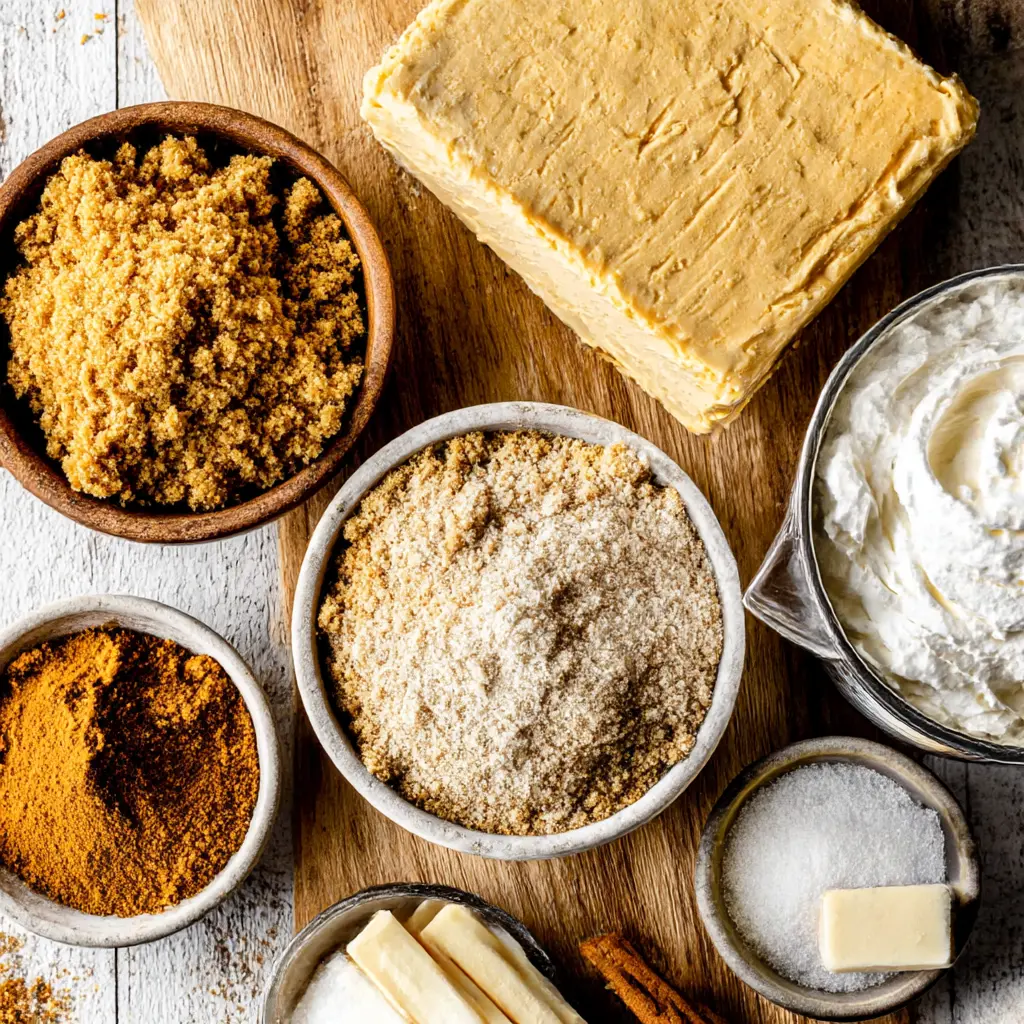
The beauty of this recipe is how short the ingredient list is. Everything comes from a regular grocery store, no specialty baking aisle required. Let’s break down what each component actually does.
Graham cracker crumbs. The foundation of it all. Mixed with melted butter and brown sugar, they press into a sturdy, buttery graham cracker crust that holds up beautifully when sliced.
Full-fat cream cheese. This is non-negotiable. Low-fat cream cheese has more water in it, which can make the filling weepy and prevent it from setting. Let the blocks soften completely before you start. Cold cream cheese in a cheesecake filling is like trying to smooth out cold butter on toast, it’s just not happening.
Heavy whipping cream. The secret weapon. Whipped to stiff peaks and folded into the cream cheese filling, it adds lightness and structure. This is what replaces eggs in a no-bake cheesecake.
Canned pumpkin puree. The star of the show. It brings that earthy, slightly sweet pumpkin flavor and a gorgeous golden color. Just make sure you grab puree, not pie filling (more on that below).
Pumpkin pie spice. Warm, aromatic, and cozy. It goes into the crust, the filling, and the topping for layers of spice in every single bite.
Fresh lemon juice. Don’t skip it. It doesn’t make the bars taste lemony, it brightens the pumpkin and keeps the filling from tasting flat. Meyer lemon is lovely if you can find it, but regular lemon juice works perfectly too.
For the whipped cream topping, you just need heavy cream, powdered sugar, and vanilla extract. Light, fluffy clouds of sweetness sitting right on top of each bar.
What Type of Pumpkin to Use
Here’s the most common mistake I see in pumpkin recipes: grabbing pumpkin pie filling instead of pumpkin puree. They are not the same thing.
Pumpkin pie filling comes pre-sweetened and pre-spiced. If you use it in these no-bake pumpkin cheesecake bars, you’ll end up with a dessert that’s cloyingly sweet and the spice balance will be all wrong. You want 100% pure pumpkin puree. The can should list exactly one ingredient: pumpkin.
Canned pumpkin puree is thicker and more consistent than anything you’ll make at home. If you’re set on using fresh pumpkin, you’ll need to strain it really well. The puree should be thick, almost like Greek yogurt, so it doesn’t add excess moisture to the filling.
How to Make Pumpkin Pie Spice Seasoning
Out of pumpkin pie spice? It happens, we’ve all been there. You can make your own in about 30 seconds with pantry staples.
Whisk together 1/4 teaspoon each of ground cinnamon, ground ginger, ground nutmeg, and ground cloves. That mixture replaces 1 teaspoon of pumpkin pie spice, which is exactly what this recipe needs. One simple blend, all the warm aromatic notes that make these bars taste like autumn baking in every bite.
How Does No-Bake Cheesecake Set Without Baking?
This is the question I get all the time. It feels like magic, but there’s actual food science behind it.
Baked cheesecake relies on eggs to firm up. No-bake cheesecake uses a different trick entirely: whipped cream and cold temperature. When you whip heavy cream to stiff peaks, you’re folding millions of tiny air bubbles into it. Gently folded into the cream cheese filling, those air bubbles create structure and lift.
Then the fridge takes over. As the pan chills, the cream cheese firms up and the whipped cream holds its shape. The result is a filling that sets firmly enough to slice into clean bars, no gelatin, no eggs, no oven steam.
The key is respecting the chill time. These bars need at least 8 hours in the fridge, ideally overnight. The cool air transforms a soft mousse into a sliceable, bakery-worthy dessert. Trust the process, I promise it works.
How to Make No-Bake Pumpkin Cheesecake Bars
The full recipe card is below, but let’s walk through the four stages so you understand the why behind each step. This is where all the important stuff lives.
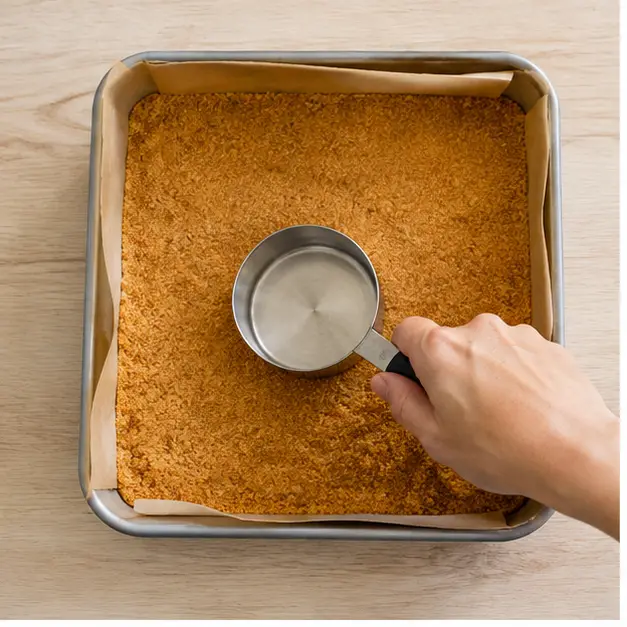
Stage 1: Build the crust. Start by lining your pan with parchment paper, leaving overhang on two sides. Those paper handles are what let you lift the entire cheesecake out in one clean piece later. Mix the graham cracker crumbs with brown sugar, pumpkin pie spice, and a pinch of salt, then pour in melted butter. Every crumb should be moistened. Press the mixture firmly into the pan using the bottom of a measuring cup or a flat glass. Press hard, this crust is the foundation of everything.
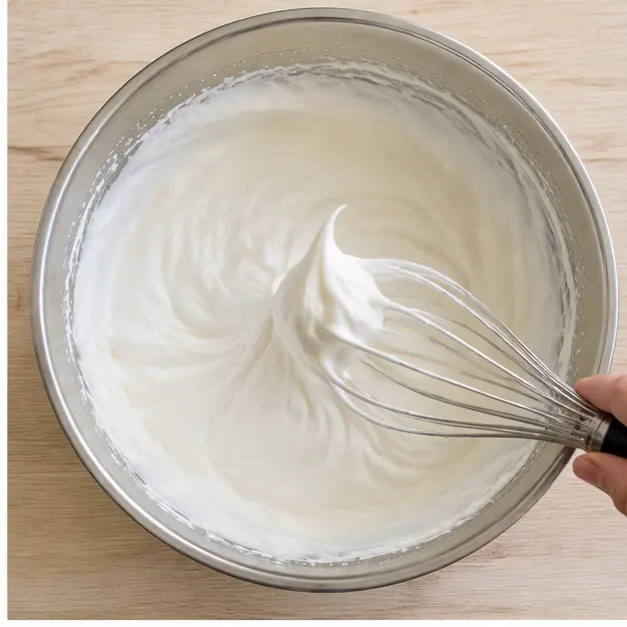
Stage 2: Whip the cream. Cold cream whips faster and holds its peaks better, so chill your bowl and whisk first if you have time. Beat the heavy cream until stiff peaks form. You’ll know it’s ready when you lift the whisk and the peak stands straight up without drooping. This is the structural backbone of the filling, so don’t rush it. Pop the whipped cream in the fridge while you make the filling base.
Stage 3: Make and fold the filling. Beat the softened cream cheese with granulated sugar and salt until completely smooth. Scrape down the bowl, then add vanilla extract, lemon juice, pumpkin puree, and pumpkin pie spice. Beat again until the mixture turns glossy and smooth. Now comes the important part: fold the chilled whipped cream in gently with a rubber spatula. Take your time, you want no white streaks left, but you also don’t want to deflate those precious air bubbles.
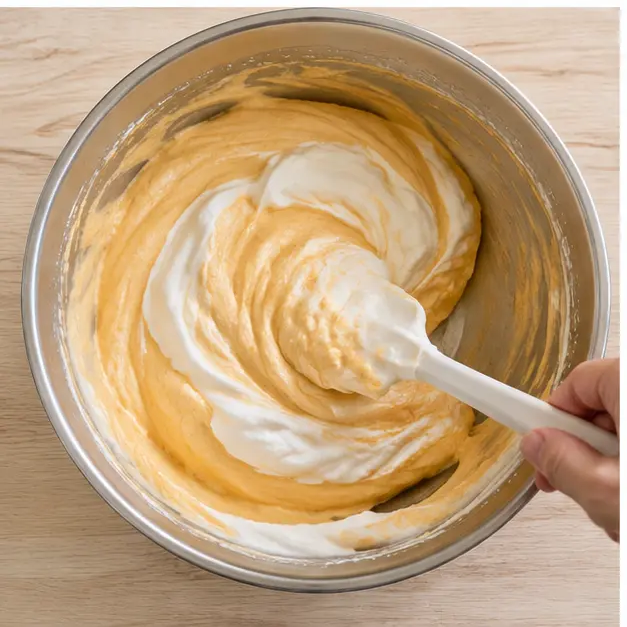
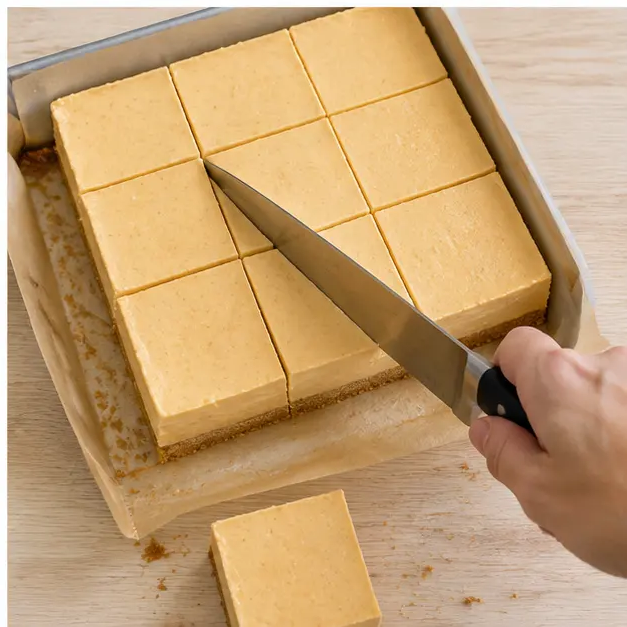
Stage 4: Chill, then slice. Spread the filling over the crust, smooth the top with an offset spatula, cover the pan, and refrigerate for at least 8 hours. When you’re ready to serve, lift the cheesecake out using the parchment handles. For the cleanest cuts, freeze the assembled cheesecake for an hour, then slice with a warm, damp knife, wiping the blade clean between each cut. Those geometric bars will look like they came from a professional bakery.
Tips to Make the Best Pumpkin Cheesecake Bars
After testing this recipe more times than I can count, these are the tips that genuinely matter. The ones that separate a good batch from a great one.
- Room temperature cream cheese is non-negotiable. Soft cream cheese blends into a silky smooth filling. Cold cream cheese leaves lumps you can’t fix later.
- Use full-fat cream cheese. I know the low-fat version looks like the sensible choice. It’s not. The higher water content makes the filling runny and prevents proper setting.
- Whip the cream to stiff peaks. Under-whipped cream won’t provide enough structure, and your bars will come out soft instead of sliceable.
- Fold gently. Over-folding deflates the whipped cream and makes the filling dense and heavy instead of light and airy.
- Chill for the full 8 hours. I know it’s tempting to peek early. Don’t. Overnight is even better. The flavors actually deepen as they meld.
- Use the warm knife trick. Run the blade under hot water, dry it, slice, wipe, repeat. This gives you bakery-level clean edges on every single bar.
Here are the most common mistakes and exactly how to fix them:
❌ Lumpy filling → ✅ Make sure the cream cheese is fully softened before beating. Cube it if you’re short on time.
❌ Bars won’t set → ✅ Chill longer, at least 8 hours, and switch to full-fat cream cheese on your next batch.
❌ Soggy or crumbly crust → ✅ Press the crust firmly with a flat measuring cup and don’t skimp on the butter. It needs to hold together.
Crust Variations and Substitutions
This recipe is wonderfully flexible, which is part of why it’s such a dependable fall dessert. Here are my favorite ways to change it up.
- Gingersnap crumbs. Swap them in for graham crackers for a spicier, warmer crust. Biscoff cookies work beautifully too.
- Vanilla wafer crumbs. A sweeter, more delicate crust option that pairs nicely with the pumpkin.
- Store-bought crust. Honestly, you can use a store-bought graham cracker crust in a pinch. Just halve the filling and pour it in. There’s no shame in the shortcut game, that’s the smart way, not the cheating way.
- Cool Whip instead of heavy cream. Out of whipping cream? Eight ounces of Cool Whip works in the filling. Just know that homemade whipped cream gives a lighter, more stable texture. Your call, no judgment.
- Gluten-free. Use gluten-free graham cracker crumbs, and these bars become gluten-free-friendly without changing anything else.
- Pie version. Pour the filling into a fully baked pie crust for a gorgeous pumpkin cheesecake pie. Just as easy, just as delicious.
Want to double the recipe for a bigger crowd? Use a 9×13-inch pan and double the crust so the filling has enough support. And if you want to gild the lily, a store-bought caramel drizzle over the top is gorgeous for a special occasion, though completely optional.
Storage and Freezer Instructions
These bars are built for make-ahead convenience, which makes them the ultimate Labor Day dessert. Here’s how to keep them fresh and delicious.
Refrigerator: Store the bars in an airtight container for up to 4 days. They soften quickly at room temperature, so keep them chilled until right before serving. The cool, creamy texture is part of the magic.
Freezer: Undecorated bars freeze beautifully for up to 2 months. Wrap them tightly in plastic wrap or use an airtight container. Thaw them overnight in the fridge before serving, then add the whipped cream topping.
Make-ahead plan: You can make the cheesecake layer a day ahead. Add the whipped cream topping close to serving time so the swirls stay fluffy and picture-perfect. Pumpkin season officially kicks off in a few weeks, so you’re getting ahead of the curve.
Labor Day cookout coming up? Make these on Friday, let them chill overnight, and pull them from the fridge on Saturday. While your friends sweat over the grill, you’re chilling a dessert in the AC. Literally.
The Payoff
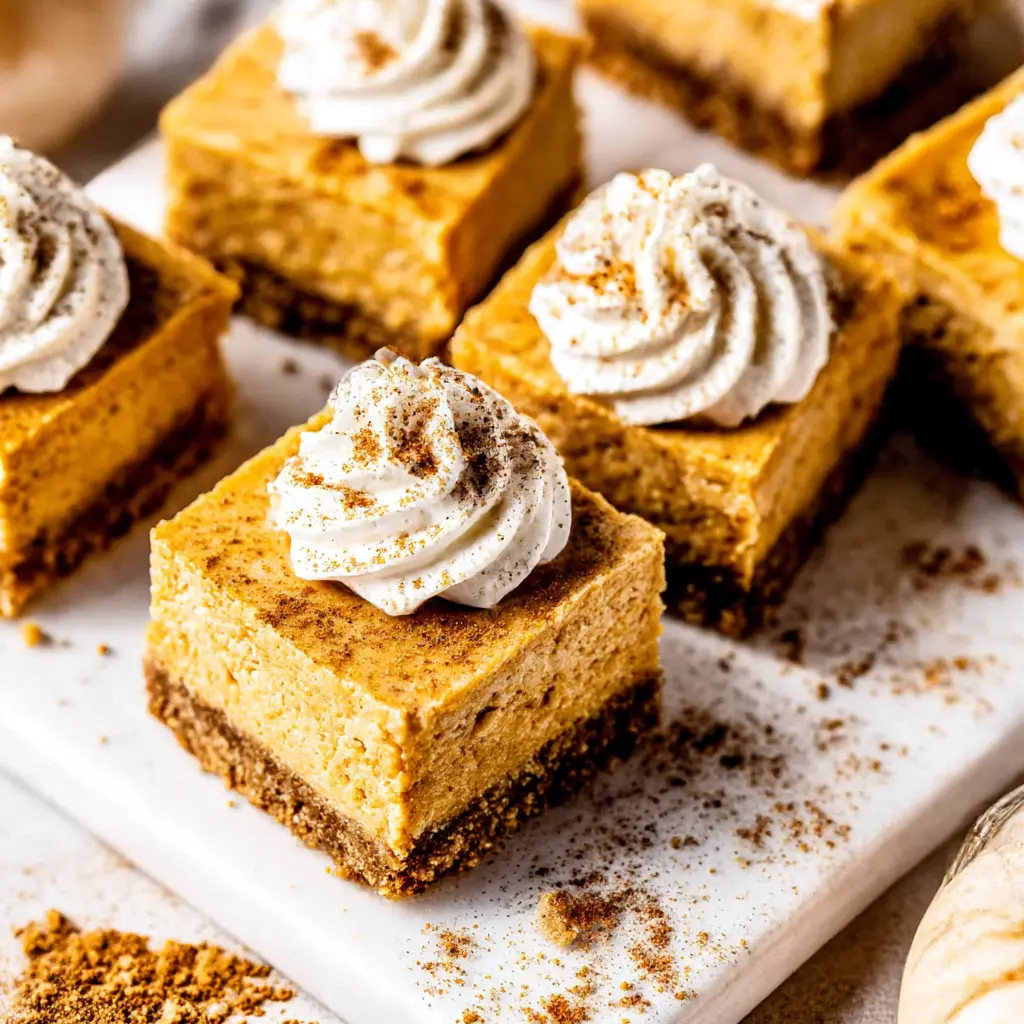
When you pull these no-bake pumpkin cheesecake bars out of the fridge, and you will, the first clean slice tells the whole story. The crumbly golden graham cracker crust, the creamy pumpkin layer, the fluffy whipped cream topping with its whisper of spice. Watch people’s eyes go wide when they realize you didn’t bake a single thing.
The first bite is something else. Cool and velvety, melting against those warm pumpkin pie spice notes. It tastes like autumn arrived early, and you’re the one who made it happen with zero oven heat.
Honestly, this is the easiest recipe I make all year. Ten minutes of prep, pantry staples, and a fridge that does the rest. You can’t mess it up, I promise.
Drop a comment below and tell me how fast they disappeared at your cookout. And if you’re looking for more inspiration, follow me on Pinterest for recipes that keep your kitchen cool and your guests talking.
No oven. No sweat. No way these bars last until dessert time.
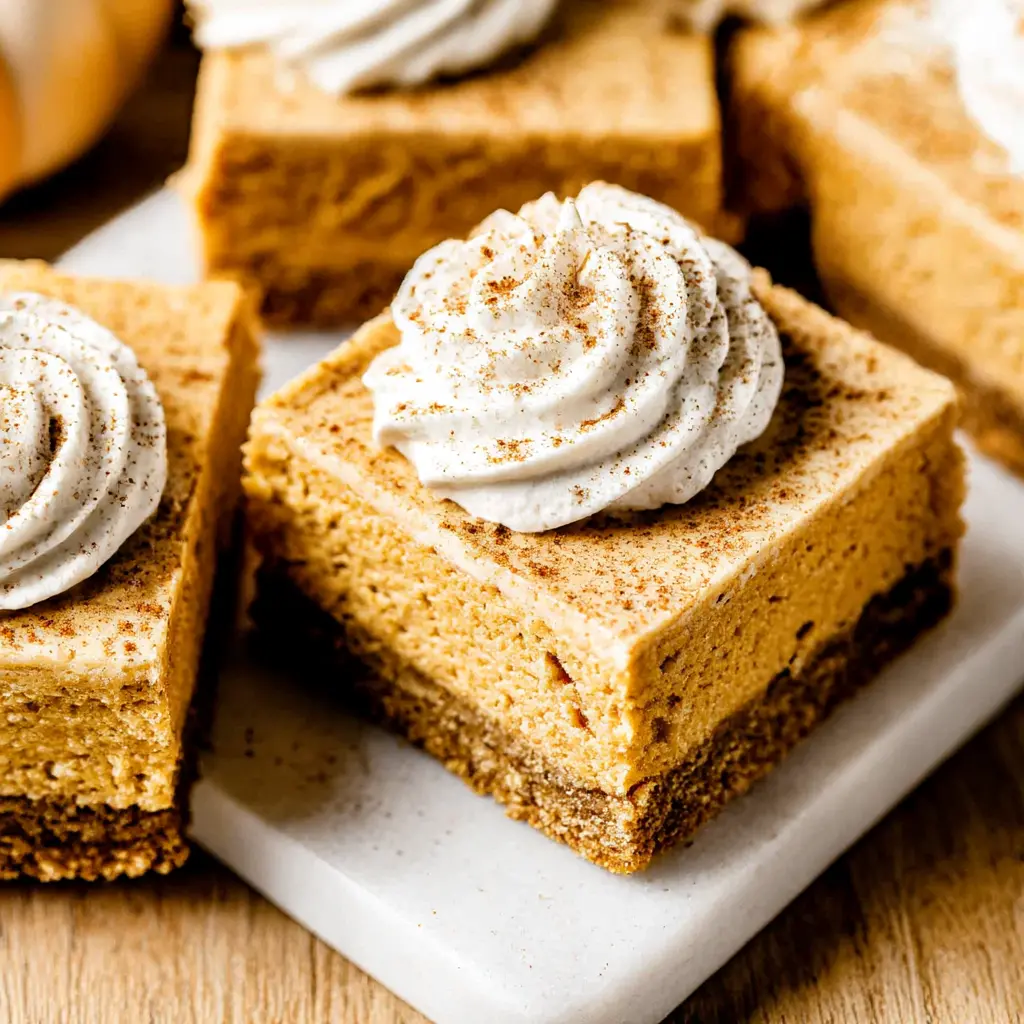
No-Bake Pumpkin Cheesecake Bars
Ingredients
Method
- Line an 8-inch or 9-inch square baking pan with two overlapping strips of parchment paper so the extra paper hangs over the sides like handles.
- In a large bowl, stir together graham cracker crumbs, brown sugar, pumpkin pie spice, and salt. Pour in the melted butter and mix until every crumb is moistened.
- Transfer the crumbs to the prepared pan and press firmly into an even layer using the bottom of a measuring cup or a flat glass. Set aside.
- Using a stand mixer or hand mixer, whip 1 cup heavy cream to stiff peaks. Chill the whipped cream in the refrigerator while you make the filling.
- In a separate bowl, beat the cream cheese, granulated sugar, and salt until completely smooth. Scrape down the bowl, then add vanilla, lemon juice, pumpkin puree, and pumpkin pie spice. Beat again until the mixture is glossy and smooth.
- Fold the chilled whipped cream into the cream cheese mixture with a rubber spatula, gently turning until no white streaks remain.
- Spoon the filling over the crust and smooth the top. Cover the pan and refrigerate for at least 8 hours or overnight. For cleaner cuts, freeze for 1 hour before slicing.
- Lift the chilled cheesecake out of the pan using the parchment handles and place it on a cutting board. Trim the edges if desired, then slice into 12 bars in a 4 by 3 pattern, wiping the knife clean between cuts.
- Whip the remaining 1 cup heavy cream with powdered sugar and vanilla extract until stiff peaks form. Fill a piping bag fitted with a large star tip, pipe a swirl onto each bar, and finish with a light sprinkle of pumpkin pie spice.
Nutrition
Notes
Tried this recipe?
Let us know how it was!Frequently Asked Questions
Source: Learn More About This Dish