
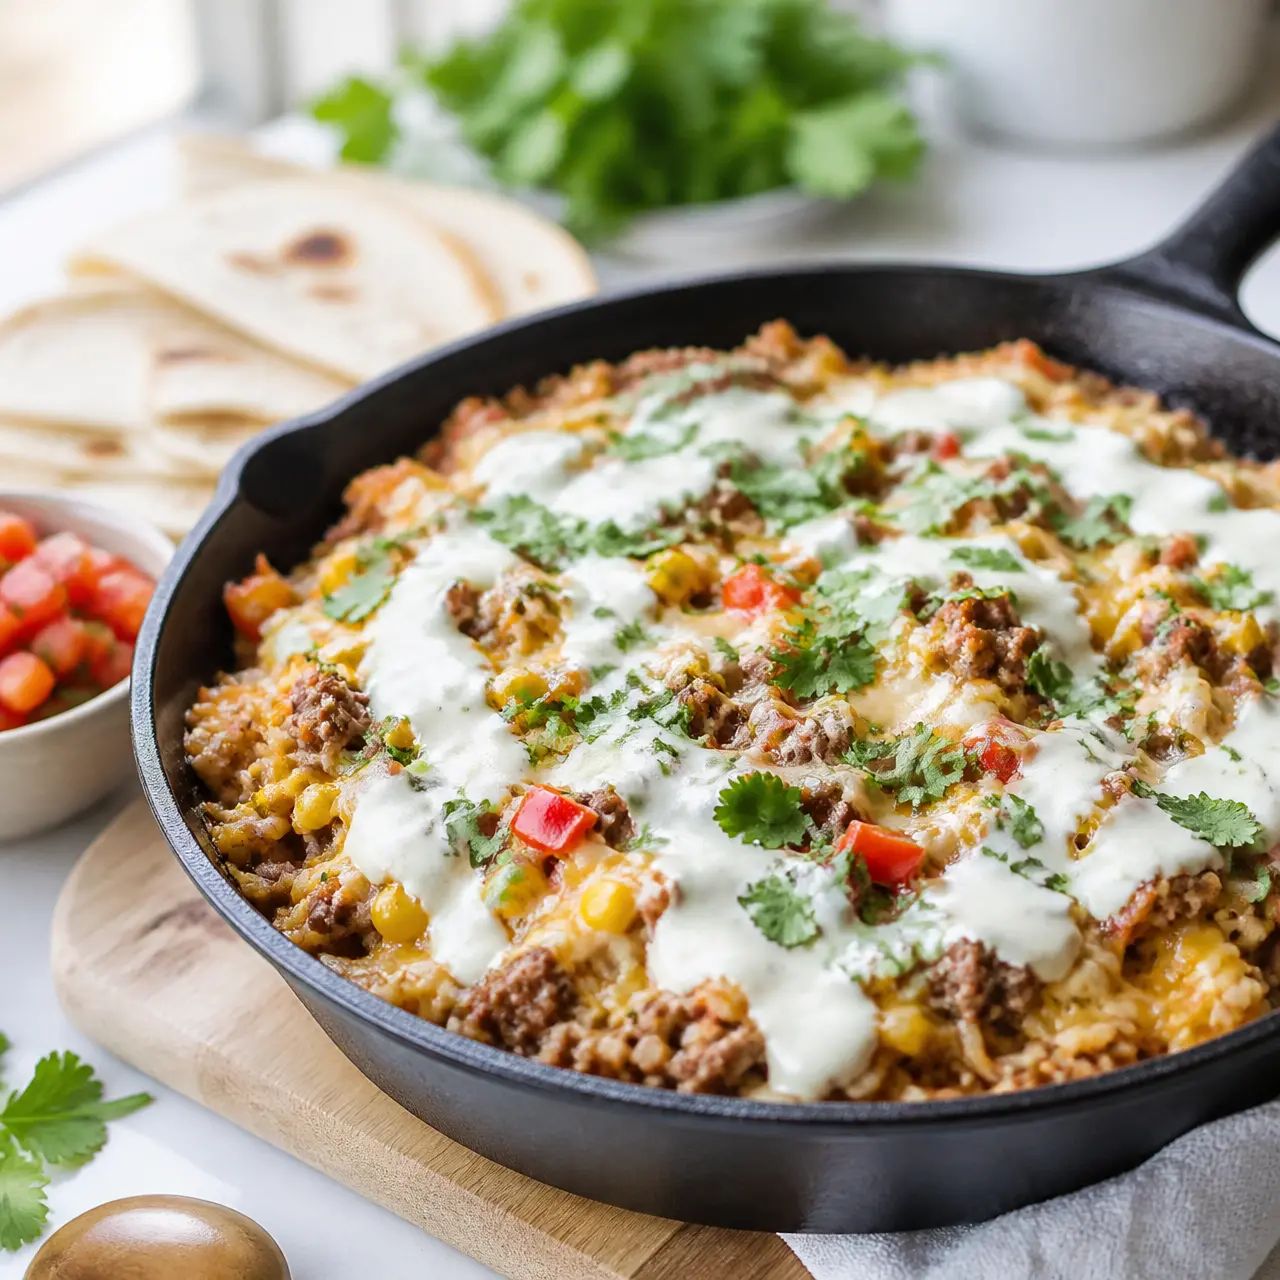
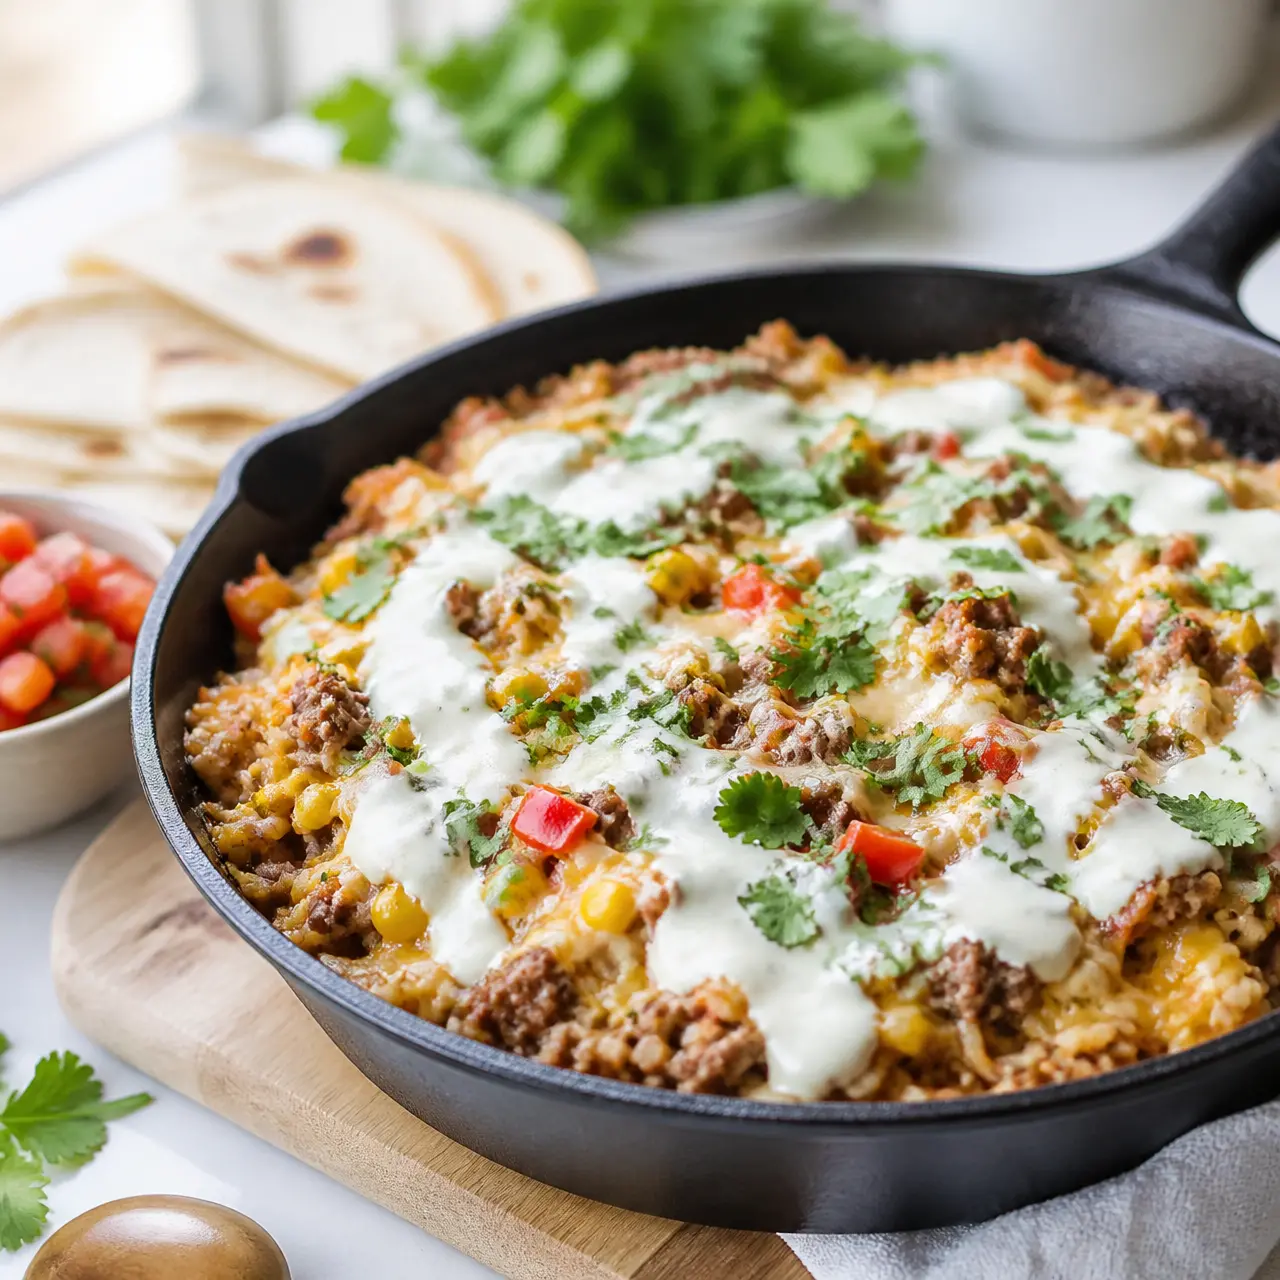
Cheesy Beef and Rice Skillet: A One-Pan Family Favorite
Ingredients
Method
- In a large skillet over medium-high heat, combine the ground beef and chopped onion. Season with salt, black pepper, cayenne, ground cumin, dried cilantro, and chili powder. Cook, breaking up the beef, until browned and no longer pink.
- Spoon out any excess grease from the pan. Push the beef mixture to the edges of the skillet, then add the olive oil to the center. Add the rinsed jasmine rice and stir frequently for 2 to 3 minutes to lightly toast the rice.
- Stir in the tomato sauce, minced garlic, and beef broth. Mix well and increase the heat to bring the liquid to a quick boil.
- Reduce the heat to medium-low, cover the skillet, and simmer for about 20 minutes, or until the rice is tender and most of the liquid is absorbed. Remove from the heat, let rest covered for 5 minutes, then fluff the rice with a fork.
- Warm the queso in the microwave according to package directions, then drizzle it generously over the beef and rice. Garnish with fresh cilantro and serve immediately with flour tortillas and pico de gallo if desired.
Nutrition
Notes
Tried this recipe?
Let us know how it was!Why This Cheesy Beef and Rice Skillet Works
It’s 6:30 on a Tuesday in August. You just walked in the door, still carrying the tote bag with the laptop you swore you’d leave at work. And before you even set the keys down, someone asks it. The question. “What’s for dinner?”
I’ve lived that exact moment way too many times. The cabinets are half empty, the budget’s got about twelve bucks of breathing room, and every takeout option feels like a surrender. That’s where this cheesy beef and rice skillet comes in. It’s my honest answer to the chaos hour.
This ground beef skillet dinner is built on pantry staples. Ground beef, rice, tomato sauce, broth, a few spices, and a generous drizzle of queso. Nothing fancy. Nothing that requires a special trip. Just a warm, bubbling, cheesy one-pan meal that’s ready in about 30 minutes.
The best part? No oven. In the middle of a California heat wave, that alone is worth the price of admission. Everything happens on the stovetop, so your kitchen doesn’t turn into a sauna.
And when dinner’s over, you wash exactly one skillet. That’s the promise. One skillet. I’ll say it a few more times because it’s the whole dang point.
Ingredient Notes
You don’t need a million ingredients here, which is kind of the beauty of it. Let’s walk through what matters so you nail it the first time. This reads like a checklist, but honestly, it’s more like a permission slip to use what you have.
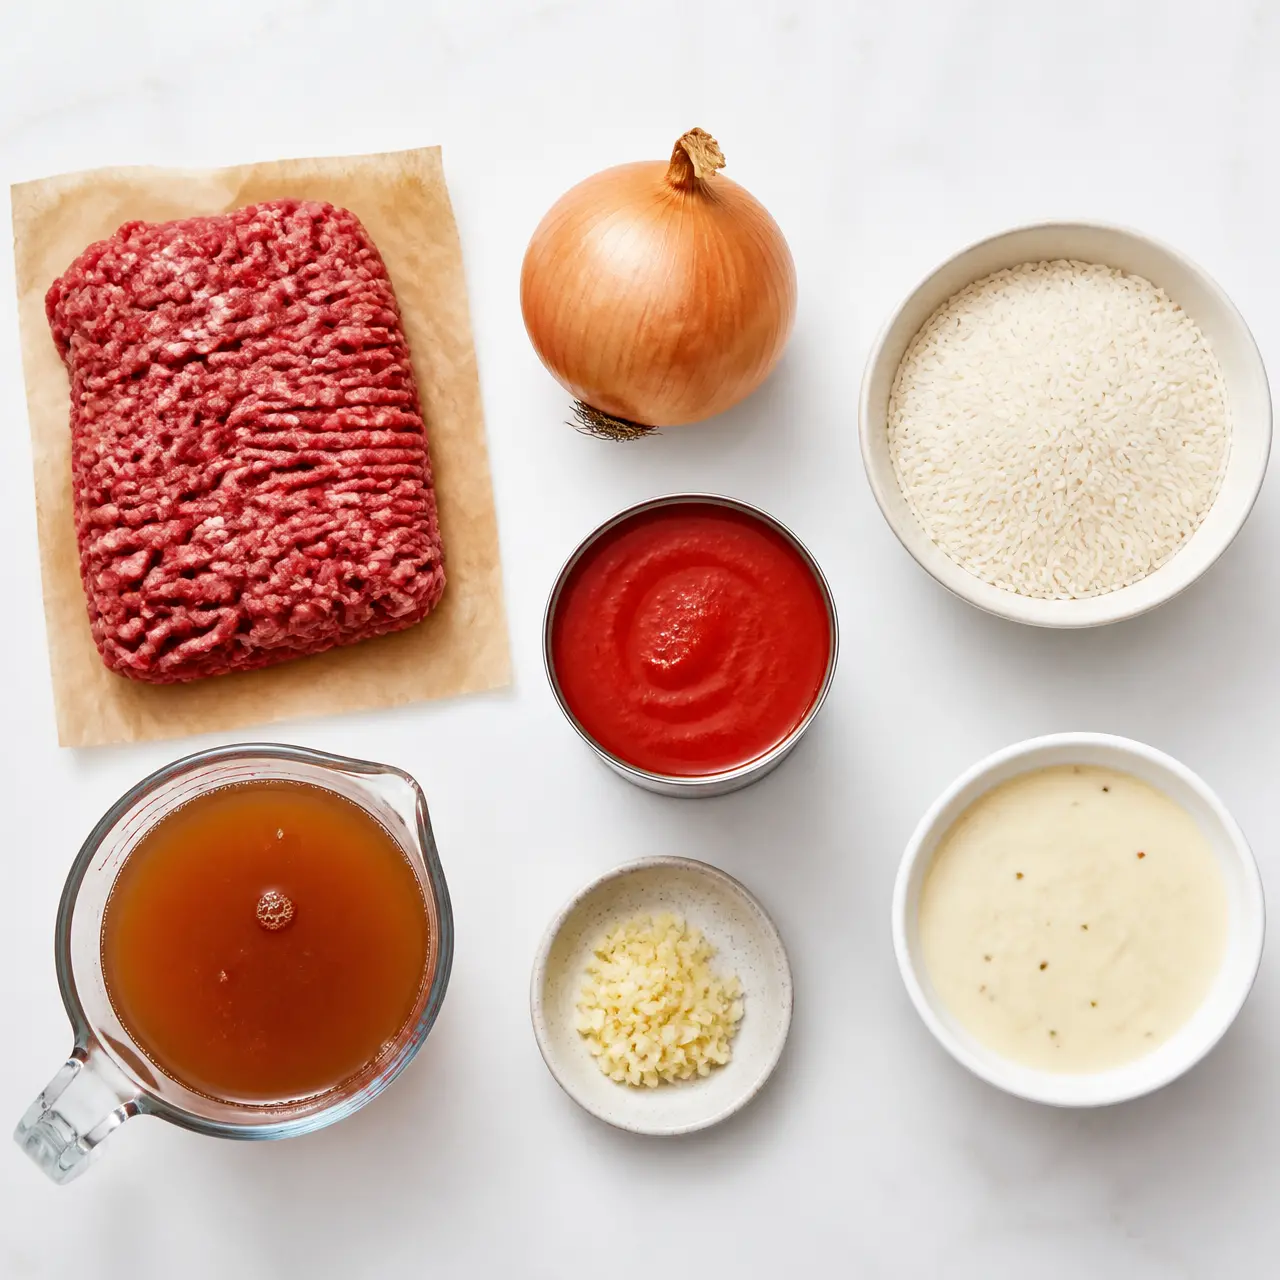
- Ground beef: 1 pound, any leanness you like (more on that below).
- Yellow onion: chopped, because it adds that sweet, savory base you can’t fake.
- Spices: salt, black pepper, cayenne, ground cumin, dried cilantro, and chili powder. That mix gives this beef and rice skillet its taco-style personality.
- Tomato sauce: one 8-ounce can. It adds body and a little acidity that cuts through the richness.
- Beef broth: 2 cups, low-sodium if you can grab it. This is the liquid that cooks the rice.
- Jasmine rice: rinsed. This is important for the texture, so don’t skip the rinse.
- White queso cheese dip: warmed and drizzled on top. This is the fun part.
- Warm flour tortillas, pico de gallo, fresh cilantro: for serving and garnish. They make it feel like a real dinner.
Best Ground Beef for This Skillet
Here’s the thing nobody tells you. The leanness of your ground beef changes everything. I’ve made this with 80/20, 85/15, and 90/10, and they all work. The difference is how much grease you end up draining.
If you use the higher-fat ground beef, the rice can turn out heavy and greasy if you don’t remove the excess. That’s why step one of the recipe has you spooning out extra fat before the rice goes in. Take the thirty seconds. Your future self, and your rice, will thank you.
Leaner beef means less draining but also a slightly drier flavor. The fix is simple. The broth and tomato sauce add plenty of moisture, so it all balances out in the end. Honestly, use what your grocery budget allows. This recipe is forgiving.
Best Rice for This Skillet
Jasmine rice is my pick here. It’s fragrant, slightly floral, and cooks up fluffy without clumping. You’ll notice the recipe calls for rinsing it until the water runs clear. That wash removes excess starch, which is exactly what keeps the grains separate instead of turning into a sticky mass.
Long-grain white rice works beautifully too. If you swap it in, keep an eye on the cook time and liquid levels, since different brands absorb at slightly different rates. The general rule I follow? The liquid to rice ratio is roughly 2 parts broth to 1 part rice, and the tomato sauce counts toward that liquid. It all absorbs during the covered simmer.
One thing I’d avoid: pre-cooked rice. This recipe needs uncooked rice to soak up that seasoned broth. If you use leftover rice, you’ll want the shortcut version I mention later in the variations section.
Ingredient Swaps and Add-Ins
This is where the recipe becomes yours. I’m a big believer in recipes that bend without breaking. Use whatever shredded cheese is in your fridge, I promise it’ll work. Monterey Jack and cheddar are both fantastic if you skip the queso.
- Cheese swap: shredded Monterey Jack, cheddar, or Colby instead of white queso dip.
- Broth swap: water with a good bouillon cube, or just seasoned water if that’s all you have.
- Rice swap: long-grain white rice instead of jasmine. Adjust time and liquid as needed.
- Aromatics swap: half a teaspoon each of garlic powder and onion powder if you’re out of fresh.
- Add veg: a chopped bell pepper sautéed with the onion, or a handful of spinach stirred in at the end.
- Add beans: corn, black beans, or pinto beans stirred in near the end for extra heartiness.
- Heat boost: diced jalapeños or a pinch of chipotle powder for extra kick.
Equipment: The Right Skillet
You can make this one pan meal in just about any large skillet. But if I’m being honest with you, a heavy-bottomed pan makes a real difference. A 12-inch cast iron skillet is my go-to for this. It holds heat evenly, browns the beef nicely, and simmers the rice without scorching the bottom.
If you’re using a thinner nonstick pan, you’ll want to watch the heat a little more closely. Medium-low after the boil is your friend. Too high and you risk burning the bottom before the rice cooks through. That’s the one failure mode I’ve hit more times than I care to admit.
Also, you need a lid. A snug-fitting lid traps the steam that cooks the rice. If your skillet doesn’t have one, a baking sheet or a big dinner plate flipped upside down works in a pinch. Trust me on that one.
How to Make Cheesy Beef and Rice Skillet
Alright, let’s get into the actual cooking. This is a beef and rice one pan meal, so every step happens in that single skillet. I’ll walk you through the four stages, explain the why behind each one, and tell you exactly what to look for. The numbered instructions are in the recipe card, but here’s the deeper picture.
Stage One: Brown the Beef and Onion
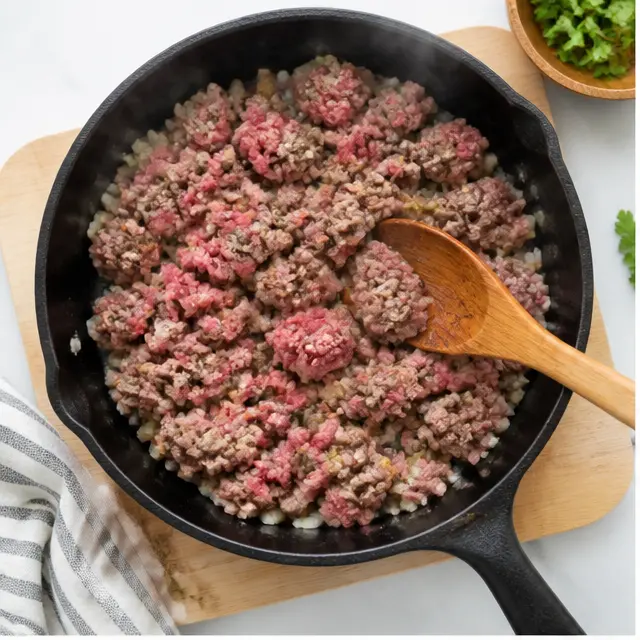
Start by combining the ground beef and chopped onion in that hot skillet. Season everything with salt, black pepper, cayenne, cumin, dried cilantro, and chili powder. Then just cook it, breaking the beef up as you go.
You’ll know it’s ready when the pink is completely gone and the onions have turned soft and translucent. The kitchen starts smelling like taco night, which is honestly half the motivation to keep going. This flavor base is what makes this cheesy beef and rice skillet taste like you simmered it for an hour, when it’s really been like six minutes.
Here’s the step nobody enjoys but everybody should do: drain the excess grease. Spoon it out, tilt the pan, whatever works. Less grease means fluffier rice and a cleaner finish.
Stage Two: Toast the Rice
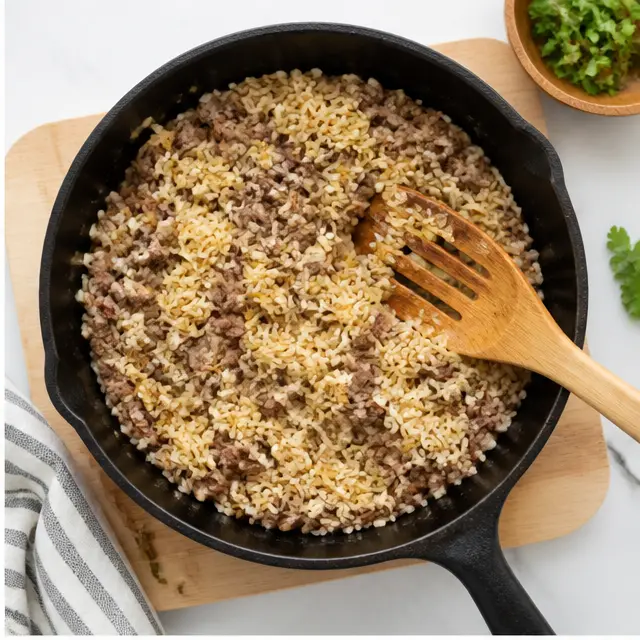
Push the beef mixture toward the edges of the skillet and add the olive oil to the center. Then drop in the rinsed jasmine rice. Stir it frequently for 2 to 3 minutes.
Toasting raw rice in the pan before adding liquid does two things. First, it gives the grains a subtle nutty flavor you just can’t get otherwise. Second, it keeps the rice from turning to mush during the simmer. The grains get this slightly translucent, golden look, like they’re ready for a soak.
This is one of those small extra steps that separates a good ground beef dinner recipe from a great one. It barely takes any time, and it makes the texture noticeably better.
Stage Three: Simmer With Tomato and Broth
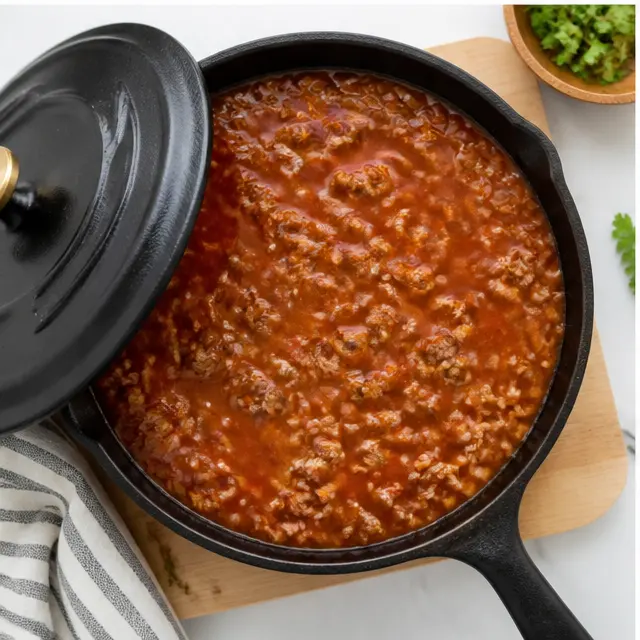
Now comes the liquid. Stir in the tomato sauce, minced garlic, and beef broth. Mix it all together and crank the heat to bring it to a quick boil. You want to see those lazy bubbles breaking the surface.
Once it’s boiling, reduce the heat to medium-low, cover the skillet, and let it work. About 20 minutes. During this time, the rice absorbs all that seasoned broth. It’s like watching a sponge drink up flavor.
Resist the urge to lift the lid and peek. I know. I always want to peek too. But every time you lift it, you let out steam, and that steam is what cooks the rice. Look through the glass lid if you have one, or just set a timer and walk away for a few minutes.
Stage Four: Rest, Fluff, and Finish With Queso
After about 20 minutes, remove the skillet from the heat and let it rest, covered, for 5 minutes. This resting period is non-negotiable in my kitchen. The rice finishes absorbing the last bit of liquid and steams itself into fluffiness.
You’ll know the rice is done when little craters appear on the surface and it looks almost fluffy instead of soupy. Fluff it gently with a fork, lifting those grains up so they separate.
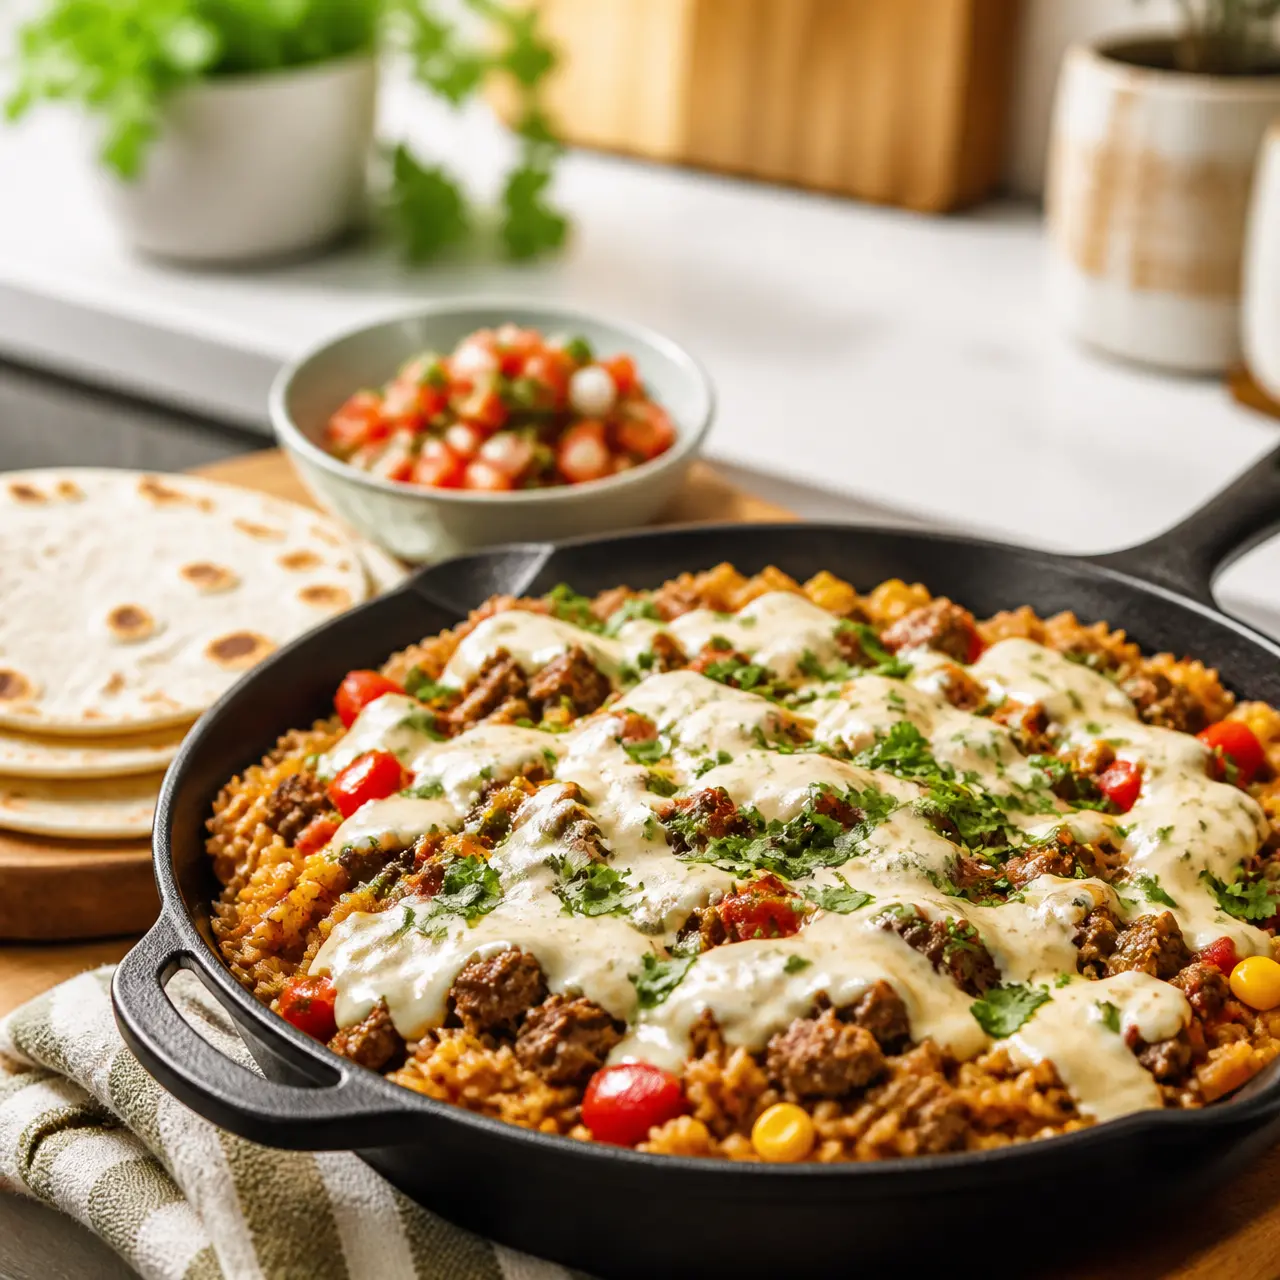
Then comes the magic: warm that white queso cheese dip and drizzle it generously over everything. The heat of the rice and beef will soften the queso just enough that it pools into the crevices. On top goes the fresh cilantro, and it’s ready for the table. That stretchy, gooey, slightly golden top is what makes everyone lean in.

Pro Tips, Tricks, and Troubleshooting
I’ve made this easy beef and rice recipe more times than I can count. Some batches were perfect. A couple were, well, lessons. Here’s everything I learned so you skip the frustrating parts.
Common Mistakes and How to Fix Them
❌ Using pre-cooked rice: This recipe needs uncooked rice to absorb the seasoned liquid. Pre-cooked rice will turn into a mushy, overcooked mess.
✅ Use uncooked jasmine or long-grain white rice. That’s what the liquid ratio is built around.
❌ Not adjusting for your rice type: Different rices absorb differently. Follow the package timing as a guide.
✅ If the rice isn’t done after 20 minutes, add a splash of broth or water and cook a few minutes more, covered.
❌ Crunchy rice: This usually means the heat was too high and liquid evaporated early, or the lid came off too often.
✅ Keep it at medium-low, keep the lid on, and add a splash of warm broth if needed.
❌ Greasy rice: You skipped the grease draining step. Doesn’t judge you, I’ve done it.
✅ Spoon out the excess fat right after browning the beef.
❌ Burnt bottom: Stoves vary, and sometimes medium-low is still too hot.
✅ Use a heat diffuser or a heavier skillet to spread the heat more evenly.
Three Quick Tips That Pay Off
- Rinse that rice. It takes ten seconds and prevents clumping, which you’ll appreciate when you fluff it.
- Drain the beef thoroughly. Your skillet should have a thin layer of liquid, not a pool of grease.
- Let it rest. The 5-minute rest after cooking is when the rice finishes absorbing. Don’t rush it.
Frequently Asked Questions
Easy Cheesy Beef and Rice Skillet Variations
This recipe is a weeknight hero exactly because it doesn’t demand perfection. Once you’ve made it once, you’ll start seeing all the ways to remix it. Here are some favorites that have shown up in my own kitchen.
- Extra veggie version: Sauté a chopped bell pepper with the onion, or add up to 2 cups of frozen mixed vegetables in the last 5 minutes of simmering. Mushrooms are great too.
- Loaded nacho style: Skip the tortillas and spoon this over tortilla chips. Top with extra queso and pico de gallo. Instant dinner nachos.
- Burrito night: Roll the beef and rice filling into warm flour tortillas, burrito style, and serve with extra pico de gallo on the side.
- Leftover rice shortcut: If you have cooked rice on hand, cook the seasoned beef, stir in the rice and a splash of broth, and heat until the flavors marry. It’s faster but still good.
- Different protein: Ground turkey or ground chicken work well with these exact same spices. Just keep an eye on moisture and add a touch more broth if it looks dry.
- Bean it up: Stir in a can of drained black beans, pinto beans, or corn right before simmering. It stretches the meal further and adds fiber.
See what I mean? The structure stays the same. The flavor just moves around. That’s the mark of a great beef and rice skillet base recipe.
How to Store and Reheat Leftovers
If there are leftovers, and that’s a big if with this one, they keep beautifully. Store the beef and rice in an airtight container in the fridge for up to 3 days. The rice will absorb some liquid overnight, but don’t worry. That’s fixable.
To reheat, the best move is a skillet over low heat with a splash of beef broth or water. That splash brings the moisture back and loosens the rice right up. If you’re in a rush, the microwave works too. Just cover the bowl loosely and stir halfway through so nothing dries out.
You can also freeze this ground beef skillet dinner for up to 3 months. Let it cool completely first, then pack it into a freezer-safe container or bag. Thaw overnight in the fridge before reheating. Honestly, that’s a pretty great emergency meal to have waiting.
What to Serve With This Skillet
This Mexican cheesy skillet is honestly a full meal on its own. But if you want to round it out, the classic setup is warm flour tortillas and a bowl of pico de gallo. The cool, fresh tomatoes against the warm, cheesy rice is a combination worth writing home about.
Here are a few more ideas that work well alongside it:
- Warm flour tortillas or tortilla chips for scooping
- A spoonful of sour cream or Greek yogurt on top
- Sliced avocado or a simple green salad
- Extra fresh cilantro, sliced green onions, or diced tomatoes as garnish
If you’re feeding a crowd, a big green salad and some garlic bread turn this into a proper spread. But on a Tuesday night with backpacks on the floor and homework waiting? Just the skillet, some tortillas, and everyone grabbing a spoon is plenty.
When you make this on your busiest night, it’s going to save you. That bubbling, queso-drizzled skillet is the proof that dinner can be fast, affordable, and honestly delicious all at once. One skillet, 30 minutes, and a table full of happy people. That’s the win.
If you’re ever looking for more weeknight dinner ideas, we share new twists and family favorites over on Pinterest. Come say hi and pin this one for the first week of school. You’ll want it in your back pocket.
Source: Learn More About This Dish