
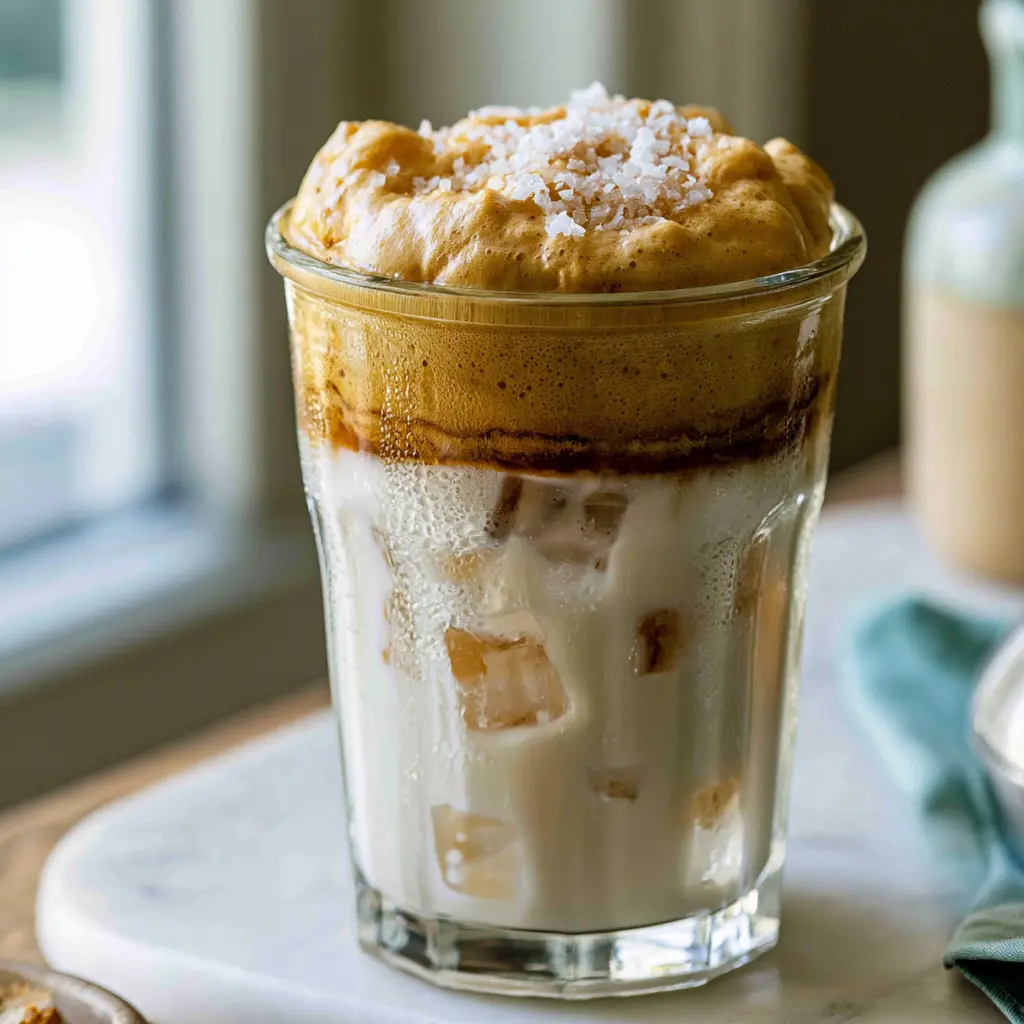
Why You’ll Love This Salty Canadian Iced Latte
Okay so you’ve seen it. The drink that’s been absolutely everywhere on your FYP, the one that looks like a maple-glazed donut melted into a glass of iced coffee. It’s the salty Canadian iced latte, and honestly? I get the hype. Completely.
It’s not just another iced coffee recipe. This thing tastes like a pancake breakfast in a glass. The maple syrup brings that deep, woodsy sweetness, the sea salt cuts through it, and the butter gets frothed right into the espresso. The result is this velvety, creamy foam that sits on top of cold milk like a cloud. I made it for the first time last week and my husband literally asked if I’d snuck out to a café. Nope. It’s from my own kitchen.
And here’s the best part. It takes five minutes. Five. And it costs about seventy cents instead of seven dollars.
Salty Canadian Iced Latte Ingredients
Alright, let’s talk about what you need. The list is short, which is probably why this recipe went so viral. No weird syrups or fancy gadgets required.
- Freshly brewed espresso (about 2 fl oz, or one double shot)
- Pure maple syrup (1 1/2 tsp, plus more if you like it sweeter)
- Butter (1 1/2 tsp, at room temperature, not the spreadable kind)
- Fine sea salt (just a pinch)
- Cold whole milk (3 to 4 fl oz, or oat milk for dairy-free)
- Ice cubes
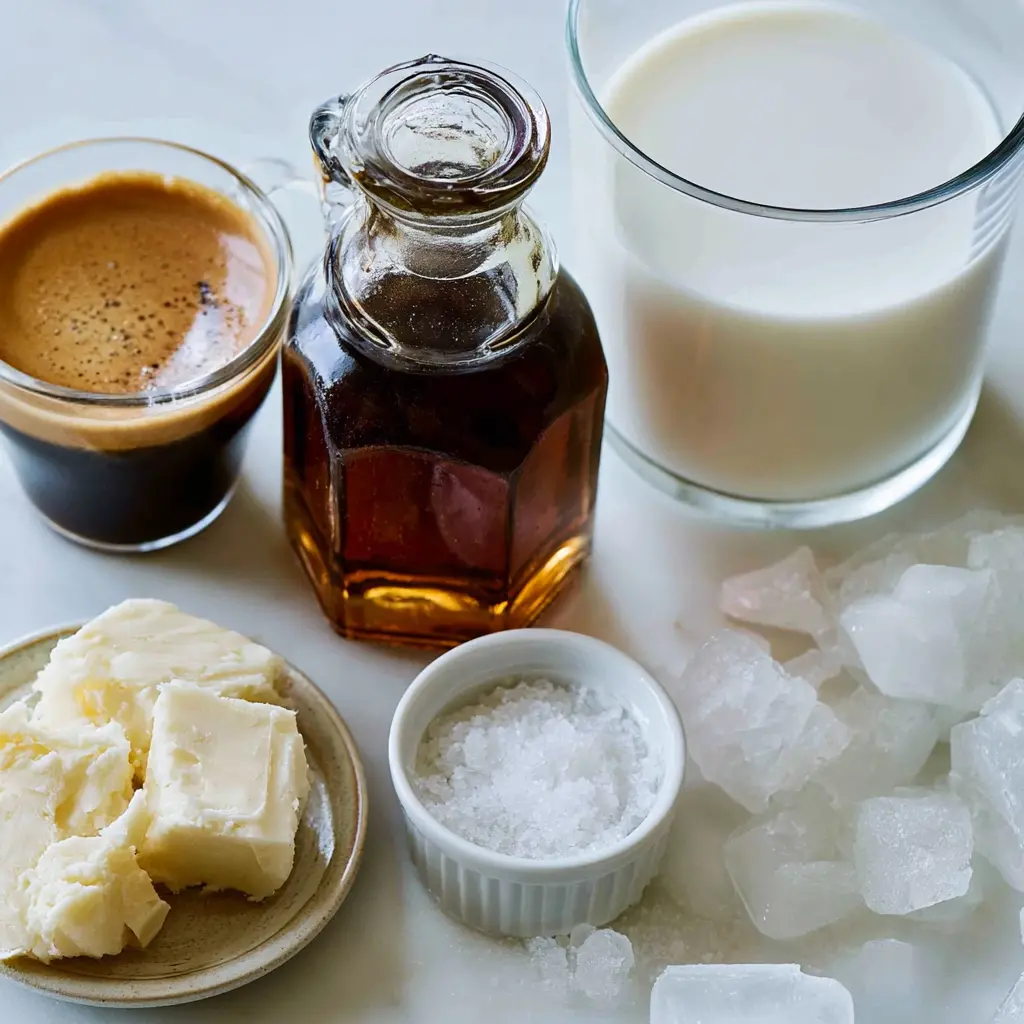
Important: Use real maple syrup, not pancake syrup. I know it’s pricier, but the flavor is unmatched. That fake stuff is mostly corn syrup and it won’t give you that rich, complex maple taste. Same goes for the butter. Get the good stuff. Your coffee will thank you.
Also, a quick word on salt. I like fine sea salt for the base because it dissolves right into the hot espresso. If you want that extra salty hit on top, a pinch of flaky sea salt sprinkled over the foam is genuinely glorious.
How to Make a Salty Canadian Iced Latte
Okay, this is where the magic happens. The method is simple, but each step has a job to do. Let’s break it down into the four stages that get you from ingredients to that beautiful, layered glass.
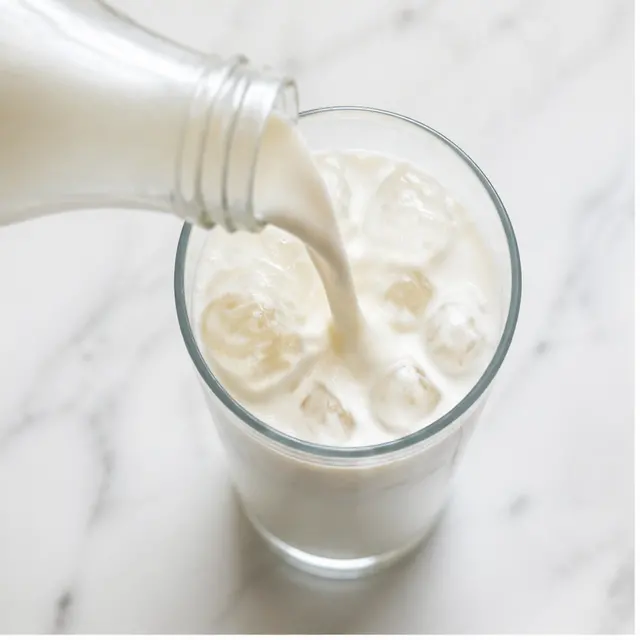
First, build the glass. Pack a tall glass about three-quarters full with ice cubes, then pour the cold milk over the top. This is your canvas. The cold milk stays at the bottom and creates that gorgeous contrast with the hot foam you’re about to make.
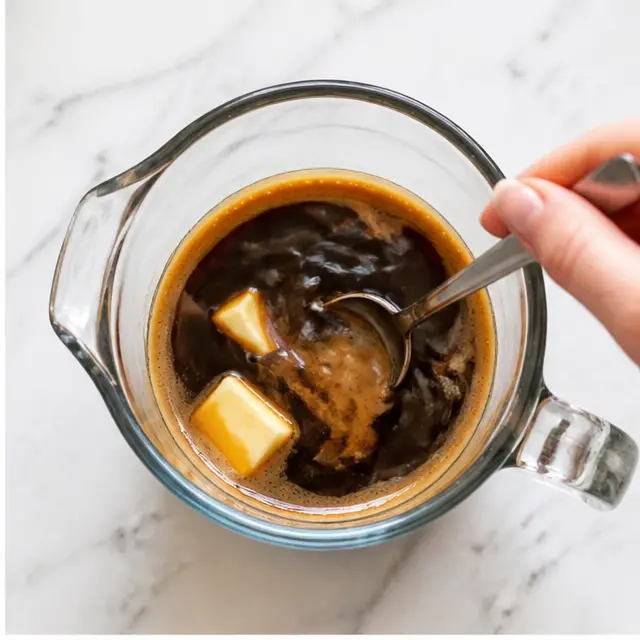
Next, mix the coffee base. Grab a wide measuring cup or a jar and add your hot espresso. While it’s still steaming, stir in the maple syrup, the softened butter, and that pinch of fine sea salt. The butter needs a warm liquid to melt into, so don’t let the espresso sit around. Move quickly.
Now, froth until fluffy. This is the step that makes the drink. Using a handheld frother or an immersion blender, blend the espresso mixture right away. You’re looking for the butter to completely disappear and a thick, creamy foam to form on top. It takes about 15 to 20 seconds. The mixture will nearly double in volume. It should look like a golden, airy cloud sitting in your measuring cup.
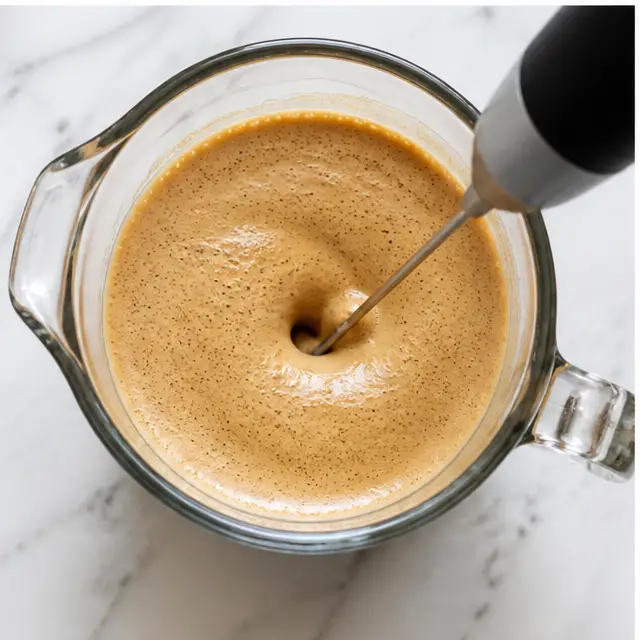
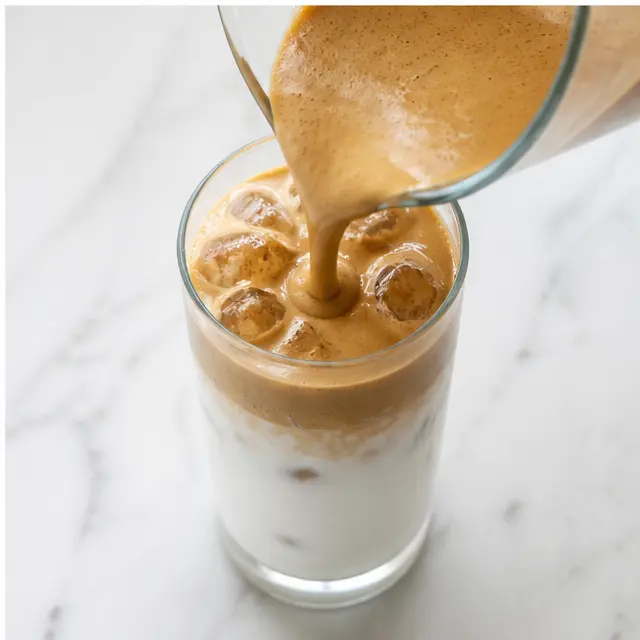
Finally, assemble and serve. Slowly pour the frothed coffee over the milk and ice. The foam will float on top and slowly start to marble down through the milk. Give it a gentle stir if you want, or just sip it as is. Drink it right away. This is not a drink that waits well, and that’s okay. It’s a moment, not a commitment.
Pro Tips for the Perfect Foam
My first attempt at this? Total watery disaster. I used spreadable butter from a tub and it just… sank. The foam never formed and I was basically drinking salty milk. Not cute. Here’s what I learned.
Use stick butter. Spreadable butter has too much water in it and won’t emulsify properly. You need real, stick-style butter at room temperature. That’s the secret to the velvet foam.
Whole milk makes a difference. It’s got more fat and protein, which means a richer texture. Oat milk works well too, but go for the barista-style kind if you want it extra thick.
Froth immediately. The espresso needs to be hot when the butter goes in. Don’t let it cool, or you’ll end up with greasy liquid instead of foam.
Common Mistakes and Fixes
❌ Mistake: Letting the latte sit before drinking. The butter separates and the ice melts.
✅ Solution: Drink it immediately. This is a fresh-made treat, not a batch drink.
❌ Mistake: Using table salt. It has a sharp, metallic taste.
✅ Solution: Use fine sea salt or flaky salt for a cleaner, brighter flavor.
❌ Mistake: No espresso machine at home.
✅ Solution: Dissolve 2 tsp of instant espresso powder in 2 fl oz of hot water. It works perfectly.
For a Dairy-Free Salty Canadian Iced Latte
Good news, friends. Going dairy-free is totally doable here. The recipe adapts beautifully if you use the right swaps.
Swap the regular butter for a dairy-free stick butter and use oat milk or soy milk instead of whole milk. That’s it. Any dairy-free butter that comes in a stick form, not a tub, will froth up nicely. The key is to check the salt content. Some non-dairy butters are saltier than others, so taste the coffee base before you add that extra pinch of salt to the glass. You might not need it.
If you’re using oat milk, look for the barista-style blend. It’s designed to be creamier and froth better. It’s my go-to here in LA and I honestly prefer it to dairy sometimes.
More Variations and Substitutions
Once you nail the base recipe, you can play around. Here are some of my favorite ways to switch it up without losing that salty-sweet magic.
- Extra sweet tooth? Add another 1/2 tsp of maple syrup to the espresso before frothing.
- Want it warmer? Skip the ice. Froth the espresso mixture, pour it over warmed milk, and sprinkle with sea salt. It’s like a hug in a mug.
- No espresso machine, no problem. Like I said, instant espresso powder in hot water is a lifesaver. Regular brewed coffee is too watery and won’t give you the same body or foam.
- Feel like a cold foam layer? Instead of frothed espresso, make a salted maple cold foam by frothing cold milk with a splash of maple syrup and a pinch of salt. Pour it over iced coffee for a totally different, but equally delicious, drink.

Is Salt in My Coffee Really Necessary?
I get it. The idea of salt in coffee sounds weird. But trust me on this one. Salt doesn’t make the coffee salty, it makes the coffee taste more like coffee. It’s a flavor enhancer.
Salt reduces the perception of bitterness in the espresso. It balances the sweetness of the maple syrup, so you don’t end up with a sugar bomb. And that tiny pinch of salt is what makes the drink so addictive. It pulls all the flavors together and rounds them out. Without it, this is just a maple latte. With it, you have a salty Canadian iced latte. The good kind.
Make-Ahead and Storage
Okay, so I said to drink this immediately, and I meant it. Once the ice melts and the foam sits, the drink gets watery and the butter can separate. It’s a now-drink.
However, you can prep the tough part ahead of time. The maple-butter espresso base can be made up to an hour in advance. Just mix the hot espresso, maple syrup, butter, and salt, then store it in the fridge. When you’re ready, give it a few seconds with your frother or immersion blender to re-froth it.
That little shortcut is a game changer for busy mornings. You get all the flavor of a café-quality drink without standing over the counter at 7 AM.
Frequently Asked Questions
So there you have it. The salty Canadian iced latte that’s been taking over your feed, finally demystified and ready for your kitchen. It’s sweet, it’s salty, it’s buttery, and it is genuinely the best thing I’ve made in months. This is the summer drink that feels like an event, and you deserve it.
If you make this, tag a friend who needs it. Or better yet, make them one. I promise, the reaction is worth it. And if you’re looking for more inspiration, I’m always pinning my latest finds over on my Pinterest boards. Come say hi.
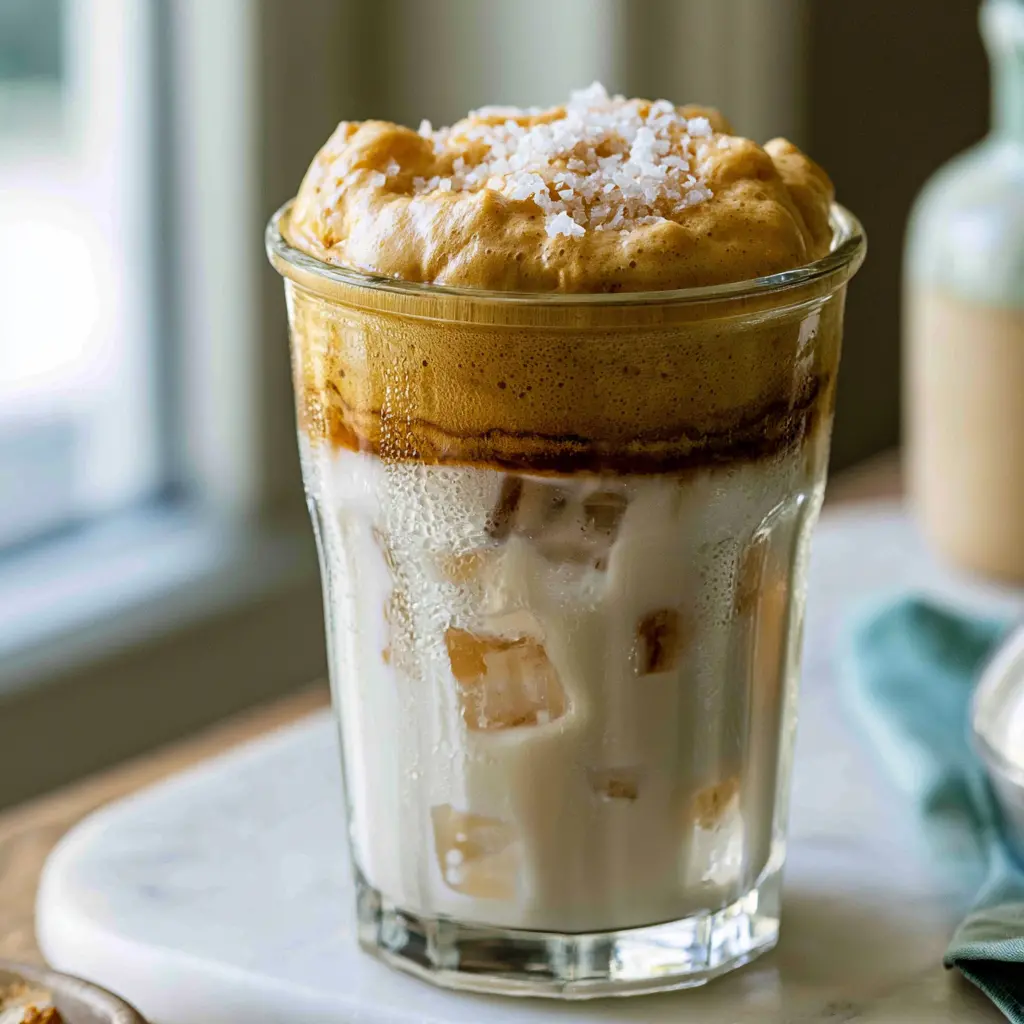
Salty Canadian Iced Latte
Ingredients
Method
- Pack a tall glass three-quarters full with ice, then pour the cold milk over the top.
- Add the hot espresso to a wide measuring cup or jar. Stir in the maple syrup, softened butter, and a pinch of salt.
- Using a handheld frother or immersion blender, blend the espresso mixture immediately until the butter disappears and a thick, creamy foam forms.
- Slowly pour the frothed coffee over the milk and ice. Stir gently to combine and drink right away, with or without a straw.
Nutrition
Notes
Tried this recipe?
Let us know how it was!Source: Learn More About This Dish