
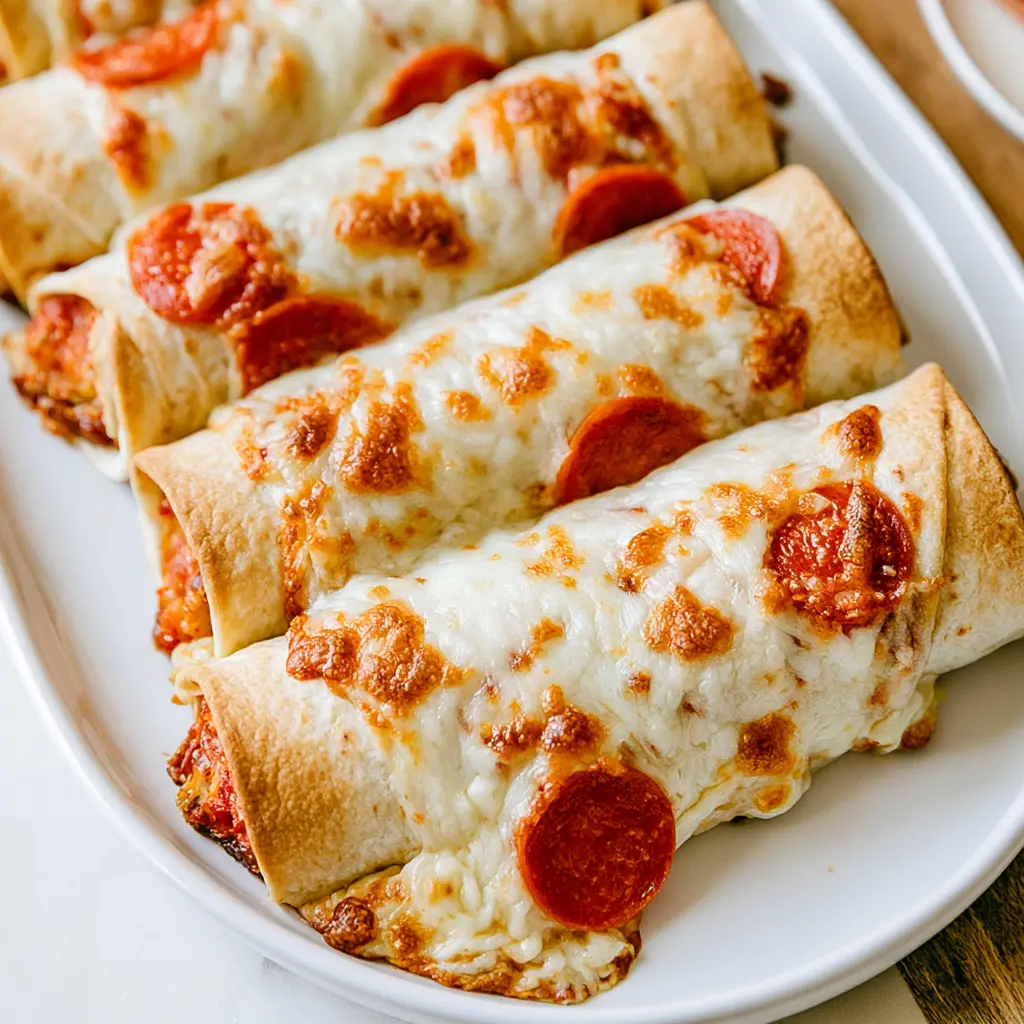
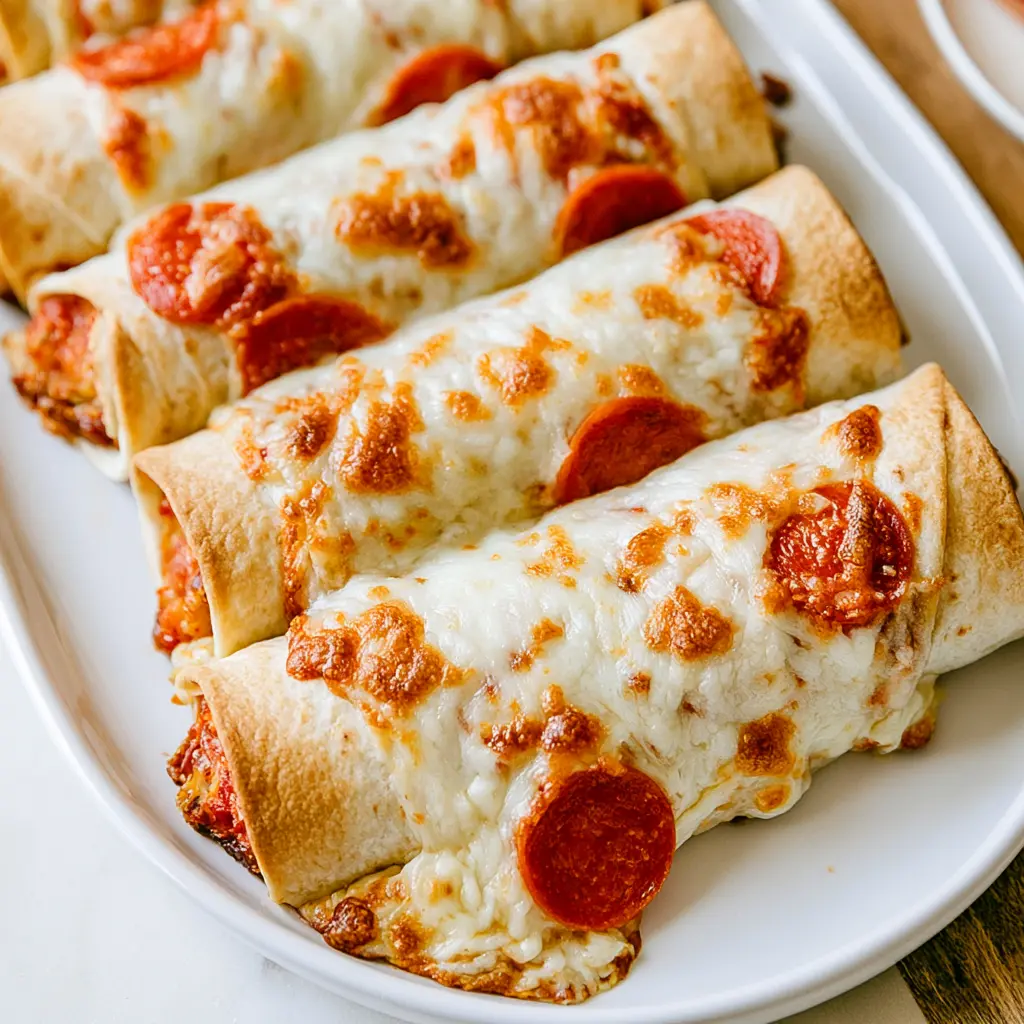
Cheesy Baked Pizza Wraps
Ingredients
Method
- Heat the oven to 350°F. Lightly grease a large baking sheet or line it with parchment paper and set it aside.
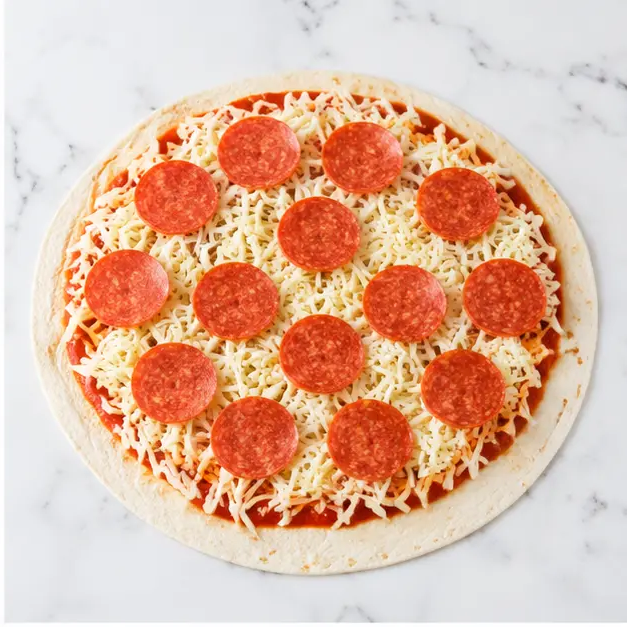
- Lay the tortillas on a work surface. Spread about 1 tablespoon of pizza sauce over each tortilla, then sprinkle with about 1/4 cup of mozzarella and arrange 4 pepperoni slices on top.
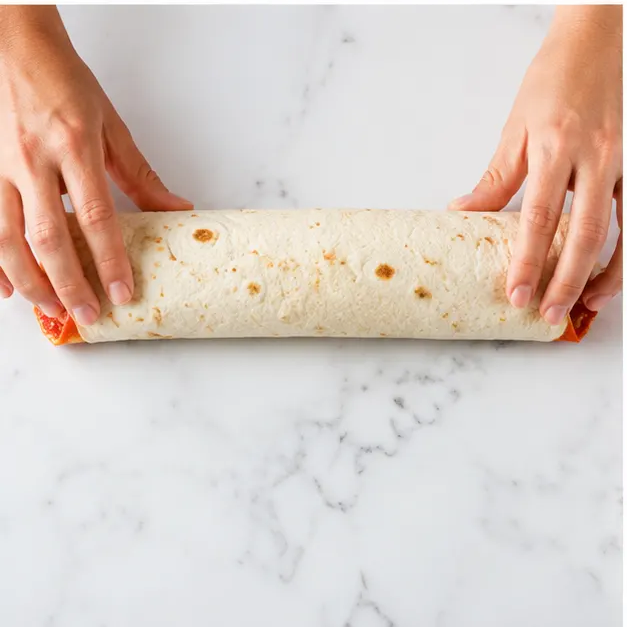
- Roll each tortilla up tightly so the filling stays secure.
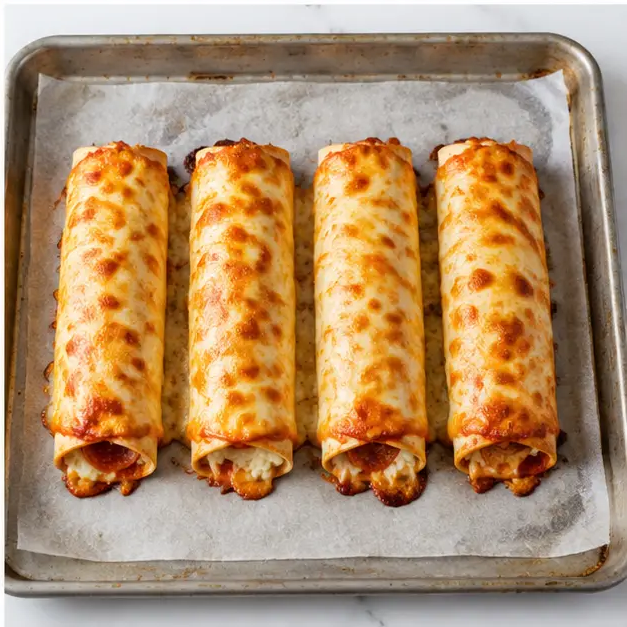
- Place the rolls seam-side down in the prepared pan. Brush the tops with the olive oil.
- In a small bowl, mix the garlic powder, Italian seasoning, and garlic salt. Sprinkle the seasoning mixture evenly over the rolls.
- Bake for 10 minutes until the cheese is melted and the tortillas are lightly crisp. Let cool slightly before serving.
Nutrition
Notes
Tried this recipe?
Let us know how it was!Why You’ll Love These Baked Pizza Wraps
It’s 5pm. The fridge looks like a crime scene, and someone is already tugging on your sleeve asking for pizza. You’re exhausted, the cranky hour is in full swing, and the thought of waiting 45 minutes for delivery makes you want to cry. I’ve been there more times than I can count.
These baked pizza wraps are my honest-to-goodness rescue meal. They take about 10 minutes of active work, use stuff you probably already have, and come out golden and crispy with the most ridiculous cheese pull. My kids literally ask for them by name now, which, full disclosure, has never happened with anything else I’ve made.
This isn’t my first rodeo with pizza rolls, either. My first attempt was a floppy, sad mess. The filling leaked everywhere, the tortillas were soggy, and we ate it with forks out of a baking dish while I pretended it was intentional. But I learned from that disaster. This pizza wrap recipe is the version I’ve made a hundred times since, and it works every single time. I promise.
Ingredients for Baked Pizza Wraps
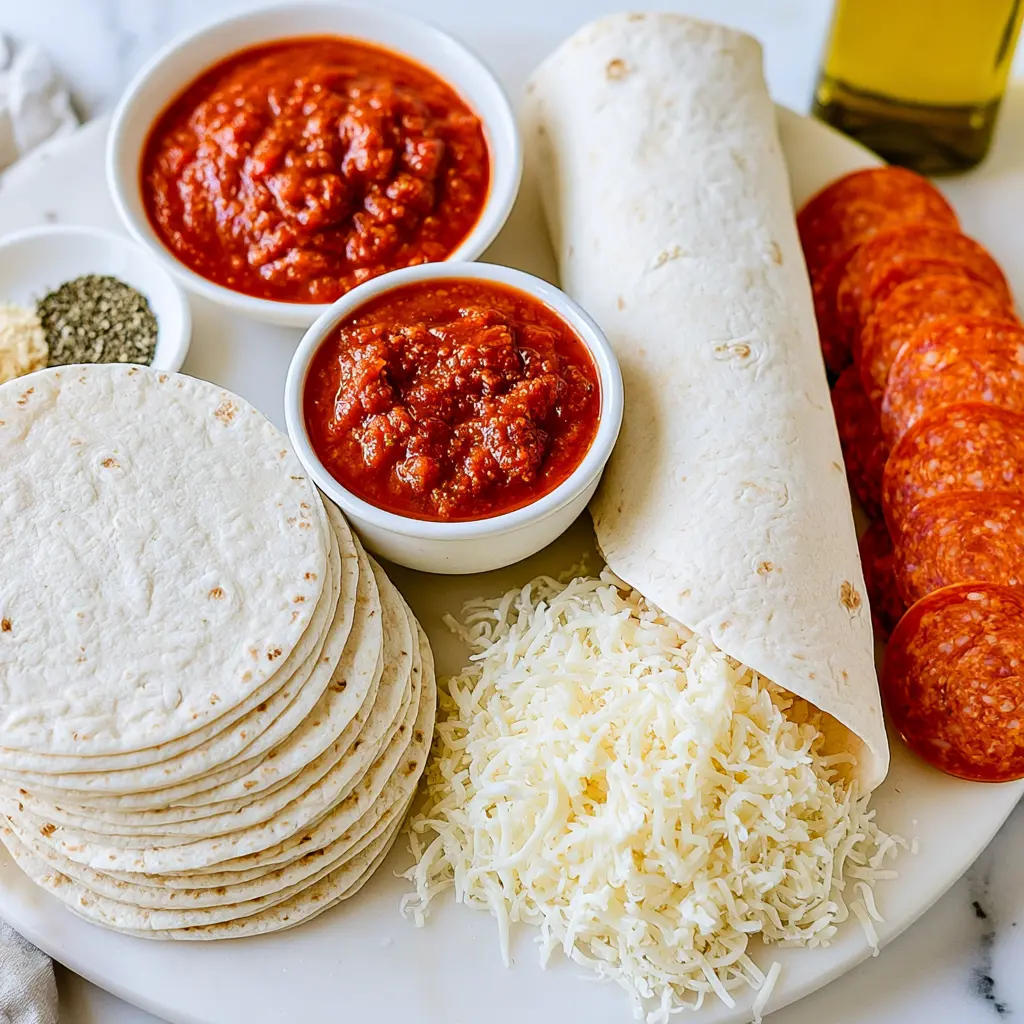
The beauty here is the short list. You probably have most of this sitting in your pantry or fridge right now. Seriously, this is the ultimate pantry staple recipe.
- Small flour tortillas (6 to 8 inches). These are your vehicle. Don’t go too big or the ratio gets weird.
- Pizza sauce, about 1 3/4 cups. Use your favorite jar or leftover homemade if you’ve got it.
- Shredded whole-milk mozzarella cheese, a full 24 ounces. Whole milk is key here, it melts better and tastes richer.
- Pepperoni slices. You’ll need about 80, which sounds like a lot, but you’ll thank me later.
- Extra-virgin olive oil for brushing the tops.
- Garlic powder, Italian seasoning, and garlic salt for that crazy-good garlic herb topping.
That’s it. Eight ingredients and you’re on your way. No weird specialty items, no hunting through three different stores. Just simple, delicious components that come together into something way more than the sum of their parts.
How to Make Baked Pizza Wraps
The full instructions are in the recipe card below, but let me walk you through the four stages that really matter. The rhythm of this is so easy you could do it blindfolded after the first try, which is exactly how a weeknight dinner should feel.
Stage 1: Sauce and Fill
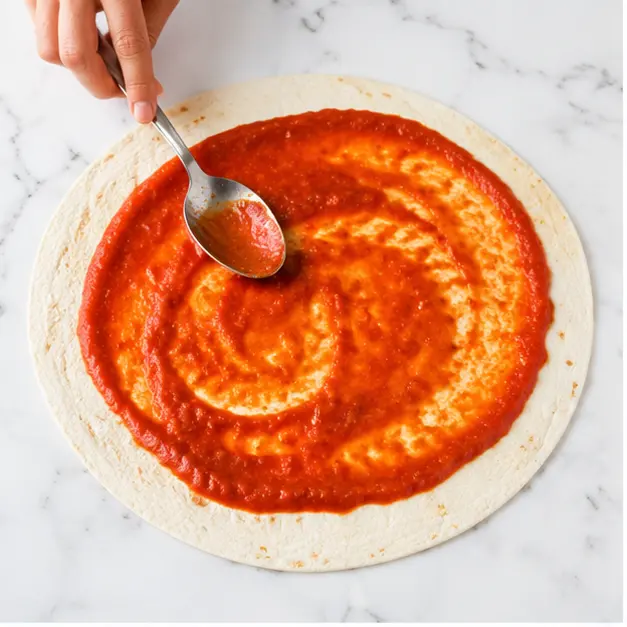
Lay your tortillas flat and spread a thin layer of pizza sauce over each one. And I mean thin. This is the single biggest tip I can give you. Too much sauce and you’re heading straight to soggy town. You want just enough to coat the surface and add flavor, about a tablespoon per tortilla. Then pile on the mozzarella and arrange those pepperoni slices over the top.
Stage 2: Roll It Tight
This is where the magic happens. Roll each tortilla up as tightly as you can without squeezing the filling out the ends. You want everything snug so nothing escapes during baking. A tight roll gives you those lovely, distinct layers when you cut into it, and it also keeps the filling from turning into a leaky mess on the pan.
Stage 3: Brush and Season
Place the rolls seam-side down on a parchment-lined baking sheet. This part matters more than you’d think. Seam-side down means the roll basically seals itself as it bakes. Then you brush the tops with olive oil and sprinkle over that garlic herb mixture. This is what gives you those gorgeous, crispy edges and all that flavor on the outside.
Stage 4: Bake Until Golden
Into the oven they go. The recipe calls for 350°F, which is the sweet spot for getting the cheese melted and the tortillas lightly crisp without burning the outside. You’re looking for golden brown spots and bubbling cheese. Ten minutes is usually perfect. The smell that fills your kitchen at this point? Absolute torture in the best way.
Tips for the Best Results
Look, I want you to nail these on the first try. Here are the things I’ve learned from a few too many floppy situations over the years. These baked pizza wraps are forgiving, but a little knowledge goes a long way.
- Don’t overcrowd the pan. Give those rolls a little breathing room so the hot air can circulate. That’s what gives you even browning and crispy edges instead of steamed, pale tortillas.
- Thin sauce layer, always. I know I said it, but I’ll say it again. Soggy wraps are the enemy, and the sauce is usually the culprit.
- Use parchment paper. It’s non-negotiable for easy cleanup. Just toss it in the trash and your pan is still spotless.
- Keep them covered if you prep ahead. If tortillas dry out before assembly, they crack when you roll them. Keep the stack wrapped until you’re ready.
- Toothpicks are your friend. If a tortilla pops open during baking, secure it with a toothpick before it goes in the oven.
Honestly, even if you mess up, they’ll still taste good. But these tips will get you to “holy cow, these are amazing” on the first shot.
Pizza Wrap Variations and Substitutions
The base recipe is perfection on its own, but this is also the most flexible recipe in my rotation. You can change it up based on what’s in your fridge or what your family is craving that week. Here are a few ways to shake it up.
- Loaded Supreme: Add chopped onion and olives over the pepperoni before rolling. The onion gets sweet and tender as it bakes.
- Veggie Lovers: Leave out the pepperoni and load up on sauteed mushrooms and bell peppers. Blot them dry first so they don’t make things soggy.
- Breakfast Style: Use scrambled eggs and cheese in the filling for a fun breakfast-for-dinner twist. My kids think this is the coolest thing ever.
- Extra Crispy: If you want more crunch in your baked pizza wraps, give them a light spray of cooking oil and bump the oven to 425°F for 15 minutes. Watch them closely.
You can also swap in multi-grain tortillas if that’s your thing. Corn tortillas work too, but they’ll be a bit more delicate and the cooking time may change slightly. And no pepperoni? Sliced salami, crumbled cooked sausage, or extra mushrooms all work great. These wraps are basically a choose-your-own-adventure dinner, which is exactly why I make them so often.
How to Serve Baked Pizza Wraps
These little guys are so versatile. I’ve served them for dinner on a chaotic Tuesday and for a game-day spread when friends came over. They disappear either way.
Here’s how I usually play it:
- For dinner: Serve the wraps with a side of extra pizza sauce for dipping and a big salad or some cut-up veggies. Dinner’s handled in under 30 minutes.
- For lunchboxes: They’re honestly perfect cold. Wrap one up in foil and it holds up way better than you’d expect. No reheating needed at school.
- For parties: Cut them into bite-size pieces and arrange them on a platter with a bowl of pizza sauce and maybe some ranch dressing for dipping. Watch them vanish.
Speaking of dipping, if the wraps themselves aren’t saucy enough for your crowd, that extra cup of warmed pizza sauce on the side is a game-changer. Sometimes I also heat up some ranch because, let’s be real, ranch makes everything better.
Make-Ahead and Storage
This is where these baked pizza wraps really shine for busy weeks. A little planning goes a long way, and this recipe is perfectly set up for it.
Make-Ahead: You can absolutely assemble the rolls the night before. Put them in the fridge covered and bake them when you’re ready. Honestly, they’re even more convenient because the filling has time to meld together. You can also freeze them before baking. Just place the filled, rolled wraps in a freezer-safe container with parchment paper between the layers. They’ll keep for a couple of months. Bake from frozen, just add a few extra minutes to the cook time.
Storing Leftovers: If you have any, which is rare in my house, store them in an airtight container in the fridge. They keep for up to 3 days. The best way to reheat them and get that crisp edge back is on a baking sheet at 350°F for 5 to 7 minutes. It’s like they never even went in the fridge.
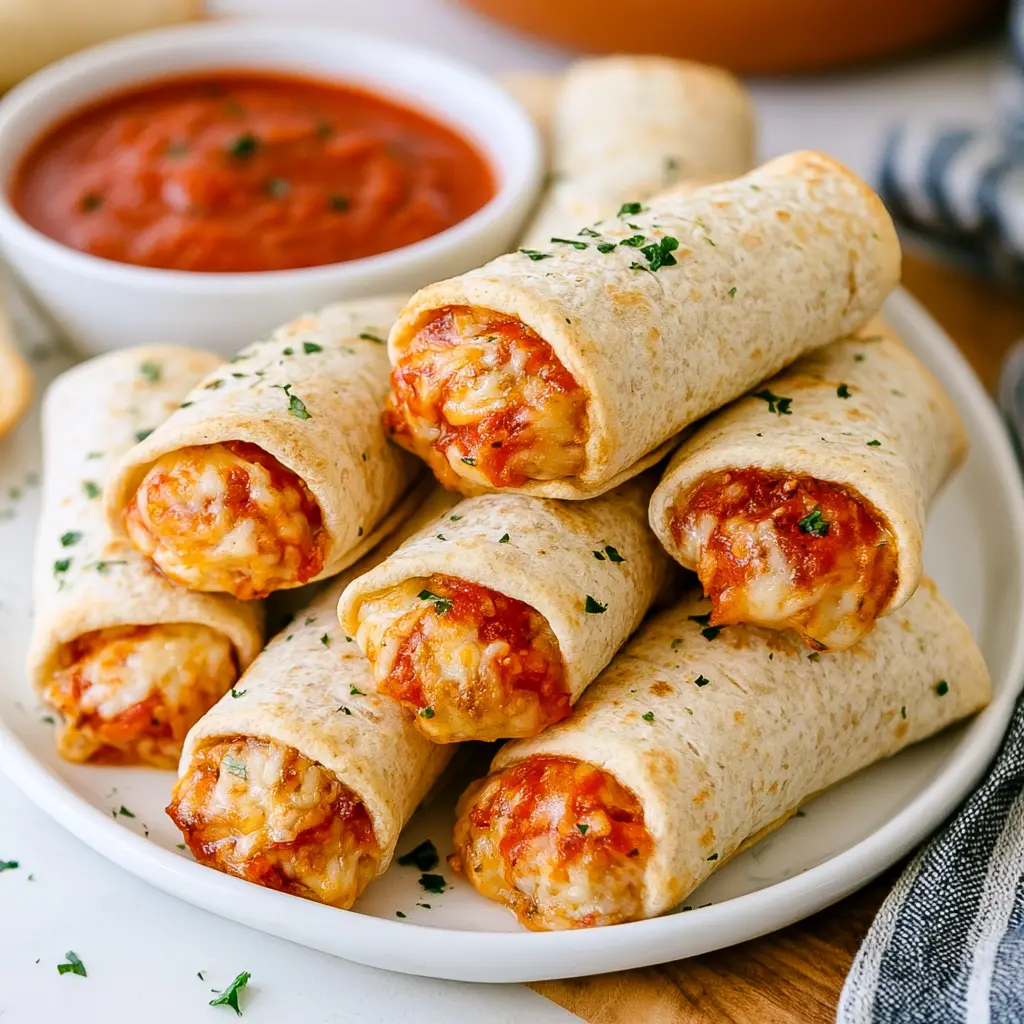
I also want to say this, these are so much better than the store-bought frozen pizza rolls. Those are fine in a pinch, but the tortilla gets this wonderful, almost crackly texture in the oven that you just can’t get from a box. And you know exactly what’s in them. No weird ingredient list, no mystery meat. Just real food that tastes like the garlicky, herby, cheesy dream it is.
Frequently Asked Questions
If you give these a shot, I’d love to hear about it. My inbox is always open for your questions, and honestly, I get such a kick out of hearing that someone tried this and their kids went crazy for it. It’s the best feeling. And hey, if you’re looking for even more quick weeknight inspiration, I’m always sharing new ideas. You can find me over on Pinterest, I just joined and I’m having way too much fun with it. Come say hi, I’d love to have you there.
Source: Learn More About This Dish