
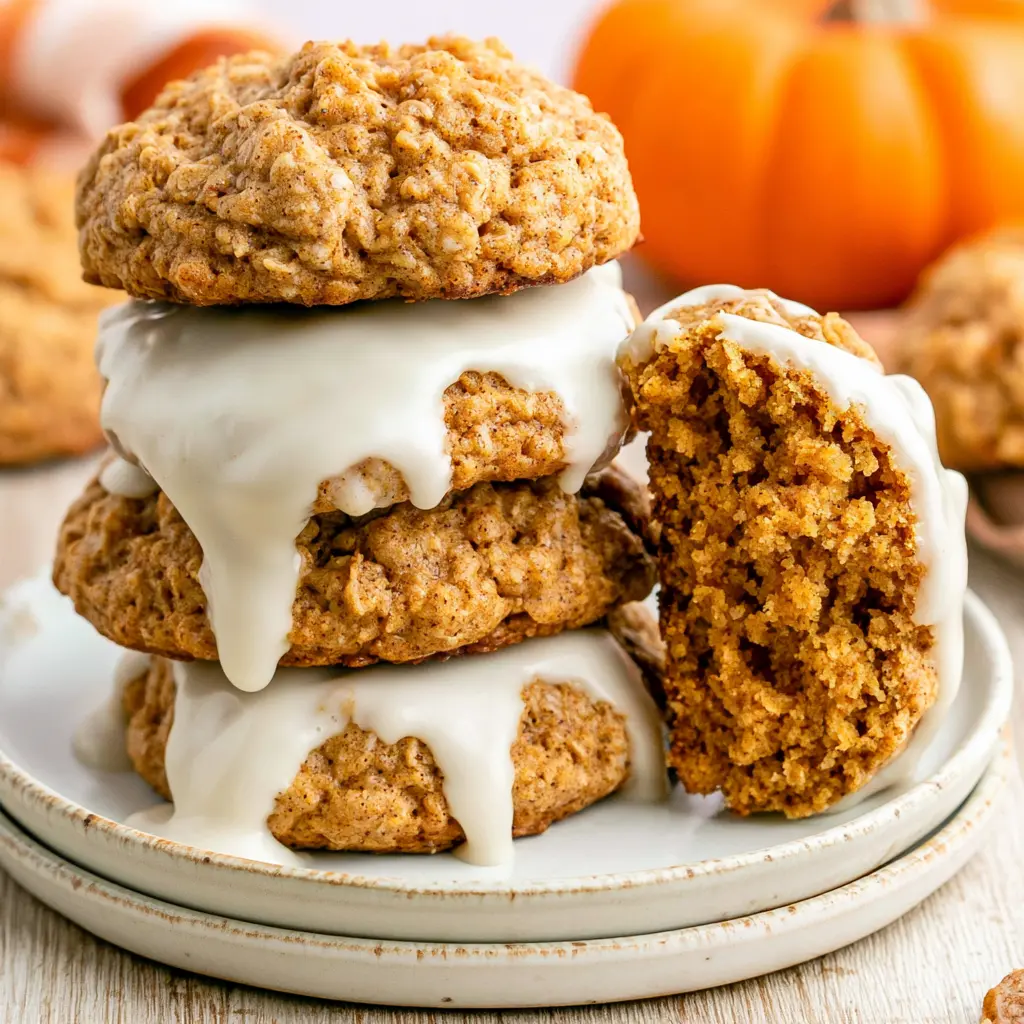
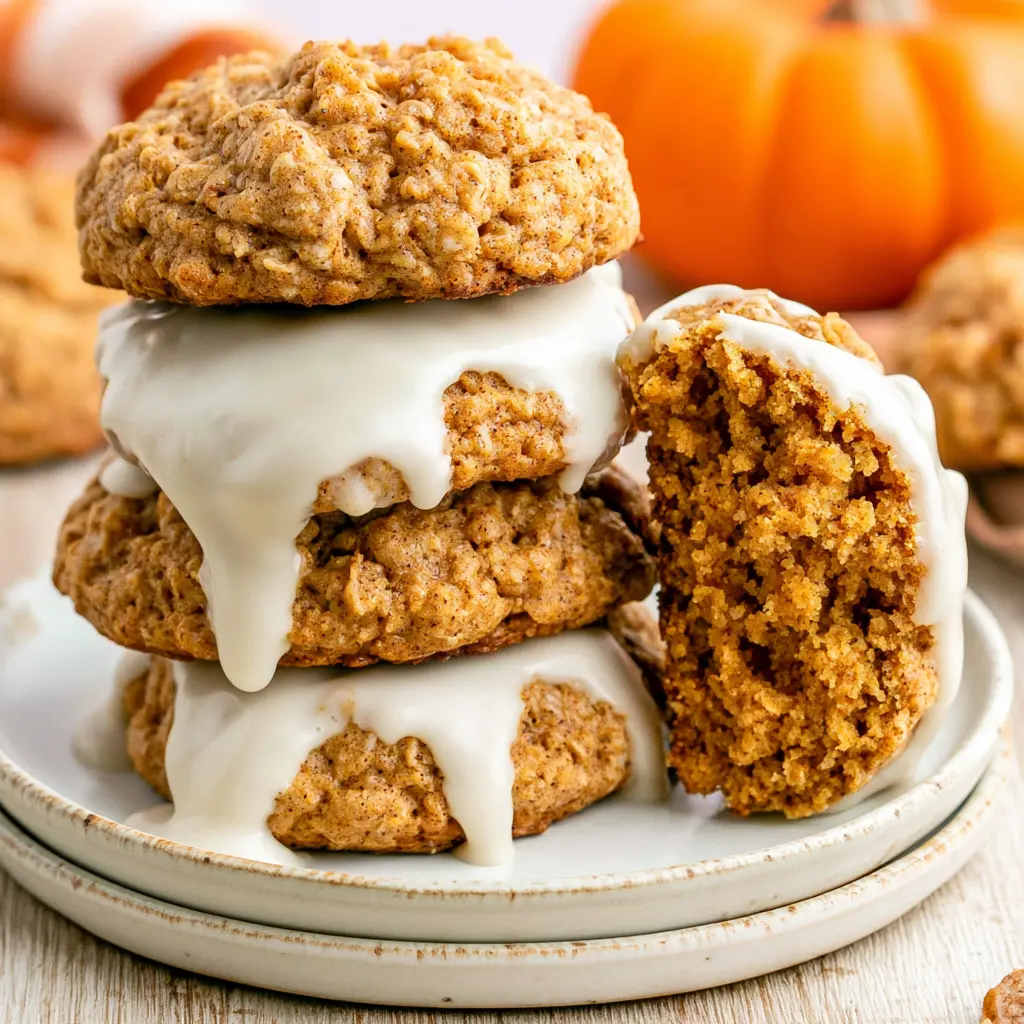
Pumpkin Oatmeal Cookies with Maple Glaze
Ingredients
Method
- In a medium saucepan over medium heat, melt the first portion of butter. Stir constantly and watch closely as it foams and turns golden with brown flecks. A nutty aroma means it's ready; take it off the heat immediately so it doesn't burn.
- In a large bowl with an electric mixer, combine the browned butter and the remaining cubed butter, beating until smooth. Add the brown sugar and granulated sugar and beat for 1 minute. Mix in the pumpkin puree, egg yolk, and vanilla extract, and beat for 2 minutes. Let the batter rest for 30 seconds, then beat for another 1 to 2 minutes until the mixture is paler and lighter.
- In a separate bowl, whisk together the flour, salt, baking soda, pumpkin pie spice, cornstarch, and rolled oats.
- Gradually add the dry ingredients to the wet ingredients, mixing on low speed just until combined. Cover the dough and refrigerate for 30 minutes to 1 hour.
- Preheat the oven to 350°F and line a baking sheet with parchment paper or a silicone baking mat.
- Scoop the dough into 2-tablespoon balls and space them on the prepared baking sheet. Bake for 10 to 12 minutes, until the tops are set and no longer look wet. Let the cookies rest on the sheet for a few minutes, then transfer to a wire rack to cool completely.
- For the maple glaze, whisk the confectioner's sugar, maple extract, and cream together in a medium bowl until smooth. It should be thick yet pourable. Dip each cooled cookie into the glaze, let the excess drip off, and set on a wire rack until the glaze sets. Store any leftovers in an airtight container at room temperature for up to 5 days.
Nutrition
Notes
Tried this recipe?
Let us know how it was!Why You’ll Love These Pumpkin Oatmeal Cookies
It’s 90 degrees, but I’ve been craving pumpkin since Tuesday. Honestly, the heat isn’t going to stop me. These **iced pumpkin oatmeal cookies** are soft-baked, dense, and satisfyingly chewy. Plus, that 12-minute bake time means the oven won’t turn your kitchen into a sauna for long.
Here’s the thing: these aren’t cakey or fluffy. They’re the kind of cookie you bite into and feel. The **browned butter** delivers a deep, nutty warmth. The **rolled oats** add that hearty, wholesome chew. And the **maple glaze** on top sets into a perfect, sweet swirl. If you’ve been hunting for the ultimate pumpkin spice cookies recipe, this is a serious contender.
Ingredients for Chewy Pumpkin Oatmeal Cookies
Before you start, let’s talk about the non-negotiables. Using the right ingredients is what takes these from good to “can I have the recipe?” level. You’ve got your butter, sugars, one egg yolk, pumpkin puree, flour, salt, baking soda, **pumpkin pie spice**, cornstarch, and of course, rolled oats.
- Pumpkin puree: One single thing to remember here. Use pumpkin puree, not pumpkin pie filling. The filling already has added sugar and spices, which will completely throw off the texture and flavor balance of these cookies.
- Rolled oats: This recipe specifically calls for rolled oats, not quick oats. Rolled oats hold their shape and create that distinctive chewy oatmeal cookie texture. Quick oats turn to mush.
- Brown butter + cold butter: You’ll brown half the butter and cube the rest. This gives you a caramel-like nuttiness while still maintaining a tender crumb.
- Egg yolk only: Using just the egg yolk adds extra fat and softness. This is the secret to achieving that dense, bakery-style chew.
- Cornstarch: This little addition keeps the centers soft and tender, giving you that perfect soft-baked cookie texture every time.
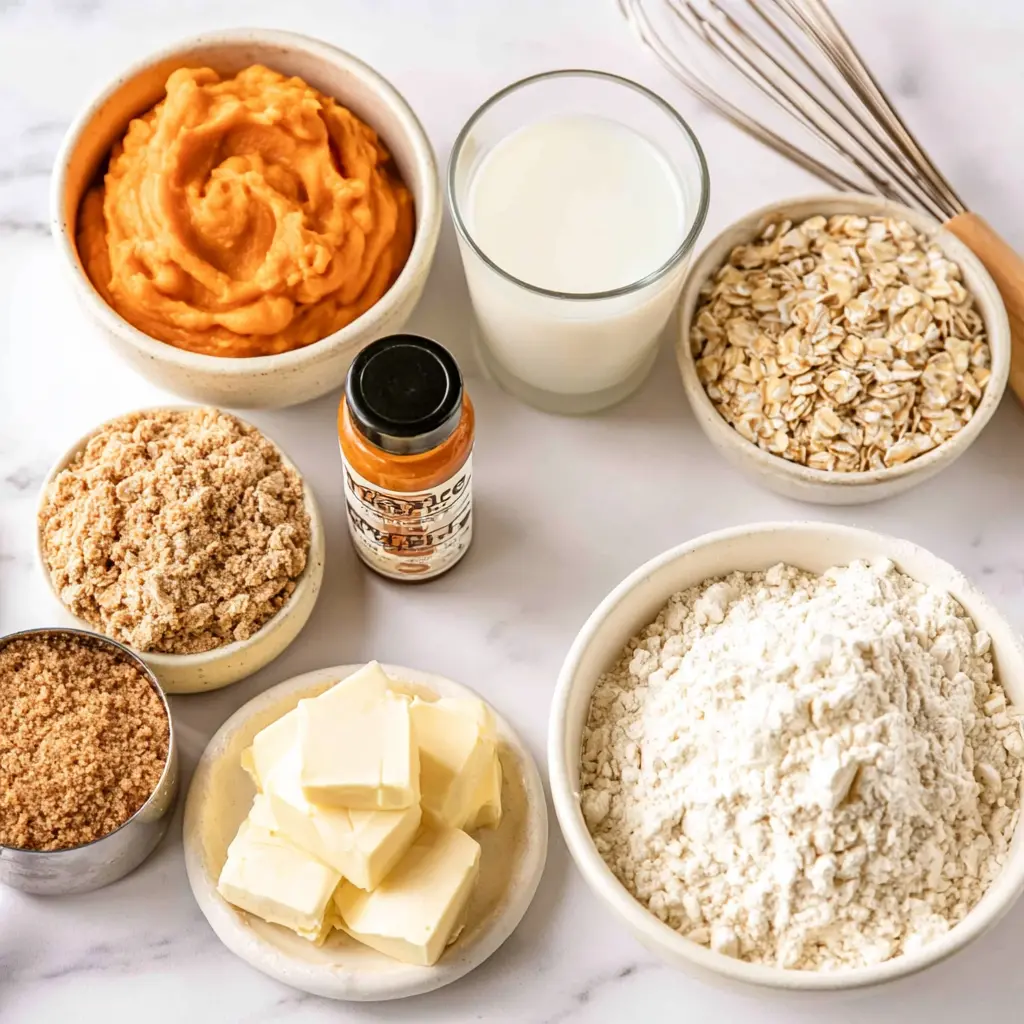
Rolled Oats vs. Quick Oats
Old-fashioned oats vs quick oats: You want rolled oats here. Quick oats soak up too much liquid and turn your bakes gummy and dense. Rolled oats add that beautiful, rustic texture and nutty flavor to these pumpkin oatmeal cookies.
How to Make Pumpkin Oatmeal Cookies
Let’s walk through the four major stages of making these. It’s a simple drop-cookie method, but each stage has a little trick that makes a big difference. The full detailed instructions are in the recipe card above, but here’s the breakdown of how the magic happens.
Stage 1: The Brown Butter Base
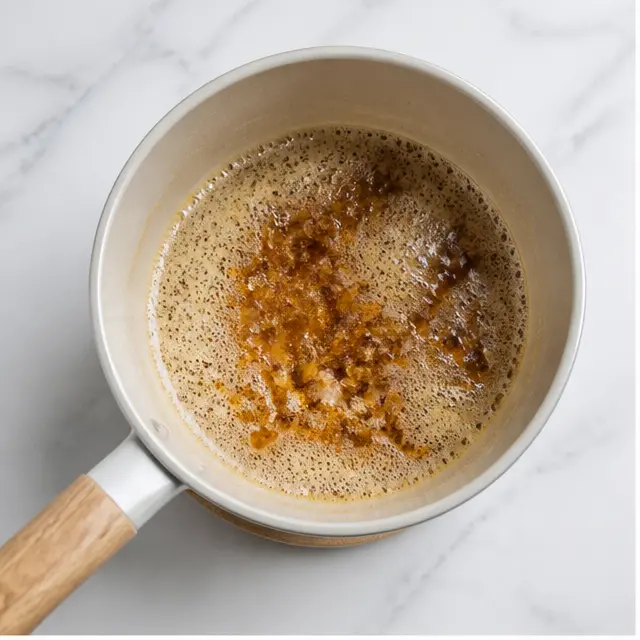
Start by browning the butter. Watch it closely in the saucepan as it melts, foams, and turns golden with tiny brown flecks at the bottom. That nutty aroma filling your kitchen is your signal to pull it off the heat immediately so it doesn’t burn. Let it cool for a few minutes on the counter. This step is so important because if you mix it with the egg yolk while it’s too hot, you’ll end up with scrambled eggs in your batter.
Stage 2: Building the Dough
In a large bowl, beat the cooled browned butter together with the cubed cold butter until it’s smooth. Add the brown sugar and granulated sugar, beating for a full minute. Mix in the pumpkin puree, egg yolk, and vanilla extract. Here’s the secret: beat it for 2 whole minutes, let the batter rest for 30 seconds, then beat it for another 1 to 2 minutes until it becomes paler and lighter. This aerates the sugar and fat, which is the foundation for that perfect chew.
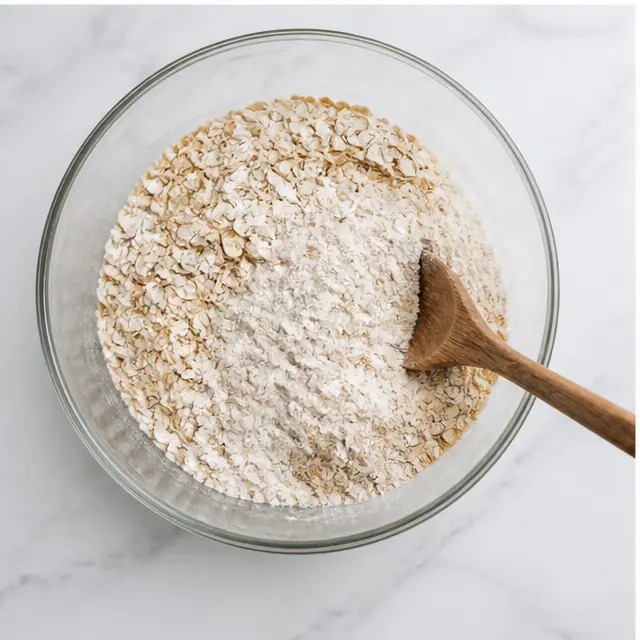
In a separate bowl, whisk together the flour, salt, baking soda, a generous tablespoon of **pumpkin pie spice**, cornstarch, and the rolled oats. Gradually add the dry mixture to the wet ingredients, mixing on low speed just until combined. You don’t want to overmix here, or you’ll develop too much gluten and the cookies will be tough.
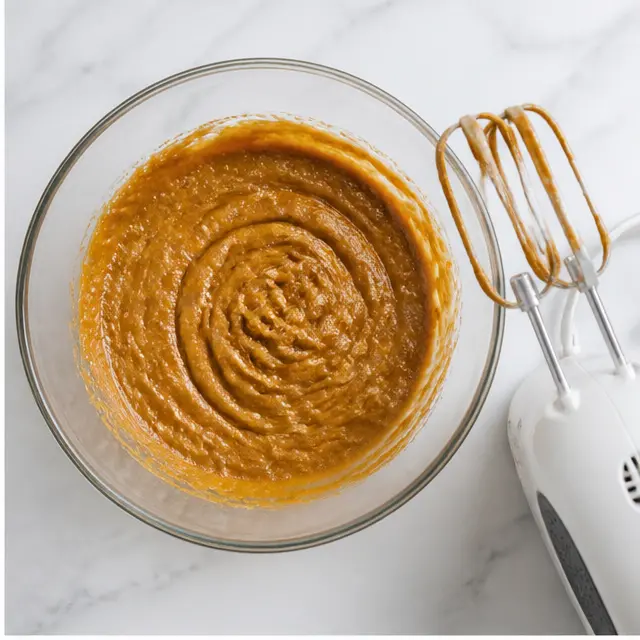
Stage 3: Chill, Scoop, and Prep
Cover your dough and refrigerate it for 30 minutes to a full hour. Yes, you have to wait, I’m sorry. But this step is a game-changer. Chilling cookie dough solidifies the fat, which prevents the cookies from spreading into thin, flat discs when they hit the heat. It also gives the oats time to hydrate. Preheat your oven to 350°F and line a baking sheet with parchment paper or a silicone baking mat while you wait.
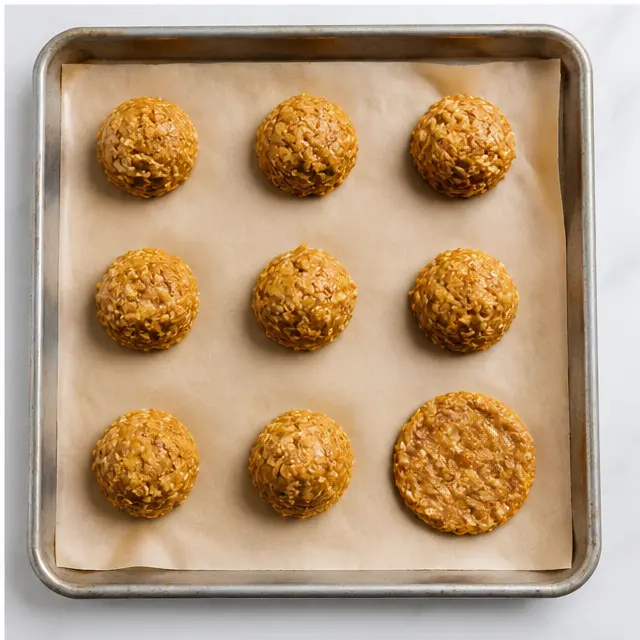
Stage 4: Baking & Glazing
Scoop the dough into 2-tablespoon balls using a cookie scoop for perfectly uniform rounds. Bake for 10 to 12 minutes. The tops should be set and no longer look wet. With pumpkin’s natural moisture, I usually lean toward the 12-minute mark to ensure the centers are fully cooked. Let the cookies rest on the hot sheet for a few minutes before transferring them to a wire rack to cool completely. Seriously, completely. Warm cookies will just melt the icing right off.
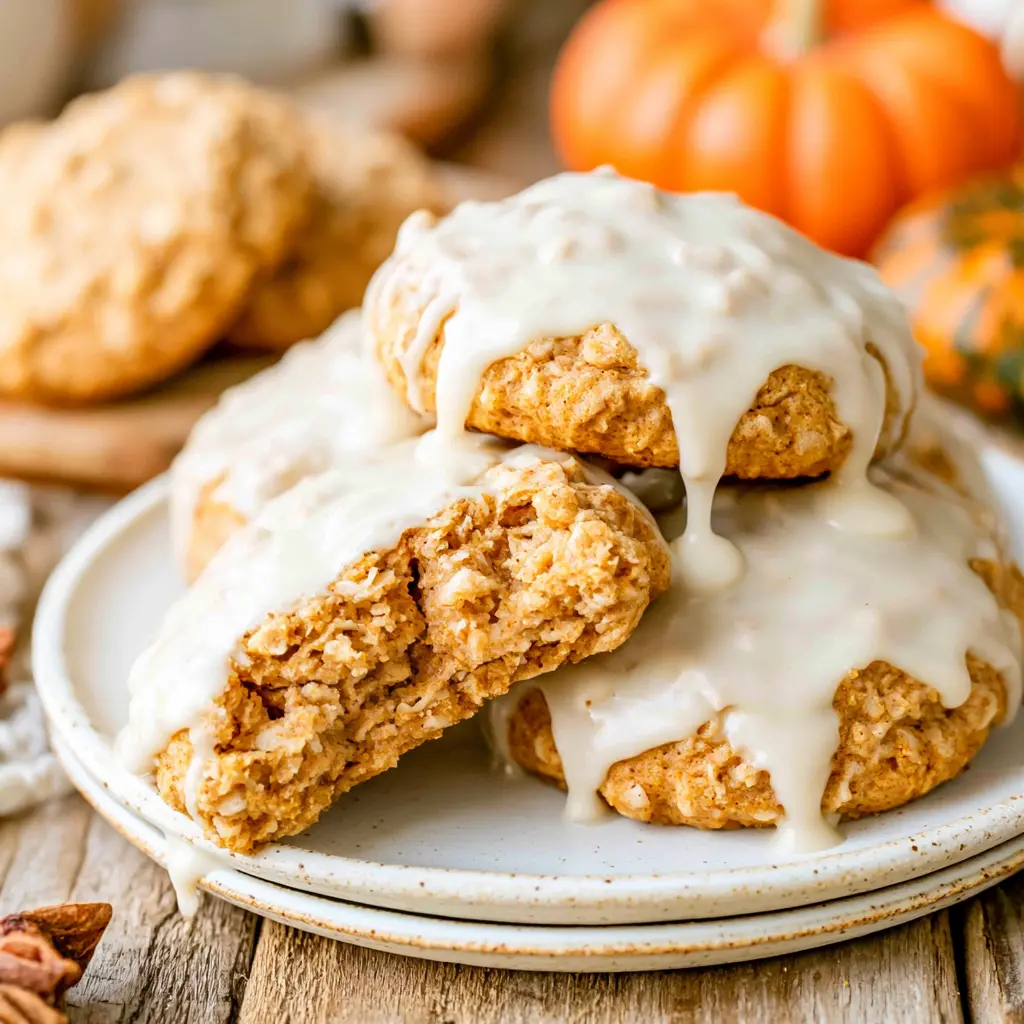
While cooling, whisk together the confectioner’s sugar, maple extract, and cream until smooth. It should be thick yet pourable. Dip the top of each fully cooled cookie into the glaze, letting the excess drip off. The glaze will set into that picture-perfect swirl you want.
The Secrets to Chewy Pumpkin Oatmeal Cookies
I’ve definitely pulled a burnt-bottomed tray out of the oven before. We’ve all been there. Baking is all about learning from the small disasters. Here are the common pitfalls to avoid so your first batch is flawless.
- ❌ Mistake: Not blotting the pumpkin
✅ Solution: Excess moisture makes cookies cakey. Let your puree sit on a paper towel for a minute, then pat it dry. - ❌ Mistake: Using pumpkin pie filling
✅ Solution: It has sugar and spices already, throwing off the whole balance. Reach for 100% pure pumpkin. - ❌ Mistake: Using a whole egg
✅ Solution: Stick to the egg yolk for maximum chew. The extra egg white adds too much liquid and makes them puffy. - ❌ Mistake: Over-measuring flour
✅ Solution: Use the spoon-and-level method. Scooping directly into the bag packs in too much flour, leading to dry cookies. - ❌ Mistake: Icing warm cookies
✅ Solution: Wait until they’re completely cool, or the glaze will slide right into a sticky puddle. - ❌ Mistake: Underbaking
✅ Solution: Pumpkin moisture means you should lean toward the 12-minute mark. The tops should look dry and fully set. - ❌ Mistake: Skipping the chill
✅ Solution: A cold dough spreads slower, leaving you with a thicker, taller, chewier pumpkin oatmeal cookie.
Pumpkin Oatmeal Cookie Variations
This base recipe is a fantastic canvas. Feel free to play with it and make a batch that’s uniquely yours. Just remember, any add-ins are entirely optional and not part of the core dough.
- Chocolate lover: Fold 1 heaping cup of chocolate chips into the dough with the dry ingredients for a double hit of sweetness.
- Trail mix style: Add 1 cup of your favorite chopped nuts, dried cranberries, or raisins for extra texture.
- Different glaze: Swap the maple extract for vanilla to make a classic powdered sugar icing, or whip up a tangy cream cheese drizzle for a richer contrast.
- Extra spice: Add 1/4 teaspoon each of ginger, ground cloves, nutmeg, and allspice to the dry mix to make it even cozier.
- Gluten-free: Use a high-quality 1:1 gluten-free all-purpose flour blend and pair it with certified gluten-free rolled oats.
Storage & Make-Ahead Tips
These **pumpkin oatmeal cookies** store beautifully, if they last that long in your house. For the best texture and longevity, follow these simple guidelines.
- Room temperature: Store baked cookies in an airtight container or cookie storage container at room temp for up to 5 days.
- Refrigerator: After icing them with the maple glaze, store them covered in the fridge for up to a week.
- Make-ahead dough: You can chill the cookie dough in the fridge for up to 3 days before baking. That means you can prep on Sunday and bake a single cookie whenever the craving hits.
- Freezing dough: Scoop the dough into balls and freeze them on a sheet tray. Once solid, transfer to a zip-top bag and freeze for up to 3 months. Bake frozen dough balls straight from the freezer, just add an extra minute to the total bake time.
- Freezing baked cookies: Baked cookies also freeze well for up to 3 months. Thaw at room temp, or pop them in a 300°F oven for 5-6 minutes to refresh that soft-baked texture.
Pumpkin Oatmeal Cookies FAQ
When you pull that tray of iced pumpkin oatmeal cookies out of the oven, you’ll swear autumn arrived early. The smell of pumpkin pie spice filling the air is pure time-travel. The glaze sets into a glossy, crackly shell, and for a second, August doesn’t feel quite so hot.
I genuinely can’t wait for you to try these. Tag me when you make them, or come say hi and share your baking wins with me on Pinterest. Happy baking, friend!
Source: Learn More About This Dish