
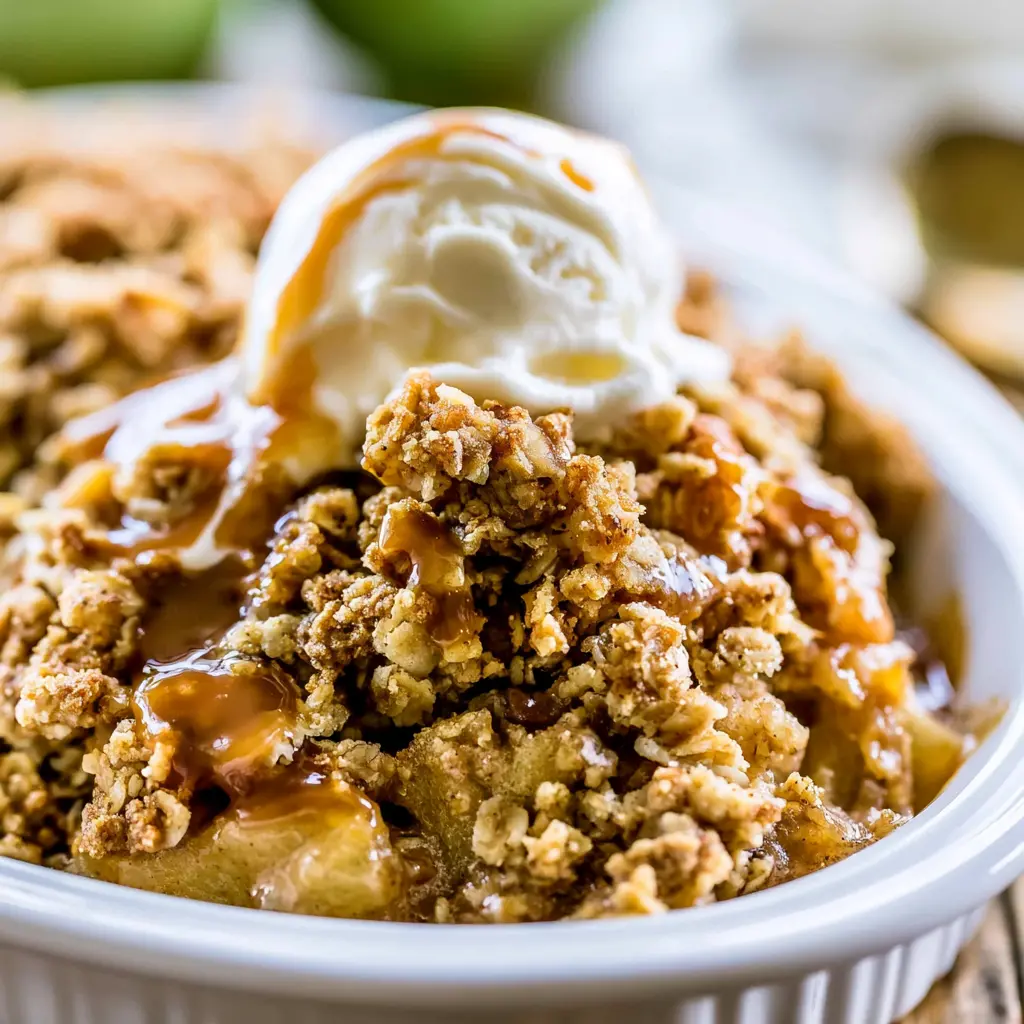
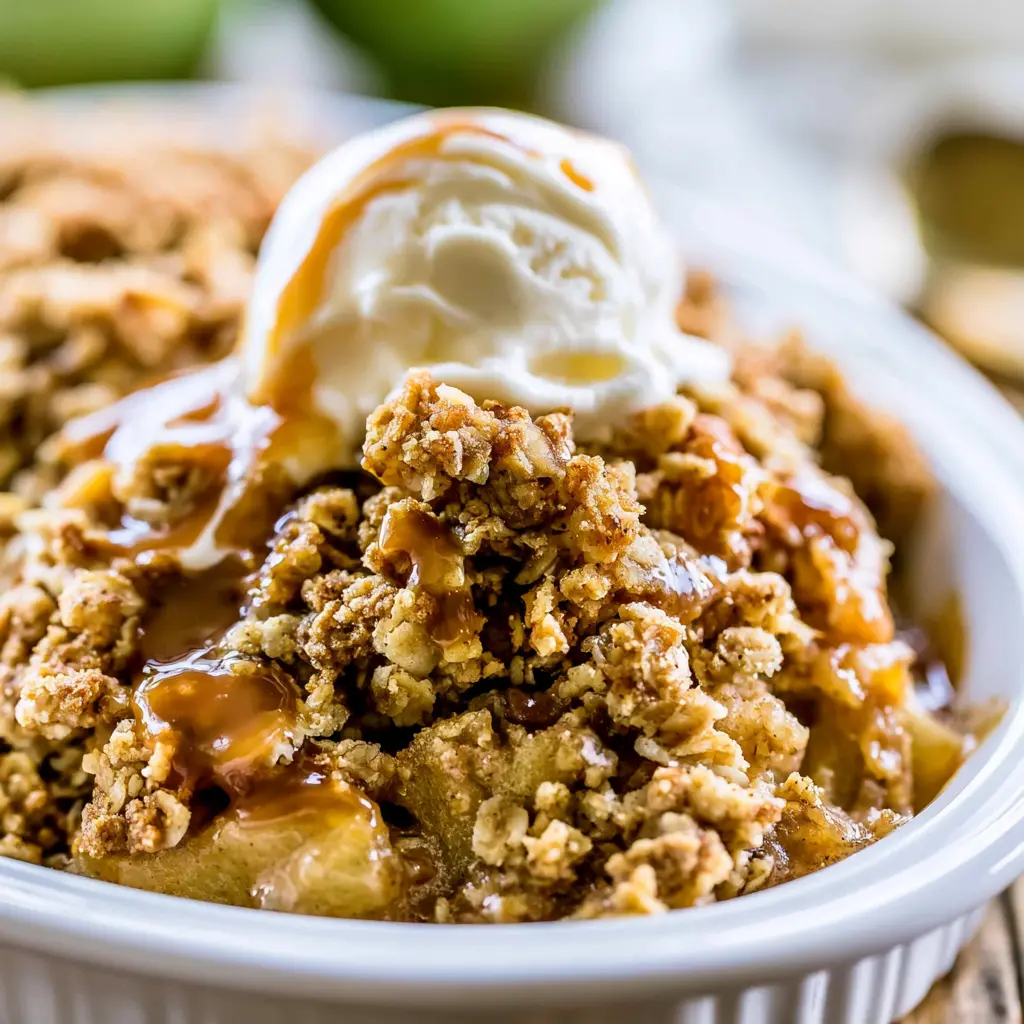
Salted Caramel Apple Crisp
Ingredients
Method
- Peel and core the apples, then cut them into thin, uniform slices with a sharp knife or mandoline.
- Heat the oven to 375 degrees F. Lightly grease a 9x13 inch baking dish.
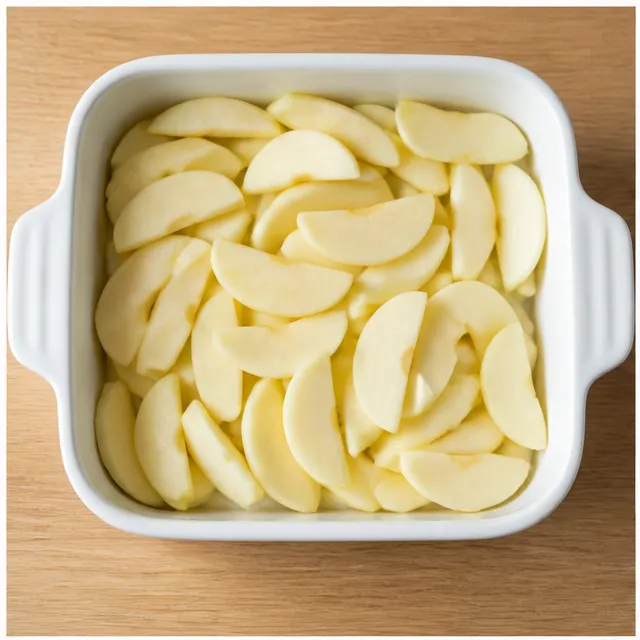
- Spread the sliced apples evenly in the prepared baking dish.
- In a medium bowl, whisk together the brown sugar, flour, oats, cinnamon, and nutmeg until combined.
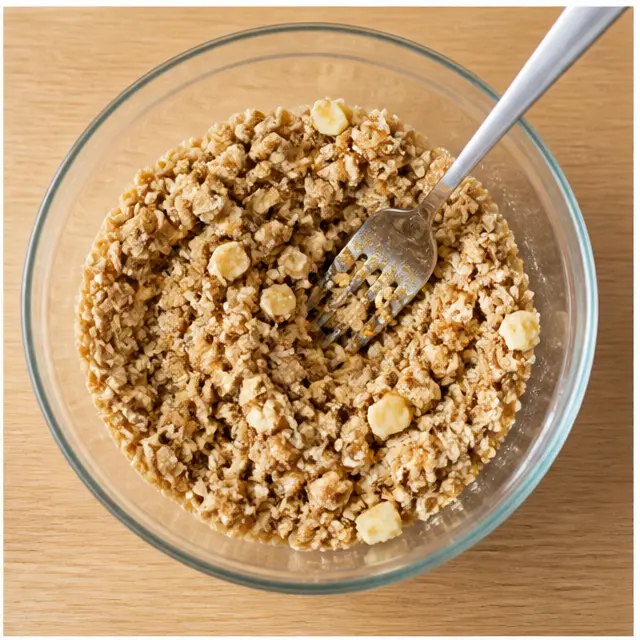
- Cut the softened salted butter into the dry mixture with a fork or pastry blender until the topping looks crumbly and evenly mixed.
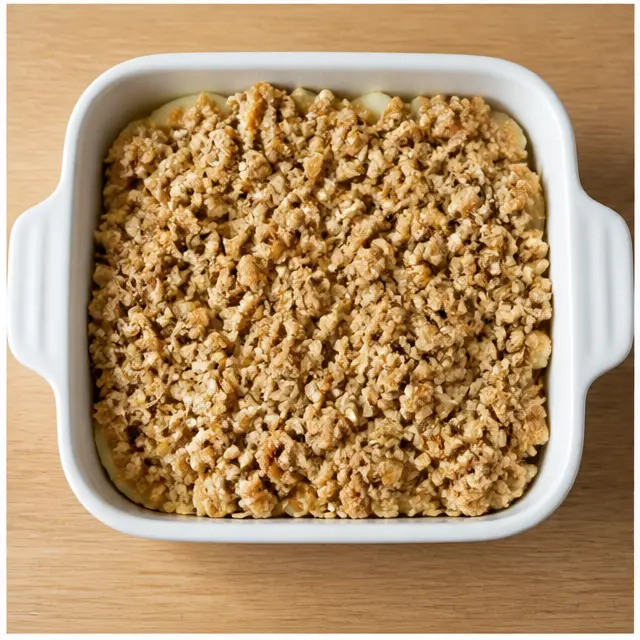
- Sprinkle the streusel topping evenly over the apples.
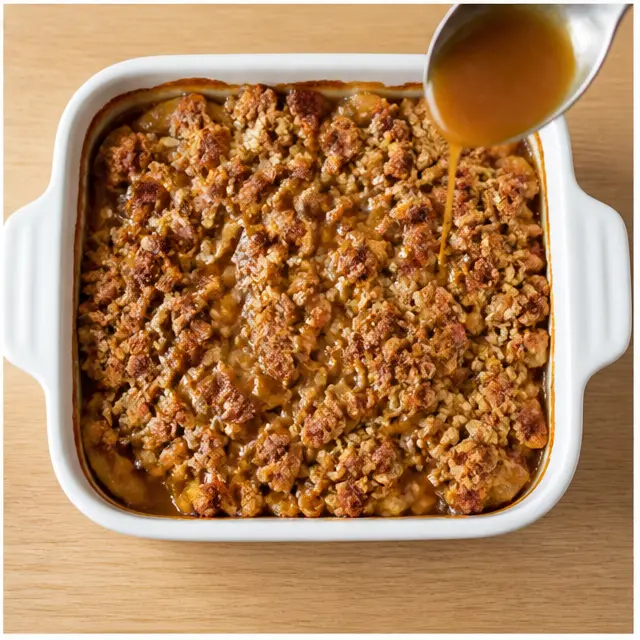
- Bake at 375 degrees F for 35 to 40 minutes, until the apples are fork-tender when pierced with a knife and the topping is golden.
- Let the crisp stand for a few minutes before serving; it can be served warm or at room temperature.
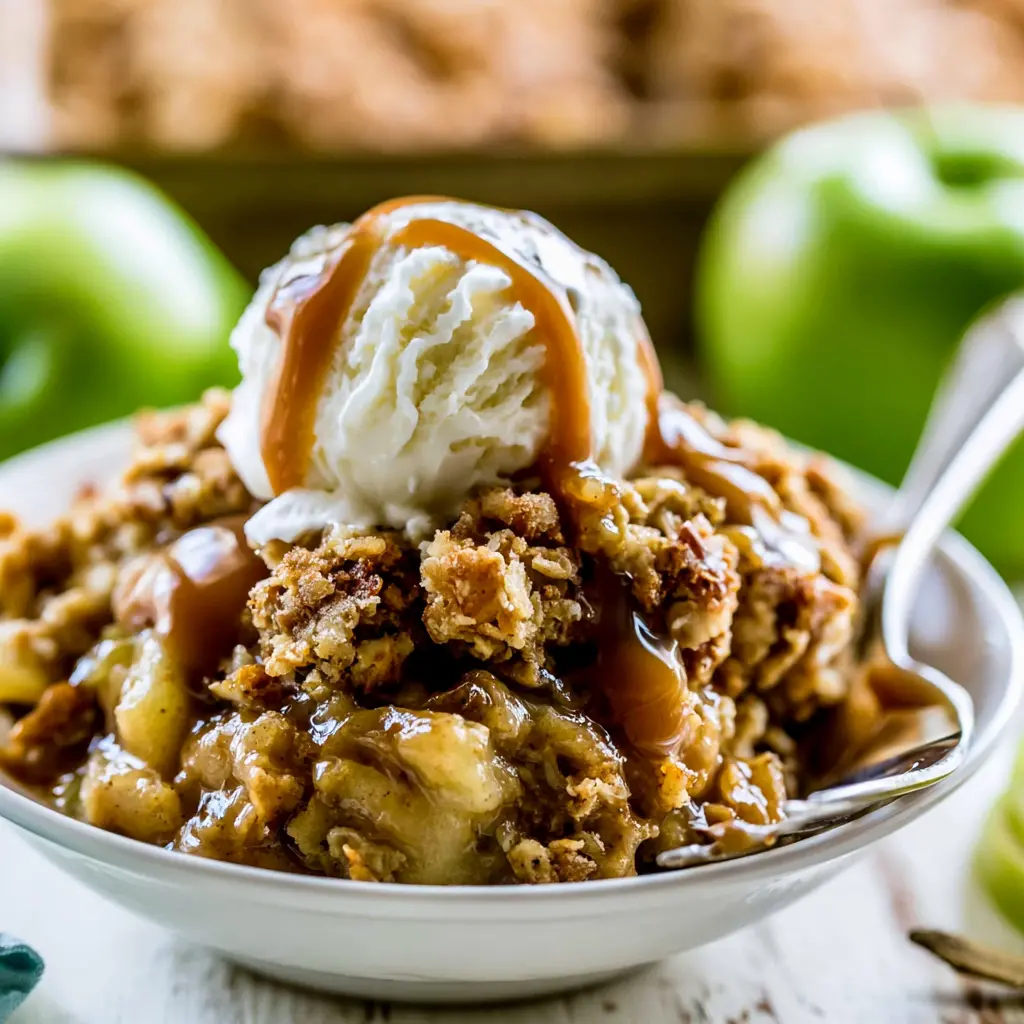
- Spoon into bowls and finish with vanilla ice cream and salted caramel sauce.
- This recipe makes 12 to 16 servings depending on portion size.
Nutrition
Notes
Tried this recipe?
Let us know how it was!Why You’ll Love This Salted Caramel Apple Crisp
It’s 93 degrees in California and I’m preheating the oven to 375. Here’s why that’s not crazy: some desserts are worth a warm kitchen, and this salted caramel apple crisp tops that list.
The spoon cracks through the golden top like thin ice. The caramel pools at the bottom of the dish, glossy and a little salty. The apples, tender but still holding their shape, taste like October in a bowl.
I’ve made a lot of apple crisps over the years. This is the one I keep coming back to. It’s simple enough for a Tuesday night and showy enough for a dinner party. And if you’ve ever ended up with a soggy, soupy mess, I promise this one changes that.
Ingredients You’ll Need
Here’s what makes this caramel apple crisp so easy: you probably already have everything on hand. No fancy equipment, no hard-to-find spices.
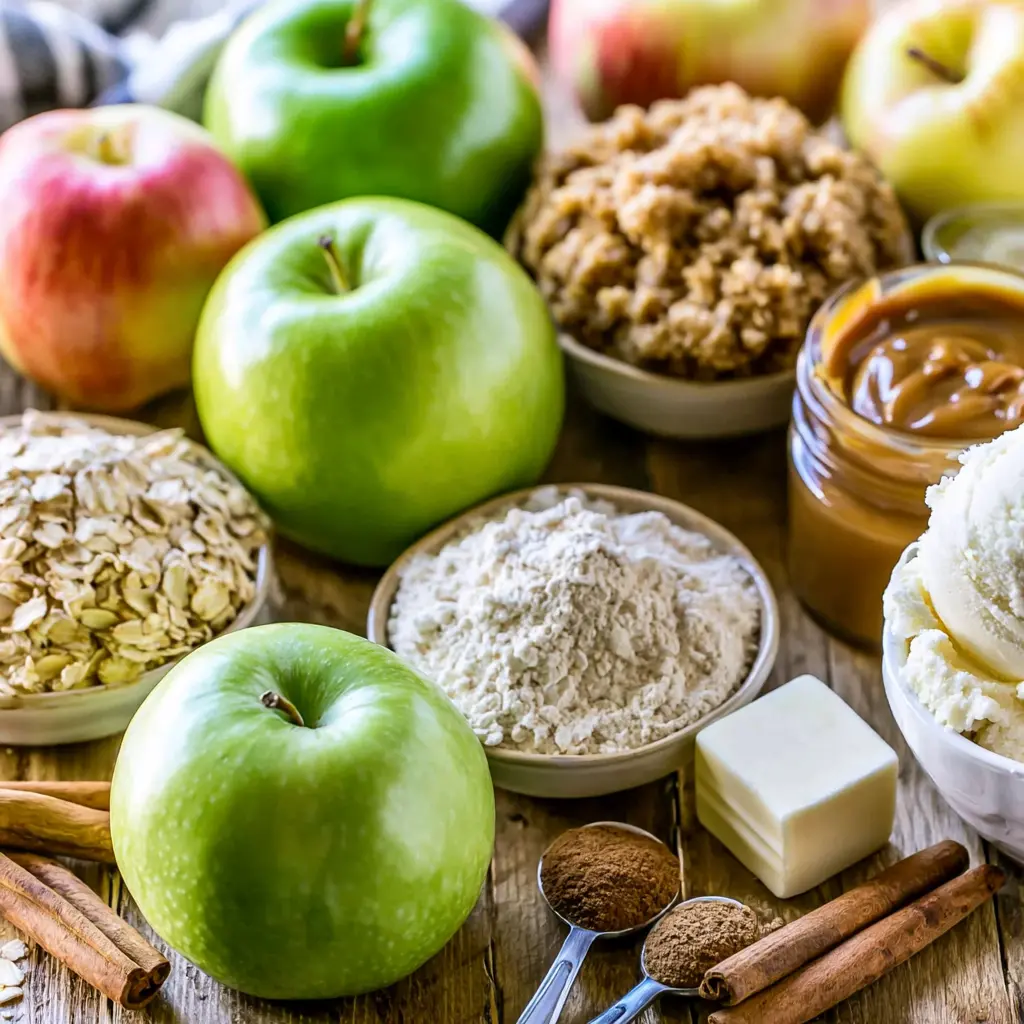
- 8 large baking apples, a mix of Granny Smith, Fuji, and Pink Lady
- 1 1/2 cups packed brown sugar
- 1 cup all-purpose flour
- 1 cup old-fashioned rolled oats
- 2 teaspoons ground cinnamon
- 1 1/2 teaspoons ground nutmeg
- 3/4 cup salted butter, softened
- Vanilla ice cream, for serving
- Salted caramel sauce, for serving
Store-bought salted caramel sauce works great. I use it all the time when I’m short on time. But if you’ve never made caramel from scratch, try it once. The moment it turns that bubbling amber color, you’ll feel like a real baker.
What Apples to Use?
This is where most crisps go sideways. The apple you pick matters more than anything else in this salted caramel apple crisp recipe.
Use a mix of tart and sweet. Granny Smith brings the tang, Fuji adds honeyed sweetness, and Pink Lady sits right in the middle. Together they give you a deeper apple flavor than any single variety. I like roughly half tart, half sweet.
Avoid Red Delicious and Gala. They break down into mush. And here’s my hot take on Honeycrisp apples: they lose that famous crunch in the oven. Fine as part of a blend. Disappointing as the only apple.
Tips & Tricks for a Perfect Crisp
The secret to a great salted caramel apple crisp? It’s not complicated. It’s just a few small choices that add up.
COLD BUTTER + HOT OVEN = CRISP TOPPING. No soggy bottoms. Ever.
This recipe calls for softened salted butter cut into the dry mix until crumbly. The trick is keeping that butter solid enough to coat the oats in pea-sized bits. Melted butter gives you a greasy, dense topping. Solid butter gives you craggy, golden crunch.
And if you’re wondering about apple crisp vs crumble, here’s the short version: a crisp has oats in the topping, a crumble is just a flour-butter-sugar streusel. This one is a true crisp, thanks to the old-fashioned oats.
Stage 1: Slice the apples thin and even. Peel, core, and cut them into uniform slices. A sharp knife works. A mandoline is faster. Uneven slices cook unevenly, and you’ll get some soft spots and some crunchy ones.
Stage 2: Make the crumble. Whisk the brown sugar, flour, oats, cinnamon, and nutmeg together. Then cut in the softened butter with a fork or pastry blender until the mixture looks like wet sand with a few bigger clumps. Those clumps are what crackle in the oven.
Stage 3: Assemble and bake. Spread the apples in a lightly greased 9×13-inch dish, sprinkle the topping evenly, and bake at 375 degrees F for 35 to 40 minutes. You’re looking for fork-tender apples and a topping that’s golden and craggy, with the filling bubbling up around the edges.
Stage 4: Caramel and serve. Let the crisp stand for a few minutes before scooping. I know it’s hard to wait. But hot caramel straight from the oven is basically lava, and giving it a minute lets the juices settle. Once your salted caramel apple crisp rests, spoon it into bowls and finish with vanilla ice cream and salted caramel sauce.
What Kind of Dish Should You Use?
A 9×13-inch baking dish is the standard for this recipe, and it works perfectly. A 10-inch cast iron skillet is a great alternative; it goes straight to the table and the edges get extra crispy. An 8×8-inch pan works too, just expect a thicker filling and add a few minutes to the bake time.
Common Apple Crisp Mistakes
❌ Using melted butter instead of softened. You get a greasy, dense topping.
✅ Use softened salted butter and cut it into the dry ingredients.
❌ Covering the crisp while it bakes. Trapped steam ruins your crunch.
✅ Bake it uncovered, always.
❌ Slicing apples unevenly so they cook at different rates.
✅ Keep your slices close to the same thickness.
❌ Scooping it straight out of the oven and burning your mouth.
✅ Let it stand 5 to 10 minutes. Your tongue will thank you.
Variations & Substitutions
This salted caramel apple crisp is easy to adapt. Gluten-free? Swap the all-purpose flour for a 1:1 gluten-free flour blend. It works beautifully without changing the texture much.
Want a deeper molasses flavor? Use dark brown sugar instead of light. Want extra crunch in the topping? Fold in chopped pecans or walnuts, a totally optional add-in that plays nicely with the caramel.
Using unsalted butter? Add 1/4 teaspoon of salt to the streusel mixture to make up for it. That little tweak keeps the salty-sweet balance intact.
How to Store & Freeze
Salted caramel apple crisp leftovers keep at room temperature for up to 3 days, then move to the fridge. The topping won’t be as crackly the next day, honestly, but the flavors meld into something deeply comforting.
To reheat, warm portions in the microwave, or pop the whole dish in a 350 degree F oven for about 10 minutes to re-crisp the topping. Want to plan ahead? Wrap the crisp tightly and freeze for up to 3 months. Thaw in the fridge and reheat at 350 degrees F to bring back the crunch.
What to Serve with This Apple Crisp
Vanilla ice cream. Non-negotiable in my book. The hot apple filling against cold, creamy ice cream is the entire point of a warm apple dessert. Add a drizzle of salted caramel sauce and, if you’re feeling fancy, a pinch of flaky sea salt for that extra salty pop.
This is the kind of fall baking recipe that makes the whole house smell incredible. If you make it, I’d love to see your results. Come find me on Pinterest and share. I promise the caramel stays glossy and pourable, and the topping holds its crunch. The leaves haven’t turned yet, but your kitchen just got a head start.
Frequently Asked Questions
Source: Learn More About This Dish
Troubleshooting: When the Crisp Fights Back
Even after making this recipe more times than I can count, I still get the occasional pan that throws a tantrum. Here’s how to read the signs and turn things around before it ends up in tears.
Why Is My Apple Crisp Runny?
Apples are mostly water. That’s not a flaw, it’s fruit physics. As they cook, they release juice, and if you scoop into the pan the second it leaves the oven, those juices haven’t had time to settle back into the apples. The puddle at the bottom of your bowl isn’t a failure. It’s impatience.
RUNNY FILLING? Let the crisp rest 10 to 15 minutes before you scoop. The juices calm down, thicken, and cling to the apples instead of flooding your bowl.
Still swimming after a proper rest? Toss the sliced apples with 1 tablespoon of cornstarch before you add the topping. It’s a silent fix. No flavor change, just a soft, glossy sauce that clings to the fruit instead of pooling at the bottom of the dish.
Why Did My Topping Turn Soggy?
Two usual suspects. First, you covered the dish while it baked. Steam has nowhere to go, so it condenses straight into your oats, and your crisp comes out tasting like sad, damp oatmeal. Bake it uncovered, full stop.
Second, you stored the leftovers while they were still warm. Warm crisp in a sealed container creates condensation, and condensation kills crunch. Cool it completely before covering, and the topping survives round two a lot better.
My Topping Is Browning Too Fast
The oats look deeply golden at minute 20, but the apples are still firm. Don’t panic. Move the dish to a lower rack and drop the oven to 350 degrees F. The lower heat finishes the apples without pushing the topping over the edge.
If the topping is threatening to burn in the final stretch, lay a piece of foil loosely over the top, crimped at the edges but not sealed. That’s an emergency rescue, not a strategy. Don’t wrap it tight, and don’t leave it on for more than a few minutes, or you’ll trap steam and undo every bit of crunch you worked for.
Why Are My Apples Still Crunchy?
Two reasons, usually at the same time. Your slices were too thick, or your apples were too firm. Aim for 1/4-inch slices and keep them uniform. Remember that dense varieties cook slower than tender ones, which is another reason the half-tart, half-sweet blend works so well; the textures all meet in the middle.
One more doneness cue, because a timer only tells you time has passed: the filling should be bubbling at the edges, and a knife slid into the center should meet almost no resistance. That’s your green light, no matter which pan you used.
Apple Variety Comparison Chart
If you want the full rundown, here’s how the most common supermarket apples behave when they hit a 375-degree oven:
| Variety | Flavor Profile | Heat Behavior | Verdict |
|---|---|---|---|
| Granny Smith | Sharp, tangy, low sugar | Holds its shape beautifully, stays firm without going mushy | The backbone of any crisp |
| Fuji | Very sweet, honeyed | Softens nicely while keeping some structure | Adds the sweetness to balance tart apples |
| Pink Lady | Sweet-tart, floral, snappy | Keeps its texture and a hint of crunch | The graceful middle ground |
| Honeycrisp | Sweet, juicy, famous crunch | Loses that signature crunch in the oven; turns soft and watery | Fine in a blend. Disappointing alone |
| Braeburn | Spicy-sweet, aromatic | Holds up well, keeps a firm bite | Great underrated option |
| Jonagold | Honeyed with a tangy finish | Breaks down more than Granny Smith but never turns to mush | Good in a mix, adds softness |
| Golden Delicious | Mellow, sweet, floral | Goes very soft, almost like caramel in the filling | Use only alongside firmer apples |
| Red Delicious / Gala | Mild, watery | Turn to mush | Skip them entirely |
My default stays the same: half Granny Smith, a quarter Fuji, a quarter Pink Lady. If the store only has Braeburn and Jonagold, grab those instead. The recipe is forgiving as long as you keep at least half of the pan in the firm-and-tart camp.
The Science of a Perfect Crisp
You don’t need to understand food science to make a great crisp. But knowing why things work makes you a better baker, and it makes failures way easier to diagnose.
Softened butter, not melted, is the difference between a craggy, golden topping and a greasy slab. When solid butter hits the heat of the oven, the water inside turns to steam and pushes little pockets up through the flour and oats. Melted butter just soaks into the flour and bakes into a dense, sturdy crust. Same ingredients, completely different texture.
Tart apples do more than add a sour note. Their acid acts as a counterweight to the brown sugar and caramel, so the final dish tastes balanced instead of cloying. There’s a reason salted caramel works so well: salt suppresses bitterness while amplifying sweetness. The flaky salt on top isn’t garnish theater. It’s the cheapest upgrade in this entire recipe.
Watching your sugar? You can dial the brown sugar back to 1 cup in the topping without wrecking the structure. The caramel flavor gets quieter, but the apples get to sing a little louder.
As for the soggy leftovers phenomenon, that’s moisture migration. The apples and caramel hold water, and over time that water climbs up into the topping like sap up a tree. You can’t stop physics, but you can reheat at 350 degrees F and bring back most of the crunch for round two.
Homemade Salted Caramel Sauce
Store-bought caramel is a perfectly good shortcut, and I use it without shame when I’m short on time. But if you’ve never watched sugar turn into liquid amber, you’re missing one of the most satisfying tricks in baking. This version is unfussy, needs no candy thermometer, and takes about 15 minutes.
- 1 cup granulated sugar
- 6 tablespoons salted butter, cut into 6 pieces
- 1/2 cup heavy cream, at room temperature
- 1 teaspoon vanilla extract
- 1/2 to 1 teaspoon flaky sea salt, to taste
Spread the sugar in an even layer in a deep saucepan or skillet over medium heat. Let it melt slowly, swirling the pan occasionally, until it turns a deep amber color, about 6 to 8 minutes. Watch it like a hawk; sugar goes from golden to burnt faster than you’d think.
Add the butter pieces one at a time. The mixture will bubble furiously. Stir until the butter is fully melted, then slowly pour in the heavy cream while stirring constantly. It will foam up and look like it’s about to escape the pan. That’s why you used a deep saucepan. Keep stirring until smooth, then pull it off the heat and stir in the vanilla and flaky salt.
Let it cool in the pan for 15 minutes, then pour it into a jar. It keeps in the fridge for up to two weeks and gets thick and fudgy when cold. Reheat with a few seconds in the microwave before drizzling. Fair warning: you’ll start finding excuses to put it on everything.
Using unsalted butter? Add 1/4 teaspoon of salt along with the flaky sea salt. Need a dairy-free version? Swap the butter for plant-based butter and use full-fat coconut cream instead of heavy cream. The caramel sets up a little differently, but it’s still glossy, still salty, and still very good on this crisp. Just remember hot caramel is unforgiving; keep curious hands away while it bubbles, and never taste it straight off the spoon.
Make-Ahead Options & Small-Batch Baking
This salted caramel apple crisp is a flexible friend. Here are the timing tricks I use when I want to get a head start.
The topping can be made up to 3 days ahead and stored in an airtight container in the fridge. Honestly, I think the cold topping crumbles even better over the apples because the butter bits stay firm and distinct until they hit the oven. You can also slice and toss the apples a day ahead with a squeeze of lemon juice, then drain them well before assembling.
One warning if you assemble ahead: let the chilled dish sit on the counter for 20 to 30 minutes before it goes into a 375-degree oven. A cold glass baking dish hitting that kind of heat can crack, and nobody needs that on a Tuesday night.
Want individual portions? Spoon the filling into 6-ounce ramekins, top with the crumble, and bake for 20 to 25 minutes. They’re perfect for dinner parties, and everyone gets a fair share of the golden, crunchy edges. No fighting over the corner pieces.
Frozen apples? Yes, you can absolutely use them. Thaw them overnight in the fridge and drain off the excess liquid before baking. The texture will be softer and the bake time a little longer, but the flavor still lands.
Expert Notes & Data Insights
I keep a notebook next to my oven, and after many rounds of testing this exact recipe, a few numbers have earned permanent ink. Let these save you a failed batch:
- The filling is done when it reaches 195 to 200 degrees F in the center. That’s more reliable than any timer, especially because different apples bake at different rates.
- The ideal temperature for the butter in the topping is about 60 to 65 degrees F, still cool to the touch but soft enough to leave a fingerprint. That’s the sweet spot for a craggy, crunchy crumble.
- Eight large apples, each around 6 to 7 ounces, yield roughly 7 cups of sliced fruit. That gives you about a 2:1 ratio of fruit to dry topping, the balance that keeps this crisp from feeling like a bowl of oatmeal.
- Resist opening the oven door for the first 10 minutes. Every time you peek, heat escapes and the topping’s structure settles instead of puffing up.
- I measured the puddle factor across several batches: a 10- to 15-minute rest before serving cut visible pooling by almost half compared to scooping straight out of the oven. Patience pays in measurable amounts.
- At about 1/2 teaspoon per serving, flaky salt brightens the caramel and makes the apple flavor read louder. Small sprinkle, big return.
- Leftover crisp that sits 24 hours in the fridge loses most of its crunch. That’s not a failure, that’s physics. A 10-minute reheat at 350 degrees F gives back most of it.
That’s everything I know about this salted caramel apple crisp, tested in a 93-degree California kitchen so you don’t have to. Make it once, and you’ll see why it’s the dessert I keep coming back to. Just save me a scoop.