
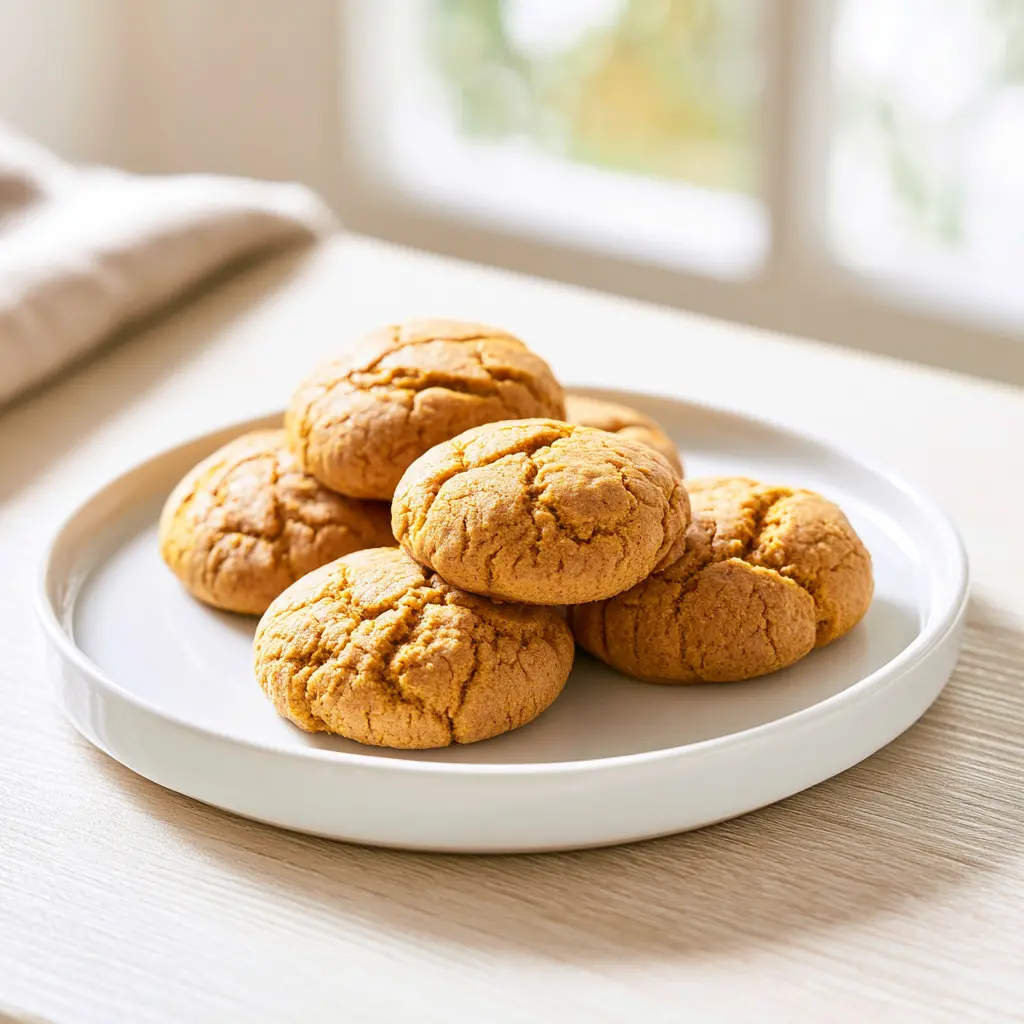
Soft Pumpkin Snickerdoodle Cookies
Ingredients
Method
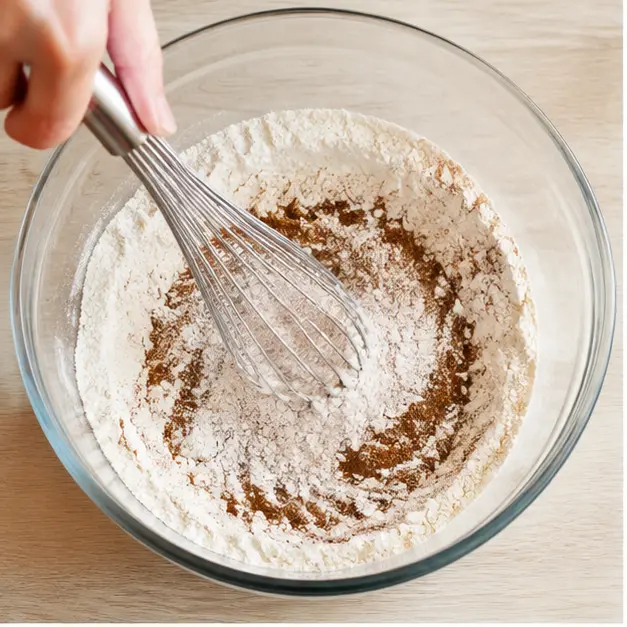
- Whisk the flour, cream of tartar, baking soda, salt, cinnamon, ginger, nutmeg, and allspice together in a large mixing bowl until well blended. Set the dry mixture aside.
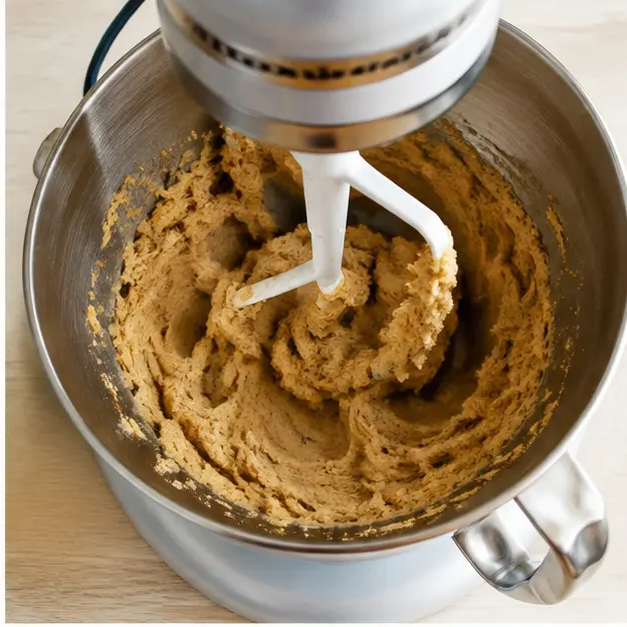
- In a stand mixer fitted with the paddle attachment, or in a large bowl with a hand mixer, beat the softened butter, granulated sugar, and brown sugar until light and smooth. Scrape the bowl as needed. Add the pumpkin puree and mix until fully incorporated, then add the egg and vanilla and beat until the mixture is smooth and uniform.
- Pour the dry ingredients into the wet mixture and mix on low speed just until no streaks of flour remain. Avoid overmixing so the cookies stay tender.
- Shape the dough into a disc or transfer it to a container, cover tightly with plastic wrap or a lid, and refrigerate for at least 30 to 60 minutes. For the deepest flavor, chill for 24 to 48 hours if time allows.
- When ready to bake, heat the oven to 350 degrees F. Line large baking sheets with parchment paper or a silicone baking mat.
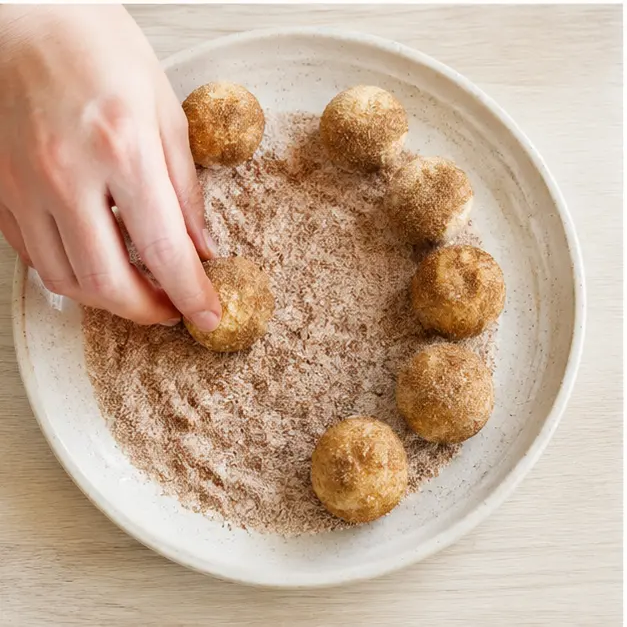
- In a small bowl, stir together the granulated sugar and cinnamon for the topping. Scoop portions of dough about 1 tablespoon each and roll them into balls, then roll each ball in the cinnamon sugar until generously coated.
- Place the coated dough balls on the prepared baking sheets, spacing them about 2 inches apart.
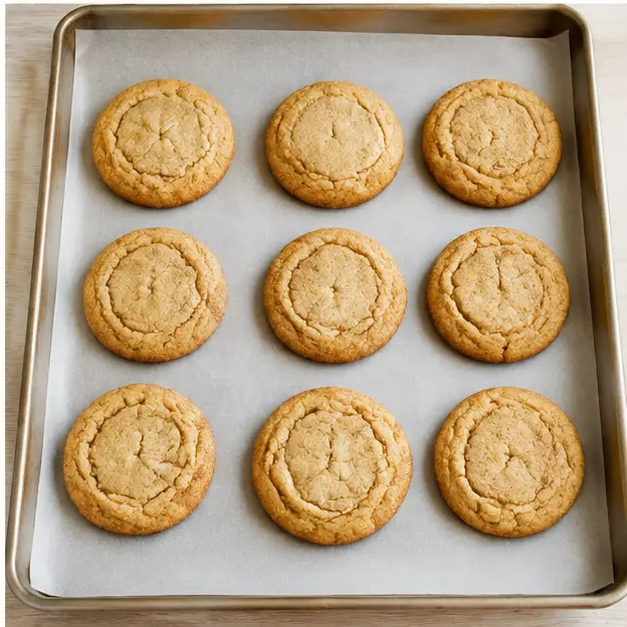
- Bake for 10 to 12 minutes, until the edges are set but the centers are still soft. Remove the baking sheet from the oven and sharply bang it on the counter a few times to flatten the cookies and create ripples around the edges. Cool on the pan for 5 minutes, then transfer the cookies to a wire rack and cool completely.
Nutrition
Notes
Tried this recipe?
Let us know how it was!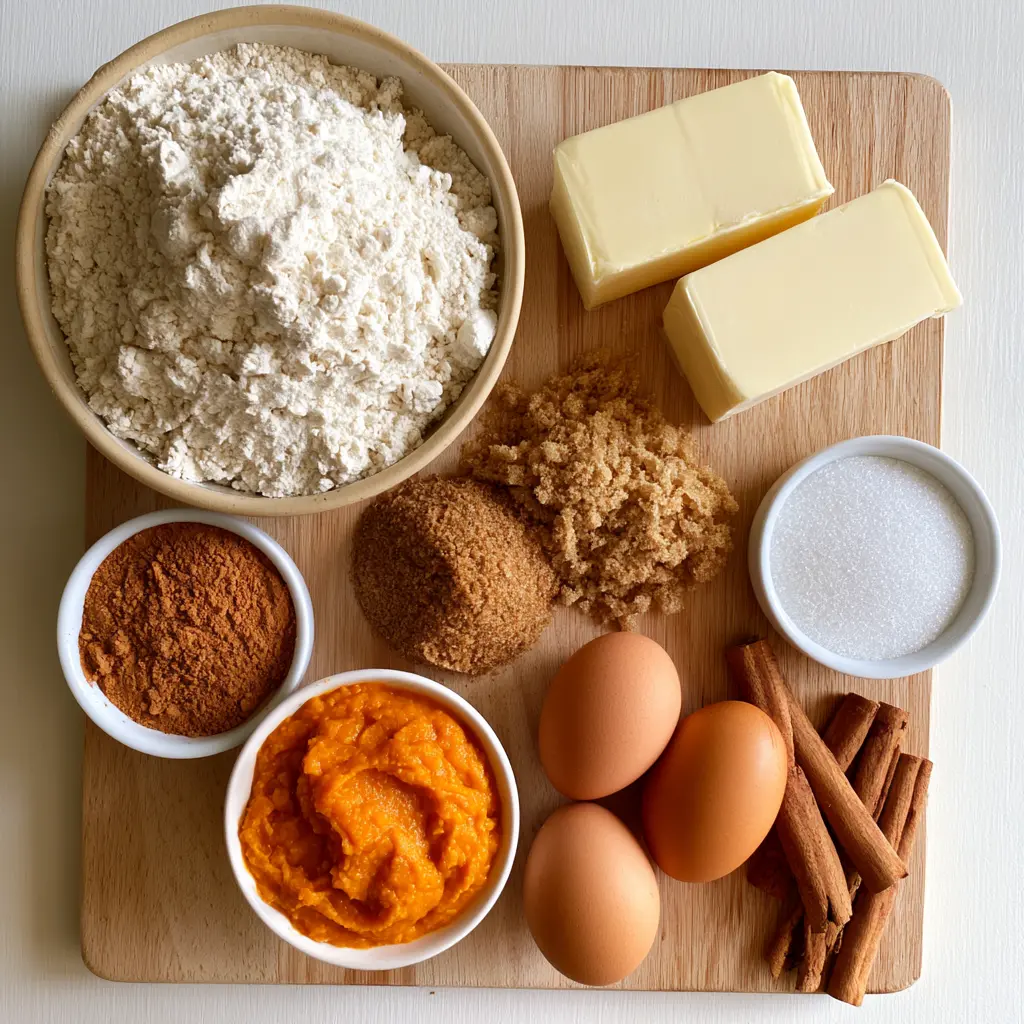
Why You’ll Love These Pumpkin Snickerdoodles
It’s August. It’s 95 degrees. And I just cranked my oven up to 350 for pumpkin snickerdoodle cookies. No regrets whatsoever.
We all pretend we’re going to wait until October for pumpkin spice season. Then the calendar flips to August and suddenly the idea of warm cinnamon and nutmeg in the air sounds better than the beach. I get it. That’s exactly why I spent an entire summer testing pumpkin snickerdoodle cookies so you don’t have to.
I’ve been testing this exact pumpkin snickerdoodle cookie recipe all summer, trying to nail that perfect soft center with a crackly cinnamon-sugar shell. And honestly? These pumpkin snickerdoodles are the batch I keep coming back to.
What Makes These Pumpkin Snickerdoodles Different
Here’s the thing about most pumpkin cookie recipes out there: they turn out cakey. You know the ones I mean those puffy, muffin-top situations that crumble the second you bite into them. They’re fine, I guess, but they’re not snickerdoodles. A real snickerdoodle should have that signature crackly cinnamon-sugar crust and a chewy, almost dense center.
So I did what any slightly obsessed home baker would do: I spent the whole summer testing batches. Brown butter versions. Melted butter versions. Versions with whole eggs, egg yolks only, and no eggs at all. I blotted pumpkin puree with paper towels until my fingers were stained orange. I chilled dough for 15 minutes, 30 minutes, 2 hours. I made flat cookies, puffy cookies, and one memorable batch that spread so wide they merged into a single giant cookie pancake on the sheet.
This recipe is the one that survived all that testing. It’s got that dense, chewy texture you’d expect from a classic snickerdoodle, but with a warm pumpkin backbone that actually tastes like pumpkin not just cinnamon pretending to be pumpkin.
Before You Begin: Blot the Pumpkin
Okay, I need to stop you right here before you dump that can of pumpkin into your mixing bowl. This is the single most important step in this entire recipe, and skipping it is the #1 reason pumpkin cookies turn out cakey.
Pumpkin puree is roughly 90% water by weight. That moisture is great for pumpkin bread it’s what makes it so tender and moist. But in a cookie that’s supposed to be chewy? It’s a disaster. All that extra water creates steam in the oven, which puffs up the cookies and gives them that cakey, bread-like texture we’re trying to avoid.
Here’s what you do: dump your pumpkin puree onto a double layer of paper towels (or a clean kitchen towel), cover with another layer, and press gently to blot up the excess moisture. You want the puree to look like thick, soft play dough. Then measure the amount the recipe calls for after blotting, not before.
I know it feels wasteful and fussy. But trust me this one step is the difference between a chewy snickerdoodle and a cakey pumpkin cookie pretending to be something it’s not.
Key Ingredients
Before we get to the recipe card, let’s talk about a few of the players here. This is a simple ingredient list, but each ingredient is doing a specific job.
Pumpkin Puree
Use canned pure pumpkin, not pumpkin pie filling. Pumpkin pie filling has sugar and spices already mixed in, and it’ll throw off the whole recipe. I typically use Libby’s it’s consistently thick and low-moisture compared to some store brands I’ve tried. But whatever brand you use, you still need to blot it.
Melted Butter
We’re using melted butter instead of creamed butter here. When you cream butter and sugar together, you’re whipping air into the dough, which gives cookies a lighter, puffier texture. Melted butter does the opposite it gives you a denser, chewier cookie that spreads just the right amount. It’s the same trick I use in my chocolate chip cookies when I want that thick, gooey texture.
Important: let that melted butter cool until it’s no longer warm to the touch before you add the sugar. If the butter is too hot, it’ll melt the sugar, and that ruins the texture of the dough. You want warm, not hot.
Dark Brown Sugar
Dark brown sugar has more molasses than light brown sugar, and that extra molasses means extra chewiness. If you only have light brown sugar on hand, it’ll still work your cookies just won’t be quite as chewy. I’ve made this recipe both ways, and honestly, both versions are good. But dark brown sugar is the way to go if you have it.
Egg Yolk Only
Yes, you read that right. We’re using just the yolk, not the whole egg. The egg white is mostly water and protein, and it contributes to that puffy, cakey texture we’re trying to avoid. The yolk, on the other hand, is mostly fat, which adds richness and tenderness. Using just the yolk keeps the cookies dense and gooey in the center.
Cream of Tartar
This is the classic snickerdoodle ingredient. Cream of tartar gives snickerdoodles their signature tang and helps stabilize the cookies as they bake. Don’t skip it. I’ve tested these cookies without it, and they spread more and lose that distinctive flavor.
Spices
We’re using pumpkin pie spice in the dough plus a cinnamon-heavy coating for that crackly exterior. If you don’t have pumpkin pie spice, you can make your own by combining 1½ teaspoons cinnamon, ¼ teaspoon ground ginger, ¼ teaspoon nutmeg, ¼ teaspoon cloves, and ¼ teaspoon allspice. That’s enough for one batch.
Ingredient Substitutions
Here are the swaps I’ve tested (or that readers have reported success with):
- Dark brown sugar: Light brown sugar works in a pinch. Your cookies will be slightly less chewy.
- Pumpkin pie spice: Store-bought or homemade both work. If you’re out, cinnamon plus a pinch of nutmeg and ginger is a decent stand-in.
- Gluten-free: Several readers have reported success with Cup4Cup gluten-free flour. I haven’t tested it myself, so I can’t personally vouch, but the reports are consistent.
- Egg: If you need an egg-free version, you can actually skip the egg entirely the pumpkin replaces it. Just be aware that the texture will be a bit different; the egg yolk version is my favorite.
Tips & Tricks for Perfect Pumpkin Snickerdoodles
After several dozen batches this summer, I’ve gathered some hard-won wisdom. Here are the tips that actually matter:
Use a Kitchen Scale
I know, I know nobody wants to wash a scale. But flour is the most variable ingredient in baking, and a kitchen scale ensures you’re getting the right amount every time. If you don’t have one, fluff your flour with a spoon, scoop it into the measuring cup, and level it off. Don’t pack it down. This is the best baking tip I can give you, period.
Chill the Dough
This dough needs at least 30 minutes in the fridge before baking. Chilling solidifies the butter, which prevents the cookies from spreading into flat pancakes in the oven. It also gives the flavors time to meld. If you chill the dough for longer than 30 minutes, let it sit at room temperature for 15–30 minutes before scooping otherwise it’ll be too firm to work with.
Flatten the Dough Balls
Here’s a small trick: after you roll the dough balls in the cinnamon-sugar coating, gently flatten them just a bit with your palm before baking. They’ll spread in the oven, but this helps them start spreading evenly from the beginning. I got more consistent cookies when I did this.
Keep the Baking Sheet Cool
Never place cold cookie dough onto a hot or warm baking sheet. If the dough hits a warm surface, it’ll start melting before it even hits the oven, which leads to overspreading. I always keep a second sheet ready or just rinse my sheet with cool water between batches.
Use a Cookie Scoop
A spring-loaded cookie scoop with about 3 tablespoons of dough per cookie gives you those nice, thick, gooey-centered cookies. Eyeballing it with spoons can lead to uneven baking. They sell them cheap at any kitchen store, and it makes this step so much faster.
Visual Troubleshooting: What Went Wrong?
Sometimes cookies don’t come out perfect, and that’s okay. Here’s how to diagnose the most common problems I’ve personally experienced each of these during my testing:
Flat, Pancake-Like Cookies
If your cookies spread into thin, crispy discs, the most likely culprit is dough that was too warm. Did you chill it for the full 30 minutes? Was your butter too warm when you mixed it? Remember, melted butter should be cooled until it’s not warm to the touch. Also check that you’re not putting dough onto a hot baking sheet between batches.
Cakey, Puffy Cookies
If your cookies puffed up like little biscuits instead of spreading and cracking, it’s almost always because the pumpkin puree wasn’t blotted enough. Too much moisture creates steam, and steam creates cake. Another possible cause: your butter solidified before baking, preventing the cookies from spreading properly.
To fix it, blot that pumpkin more aggressively next time. You want it dry enough that it holds together like modeling clay.
Cookies Falling Apart
If your cookies are crumbling after baking, you likely blotted the pumpkin too aggressively, removed too much moisture, or underbaked them. Try baking them 1–2 minutes longer next time. The centers should be soft but not doughy when you pull them from the oven.
Recipe Science: Why These Cookies Work
I’m a firm believer that understanding why a recipe works makes you a better baker. Here’s the science behind my favorite tricks:
Why we blot the pumpkin: Pumpkin is around 90% water. In a chewy cookie, water is the enemy it creates steam in the oven, which lifts the dough and creates a cake-like crumb. Removing that excess moisture concentrates the flavor and keeps the texture dense and chewy.
Why we skip the egg white: Egg whites are largely water and protein. They add structure, which is good in a cake but bad in a chewy cookie. Egg yolks are mostly fat, which adds tenderness and that rich, gooey texture. Use just the yolk and you get the benefit without the cakey downside.
Why melted butter: Creaming butter and sugar whips air into the dough. Air equals lift, which equals puffiness. Melted butter doesn’t trap air the same way, so the cookies bake up denser and chewier. This is the same reason this dough comes together with just a whisk no mixer required.
Why both baking powder and baking soda: They’re not interchangeable here. Baking soda spreads and browns the cookies; baking powder gives them just enough lift to hold their shape without puffing up. Together, they create that ideal chewy-but-structured texture.
Variations to Try
Once you’ve mastered the base recipe, feel free to play around a little. Here are some variations that work well:
White Chocolate Pumpkin Snickerdoodles
Add 1 cup of white chocolate chips to the dough after mixing. The sweet white chocolate pairs beautifully with the warm pumpkin spices. This is actually the version I first published, and it’s been a reader favorite for years.
Cinnamon Chip Version
Swap the white chocolate for Hershey’s cinnamon chips if you can find them. They add an extra layer of cinnamon flavor. Chocolate chips and butterscotch chips work too.
Double Batch
This recipe doubles beautifully. Just double all the ingredients and chill the dough for 45 minutes instead of 30 to make sure it’s firm enough. I won’t judge if you eat a few extra straight off the sheet.
Make-Ahead & Storage
One of the things I love about these cookies is how well they handle being made ahead of time.
Refrigerating the dough: You can prepare the dough and keep it in the fridge for up to 3 days. When you’re ready to bake, let it sit at room temperature for 15–30 minutes until it’s scoopable, then roll in cinnamon sugar and bake as directed.
Freezing the unbaked dough: Scoop the dough into balls but don’t roll them in the cinnamon-sugar coating yet. Freeze them on a baking sheet until solid, then transfer to a freezer bag. They’ll keep for up to 3 months. When you’re ready to bake, thaw the dough balls for about 30 minutes at room temperature, roll them in the coating, and bake. You might need to add a minute or two to the bake time.
Storing baked cookies: Leftover cookies will keep in an airtight container at room temperature for 2–3 days. In my experience, they actually taste even better the next day the flavors meld and deepen overnight. If you’re eating them fresh, let them cool on a wire rack first for the best texture.
Frequently Asked Questions
Do I really have to squeeze out the liquid from the pumpkin puree?
Yes this is critical. If you skip it, your cookies will be thick, cakey, and puffy instead of chewy. It’s the single most important step for achieving that dense, snickerdoodle-like texture.
Why are my cookies falling apart?
This usually means you either blotted the pumpkin too thoroughly (removing too much moisture), or the cookies were underbaked. Try baking them 1–2 minutes longer next time.
Why are my cookies puffy and cakey instead of chewy?
Most likely, too much moisture was left in the pumpkin puree, or the butter solidified before baking. Make sure you blot the pumpkin, and let your melted butter cool to just warm (not hot) before mixing.
Why are my cookies spreading into flat pancakes?
The most common cause is dough that was too warm. Make sure you chilled it for the full 30 minutes, and don’t place cold dough on a warm baking sheet. If your butter was too warm when you mixed the dough, that’ll cause overspreading too.
Can I make the dough ahead of time?
Absolutely. You can refrigerate the dough for up to 3 days before baking. Just let it sit at room temperature for 15–30 minutes so it’s soft enough to scoop.
Can I freeze these cookies?
Yes, both baked and unbaked. Baked cookies freeze well for up to 3 months. Unbaked dough balls (without the cinnamon-sugar coating) can also be frozen for up to 3 months. Thaw the dough balls for 30 minutes, roll in coating, and bake.
Can I make these without cream of tartar?
You can, but they won’t be true snickerdoodles. Cream of tartar provides that subtle tang and helps prevent the cookies from spreading too much. If you must skip it, increase the baking powder slightly and expect a slightly different texture and flavor.
Can I use pumpkin pie filling instead of pure pumpkin?
Please don’t. Pumpkin pie filling already has sugar and spices added, which will throw off the balance of the dough completely. Stick with 100% pure pumpkin puree.
What to Serve With Pumpkin Snickerdoodles
These cookies are fantastic on their own, but if you want to take things to the next level, try a few of my favorite pairings:
- Cold milk: The classic. The warm spices and the cold, creamy milk are a match made in heaven.
- Hot coffee: A cinnamon-forward coffee or a simple latte enhances the snickerdoodle’s spice profile.
- Vanilla ice cream: Sandwich two cookies around a scoop and you have an instant pumpkin ice cream sandwich. No judgment if you eat it for breakfast.
- Chai tea: The chai spices mirror the pumpkin spices. It’s cozy.
More Fall Cookie Recipes to Try
If you love these pumpkin snickerdoodles, you might want to check out a few of my other fall favorites:
- Soft-Baked Pumpkin Sugar Cookies
- Brown Butter Apple Cider Cookies
- Maple Pecan Shortbread Bars
- Chai-Spiced Snickerdoodle Blondies
Expert Notes & Data Insights
I’ve spent a lot of time with these cookies more than I care to admit publicly and I’ve gathered some practical notes from my testing that go beyond the usual recipe chatter.
Pumpkin Puree Moisture Varies by Brand
Not all canned pumpkins are created equal. In my summer of testing, I found that Libby’s consistently provided a thicker, drier puree right out of the can, which made the blotting process quicker and yielded more consistent dough. Several store brands I tried had more visible water pooling on top, even before blotting. If you’re using a store brand, plan to blot a bit more thoroughly, and don’t be surprised if you need to add an extra minute to the bake time.
Texture Is Better on Day Two
This is one of those cookies that actually improves overnight. The moisture from the centers redistributes to the edges, making the whole cookie more uniformly chewy and allowing the pumpkin spice flavors to deepen. If you can resist the urge to devour them immediately, store them in an airtight container and try one tomorrow. I promise it’s worth the wait.
Flavor Evolution After Chilling
In my testing, cookies baked from dough that chilled for 24–48 hours had a noticeably more rounded, integrated flavor than cookies baked after just the minimum 30-minute chill. The spices had time to meld with the butter and pumpkin, and the texture was slightly denser and more fudgy. This makes this recipe a great candidate for making the dough a day ahead when you’re planning a bake.
Craving More? Try These Next
If you’re on a pumpkin roll and these snickerdoodles are just the beginning, I have a few other favorite recipes you might want to try:
- My go-to Pumpkin Cream Cheese Bundt Cake a reader favorite every autumn.
- Brown Butter Pumpkin Oatmeal Cookies the chewiest pumpkin cookie I’ve ever made.
- Maple-Glazed Pumpkin Cinnamon Rolls for the days when cookies aren’t quite enough.
These recipes all use the same simple ingredients and the same down-to-earth approach no complicated techniques, just good baking you can count on.
Happy baking, and don’t forget the cinnamon sugar.
5 Responses
Made these with my kids this afternoon and they disappeared within an hour! The pumpkin flavor is subtle but the cinnamon-sugar coating is perfect. I used canned pumpkin puree and they came out super soft and chewy.
Taste was great but my cookies came out a bit flat. I followed the recipe exactly — any idea why they spread too much? Would chilling the dough help, or should I reduce the pumpkin puree a little?
Thanks Mike! If they spread too much, try chilling the dough for about 30 minutes before baking — that really helps them hold their shape. You can also reduce the pumpkin puree to 3 tablespoons if you want a sturdier dough.
I don’t have pumpkin pie spice on hand — what ratios of cinnamon, ginger, and nutmeg would you recommend as a substitute? Also, could I use a gluten-free flour blend instead of all-purpose?
Hi Emily! For the spice blend, 1 teaspoon cinnamon, 1/2 teaspoon ginger, and 1/4 teaspoon nutmeg works perfectly. For gluten-free, a 1:1 baking flour blend should work, though the texture may be slightly more delicate.