

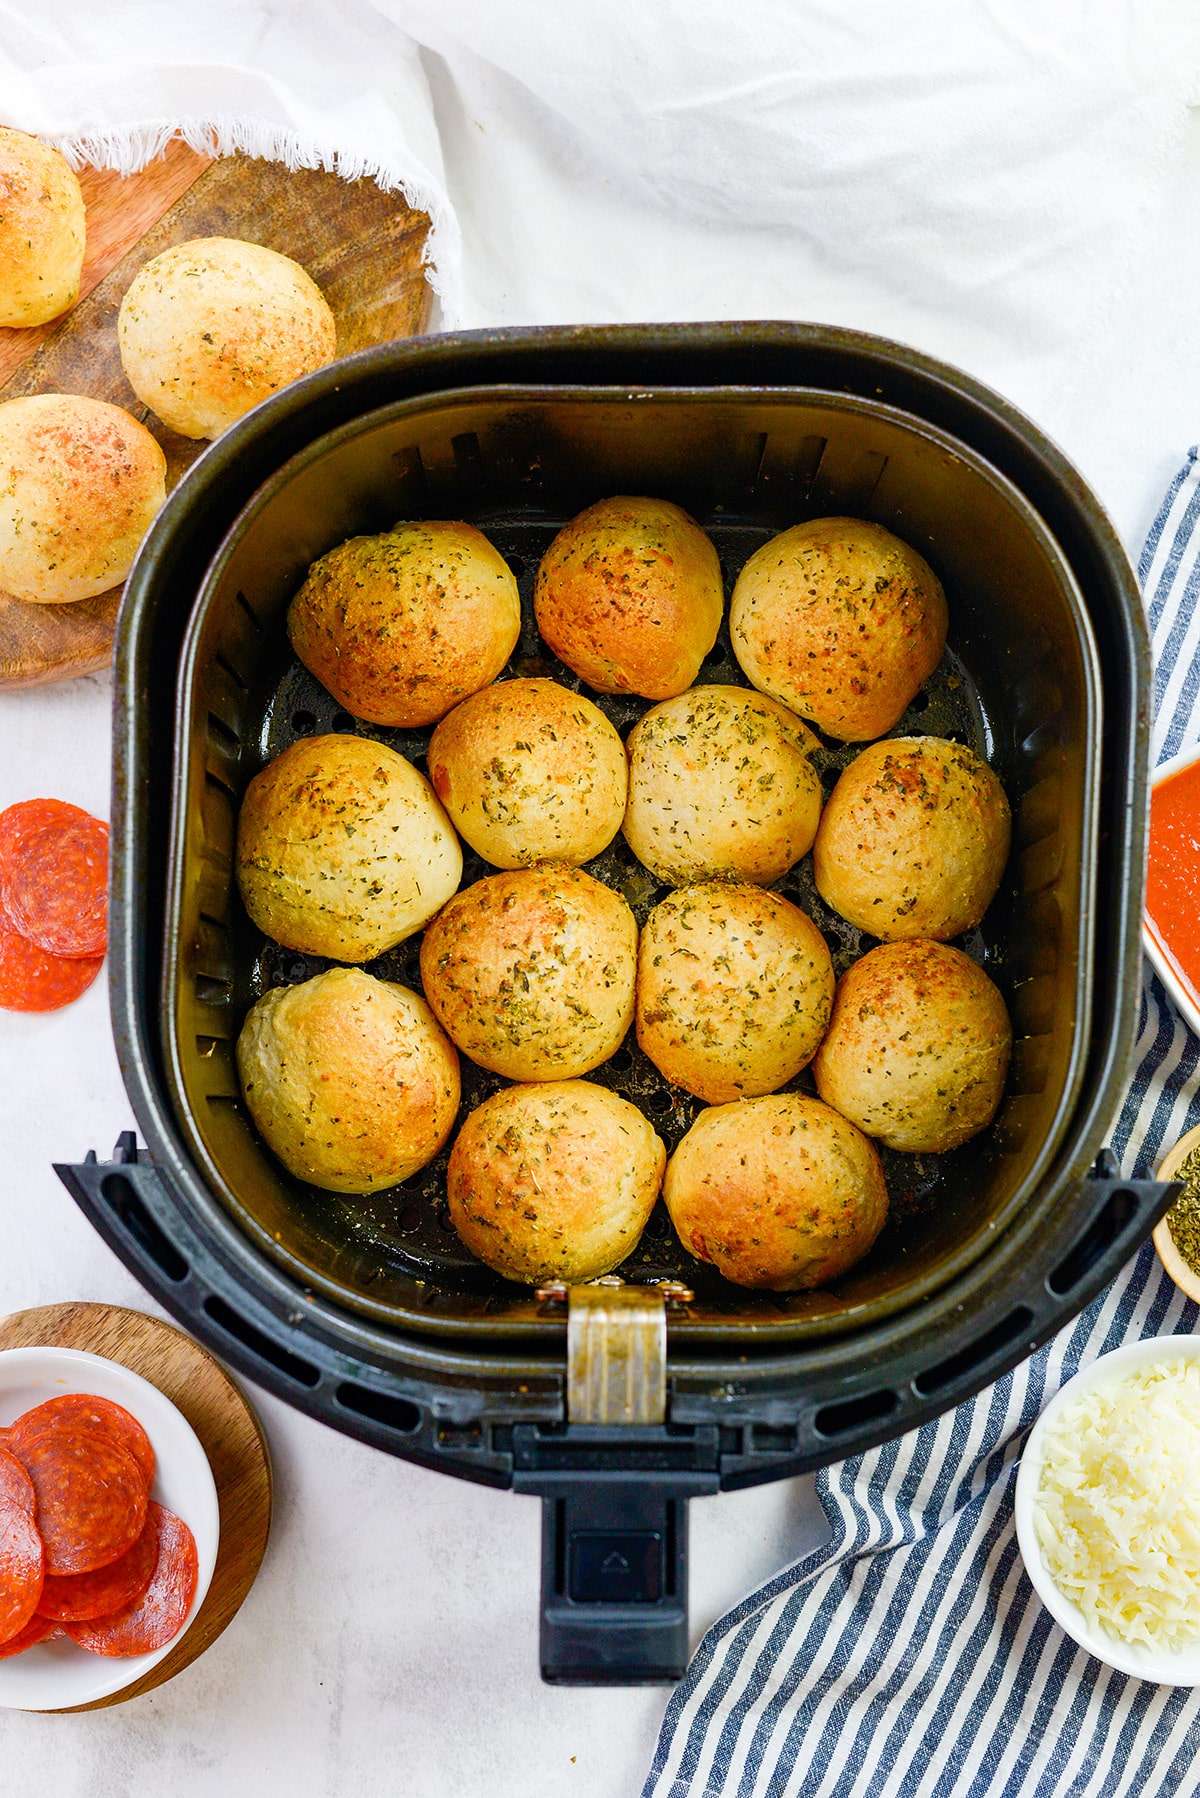
California-Style Air Fryer Pizza Bombs
Ingredients
Method
- Open the can of biscuits and separate each biscuit into two thin rounds, giving you 16 pieces total.
- Cut each pepperoni slice into quarters. Place 8 pepperoni bits in the center of each biscuit round.
- Set one cube of mozzarella cheese on top of the pepperoni on each biscuit.
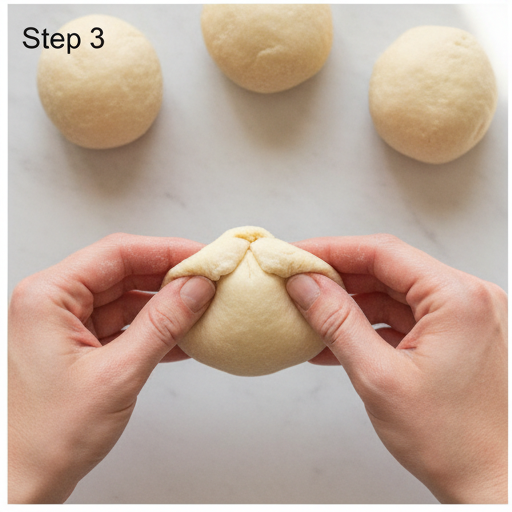
- Fold the edges of the biscuit up and over the filling, pinching to seal tightly. Roll gently into a ball.
- Arrange the stuffed biscuits in a single layer in the air fryer basket, leaving space between each for air circulation.
- In a small bowl, whisk together the melted butter, garlic powder, and Italian seasoning.
- Brush the butter mixture generously over the tops of the dough balls.
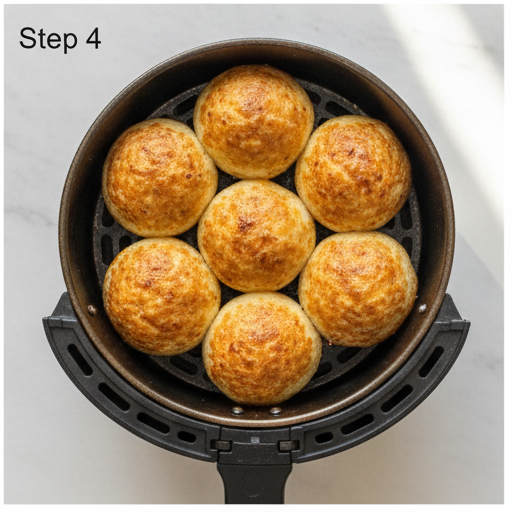
- Air fry at 350°F for 5–6 minutes, until the dough is golden brown and cooked through.
- Warm the pizza sauce in the microwave and serve alongside the pizza bombs for dipping.
Nutrition
Notes
Tried this recipe?
Let us know how it was!Behold the Power of Pizza Dough
Let me set the scene for you. It’s July 3rd, I’m running around like a crazy person trying to get stuff ready for the Fourth. I’ve got buns to buy, ice to pick up, and I just realized I have absolutely nothing for people to snack on while the grill gets going. Chips and dip again? I can’t do it. Not another year.
That’s when I remembered these little miracles. Pizza bombs. They’re exactly what they sound like little pockets of dough stuffed with pepperoni and mozzarella, brushed with garlic butter, and cooked until they’re golden and puffy. And the best part? They come together in like 20 minutes. No fancy equipment, no weird ingredients. Just stuff you probably already have in your fridge.
I first made these a few years ago when I was trying to replicate those frozen pizza rolls but, you know, better. My first attempt was a disaster. I used too much sauce inside and they all exploded in the oven. Cheese everywhere. I was scraping mozzarella off the baking sheet for an hour. But I learned my lesson, and now I’ve got the method down. These air fryer pizza bombs are the result of that trial and error, and I promise you, they’re foolproof.
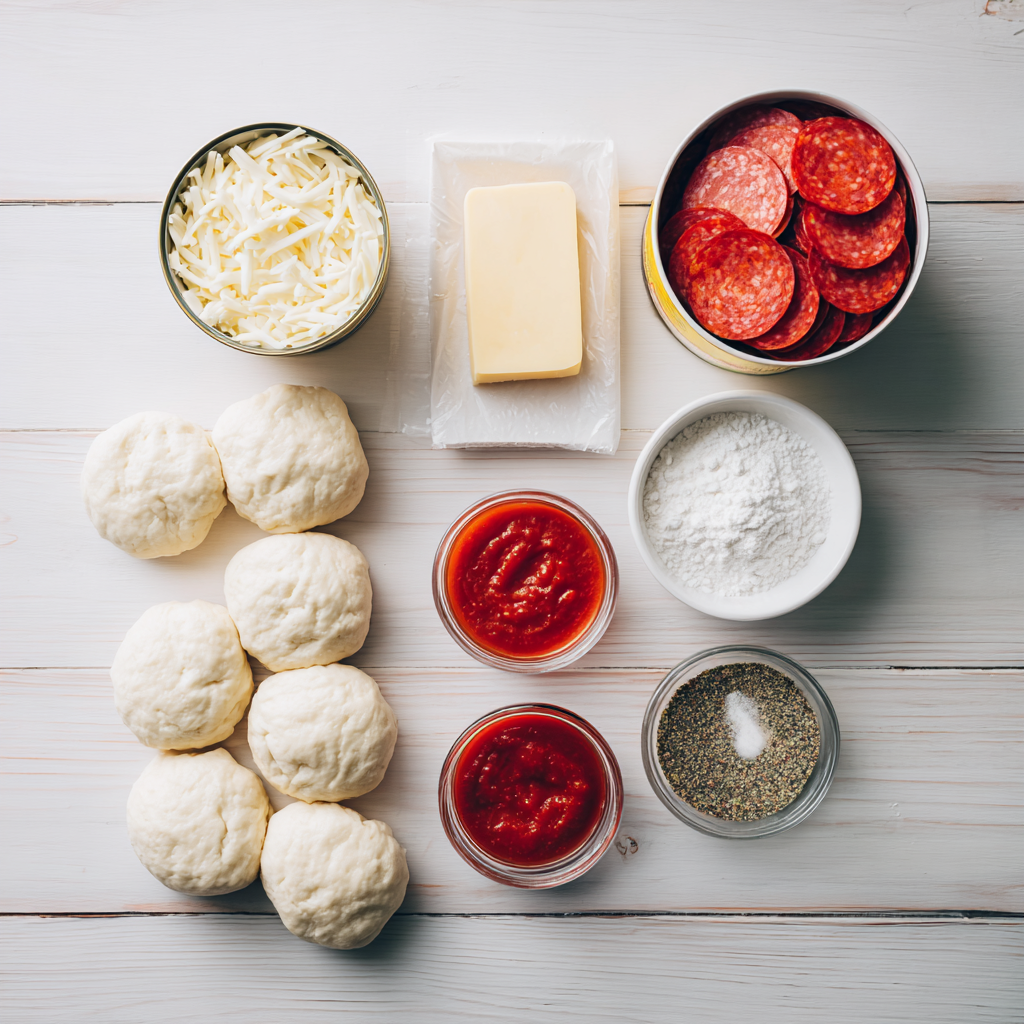
Ingredients You’ll Need
Here’s the thing about this recipe it’s ridiculously simple. You don’t need to make your own pizza dough or hunt down specialty items. We’re keeping it real here. Let me walk you through what you’ll grab at the store.
- Refrigerated biscuit dough I use Grands! Flaky Layers because they’re bigger and peel apart easily. One can gives you 8 biscuits, and we’re splitting each one in half to make 16 pizza bombs. It’s the shortcut that makes this recipe work.
- Pepperoni About 32 thin slices. You’ll quarter them so they fit nicely inside each bomb. Don’t overthink this part.
- Mozzarella cheese Eight ounces, cut into 16 cubes. I know pre-shredded cheese is tempting, but cubes melt better and give you that perfect cheese pull. Trust me on this one.
- Unsalted butter A quarter cup, melted. This is what makes the tops golden and delicious.
- Garlic powder and Italian seasoning Simple seasonings that transform plain dough into something that tastes like it came from a pizzeria.
- Pizza sauce For dipping. Warm it up, and you’re golden.
That’s it. Seven ingredients, and you probably have most of them already. I love recipes like this because they don’t require a special trip to the store. Well, unless you’re out of pepperoni, which is a tragedy in its own right.
Cooking These with Kids
Okay, so here’s where this recipe really shines. My kids absolutely love helping me make these. It’s become our little tradition before summer cookouts. I set everything up on the counter, and they get to be the official stuffers and sealers.
The best part? There’s no raw meat to worry about. No hot oil. Just dough and cheese and pepperoni. My youngest, who’s six, can handle the folding part pretty well. Sure, some of his look a little… abstract. But they still taste amazing. And honestly, the imperfect ones are the ones everyone fights over. There’s something charming about a lopsided pizza bomb.
If you’re cooking with little ones, here are a few things I’ve learned the hard way:
- Let them separate the biscuits It’s fun and messy, and they feel like they’re doing something important.
- Show them how to seal the dough Pinch it tight, like you’re closing a little purse. If they leave gaps, the cheese will escape. But that’s okay we’ll talk about that later.
- Keep extra dough on hand Because someone is going to eat a raw piece of biscuit dough. It happens. Don’t panic.
These pizza bombs are the definition of a kid friendly appetizer. They’re familiar enough that picky eaters will devour them, but fun enough that everyone feels like they’re getting a treat. And when you pull them out of the air fryer all golden and bubbly? The kids go absolutely wild.
Step-by-Step Instructions
Alright, let’s get into the actual process. I’m going to walk you through each stage, but remember the detailed recipe card is right up top. This is more about the why and the how, the little tricks I’ve picked up along the way.
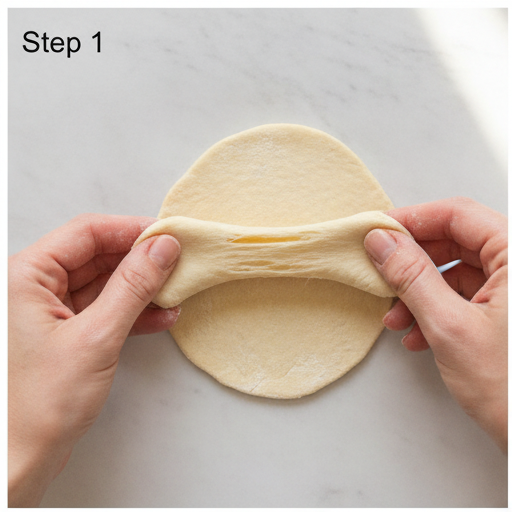
Stage 1: Prep the Dough
Open that can of biscuits and try not to jump when it pops. I still flinch every single time. Separate each biscuit into two thin rounds. The Flaky Layers ones peel apart really easily you just pull gently at the seam. You’ll end up with 16 pieces total. If some tear a little, don’t worry. We’re going to patch them up when we seal them.
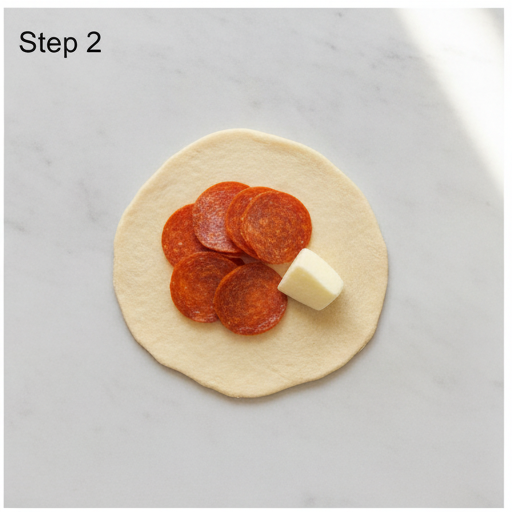
Stage 2: Add the Filling
Cut each pepperoni slice into quarters. You want little bits, not full slices. Place about 8 pieces in the center of each biscuit round. Then set one cube of mozzarella on top. This is where you want to be generous but not crazy. The cheese is the star, but too much and you’ll have a mess.
Stage 3: Seal and Shape
Here’s the most important part. Fold the edges of the biscuit up and over the filling. Pinch them together tightly I mean really pinch. You want to create a good seal so nothing leaks out during cooking. Then roll it gently into a ball between your palms. It doesn’t have to be perfect. Just make sure there are no gaps.
What if my bombs explode? Don’t panic just push the cheese back in and pinch again. I’ve had plenty of blowouts, and they still taste amazing. The ones that leak a little just get extra crispy edges, which honestly, are my favorite part.
Stage 4: Brush and Air Fry
Arrange the stuffed biscuits in a single layer in your air fryer basket. Leave some space between each one they need room for the hot air to circulate. In a small bowl, whisk together the melted butter, garlic powder, and Italian seasoning. Brush that mixture generously over the tops. This is what gives them that gorgeous golden color and makes your kitchen smell incredible.
Air fry at 350°F for 5 to 6 minutes. That’s it. Five minutes. They come out perfectly golden brown, puffed up, and absolutely irresistible. The smell of garlic and oregano fills the whole house, and people start wandering into the kitchen asking what’s for dinner.
Tips for Best Results
After making these more times than I can count, I’ve picked up a few tricks that make a real difference. Here’s what I wish someone had told me before my first attempt.
- Use cold cheese If your mozzarella is cold when you stuff it, it might not melt fully during the short cooking time. Let it sit at room temperature for about 10 minutes before you start. Or, if you’re in a rush, just go for it. It’ll still be good.
- Don’t overfill I know it’s tempting to cram as much cheese and pepperoni in there as possible, but less is more. Too much filling and the dough won’t seal properly. You’ll end up with cheese lava everywhere.
- Leave space in the air fryer Crowding the basket leads to uneven cooking. If you have a small air fryer, work in batches. It’s worth the extra few minutes.
- Brush the butter mixture generously Don’t be shy here. That garlic butter is what makes the tops crispy and flavorful. I use a silicone brush and really get into all the nooks and crannies.
- Check for doneness Every air fryer runs a little different. At 5 minutes, peek inside. If they’re not golden enough, give them another minute. You’re looking for a deep golden brown color all over.
One more thing if you want that perfect cheese pull, let the pizza bombs rest for about 2 minutes after cooking. I know it’s hard to wait, but the cheese inside is molten hot. Give it a minute to set up a little, then dig in. When you pull one apart, that gooey cheese stretch… oh my.
Variations to Try
Once you’ve mastered the basic recipe, the possibilities are endless. I love experimenting with different fillings depending on what I have in the fridge. Here are some of my favorite variations.
- Vegetarian pizza bombs Skip the pepperoni and use diced bell peppers, sliced mushrooms, or chopped olives. My vegetarian friends go crazy for these.
- Meat lover’s version Add some cooked Italian sausage or chopped ham along with the pepperoni. Just make sure any meat is fully cooked before you stuff it.
- Cheese explosion Use a mix of mozzarella and provolone or add a little parmesan to the garlic butter topping. Extra cheesy is never a bad thing.
- Spicy kick Add a few red pepper flakes to the butter mixture or use spicy pepperoni. If you like heat, this is your move.
- Breakfast bombs Okay, this is a stretch for the recipe, but try filling them with scrambled eggs and cheese. Breakfast pizza bombs? Yes, please.
The beauty of these pizza bombs is that they’re a blank canvas. You can customize them for any crowd. Picky kids? Stick with plain cheese. Adventurous eaters? Load them up. They’re the perfect party snack ideas because everyone can find something they love.
Storage and Reheating
Let’s be real leftovers are rare with these. But if you somehow end up with extras, here’s what to do.
In the fridge: Store leftover pizza bombs in an airtight container for up to 3 days. The dough will soften a bit, but they’ll still be delicious.
In the freezer: You can freeze assembled but uncooked pizza bombs. Arrange them on a baking sheet and freeze until solid, then transfer to a freezer bag. They’ll keep for up to 2 weeks. When you’re ready to cook, just add a couple extra minutes to the air fry time.
Reheating: The air fryer is your best friend here. Pop them back in at 350°F for about 2 minutes. They’ll come out almost as good as fresh. The microwave works in a pinch, but the texture won’t be as crispy.
How long do pizza bombs last? In the fridge, about 3 days. In the freezer, up to 2 weeks. But honestly, in my house, they last about 15 minutes after coming out of the air fryer.
Serving Suggestions
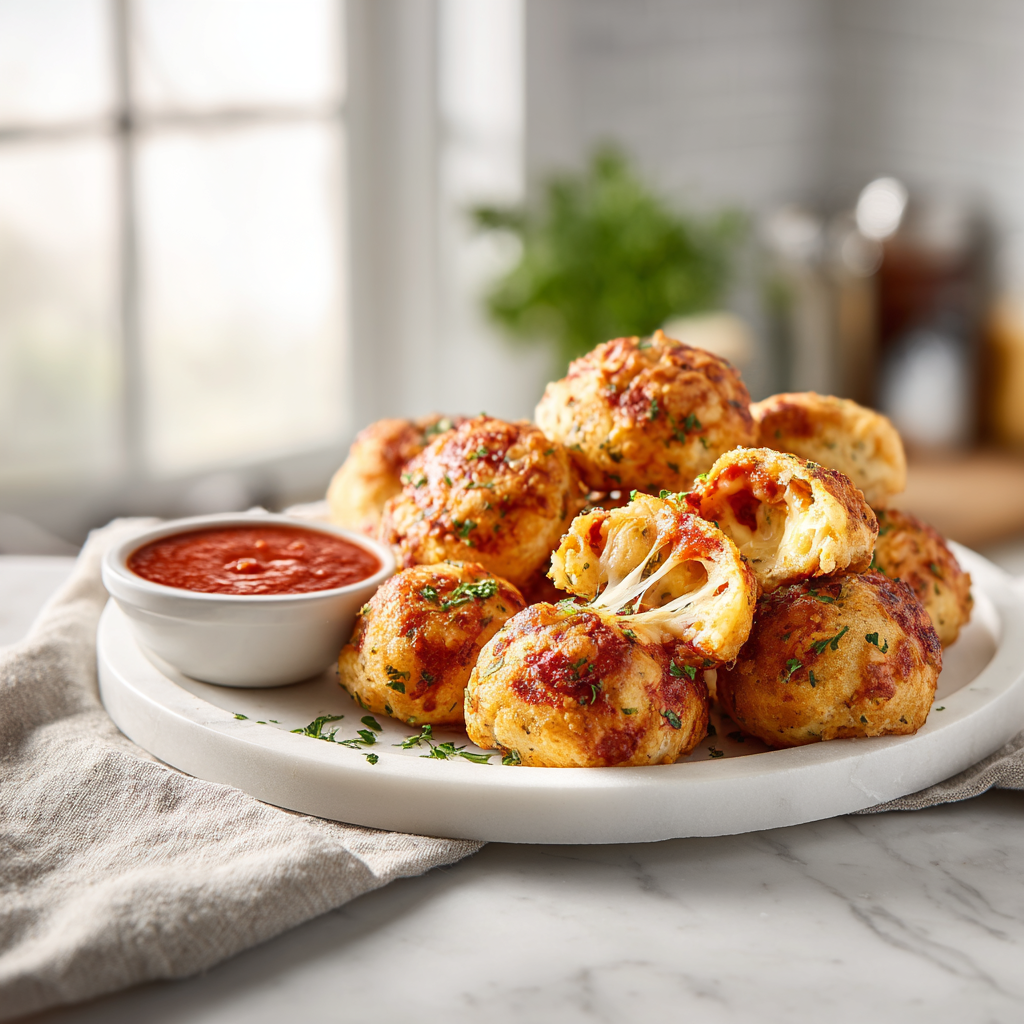
These pizza bombs are incredibly versatile when it comes to serving. I usually set them out on a big platter with a couple of dipping options. Here’s what works well.
- Pizza sauce The classic. Warm it up and put it in a small bowl. It’s the obvious choice and for good reason.
- Ranch dressing I know, I know. But ranch and pizza is a thing, and it’s delicious. Especially if you’re serving these at a summer cookout.
- Garlic butter Extra garlic butter for dipping? Yes, please. Just make sure it’s melted and warm.
- Marinara with herbs If you want to get fancy, stir some dried basil and oregano into your pizza sauce.
These are perfect for July 4th appetizers. They’re handheld, they’re not messy (if you seal them right), and they disappear fast. I’ve brought them to potlucks, birthday parties, and game day gatherings. They always get the same reaction people grab one, take a bite, and their eyes go wide. Then they grab three more.
Frequently Asked Questions
You’ve got this. Seriously. These pizza bombs are one of those recipes that looks impressive but is secretly the easiest thing you’ll make all summer. Grab a can of biscuits, some cheese, and pepperoni, and you’re 20 minutes away from being the hero of your July 4th cookout. Make them for your party and watch them disappear. I promise you won’t have leftovers.
If you make these, I’d love to hear how they turn out. Drop a comment or tag me in your photos. And if you’re looking for more summer cookout recipes, check out my Pinterest board for endless inspiration. Happy cooking, friends!
Source: Health & Nutrition Research