

Why This Recipe Works
I used to end up with sad, dried-out corn until I discovered this one trick. You know the struggle, right? You throw those ears on the grill, get distracted by the burgers, and suddenly you have tough, chewy kernels that taste more like cardboard than summer.
Here’s the thing, though. This grilled corn on the cob recipe is basically foolproof. The secret? Foil packets. I know, I know, it sounds almost too simple. But wrapping your corn in foil with a little seasoned butter creates a steam bath that cooks the kernels to sweet, tender perfection. No more guessing games, no more burnt husks, and honestly, no more sad corn.
I made three batches of this last July 4th because they vanished so fast. People just kept grabbing more. It’s the kind of side dish that makes you look like a grill master without any of the stress. And trust me, if you’re hosting a backyard BBQ, you need something that’s hands-off so you can actually enjoy the party.
Ingredients You’ll Need
This is where the magic starts. You don’t need a long grocery list or fancy ingredients. Just a few pantry staples and the star of the show.
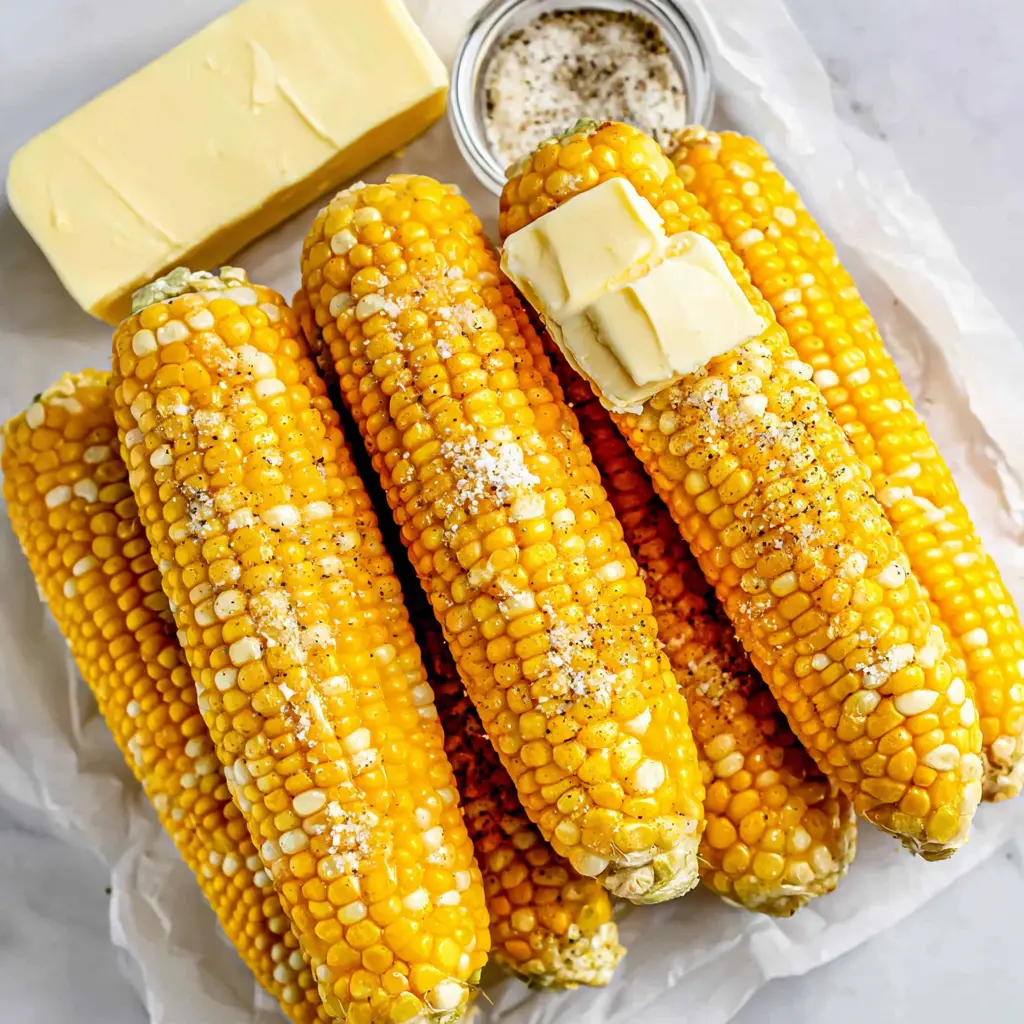
- Unsalted butter, softened: This is your base. Using unsalted lets you control the salt level. Softened butter spreads like a dream, coating every kernel.
- Salt: Just a pinch in the butter, plus more for sprinkling at the end. It brightens the corn’s natural sweetness.
- Garlic powder: A little goes a long way. It adds a savory depth without being overpowering. Trust me, it’s not garlicky, just… better.
- Freshly ground black pepper: A tiny bit of heat and earthiness. Don’t skip it.
- Corn on the cob, shucked: About 6 ears. Look for fresh, bright green husks and plump kernels. Peak summer corn is the best, but this works with grocery store corn too.
That’s it. Five ingredients. I know you’re busy prepping burgers and chopping watermelon, so this list is designed to be easy. You probably already have the butter, salt, garlic powder, and pepper in your kitchen. Just grab the corn, and you’re set.
How to Grill Corn on the Cob in Foil
Okay, let’s get to the actual grilling part. I’ll walk you through the four main stages. The goal here is juicy, tender kernels with a little bit of char, all wrapped up in buttery goodness.
Stage 1: Make the Butter and Prep the Corn
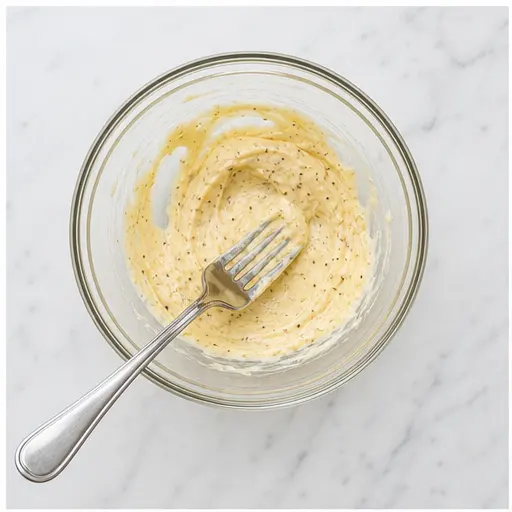
First, get your grill going. Preheat your gas or charcoal grill to 400°F (about 200°C). While it’s heating up, grab a small bowl and mash the softened butter with the salt, garlic powder, and black pepper. A small fork works great for this. You want it smooth and well combined. Don’t overthink it, just mix until it looks like one cohesive, delicious paste.
Stage 2: Butter the Corn and Wrap in Foil
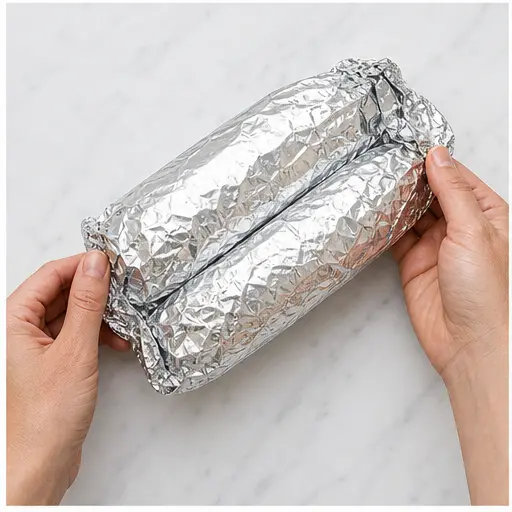
Now, take each ear of shucked corn and rub it all over with the seasoned butter mixture. Get into those crevices. You want every kernel coated. Then, place the ears on large sheets of heavy-duty aluminum foil. I usually do two ears per packet, but you can wrap each ear individually if you prefer. If you’re using regular foil, double it up to protect the corn from direct heat. Fold the foil up and over the corn, crimping the edges tightly to form sealed packets. This is crucial, a loose packet lets steam escape and dries out the corn.

Stage 3: First Grill Session
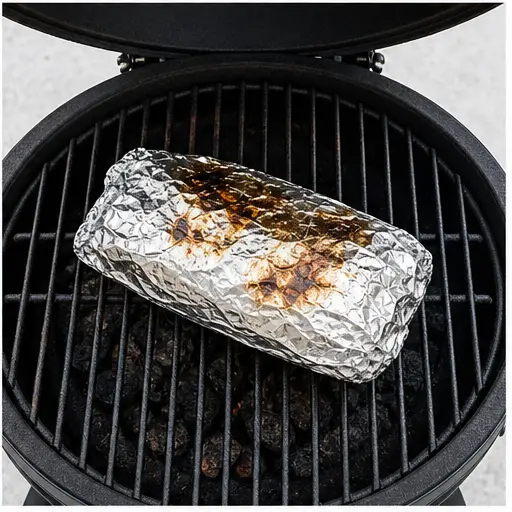
Place the foil packets on the preheated grill, close the lid, and cook for 10 minutes. Don’t touch them. Just let the steam do its thing. This is the part where you can go flip the burgers or refill your drink. It’s almost hands-off.
Stage 4: Flip and Finish
Carefully remove the packets from the grill. Open one end, use tongs to flip each ear of corn, then reseal the packets. Return them to the grill and continue cooking for another 10 to 20 minutes. The total time depends on your grill and how tender you like your corn. You’re looking for the corn to be tender and beginning to brown in spots. Those little charred edges? That’s where the flavor lives. Even if you get a few burnt spots, don’t worry, it adds character.
Serve It Up
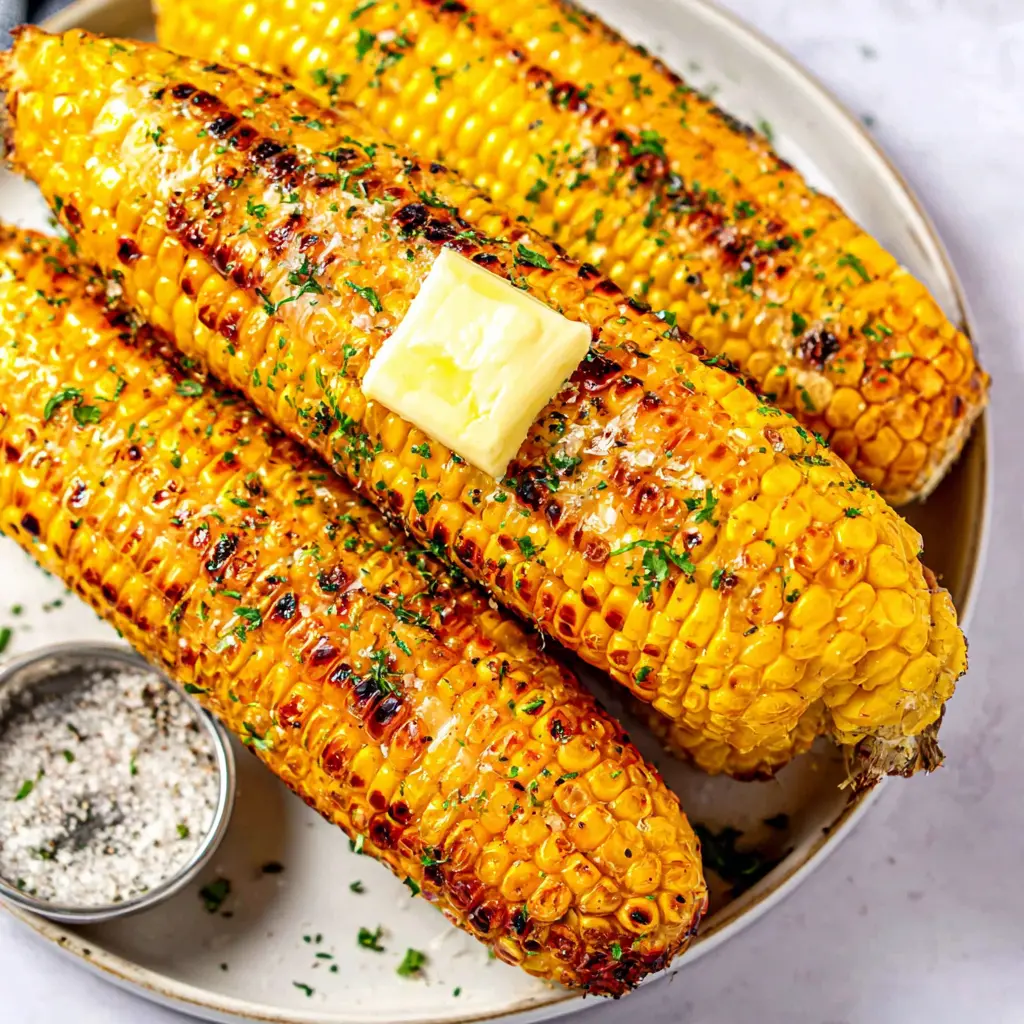
Take the packets off the grill, open them carefully to avoid the steam (it’s hot!), and serve the corn hot with extra butter and a sprinkle of salt if desired. Honestly, the aroma when you open that foil is pure summer bliss.
Tips for Best Results
I’ve made this recipe a dozen times, and I’ve learned a few things along the way. Here are my best tips to make sure your grilled corn on the cob turns out perfect every single time.
Pro Tips from the Kitchen
- Seal those packets tight. This is the number one mistake. If steam escapes, your corn will dry out. Crimp the edges like you’re wrapping a present you don’t want anyone to peek into.
- Don’t skip the flip. Flipping the corn halfway ensures even cooking. The bottom of the packet gets hotter, so you want every ear to have its turn.
- Use heavy-duty foil. Regular foil can tear on the grill grates. If you only have regular foil, double it up. Trust me, it’s worth the extra few seconds.
- Let it rest for a minute. When you pull the packets off the grill, let them sit for 60 seconds before opening. The steam settles, and you won’t burn your fingers.
- Don’t stress about exact timing. The 10 to 20 minute range is a guide. If you like your corn with a little crunch, go for 10 minutes after the flip. If you want it super tender, go for 20. You can’t really mess it up.
Flavor Variations
Once you’ve mastered the basic grilled corn on the cob, you can start playing around. The foil packet method is a perfect canvas for different flavors. Here are a few of my favorites.
- Chili Lime Street Corn: After grilling, slather the corn with a little mayo (yes, mayo), squeeze fresh lime juice over it, and dust with chili powder and crumbled cotija cheese. It’s like elote, but on the cob. So good.
- Herb Butter Corn: Mix fresh chopped herbs like parsley, chives, or dill into the butter before spreading. It adds a fresh, garden flavor that’s perfect with grilled meats.
- Spicy Garlic Corn: Add a pinch of cayenne pepper or red pepper flakes to the butter mixture. It gives a nice little kick without being overwhelming.
- Parmesan Herb Corn: Sprinkle grated Parmesan and dried oregano over the buttered corn before wrapping. The cheese melts into the butter and creates a savory crust.
These are just starting points. Feel free to experiment. If you don’t have a charcoal grill, gas works just fine, no judgment. The key is the steam from the foil, not the type of grill.
How to Store Leftovers
Honestly, leftovers of this grilled corn on the cob are rare in my house, but if you happen to have some, here’s what to do.
Keep the leftover corn in the foil packets and store them in the fridge for up to 3 days. The foil helps keep them moist. When you’re ready to reheat, you can toss the packets back on the grill for 5-7 minutes, or pop them in a 350°F oven for about 10 minutes. You can also microwave them for 1-2 minutes if you’re in a hurry.
If you want to freeze the kernels, cut them off the cob, place them in a freezer-proof container, and freeze for up to 3 months. They’re great for adding to soups, salads, or salsas later.
Frequently Asked Questions
This grilled corn on the cob recipe has become my go-to for every summer cookout. It’s easy, it’s forgiving, and it always gets rave reviews. I’d love to see how yours turns out. Tag me when you make these, I want to see your char!
For more on the nutritional benefits of corn, check out this Health & Nutrition Research.

Perfectly Grilled Corn on the Cob in Foil Packets
Ingredients
Method
- Preheat your gas or charcoal grill to 400°F (about 200°C).
- In a small bowl, mash the softened butter with salt, garlic powder, and black pepper until smooth and well combined. A small fork works great for this.
- Rub each ear of corn all over with the seasoned butter mixture. Place the ears on large sheets of heavy-duty aluminum foil. For best results, use two ears per packet, but you can wrap each ear individually if you prefer. If using regular foil, double it up to protect the corn from direct heat. Fold the foil up and over the corn, crimping the edges tightly to form sealed packets.
- Place the foil packets on the preheated grill, close the lid, and cook for 10 minutes.
- Carefully remove the packets from the grill. Open one end, use tongs to flip each ear of corn, then reseal the packets. Return to the grill and continue cooking for another 10 to 20 minutes, until the corn is tender and beginning to brown in spots.
- Take the packets off the grill, open them carefully to avoid steam, and serve the corn hot with extra butter and a sprinkle of salt if desired.