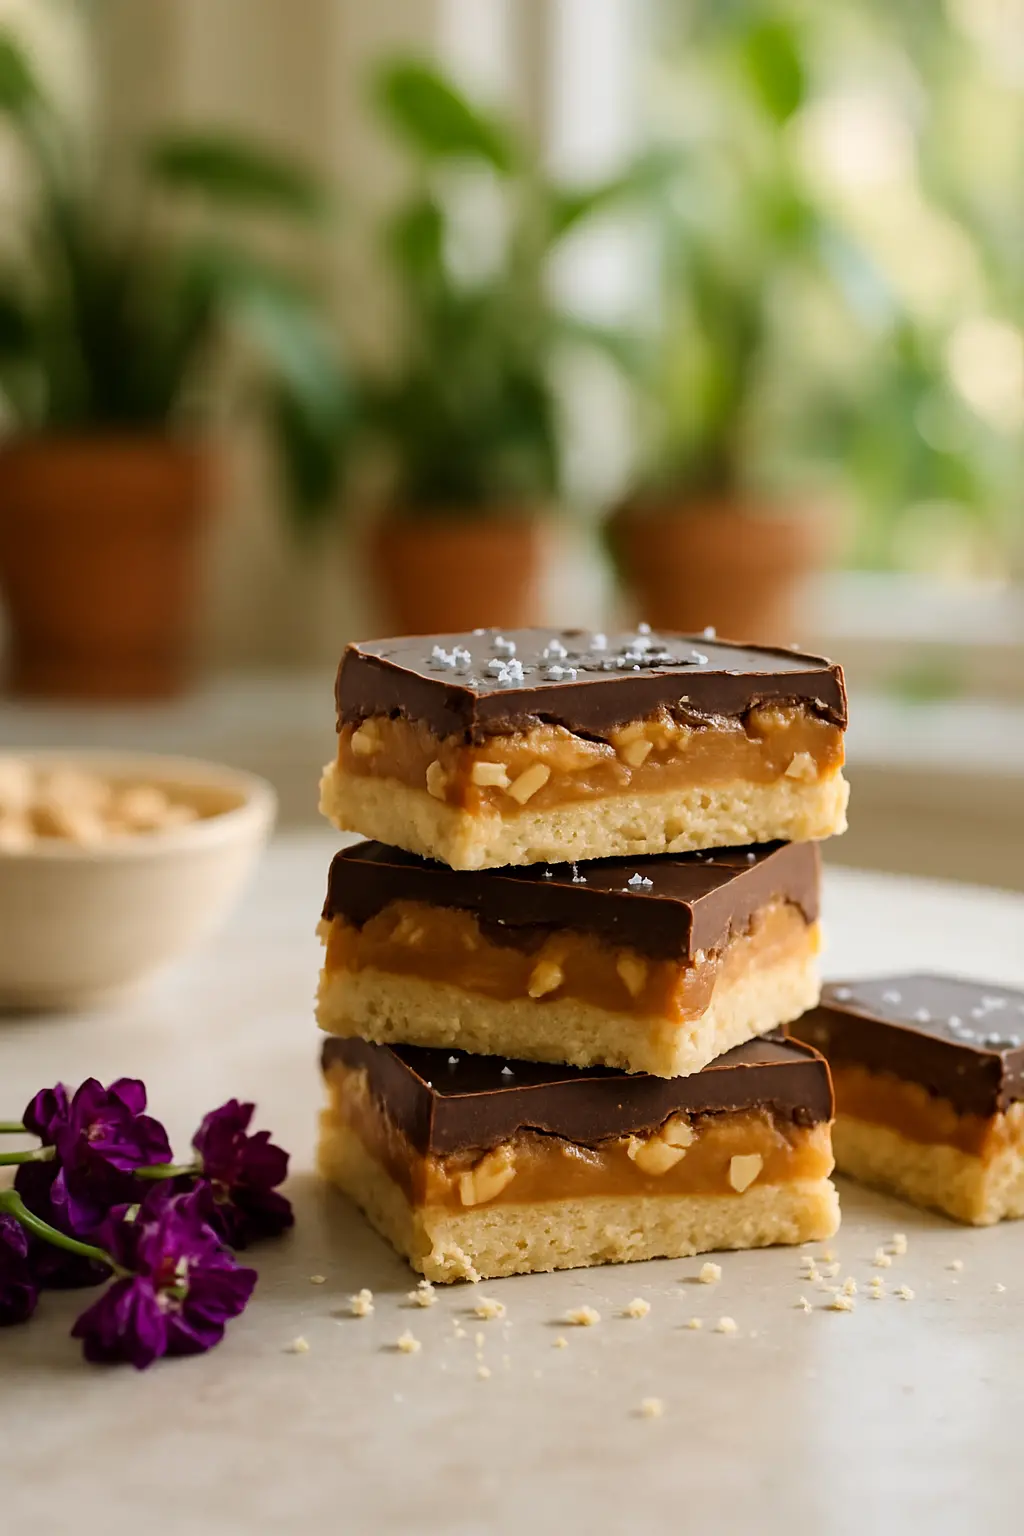
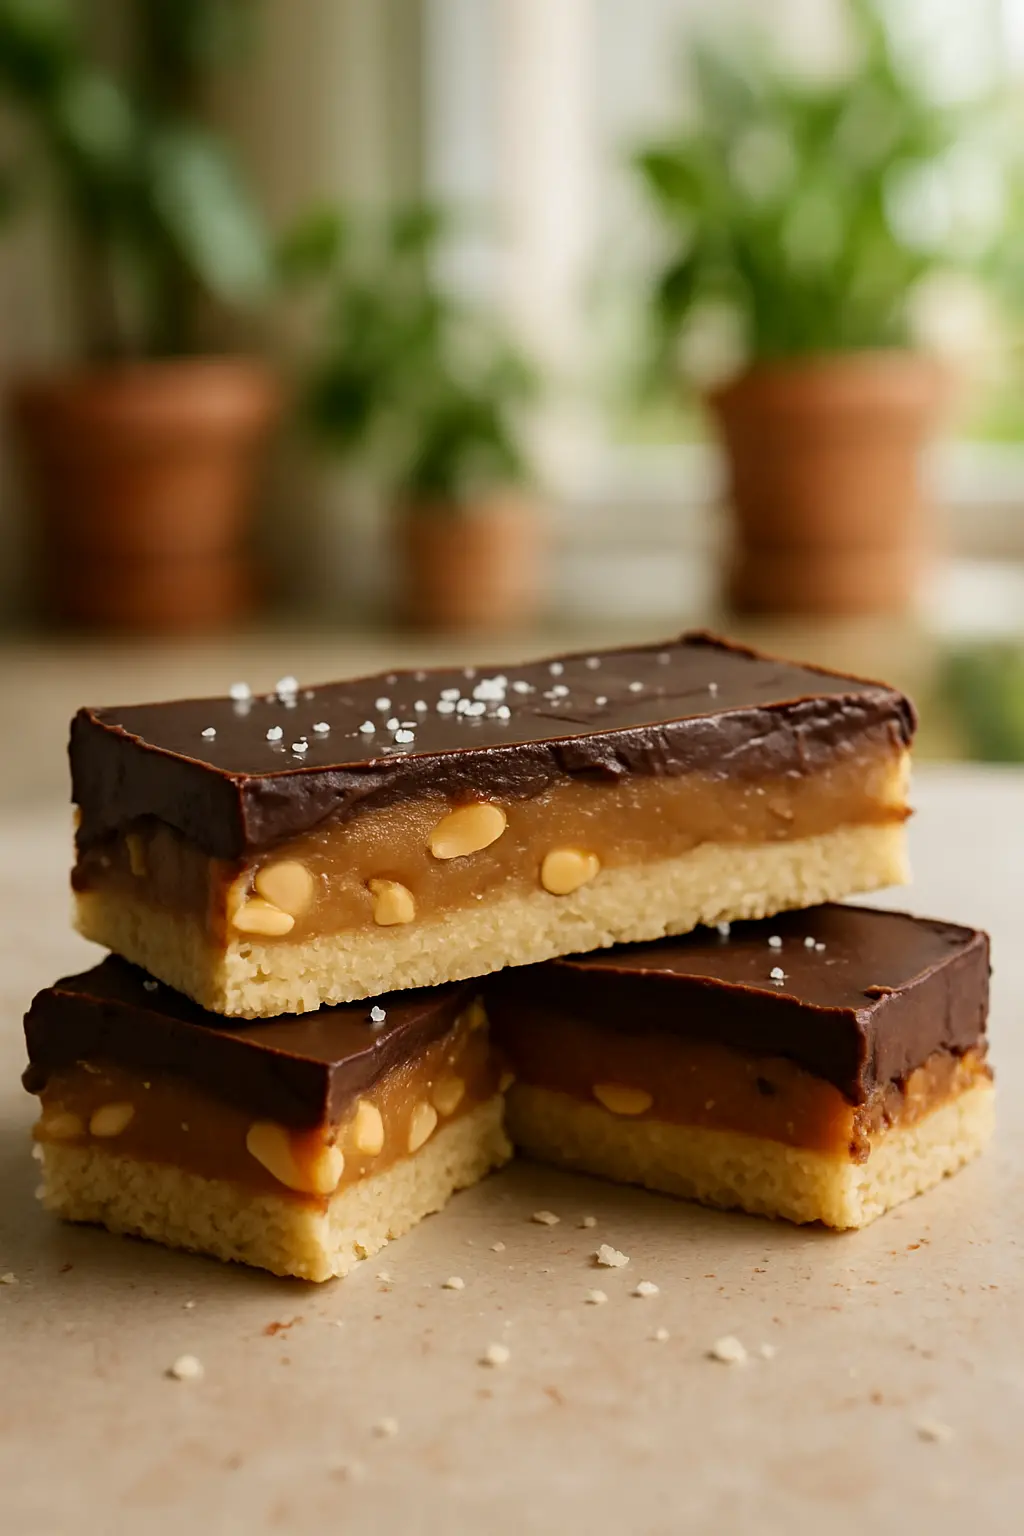
Chocolate Peanut Butter Bars: The Ultimate No-Bake Dessert Experience
Discover the perfect blend of rich chocolate and creamy peanut butter in these irresistible chocolate peanut butter bars. This no-bake dessert combines layers of velvety chocolate, smooth peanut butter, and a perfectly crisp base for an unforgettable treat that’ll become your new favorite.


No-Bake Chocolate Peanut Butter Graham Cracker Bars (Snickers Copycat)
Ingredients
- 1 1/2 cups of finely ground blanched almond flour We prefer Bob’s Red Mill
- 3 Tablespoons melted and cooled coconut oil
- 3 Tablespoons pure maple syrup
- 1 teaspoon vanilla extract
- A pinch of salt
- 3/4 cup roasted salted peanuts roughly chopped
- 3/4 cup creamy peanut butter
- 1/3 cup pure maple syrup
- 1/4 cup coconut oil
- 1 teaspoon vanilla extract
- A dash of sea salt
- 3/4 cup dairy-free/vegan chocolate chips
- 1 Tablespoon coconut oil
Instructions
- Preheat oven to 350°F and prepare an 8x8 inch baking pan by lining with parchment paper, ensuring proper pan size for optimal results.
- Mix almond flour, cooled coconut oil, maple syrup, vanilla extract and salt in a medium bowl until the mixture becomes thick and crumbly.
- Press mixture firmly into prepared pan to create an even base. Bake 8-10 minutes, then let cool for 10 minutes before proceeding.
- Evenly distribute chopped roasted salted peanuts across the cooling crust.
- Prepare the peanut butter caramel layer while the crust bakes. Combine peanut butter, maple syrup, coconut oil, vanilla extract, and sea salt in a medium saucepan over medium-low heat. Stir frequently and heat for 2 minutes until the mixture starts to bubble gently. Take the pan off the heat and spread the mixture evenly over the peanuts and partially cooled crust.
- Chill the pan in the refrigerator for 30 to 60 minutes until the peanut butter sets, or speed up the process by freezing for 15 to 20 minutes.
- Create the chocolate layer by combining chocolate chips and coconut oil in a microwave-safe bowl. Heat in 30-second bursts, stirring between intervals until fully melted. For stovetop preparation, melt ingredients in a small saucepan over low heat.
- Spread melted chocolate evenly across the caramel, gently tilting the pan to distribute the layer uniformly.
- Chill the pan in the refrigerator for 1 hour or until the chocolate hardens completely.
- Remove bars from pan and slice into 16 equal portions. First, cut the entire slab in half, then divide each half into 8 bars, each measuring 1 inch wide.
- Store bars in the refrigerator, covered, until serving time.
Nutrition
Notes
• Store bars in an airtight container in the fridge for up to 1 week or freeze for up to 3 months
• Let bars thaw 10-15 minutes at room temperature before serving
Tried this recipe?
Let us know how it was!Table of Contents
- Essential Ingredients
- Preparation Steps
- Expert Tips
- Delicious Variations
- Troubleshooting Guide
- Frequently Asked Questions
Essential Ingredients for Perfect Chocolate Peanut Butter Bars
Creating these delectable chocolate peanut butter bars starts with gathering the right ingredients. Each component plays a crucial role in achieving the perfect texture and taste.
- Graham Crackers: Creates a sturdy, crispy base
- Creamy Peanut Butter: Use high-quality, smooth variety
- Melted Chocolate: Semi-sweet or dark chocolate chips
- Powdered Sugar: For sweetness and texture
- Butter: Adds richness and helps bind ingredients
Step-by-Step Preparation Guide
Follow these detailed steps to create perfect chocolate peanut butter bars every time:
1. Preparing the Base
Crush graham crackers into fine crumbs and combine with melted butter. Press firmly into your pan to create a solid foundation.
2. Creating the Peanut Butter Layer
Mix creamy peanut butter with powdered sugar until smooth. Spread evenly over the graham cracker base.

3. Adding the Chocolate Top
Melt chocolate chips carefully and spread over the peanut butter layer for a glossy finish.
Expert Tips for Perfect Results
Follow these professional tips to elevate your chocolate peanut butter bars:
- Use room temperature ingredients for better mixing
- Line your pan with parchment paper for easy removal
- Chill between layers for cleaner definition
- Cut with a hot knife for clean slices
Delicious Variations to Try
Customize your chocolate peanut butter bars with these creative twists:
- Dark Chocolate Version
- Crunchy Peanut Butter Option
- White Chocolate Drizzle
- Sea Salt Topping
Troubleshooting Guide for Perfect Bars Every Time
Even experienced bakers occasionally encounter challenges when making chocolate peanut butter bars. Here’s how to address common issues:
Chocolate Layer Cracking
Let your bars come to room temperature for 10-15 minutes before cutting. This prevents the chocolate layer from cracking and ensures perfect squares every time.
Peanut Butter Layer Too Soft
If your peanut butter layer isn’t setting properly, add more powdered sugar gradually until you reach the desired consistency. The perfect chocolate peanut butter bars should hold their shape when cut.
Uneven Layers
Use an offset spatula and chill each layer before adding the next. This technique creates those picture-perfect, distinct layers that make chocolate peanut butter bars so appealing.

Why These Chocolate Peanut Butter Bars Stand Out
These chocolate peanut butter bars aren’t just another dessert recipe – they’re a game-changer for several reasons:
- Make-Ahead Friendly: Perfect for busy schedules and advance party planning
- Crowd-Pleasing: The classic combination of chocolate and peanut butter never disappoints
- No Oven Required: Ideal for summer entertaining or when you don’t want to heat up the kitchen
- Long-Lasting: These bars stay fresh in the refrigerator for up to a week
Storage and Serving Suggestions
Maximize the enjoyment of your chocolate peanut butter bars with these storage and serving tips:
Storage Tips
- Store in an airtight container
- Keep refrigerated for up to 7 days
- Can be frozen for up to 3 months
- Layer with parchment paper to prevent sticking
Perfect Serving Ideas
- Pair with cold milk for classic enjoyment
- Serve alongside coffee for an afternoon treat
- Include in dessert platters for special occasions
- Pack in lunch boxes for a sweet surprise
Frequently Asked Questions
Can I use natural peanut butter?
While natural peanut butter can be used in chocolate peanut butter bars, commercial creamy peanut butter typically provides better consistency and stability in the final product.
How do I achieve the perfect chocolate layer?
Melt chocolate slowly using a double boiler or microwave in 30-second intervals, stirring between each interval. This ensures smooth, glossy chocolate that sets beautifully on your bars.
Can I make these bars gluten-free?
Absolutely! Simply substitute regular graham crackers with gluten-free graham crackers to create gluten-free chocolate peanut butter bars.
Perfect Occasions for Chocolate Peanut Butter Bars
These versatile treats are perfect for countless occasions:
- Holiday cookie platters
- Bake sales and fundraisers
- After-school snacks
- Office potlucks
- Family gatherings
- Summer picnics
Making Memories with Chocolate Peanut Butter Bars
There’s something special about sharing homemade treats like chocolate peanut butter bars. These simple yet impressive desserts often become family favorites, passed down through generations. Their ease of preparation makes them perfect for getting children involved in the kitchen, creating precious memories while teaching basic cooking skills.

Final Tips for Success
Before you begin making your chocolate peanut butter bars, remember these key points:
- Quality ingredients yield the best results
- Patience during chilling times is crucial
- Clean cuts require a warm knife
- Room temperature ingredients blend better
- Always line your pan for easy removal
With these tips and techniques in hand, you’re ready to create the most irresistible chocolate peanut butter bars that will have everyone asking for the recipe. Happy baking!
How long can you keep homemade chocolate peanut butter bars in the fridge?
When stored properly in an airtight container in the refrigerator, these homemade Snickers-style bars will maintain their freshness and taste for up to one week.
How long can you freeze homemade chocolate peanut butter bars?
Yes, these homemade Snickers bars freeze beautifully! To store them, simply layer them in a freezer-safe container with parchment paper between each layer to prevent sticking. They’ll stay fresh for up to one month in the freezer. When you’re ready to enjoy them, just let them thaw slightly at room temperature until they reach your desired consistency.
What ingredients are used to make the nougat filling in traditional Snickers bars?
The classic nougat filling in traditional Snickers candy bars is made with a simple combination of egg whites, sugar, and vanilla, which creates that signature light and fluffy texture.