
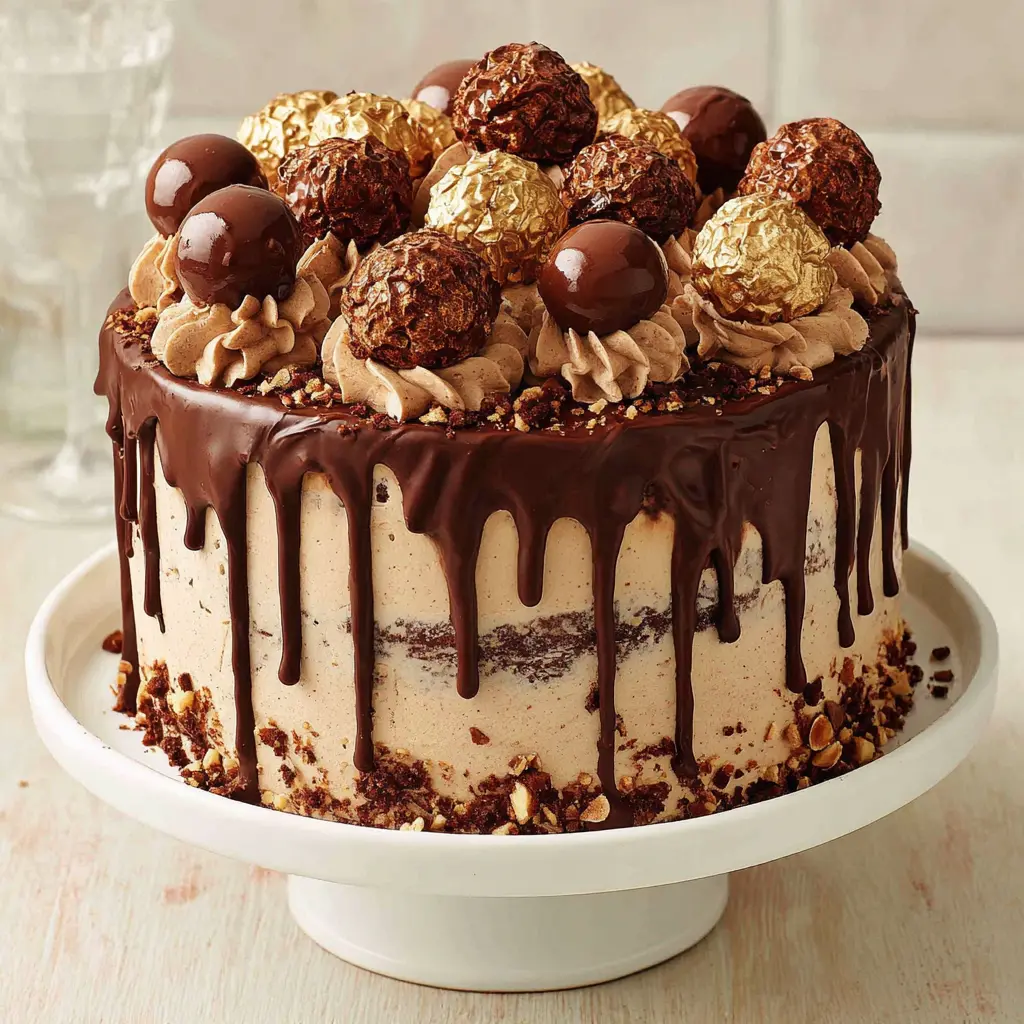
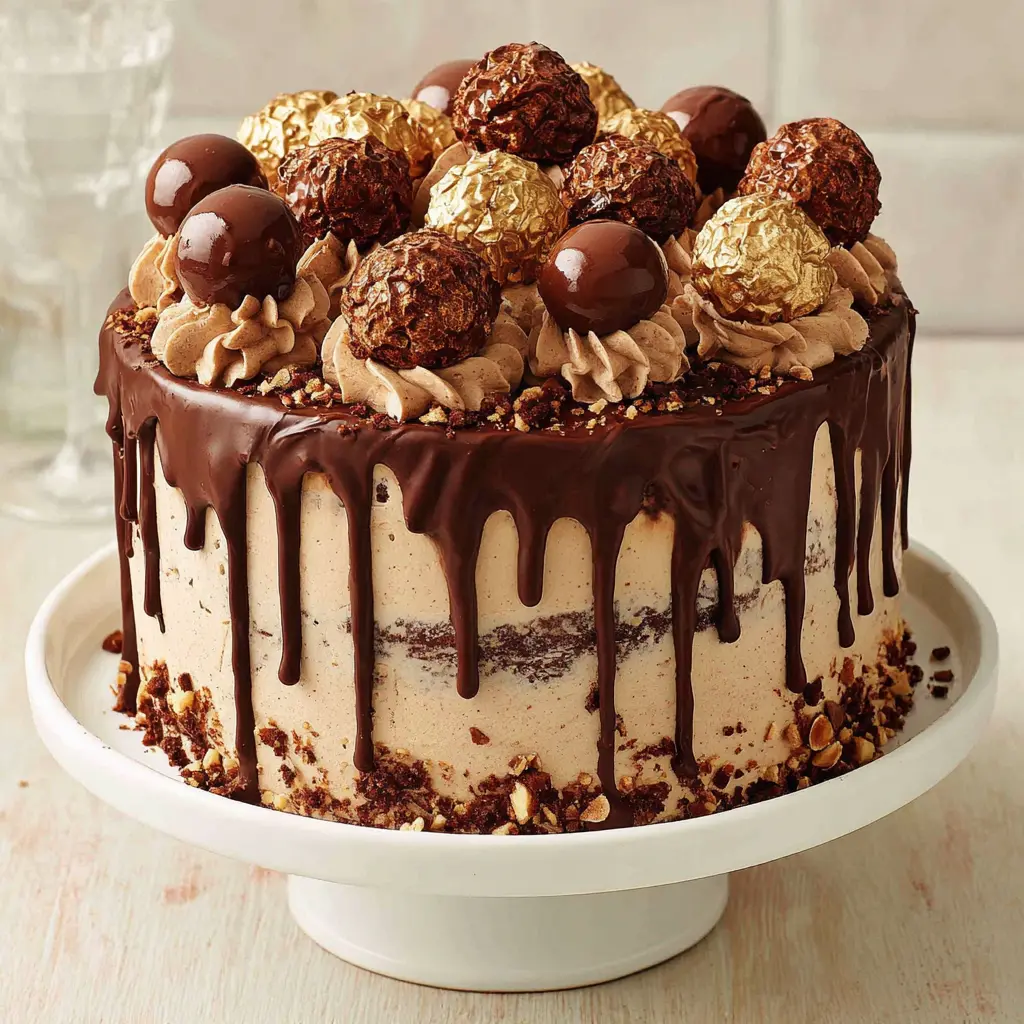
Chocolate Hazelnut Drip Cake
Ingredients
Method
- In a medium heavy-bottomed saucepan over medium-low heat, combine the granulated sugar and 1 1/2 cups water. Stir constantly until the sugar dissolves, about 5 minutes. Do not let it boil yet.
- Increase the heat to high and bring the mixture to a boil. Let it boil undisturbed for about 20 minutes, until it turns a deep amber color. Watch carefully to avoid burning.
- Remove the pan from the heat and carefully pour in the 3/4 cup heavy cream. The mixture will bubble and steam vigorously. Stir until smooth, then transfer to a heatproof bowl. Let cool for 20 minutes at room temperature, then refrigerate uncovered overnight.
- In a large saucepan over medium heat, combine the chopped butter, brown sugar, milk, and sifted cocoa powder. Stir occasionally for 10 to 15 minutes, until the mixture is smooth and begins to gently simmer.
- Remove from heat and stir in the baking soda. The mixture will foam and rise. Transfer to a large bowl and let cool for 30 minutes.
- Meanwhile, preheat your oven to 350°F (175°C). Grease three 8-inch round cake pans and line the bottoms and sides with two layers of parchment paper.
- Whisk the self-rising flour, all-purpose flour, and hazelnut meal into the cooled chocolate mixture in two additions. Add the eggs one at a time, whisking well after each addition until the batter is smooth.
- Divide the batter evenly among the prepared pans. Bake for 50 to 55 minutes, until a skewer inserted in the center comes out clean. Let the cakes rest in the pans for 10 minutes, then turn them out onto wire racks lined with parchment paper to cool completely.
- Line a large baking sheet with parchment paper. Place the milk chocolate melts in a microwave-safe bowl. Microwave on medium power (50%) for 1 minute, stirring halfway through, until melted.
- Spoon the melted chocolate onto the prepared baking sheet and spread it into a thin layer, about 1/8 inch thick. Decorate with sprinkles while still wet. Let stand for 20 minutes until set, then break into large shards.
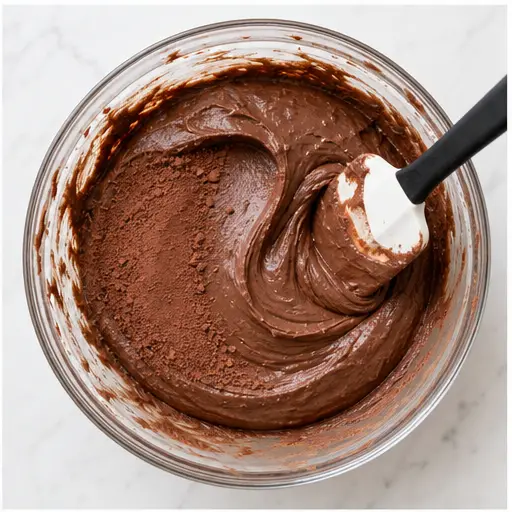
- In a large bowl using an electric mixer, beat the softened butter for 5 to 6 minutes until pale and fluffy. Add the Nutella and beat until combined.
- Gradually beat in the powdered sugar, about 1 tablespoon at a time, until smooth and well blended.
- Place the chopped dark chocolate and remaining 1/3 cup heavy cream in a microwave-safe bowl. Microwave on high (100%) for 1 to 2 minutes, stirring every 30 seconds, until smooth. Set aside to cool for 45 minutes.
- Trim the tops of the cakes to level if needed. Place one cake layer, cut-side down, on a serving plate. Spread about 1/4 of the caramel over the top. Dollop with 1/2 cup of the buttercream and spread gently to cover the caramel. Drizzle with 1/3 of the remaining caramel, spreading lightly.
- Add the second cake layer, cut-side down. Spread with half the remaining caramel, then another 1/2 cup buttercream, and drizzle with the rest of the caramel. Top with the third cake layer, cut-side down.
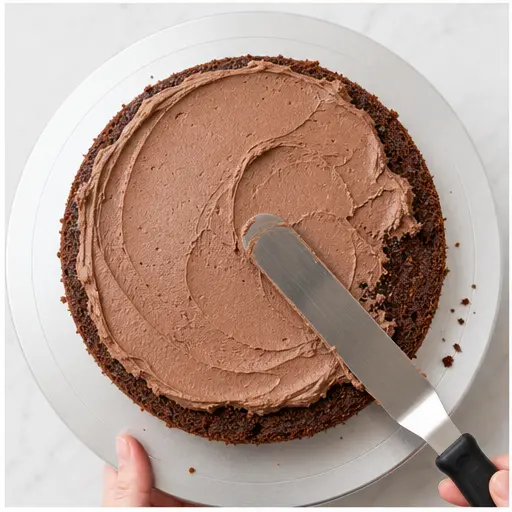
- Using a palette knife, spread a thin layer of the remaining buttercream over the top and sides of the cake to create a crumb coat. Refrigerate for 15 minutes.
- Apply the remaining buttercream evenly over the top and sides, smoothing with a large spatula. Refrigerate for 30 minutes until the buttercream is firm to the touch.
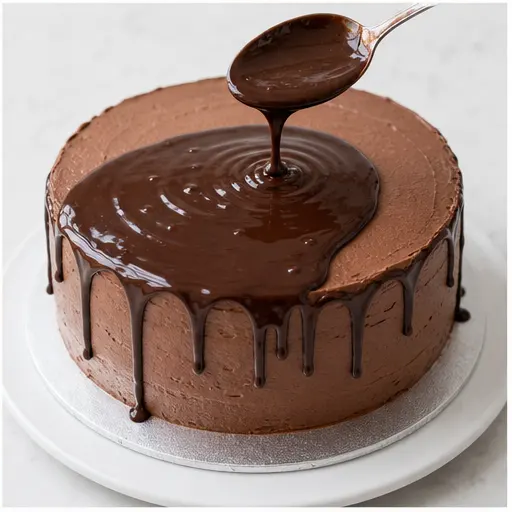
- Slowly spoon some of the cooled ganache around the top edge of the cake, allowing it to drip down the sides. Spoon the remaining ganache over the top and spread gently to cover. Let stand for 10 minutes.
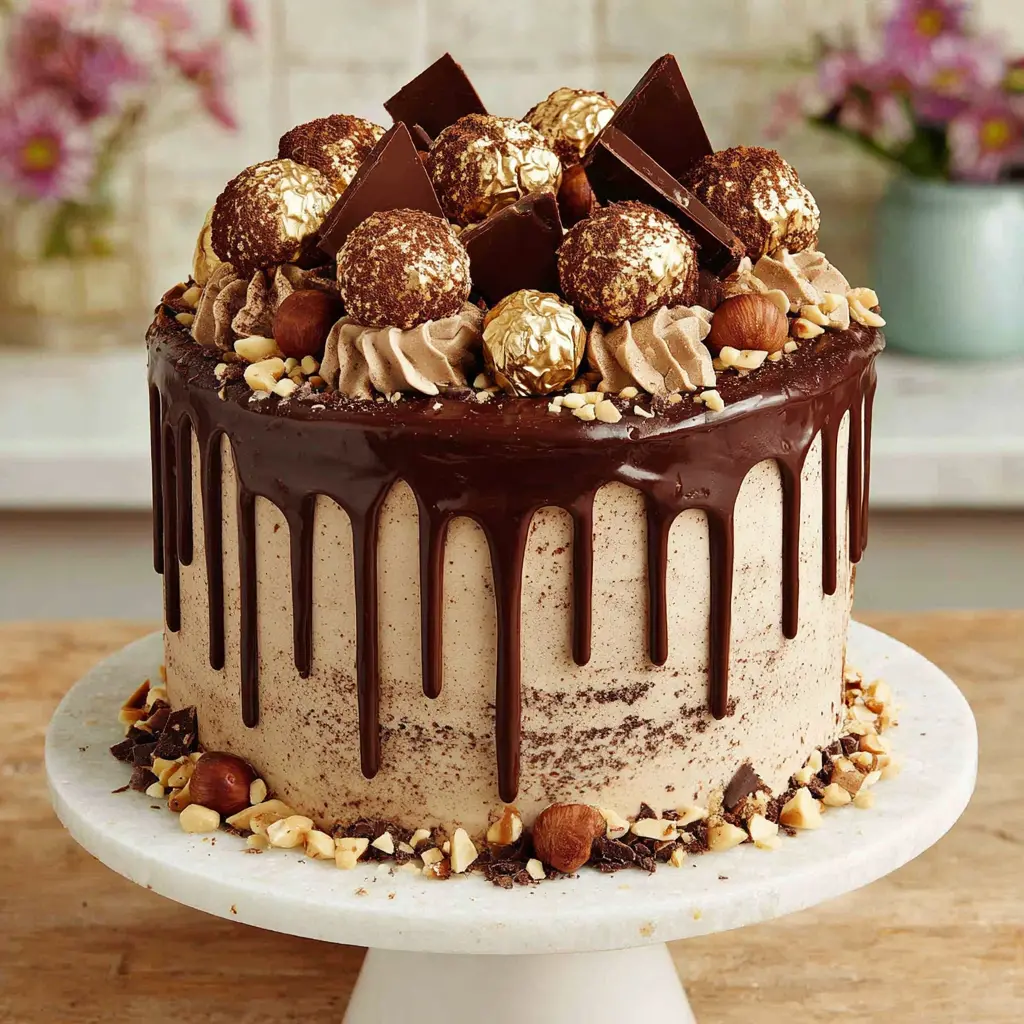
- Carefully push the chocolate bark shards and wafer sticks into the top of the cake. Arrange the Ferrero Rocher candies and sprinkle with chopped hazelnuts. Serve.
Nutrition
Notes
Tried this recipe?
Let us know how it was!Why You’ll Love This Chocolate Hazelnut Drip Cake
I’ll be honest with you. The first time I tried to make a drip cake, it was a disaster. The ganache ran right off the sides, pooling into a chocolate puddle on my cake stand. My kids called it the “melting cake.” Not exactly the showstopper I was going for.
But I learned a few things since then. And this Chocolate Hazelnut Drip Cake? It’s the one that finally worked. The one that gets gasps when you bring it to the table.
This isn’t just any chocolate cake. We’re talking moist, dark chocolate layers infused with hazelnut meal. A silky Nutella buttercream that tastes like the inside of a Ferrero Rocher. A homemade caramel that adds this deep, almost salty-sweet complexity. And then that glossy chocolate drip on top. The one that actually drips where you want it to.
It’s the kind of dessert that makes people say, “You made this?!” And you did. With a little patience and this guide.
Let’s be real. This is a project. But it’s a rewarding one. Perfect for Father’s Day, a big birthday, or just because you want to impress someone you love. Maybe yourself.
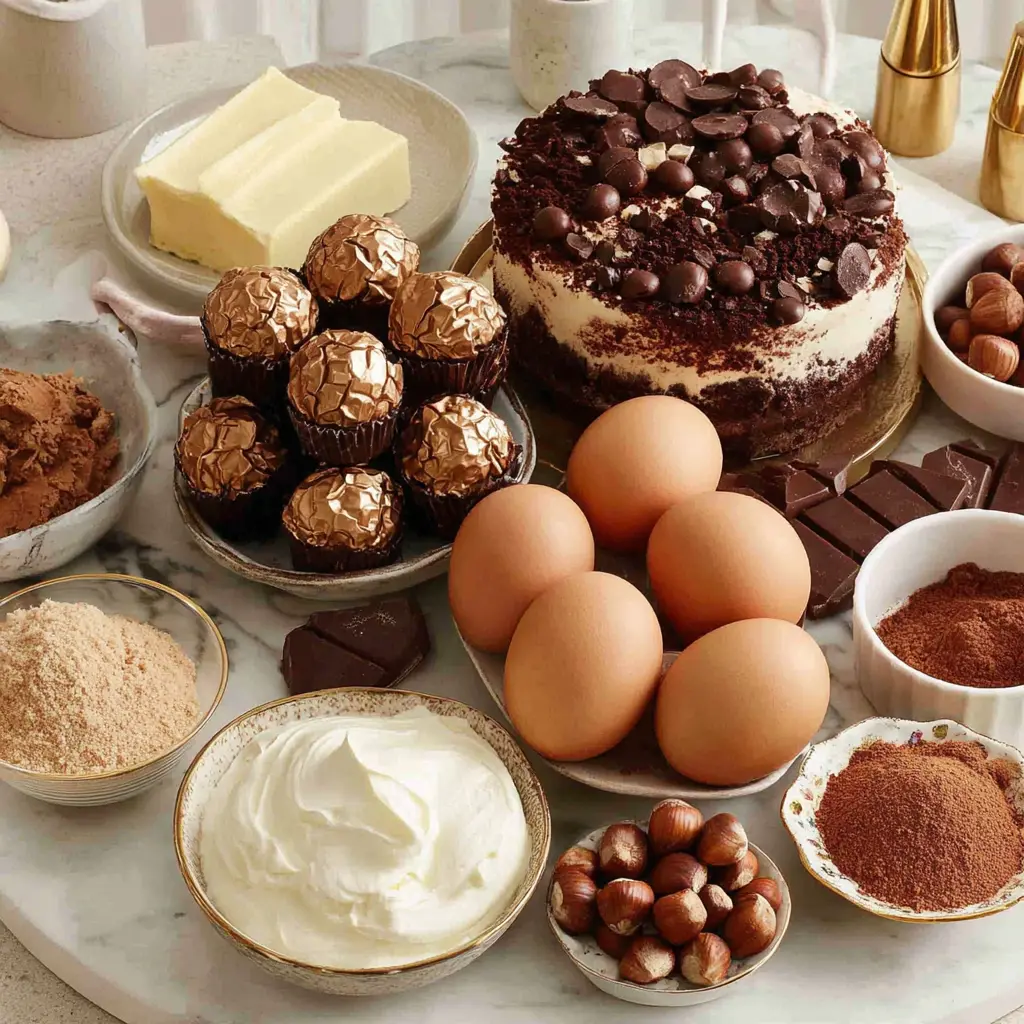
Ingredient Notes
Let’s talk about what makes this cake tick. Every ingredient has a job here.
- Hazelnut meal: This is what gives the cake that subtle nutty flavor. You can find it at Trader Joe’s or Whole Foods. If you can’t find it, just use more all-purpose flour. The cake will still be delicious, just less hazelnutty.
- Nutella: The star of the buttercream. Use the real stuff. Don’t skimp here. It’s what makes this a true chocolate hazelnut layer cake recipe.
- Self-rising flour: Saves you from having to add baking powder and salt separately. If you don’t have it, substitute with all-purpose flour plus 1 1/2 teaspoons baking powder and 1/2 teaspoon salt per cup.
- Dark chocolate for the ganache: Use a good quality bar, around 60-70% cocoa. Lindt or Ghirardelli work beautifully. This is what gives you that glossy chocolate drip ganache.
- Ferrero Rocher: The perfect topping. They add crunch and that extra hit of hazelnut. Plus, they look fancy.
The Sponges
This is where it all starts. The cake layers are incredibly moist thanks to the melted butter and milk method. It’s almost like a brownie in cake form.
You start by melting butter, brown sugar, milk, and cocoa powder together in a saucepan. This sounds weird, I know. But trust me. It creates a deep, rich chocolate flavor that you just can’t get from creaming butter and sugar.
The key here is patience. Let that mixture come to a gentle simmer, stirring occasionally. You’ll see it get smooth and glossy. Then you take it off the heat and stir in the baking soda. It will foam up like crazy. That’s good. That’s the reaction you want.
Let it cool for a good 30 minutes before adding the flours and eggs. If the mixture is too hot, you’ll scramble the eggs. And nobody wants scrambled eggs in their cake.
Don’t overmix the batter once you add the flour. Just fold until it comes together. Overmixing develops gluten, and that makes the cake tough. We want tender, moist chocolate hazelnut cake, not a doorstop.
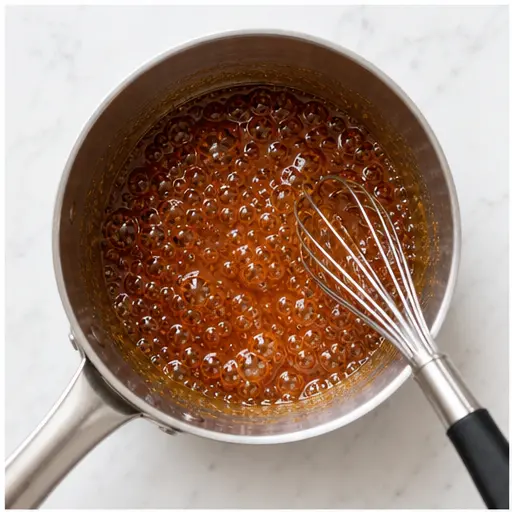
The Caramel Filling
This caramel is a game-changer. It’s sandwiched between the cake layers with the buttercream, adding a gooey, sweet contrast to the rich chocolate.
Making caramel from scratch feels intimidating. But it’s just sugar and water. You heat it until it turns a deep amber color, then add cream. The trick is to not stir it once it starts boiling. Just let it do its thing. Watch it carefully. It can go from perfect to burnt in seconds.
When you add the cream, it will bubble up violently. Don’t panic. Just stir until it’s smooth. Then refrigerate it overnight. This lets it thicken up perfectly for spreading.
The Nutella Buttercream
This buttercream is ridiculously simple. And ridiculously good.
You beat softened butter until it’s pale and fluffy. That takes a good 5-6 minutes. Don’t rush this. The more air you beat in, the lighter and creamier the frosting will be.
Then you add the Nutella. Beat it until it’s fully combined. It will look a little grainy at first. Keep going.
Finally, you add the powdered sugar, a little at a time. This prevents a sugar cloud from exploding all over your kitchen. Trust me, I’ve been there.
The result is a silky, hazelnut buttercream filling that tastes like heaven. It’s the perfect partner to the moist chocolate cake.
The Chocolate Ganache
This is the part that used to terrify me. The drip. But it’s actually the easiest part once you know the secret.
The ganache is just dark chocolate and heavy cream. You melt them together in the microwave, stirring every 30 seconds until smooth. That’s it.
The secret to perfect drips? Temperature and consistency. Let the ganache cool for about 45 minutes. You want it to be thick enough to coat the back of a spoon but still pourable. If it’s too runny, it will slide right off the cake. If it’s too thick, it won’t drip at all.
Here’s my trick. Before you pour it on the cake, test it on the side of a tall glass. If it drips down slowly and stops about an inch down, you’re golden. If it runs straight to the bottom, it needs more cooling time. If it doesn’t move, warm it up for 10 seconds in the microwave.
Troubleshooting Your Ganache Drip
Too runny? Pop it in the fridge for 5 minutes, then stir and test again.
Too thick? Microwave for 10 seconds, stir, and test again.
Drips are uneven? Use a small spoon to encourage drips where you want them. A little imperfection looks rustic and homemade.
The Decoration
This is where you get to be creative. The cake is already delicious. Now you make it beautiful.
After you’ve assembled the cake with the caramel and buttercream, and done a crumb coat (that thin layer of frosting that traps all the crumbs), you chill it. A lot. The cake needs to be cold for the ganache to set properly.
Once it’s firm, you spoon the ganache around the top edge. Let it drip. Then pour the rest on top and spread it gently. Let it sit for 10 minutes to set slightly.
Then comes the fun part. Push the chocolate bark shards and wafer sticks into the top. Arrange the Ferrero Rocher candies. Sprinkle with chopped hazelnuts. Add some sprinkles if you’re feeling festive.
The contrast of the glossy chocolate drip against the matte buttercream, with the gold wrappers of the Ferrero Rocher peeking out… it’s a showstopper. A true showstopper birthday cake recipe.
Tips & Tricks for Success
I’ve made this cake more times than I can count. Here’s what I’ve learned.
- Don’t overmix the cake batter. Seriously. Just fold until combined. Overmixing = tough cake.
- Check your baking soda expiration. Old baking soda won’t give you the rise you need. Your cakes will be flat and dense.
- Don’t open the oven door. Not for the first 30 minutes. The temperature drop can cause the cakes to sink in the middle.
- Cool the ganache completely. Adding warm ganache to cold buttercream will cause it to melt and slide off. Patience is key.
- Chill the cake before adding the drip. A cold cake + cool ganache = perfect drips. A warm cake + cool ganache = a chocolate puddle.
- Use a cake turntable. It makes frosting and decorating so much easier. You can get one at any baking supply store or on Amazon.
- An offset spatula is your best friend. It helps you get smooth, even layers of frosting.
Frequently Asked Questions
Storage & Leftovers
This cake is a commitment. But the good news is, you can make parts of it ahead of time.
- Cake layers: Bake them a day ahead. Wrap them tightly in plastic wrap and store at room temperature. Or freeze them for up to a month.
- Buttercream: You can make it a few days ahead and store it in the fridge. Just let it come to room temperature and re-whip it before using.
- Caramel: Make it the night before and refrigerate it overnight. It needs that time to thicken.
- Decorated cake: Store it in an airtight container in the fridge for up to 3 days. Let it sit at room temperature for about 30 minutes before serving for the best texture.
- Freezing: You can freeze the fully decorated cake. Flash freeze it for 30 minutes, then wrap it tightly in plastic wrap and foil. It will keep for up to 2 months. Thaw overnight in the fridge.
And if you have leftovers? They make an incredible breakfast. Don’t judge me.
I hope you love this Chocolate Hazelnut Drip Cake as much as I do. It’s a labor of love, but the look on everyone’s face when you bring it to the table? Totally worth it.
Share your cake photos with me! I want to see those drips. Pin this recipe for later and tag me when you make it.
Source: Nutritional Information