
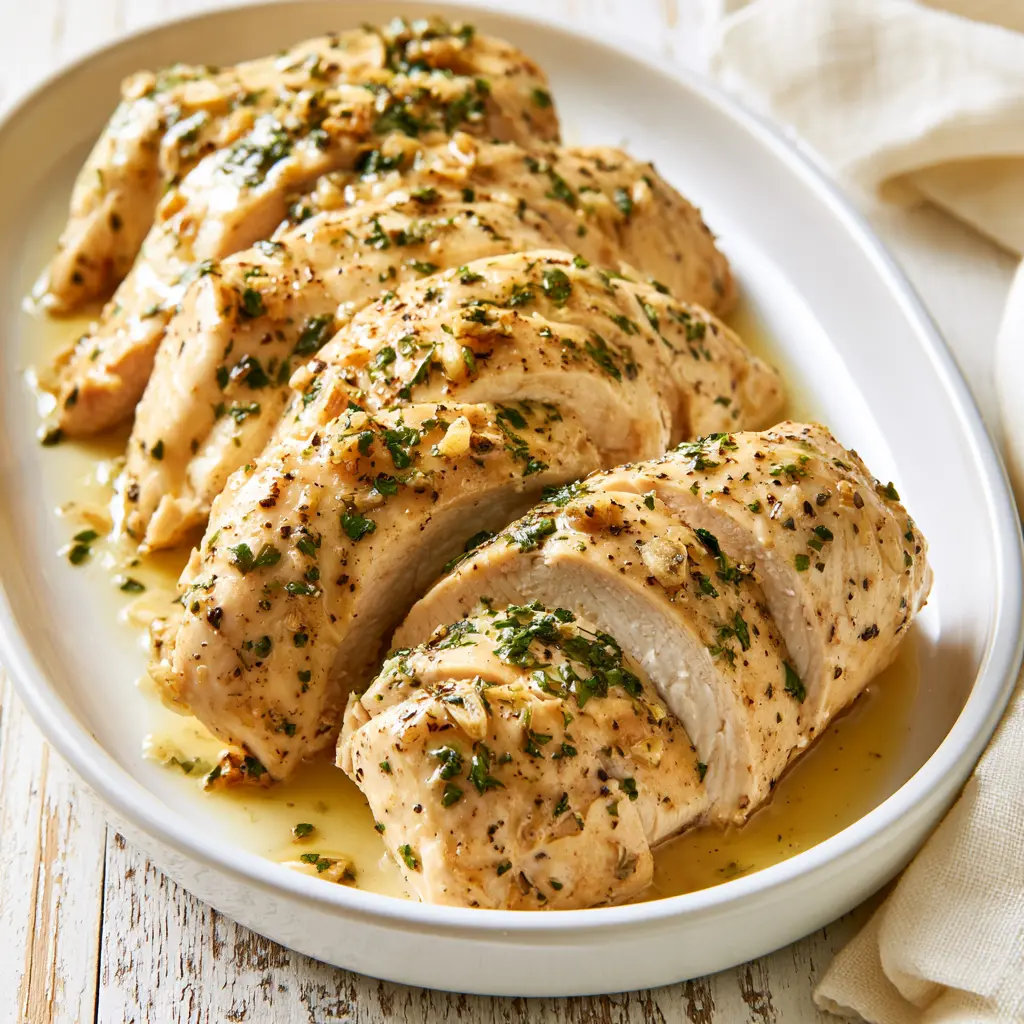
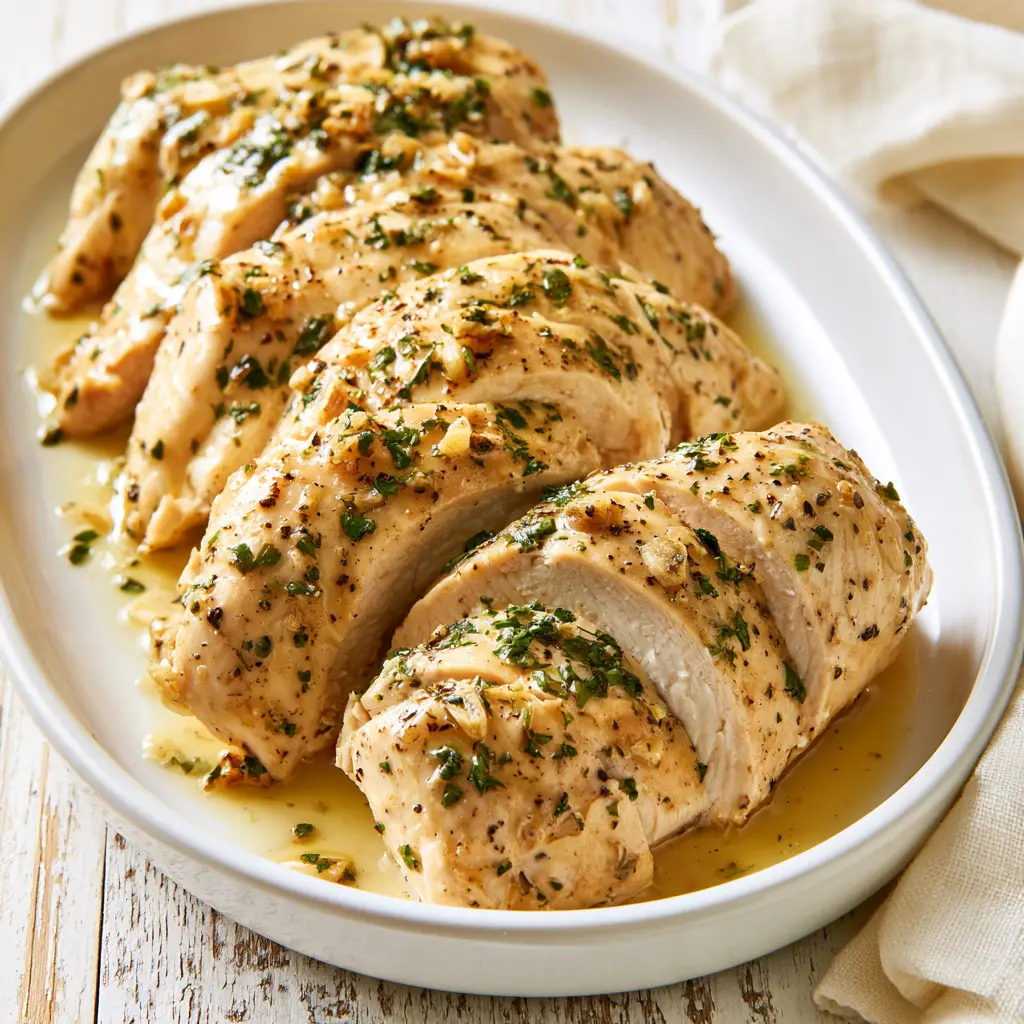
Instant Pot Frozen Garlic Herb Chicken Breasts
Ingredients
Method
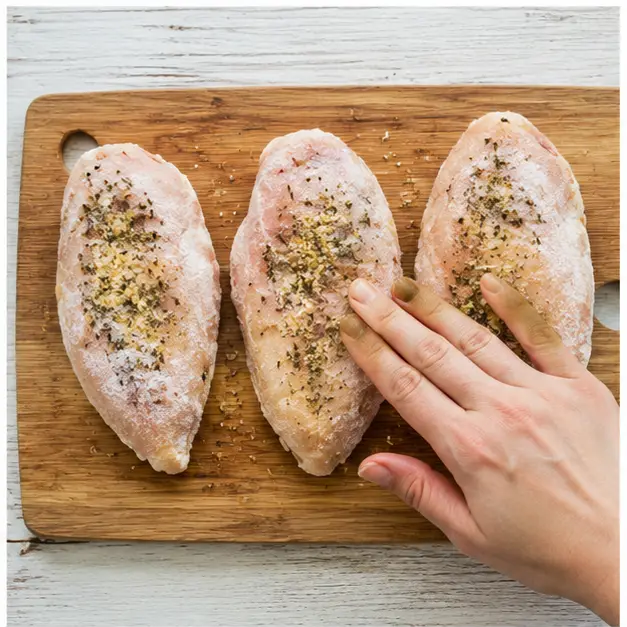
- Set the frozen chicken breasts on a cutting board or plate in one layer. Season the top side with half of the garlic herb seasoning and press it onto the surface, then flip the chicken and season the other side with the remaining seasoning.
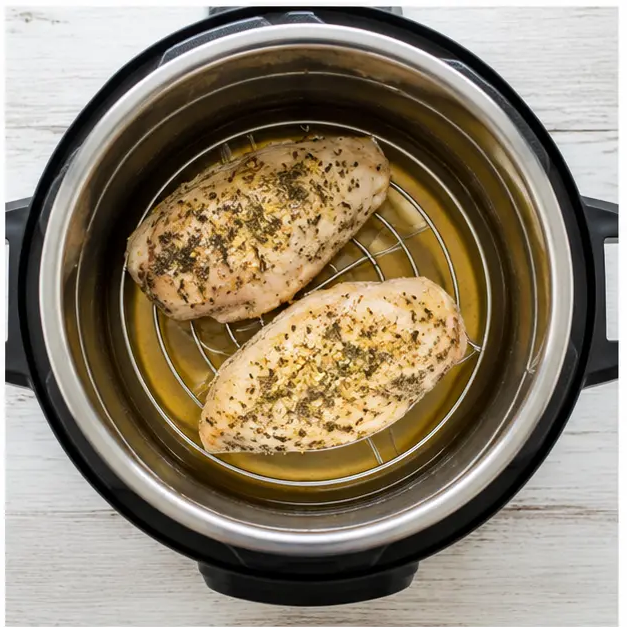
- Put the trivet in the Instant Pot and pour in the chicken broth. Place the seasoned frozen chicken on the trivet, stacking or overlapping the pieces if needed.
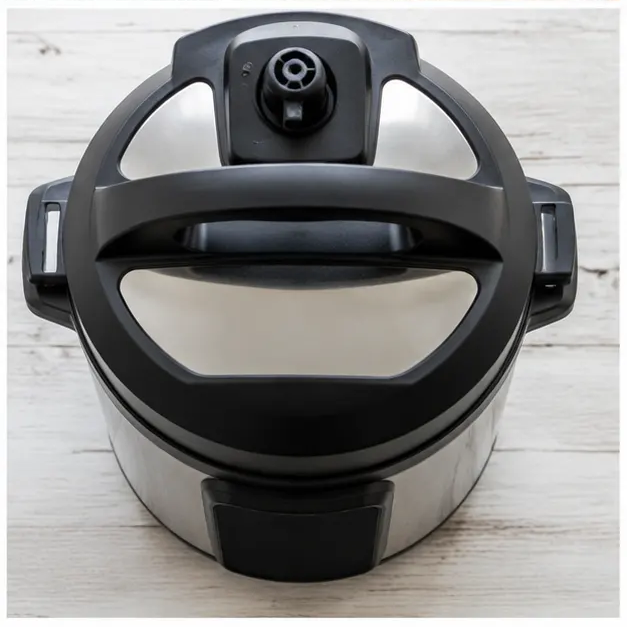
- Lock the lid in place, slide the steam release valve to Sealing, and choose Manual or Pressure Cook on High. Set the cook time to 10 minutes, and remember the pot needs a few minutes to pressurize before the countdown begins.
- Once the Instant Pot finishes cooking, allow the pressure to release naturally for 5 minutes. Then carefully turn the steam release valve to Venting and quick release any remaining steam before removing the lid.
- Test the thickest part of each breast with an instant read thermometer. The temperature should be between 160°F and 162°F. Move the chicken to a clean plate and tent it loosely with foil.
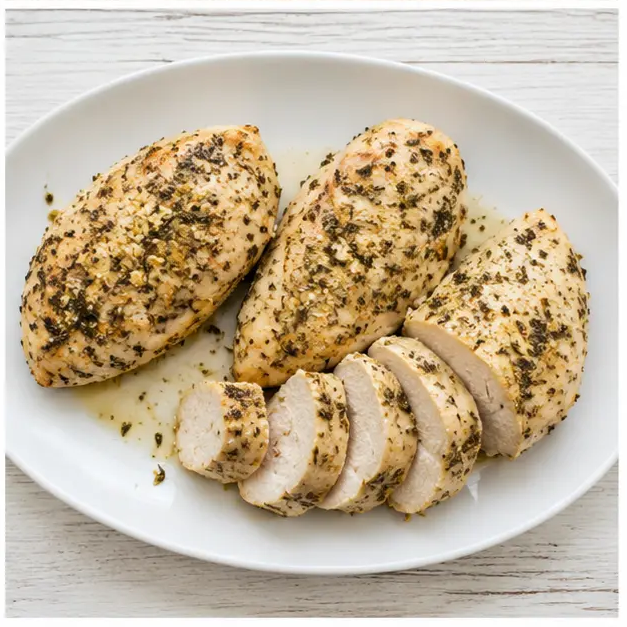
- Let the chicken rest for 5 minutes, then slice, chop, shred, or serve the breasts whole. Enjoy with your favorite sides or add the cooked meat to soups, salads, tacos, and grain bowls.
Nutrition
Notes
Tried this recipe?
Let us know how it was!Why You’ll Love These Instant Pot Frozen Garlic Herb Chicken Breasts
Let me tell you how many times I’ve stood in my kitchen at 5pm holding a bag of frozen chicken with absolutely no plan for dinner. More times than I can count, honestly. I’m a recipe editor by trade, but when the school stuff starts stacking up and the evenings get cool, I need dinner to meet me halfway.
These Instant Pot frozen garlic herb chicken breasts are my recovery plan for those days. No thawing. No rubbery bites. No hovering over a skillet while the whole house falls apart around you. You season the frozen chicken, set it on the trivet, press a button, and walk away. The pot does the thinking. You just press start.
Honestly, I was skeptical the first time someone told me you could cook chicken straight from the freezer in a pressure cooker. It felt too easy, like cheating. But then I opened the lid and the steam smelled like garlic and herbs, and dinner was basically done. That was the moment I stopped panicking about forgotten chicken.
This is the dinner you make while someone needs a permission slip signed and another someone can’t find their cleats. I’ve handled both during the cook time, no problem.
Here’s why this recipe wins:
- No thawing required. Frozen chicken goes straight from the freezer into the pot. That’s the whole trick.
- It stays juicy. The natural release step does the heavy lifting, and I’ll explain exactly how below.
- The flavor is built in. A garlic herb rub means you get intentional, herby chicken without marinating for hours.
- Hands-on time is about five minutes. Then the Instant Pot takes over completely.
- Minimal cleanup. One pot, one trivet, one cutting board. That’s it.
Those first cool September evenings make you want something warm and comforting, but nobody wants to heat up the whole kitchen with the oven. The Instant Pot gives you that cozy dinner energy without the heat. And when you’re juggling back-to-school chaos, that matters.
Ingredients You’ll Need
The ingredient list for this recipe is almost embarrassingly short. I won’t repeat the exact amounts here since the recipe card up top has those, but let’s talk about the three things that matter.
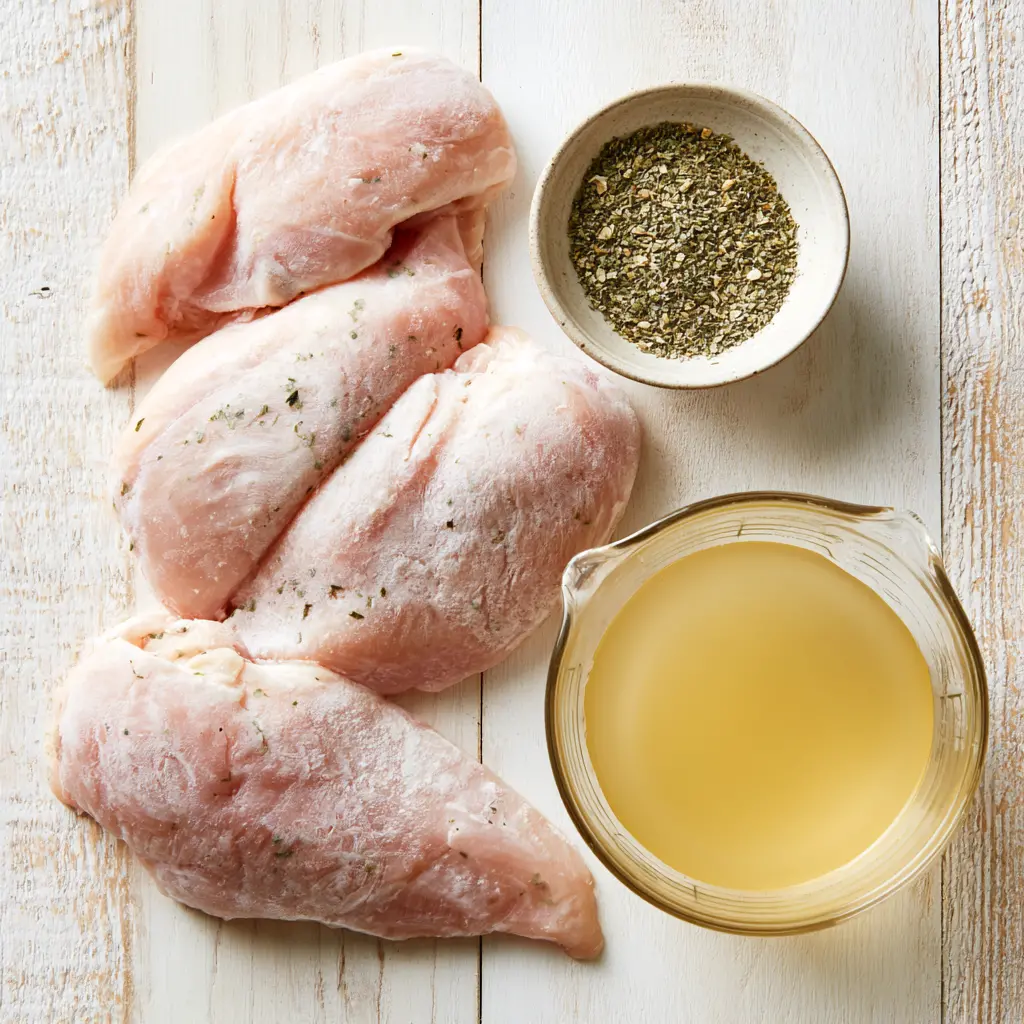
- Frozen boneless, skinless chicken breasts. Buy them individually frozen if you can. It makes the cook time so much more predictable. You need about 6 to 8 ounces each for the standard cook time.
- Garlic herb seasoning. This is your flavor shortcut. A dry rub works best here because it clings to the frozen surface and turns into a savory crust as it cooks.
- Low sodium chicken broth. The pot needs liquid to pressurize, and broth adds a little depth that water can’t. That said, water works fine too. Low sodium is the smart pick because frozen chicken can already carry salt.
You’ll also want your Instant Pot trivet, even though it’s technically a tool, not an ingredient. It keeps the chicken above the liquid so the meat steams in the pressurized environment instead of boiling. Trust me, that trivet is doing more work than it looks like.
One thing most people don’t expect: if your frozen chicken already came pre-seasoned with a garlic herb marinade from the store, you probably don’t need to add more salt. Just a light sprinkle of the rub, or even none at all, and you’re good.
How to Cook Instant Pot Frozen Garlic Herb Chicken Breasts
Once you make this recipe a single time, you’ll have the rhythm memorized. Let’s walk through the four big moments so you understand what’s happening and why it works.
1. Season Straight from the Freezer
Take the frozen chicken out of the bag and set it on a cutting board in a single layer. Don’t thaw it. The cold surface actually holds the seasoning beautifully, so press half the garlic herb rub onto the top, flip, and press the rest into the other side. Use your fingers or the back of a spoon and really make it stick.
If your chicken pieces are frozen together in one solid block, don’t panic. Run the sealed bag under cool water for a few minutes, then gently pry the pieces apart with a butter knife. You’re not trying to thaw them, just separate them.
2. Set Up the Pot
Put the trivet in the bottom of your Instant Pot and pour in the chicken broth. Then place the seasoned frozen chicken on the trivet, stacking or overlapping the pieces if you need to fit them all. The trivet keeps the meat above the liquid, and that’s important. Chicken that sits directly in boiling liquid turns out tough and stringy. Chicken that steams above it comes out tender.
3. Pressure Cook, Then Let It Release
Lock the lid, slide the steam release valve to Sealing, and choose Manual or Pressure Cook on High. For medium breasts in the 6 to 8 ounce range, set the timer for 10 minutes. The pot needs a few minutes to come to pressure before the countdown even starts, so don’t worry when you don’t see numbers right away.
When the cooking cycle finishes, the Instant Pot will beep. This is where most people make their mistake. They flip the valve and quick release the steam immediately because dinner is waiting. Don’t do that.
Let the pressure release naturally for a full 5 minutes first. I know those five minutes feel like an eternity when everyone is hungry. Trust me. That short window lets the pressure ease off gradually so the juices redistribute through the meat instead of getting forced out.
4. Rest Before You Slice
After the natural release, carefully turn the valve to Venting to release any remaining steam, then open the lid. That first puff of garlic-herb-scented steam is genuinely one of my favorite parts. Move the chicken to a clean plate and tent it loosely with foil.
Here’s the food safety part, and it’s calmer than it sounds. Insert an instant read thermometer into the thickest part of each breast. You’re looking for 160°F to 162°F. Let the chicken rest for 5 minutes, and the carryover cooking will bring it up to the safe 165°F. That rest is also what keeps the meat juicy instead of dry.
When you slice into it, you want to see juice pooling on the board, not dry shreds falling apart. That’s how you know you nailed it.
Instant Pot Frozen Chicken Cook Times and Tips
The exact Instant Pot frozen chicken breast time depends on how big your pieces are. The recipe above uses 10 minutes for medium breasts, but here’s the full breakdown:
- 6 ounces (170 g): 9 minutes on High pressure
- 8 ounces (225 g): 10 minutes on High pressure
- 9 to 10 ounces (255 to 285 g): 12 minutes on High pressure
- 12 ounces (340 g): 14 minutes on High pressure
Every single one of those gets the same 5 minute natural release at the end. That step is non-negotiable if you want to prevent rubbery chicken in your Instant Pot.
A few other things I’ve learned the hard way:
- Always use at least 1 cup of liquid. Your Instant Pot physically cannot pressurize without it. Chicken broth adds flavor, but water will absolutely work in a pinch.
- Separate stuck-together frozen chicken first. A giant frozen clump cooks unevenly, and nobody wants to bite into a cold center. Cool water and a gentle pry with a butter knife does the trick.
- Don’t thaw the chicken first. This whole recipe is built around cooking from frozen. If you thaw it, the cook times change completely.
- Check each piece. Breasts vary in thickness even within the same package. If one piece feels done and another needs a minute, pull the done one out and let the other keep resting in the warm pot.
Common Mistakes to Avoid
❌ Quick releasing the pressure immediately. This squeezes moisture out of the meat and makes it chewy. ✅ Give it the full 5 minute natural release.
❌ Not enough liquid. You’ll see a Burn notice on the display. ✅ If that happens, quick release, scrape the bottom of the pot, add another half cup of broth, and cook for a few more minutes.
❌ Cooking a solid block of frozen chicken. The outside overcooks while the inside stays cold. ✅ Separate the pieces first so every breast cooks evenly.
Garlic Herb Chicken Variations and Substitutions
The base recipe works beautifully as written, but it’s also a friendly starting point. Let’s talk about ways to make it yours without messing up the cook time.
Swap the liquid. Instead of low sodium chicken broth, you can use vegetable broth, apple juice, or pineapple juice when you want a different flavor profile. The cook time stays exactly the same. A sweeter liquid adds a subtle note to the chicken, so keep that in mind.
Swap the seasoning. Garlic herb is wonderful, but it’s not the only option. Poultry seasoning, all purpose seasoning, a BBQ rub, Cajun seasoning, or even just salt and pepper will all work with the same method. The frozen chicken doesn’t care what rub you use.
Got pre-seasoned frozen chicken? If your chicken already came with a garlic herb marinade or rub from the store, skip the extra seasoning entirely. Those pre-seasoned frozen chicken breasts just need the broth and the trivet, and they’ll come out great.
If you want Instant Pot shredded chicken from frozen for meal prep, cook the same way, then shred after the rest. Toss the shreds with a little of the cooking liquid to keep them moist and flavorful.
What to Serve with Garlic Herb Chicken
This chicken is genuinely versatile, which is why it’s become such a staple in my house. Some nights I serve it whole next to a pile of roasted vegetables. Other nights I slice it over rice or tuck it into a grain bowl.
For those cooler fall evenings, the garlic herb flavor pairs beautifully with mashed potatoes, roasted broccoli, or a simple green salad with crusty bread on the side. You really can’t go wrong.
- Slice it over a warm rice bowl with whatever vegetables are in your fridge
- Shred it into soups or onto salads for lunch the next day
- Wrap it in tortillas with crunchy veggies and a drizzle of something creamy
- Chop it into quesadillas or fold it into pasta
If you cook a double batch, the leftovers make incredibly easy tacos. That’s a smart move as National Taco Day approaches on October 4th. You don’t have to tell anyone at the table that it took you ten minutes to throw together.
A squeeze of fresh lemon juice over the top before serving is a lovely optional finish too. It brightens up all those herbs and makes the whole plate feel a little more special.
How to Store and Reheat Leftovers
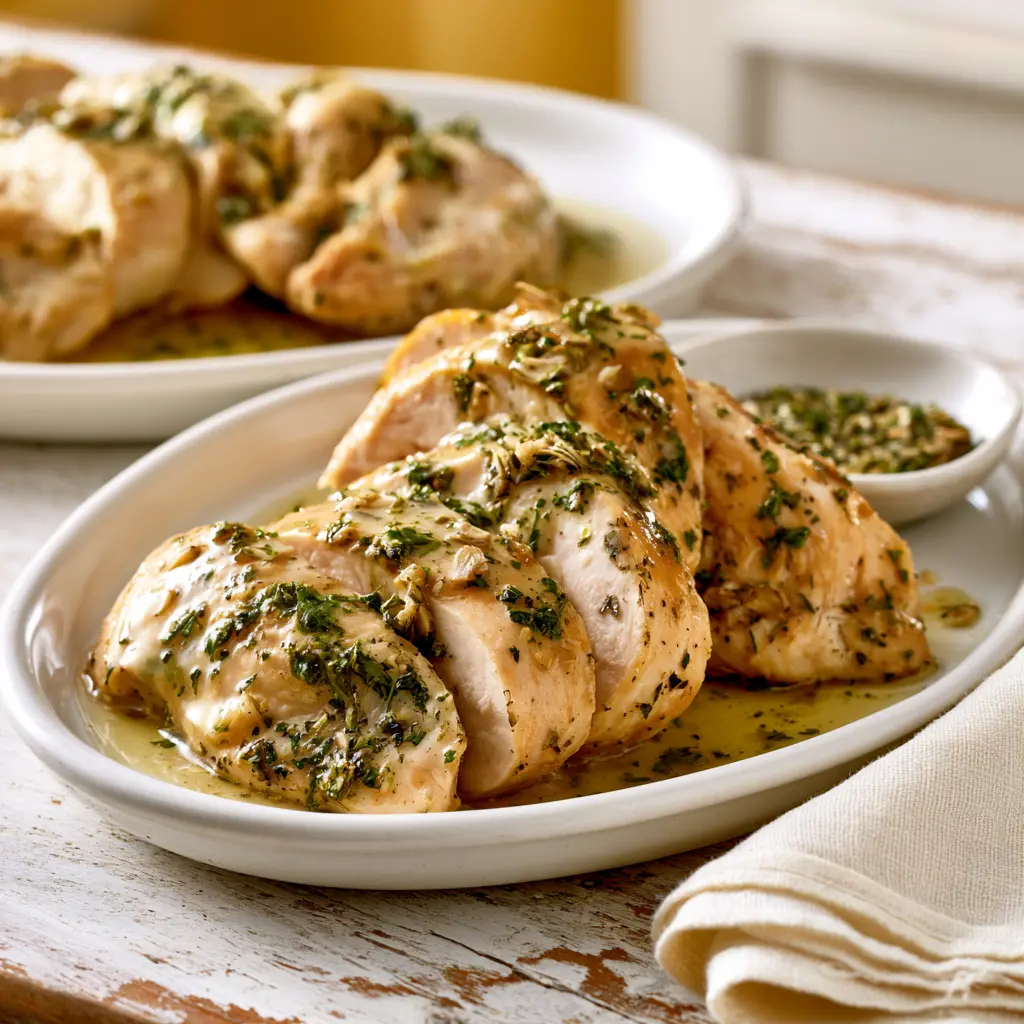
Leftover Instant Pot chicken is a gift you give your future self. Let the meat cool completely, then store it in an airtight container in the refrigerator for up to 4 days. You can freeze it for up to 3 months if you want to save it for a busy week.
When you’re ready to reheat, the trick is to add a little moisture back. A splash of chicken broth over the top keeps the meat from drying out in the microwave. Heat it in 30 second bursts, or warm it gently in a covered skillet over low heat.
Slice or shred the chicken before reheating if you know what you’ll be using it for. That way, the leftovers feel like a completely different meal the second time around.
FAQ: Cooking Frozen Chicken in the Instant Pot
How do I know when frozen chicken is fully cooked?
Use an instant read thermometer in the thickest part of each breast. You want it to read between 160°F and 162°F. Let the chicken rest for 5 minutes, and carryover cooking brings it to the safe 165°F.
illas, tacos, wraps, and green salads. Honestly, the list is endless. Shred the chicken while it’s still warm and toss it with a few spoonfuls of the reserved cooking liquid so it stays extra moist. Then portion it into containers and you’ve got lunch handled for the next few days without thinking about it again.Those are the questions I get asked most often when I share this recipe. If you run into something I didn’t cover, leave a comment and I’ll do my best to help you troubleshoot before dinner hits the table.
Final Thoughts on This Garlic Herb Chicken
I know how easy it is to cave and order takeout on a busy night. But this is genuinely the recipe that changed my weeknight game. Once you’ve cooked frozen chicken breasts straight from the freezer in the Instant Pot and they come out juicy, tender, and coated in garlicky herbs, you’ll stop fearing the forgotten thaw forever.
Write the timing chart down somewhere you can find it. Keep a jar of your favorite garlic herb seasoning right next to the Instant Pot. And always, always keep a bag of frozen chicken in the freezer. Future you will be so grateful on the next chaotic evening when dinner sneaks up on you.
Expert Notes & Data Insights
Since I spend my days testing and studying recipes professionally, I wanted to leave you with a closer look at the cooking science behind this method. These are the notes I wish someone had handed me before my first frozen chicken experiment, all packed into one place.
The Real Time Math
Here’s something most recipes don’t tell you: when the timer says 10 minutes, that’s only the pressurized cooking time. It’s not counting the 8 to 12 minutes your Instant Pot needs to come up to pressure before the countdown even starts. Add the full 5 minute natural release on the back end, and the honest time from freezer to plate lands around 25 to 35 minutes total.
So if you’re staring at the display wondering why it’s not counting down yet, relax. That’s normal. The pot is doing its job by building the pressure that makes frozen chicken cook evenly in the first place.
Frozen Chicken Breast Cook Time Chart
| Chicken Breast Size | Pressure Cook Time (High) | Natural Release | Approximate Total Time |
|---|---|---|---|
| 6 oz (170 g) | 9 minutes | 5 minutes | 25 minutes |
| 8 oz (225 g) | 10 minutes | 5 minutes | 25 to 30 minutes |
| 9 to 10 oz (255 to 285 g) | 12 minutes | 5 minutes | 30 to 35 minutes |
| 12 oz (340 g) | 14 minutes | 5 minutes | 35 to 40 minutes |
That total time estimate includes bringing the pot up to pressure, which varies based on how full the pot is and how cold the chicken is straight from the freezer. This is why I recommend cooking by weight and checking with a thermometer instead of trusting a single number blindly.
The Temperature Science
Here’s the number that actually matters: 165°F (74°C). That’s the safe final internal temperature for chicken according to USDA guidelines. But if you wait until the meat inside the sealed pot already reads 165°F, you’ve missed the window for perfect texture.
Here’s why professional testers pull chicken off the heat at 160°F to 162°F instead. Carryover cooking is real. As the meat rests under that loose foil tent, the residual heat keeps climbing. In the five minutes you let it sit, the internal temperature rises another 3 to 5 degrees, landing you right at that safe 165°F mark without ever crossing into dry, chalky territory.
The visual cue matters too. When you slice into properly cooked chicken, you should see clear juices pooling on the cutting board. If the juices run pink, it needs more time. If you see no juices at all and the meat looks tight and separated, you’ve gone too far. The thermometer removes all the guesswork.
Why Natural Release Is Non-Negotiable
At high pressure, the liquid inside the Instant Pot reaches around 240°F to 250°F, well above the normal boiling point of water. That higher temperature is exactly what lets frozen chicken cook through quickly.
When you quick release, the pressure drops instantly. That sudden change makes the liquid flash-boil, and moisture escapes from the meat as aggressive steam. All that rapid evaporation pulls the chicken’s natural juices right out with it. The protein fibers tighten up, and you end up with that dense, rubbery bite everyone complains about.
A natural release, even just five minutes of it, gives the pressure a chance to ease off gradually. The temperature drops more gently, the juices settle back into the meat fibers, and the texture stays noticeably more tender. It’s honestly the single biggest difference between a great batch of frozen chicken and a disappointing one.
Meal Prep Data Worth Knowing
If you’re cooking frozen chicken breasts specifically for meal prep, this recipe scales beautifully. One 8 ounce breast gives you roughly 1½ to 2 cups of shredded chicken, which is enough for two decent lunches. A full batch of four breasts can cover lunch for the entire work week.
Cooked chicken holds in the fridge for up to 4 days, and in the freezer for up to 3 months. Stored properly in an airtight container with a little cooking liquid tucked in, the reheated meat tastes almost as good as the night you made it.
Take it from someone who has logged way too many Instant Pot experiments: this method works, and the data backs it up. If you only remember one thing from this entire article, make it this 10 minutes at high pressure, a full 5 minute natural release, and a quick rest before slicing. That formula has never let me down, and I don’t think it’ll let you down either.