
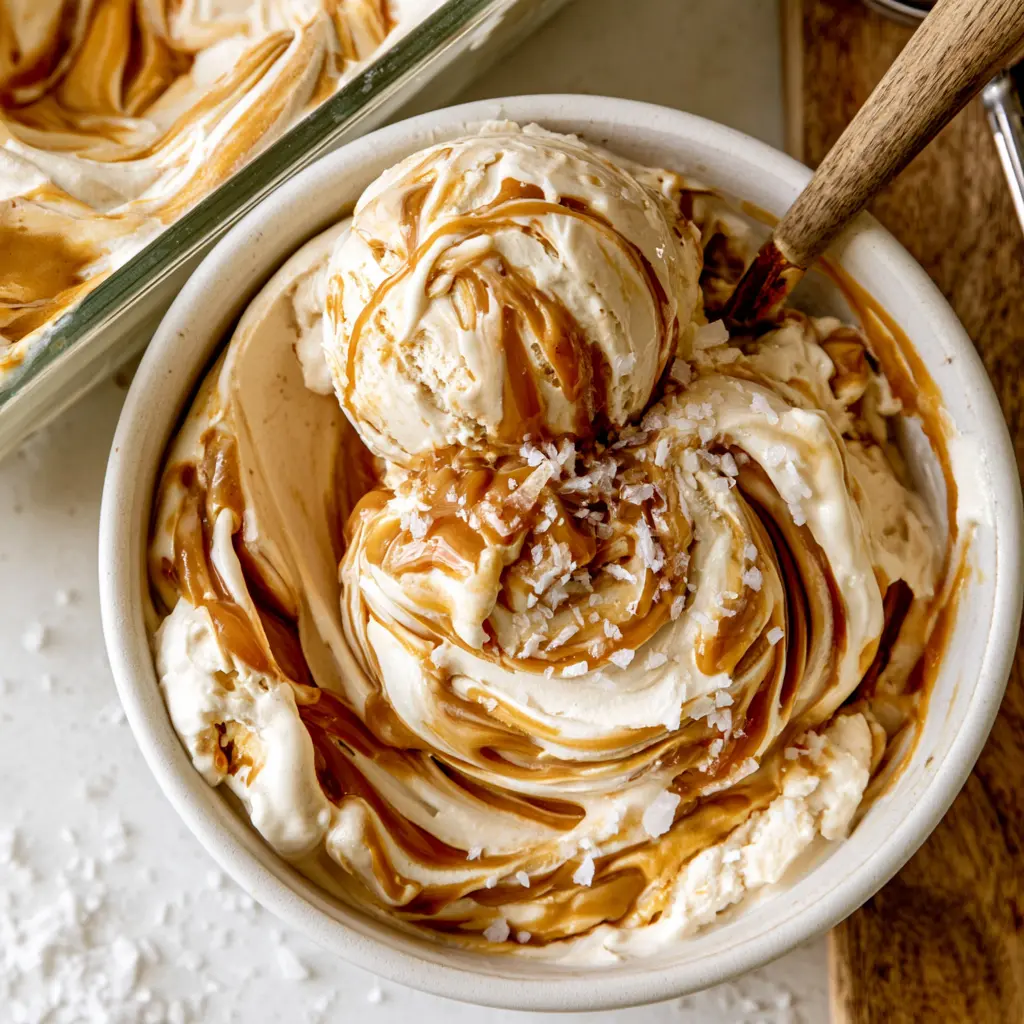
Why You’ll Love No-Churn Salted Caramel Ice Cream
Confession: the first time I tried to make homemade ice cream, I didn’t own an ice cream maker. I didn’t even own a hand mixer. I whisked by hand, guessed at the ratios, and pulled a sad, icy block out of the freezer the next day. Luis was polite about it. Sofia was not.
So when I tell you this no-churn salted caramel ice cream actually works, I mean it works. It’s creamy, scoopable, and swirled with ribbons of golden caramel. It takes twenty minutes of hands-on work, and it never needs a machine. No churn. No special equipment. Just a cold bowl, a whisk, and a little patience while the freezer does the heavy lifting.
The method relies on two ingredients doing most of the talking: heavy whipping cream folded with air, and sweetened condensed milk adding body and sweetness. Together they freeze into something dangerously close to gelato, minus the fancy machine.
September is the perfect month for this one. School pickup chaos, cool evenings, that first hint of caramel apple season. You can make this churn-free dessert ahead of time, stash it in the freezer, and pull it out when everyone needs a reward.
- No ice cream maker needed, just a hand mixer or a strong arm
- Scoopable texture straight from the freezer, no thawing required
- Five simple ingredients, most of them already in your fridge
- Make-ahead dessert that fits between school pickup and homework duty
Better than store-bought, and I’ll stand by that. Híjole, the store stuff is full of stabilizers. This is just real cream, vanilla, and caramel.
Ingredients You’ll Need
This is one of those rare recipes where the shopping list fits on a sticky note. Heavy whipping cream, one can of sweetened condensed milk, pure vanilla extract, a pinch of kosher salt, and one cup of your favorite caramel sauce. That’s it. That’s the whole trick.
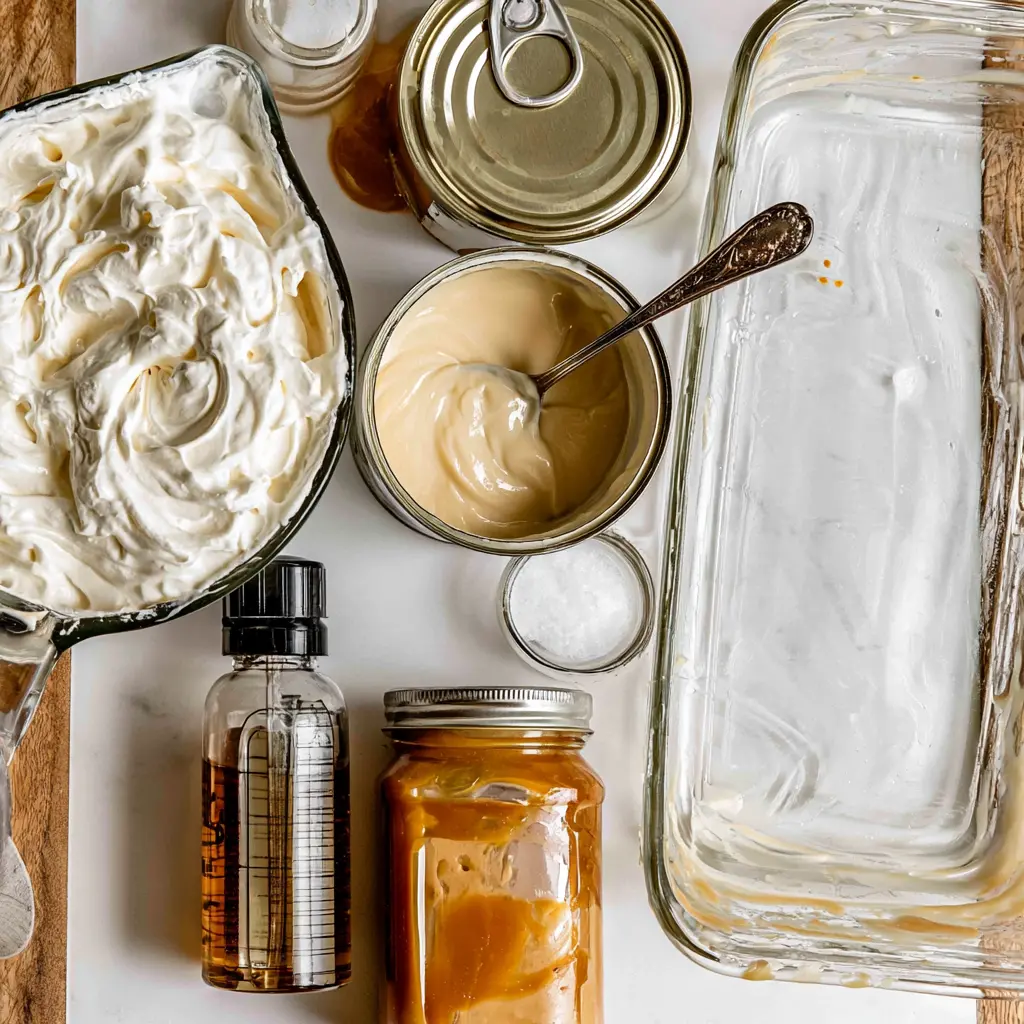
Quick warning before you hit the store: sweetened condensed milk and evaporated milk look like twins but they are not the same. Grab the sweetened one, the thick and sticky kind. It’s the backbone of this whole dessert.
And about that caramel sauce. Use a good store-bought jar if you want the easiest scooping, or use your own homemade salted caramel sauce if that’s your thing. If it’s too stiff to drizzle, warm it gently for a few seconds until it pours.
How to Make No-Churn Salted Caramel Ice Cream
Here’s the method, broken into four moments. Each one is forgiving, so breathe.
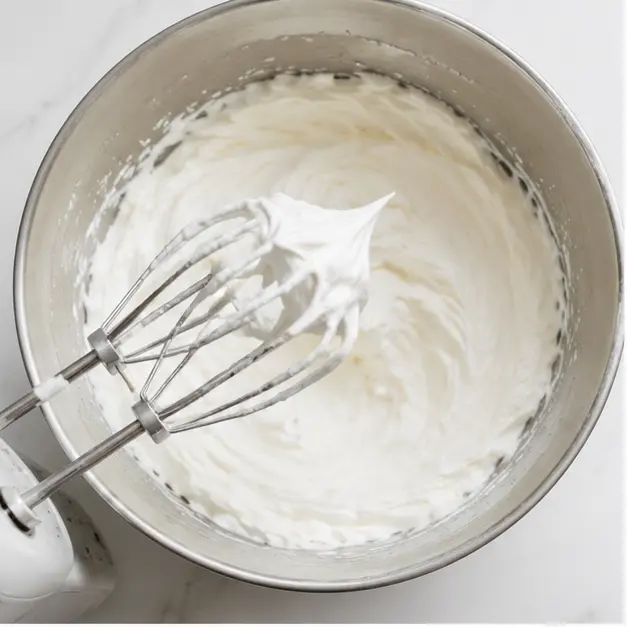
1. Chill the pan and whip the cream. Pop a 9 by 5 inch loaf pan into the freezer first. Pour your cold heavy whipping cream into a chilled mixing bowl and beat on low, then gradually work up to medium-high. You’re looking for stiff peaks that stand tall when you lift the beater.
Keep an eye on it near the end. Under-whipped cream just means a softer set, but over-whipped cream turns into butter.
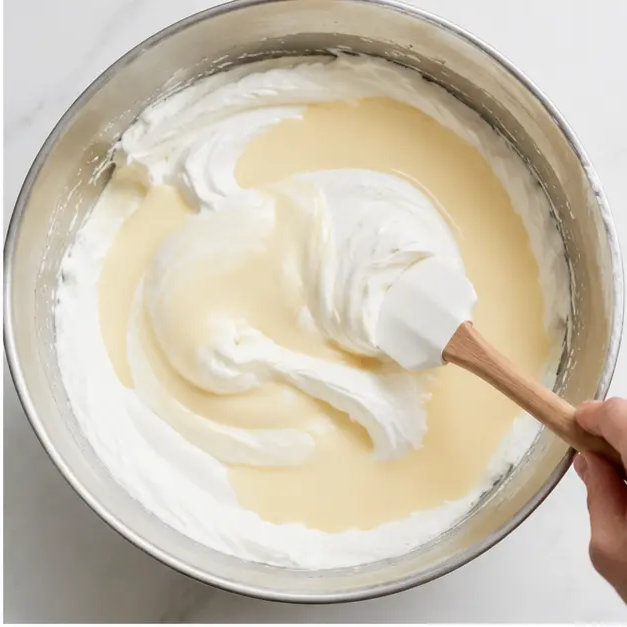
2. Build the vanilla cream base. In a separate bowl, stir together the sweetened condensed milk, pure vanilla extract, and kosher salt. Scoop about a cup of the whipped cream into that mixture and stir until smooth. Then pour it all back into the remaining whipped cream and fold gently with a spatula.
Fold, don’t stir. You whipped all that air into the cream for a reason. Gentle strokes keep the mixture light and creamy so it freezes without ice crystals.
3. Layer and drizzle the caramel. Spoon half of the ice cream base into your chilled loaf pan. Drizzle half of the caramel sauce over it in lazy ribbons. Add the remaining base, then finish with the rest of the caramel.
Make sure your caramel is at room temperature or just barely warm. Hot caramel will melt all that lovely whipped air, and you’ll end up with a dense, heavy base.
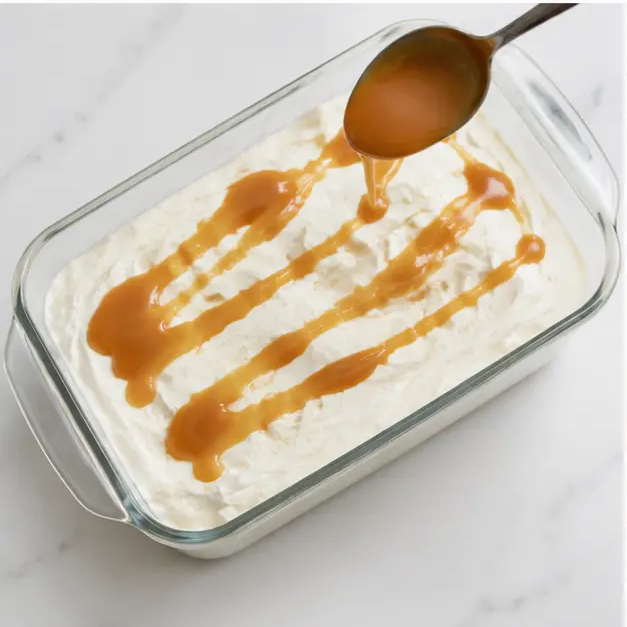
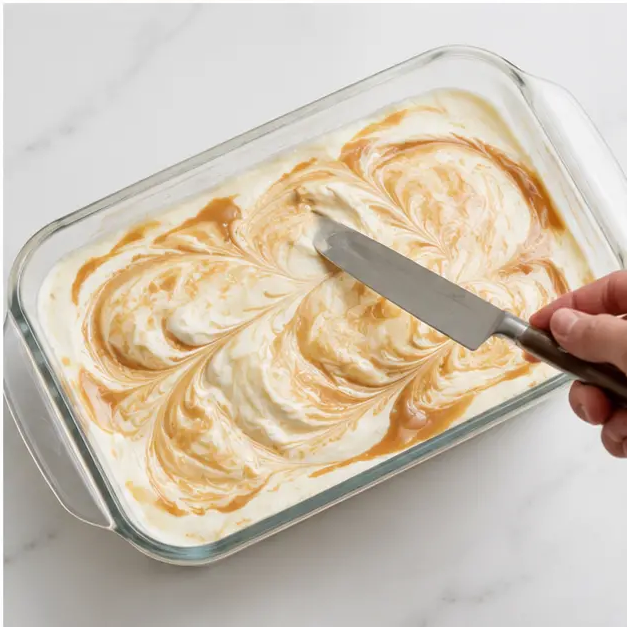
4. Swirl, cover, and freeze. Drag a butter knife or skewer through the pan in a few big loops. You want marbleized caramel ribbons, not a fully blended mess, so don’t overdo it.
Cover the pan and freeze for at least 5 hours, ideally overnight. When you open the freezer and see those golden swirls through the glass, you’ll know this no-churn salted caramel ice cream is ready.
Tips for the Best No-Churn Texture
A few small habits separate creamy, scoopable ice cream from a frosty block. You’ve got this.
- Keep everything cold. Cold cream, cold bowl, cold beaters. It whips faster and holds its structure longer.
- Let the caramel cool completely. Warm sauce melts the air you just whipped into the cream.
- Don’t over-swirl. Five or six knife passes is plenty. The ribbons are the whole point.
- Use a glass loaf pan. It freezes evenly and lets you peek at those pretty swirls before you scoop.
And if things go sideways?
❌ Your whipped cream looks curdled because you over-whipped it. ✅ Stop immediately and fold in a spoonful of cold heavy whipping cream by hand. It often smooths right out.
❌ The ice cream froze into a brick because you left it a week. ✅ Let the pan sit at room temperature for 5 to 10 minutes before scooping. It’ll soften up beautifully.
Easy Salted Caramel Ice Cream Variations
Once you’ve mastered this no-churn salted caramel ice cream, the base becomes a blank canvas. Since it sets in the freezer, you have a solid five minutes to stir in anything you like before it goes in.
All of these are optional additions, not part of the base recipe, but they’re fun:
- Chocolate chunks folded in before freezing for a chocolate caramel twist
- Toffee bits scattered through for a buttery crunch
- Crushed cookies if you want it to taste like a dessert mashup
- Roasted pecans for a little Southern-style charm
- Extra flaky sea salt on top of each scoop, because more salt is never wrong
You can even swap the caramel for dulce de leche if you want deeper, toastier notes. Same method, different vibe. And remember, no churn. The machine stays in the cabinet.
How to Store and Serve No-Churn Ice Cream
Store this no-churn salted caramel ice cream in an airtight container, or keep it right in the loaf pan with a layer of plastic wrap pressed directly onto the surface. It stays fresh for up to 3 weeks when stored at the back of the freezer, where the temperature is most stable.
If it develops frost or looks dry, that’s freezer burn talking. Toss it and make another batch. It’s cheap enough and takes twenty minutes.
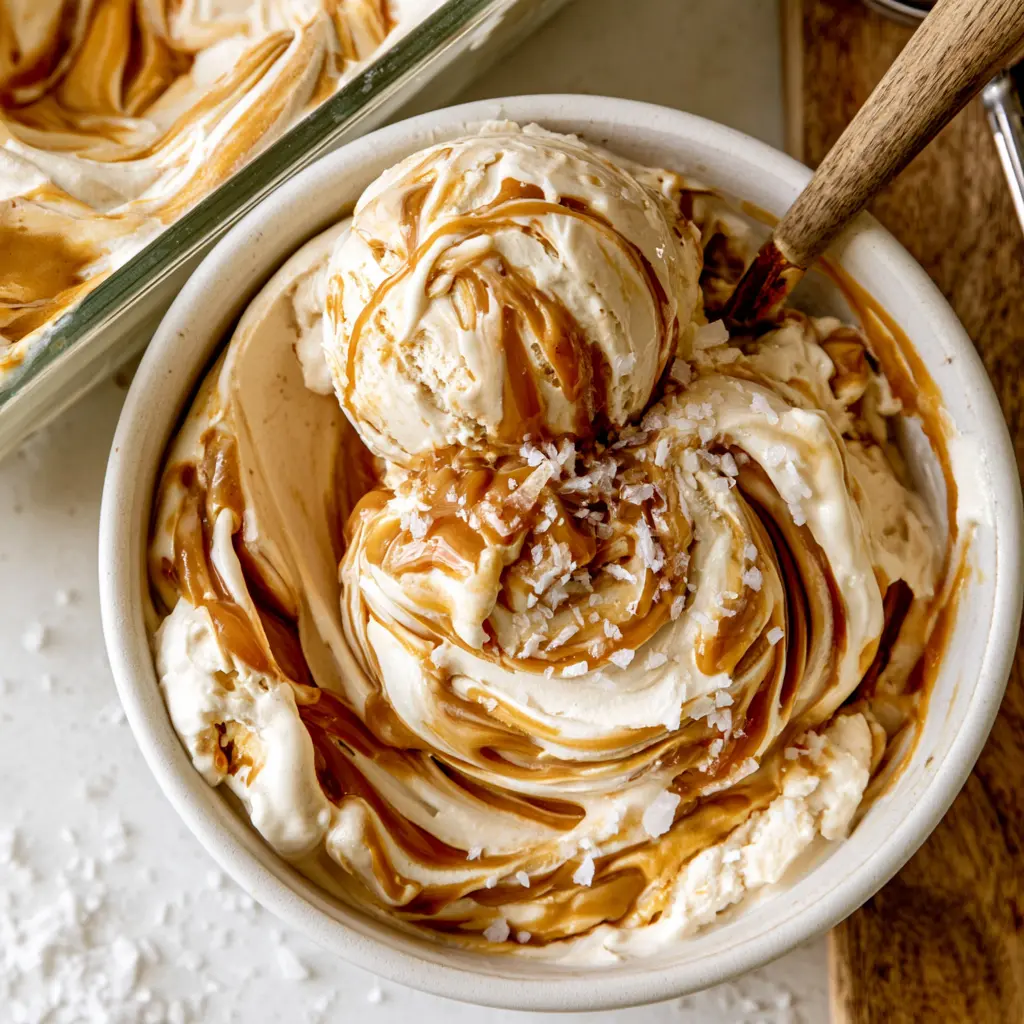
When you’re ready to serve, sprinkle a little flaky sea salt over each scoop. It gives the whole thing that proper salted caramel finish. Sweet, salty, cold, and impossible to eat slowly.
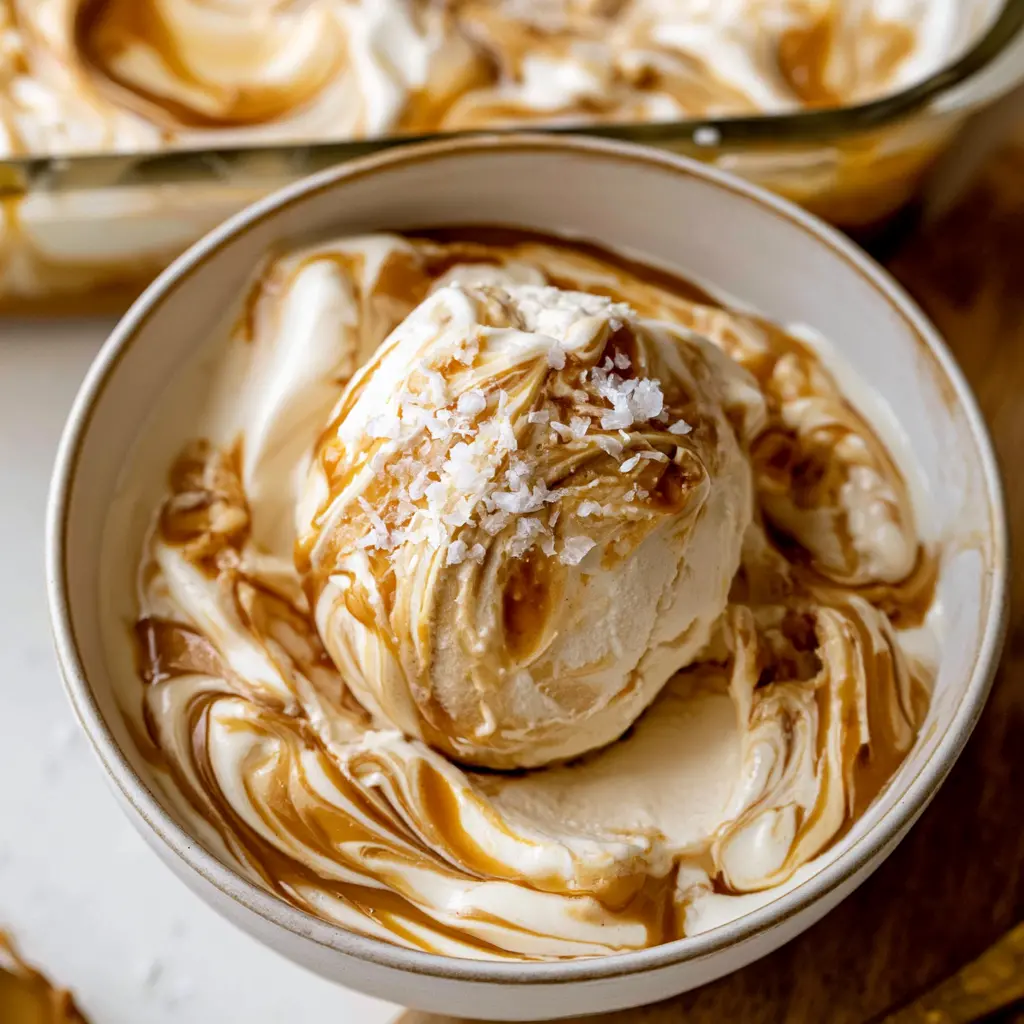
The hardest part of this recipe is the five hours you’ll spend staring at the freezer. I know. But when that first scoop curls out, all soft and golden and ribboned with caramel, you’ll forget every second of the wait.
When you serve this at your next gathering, someone will say, “Wait, you made this?” And you’ll shrug and say, “It’s no-churn.”
If you’re a visual planner like me, come follow along on Pinterest and tell me what you stirred into yours. Chocolate chunks, toffee bits, a handful of toasted pecans. I want to know.
No-Churn Salted Caramel Ice Cream with Vanilla Cream Ribbons
Ingredients
Method
- Place a 9-by-5-inch loaf pan in the freezer and chill it completely before starting.
- Pour the chilled heavy cream into a large mixing bowl. Beat on low speed at first, then gradually increase the speed to medium until the cream begins to thicken.
- Raise the speed to high and continue whipping until stiff peaks form, being careful not to overbeat.
- In a separate medium bowl, stir together the sweetened condensed milk, vanilla extract, kosher salt, and about 1 cup of the whipped cream until smooth.
- Return this condensed milk mixture to the remaining whipped cream and gently fold with a spatula until the base is uniform.
- Spoon half of the ice cream mixture into the chilled loaf pan. Drizzle half of the caramel sauce over the top. Layer the remaining ice cream mixture over the caramel and finish with the rest of the caramel sauce.
- Lightly drag a butter knife or skewer through the pan to create a marbled caramel swirl, avoiding any thorough mixing.
- Cover the pan and freeze for at least 5 hours, or until the ice cream is fully set and scoopable, before serving.
Nutrition
Notes
Tried this recipe?
Let us know how it was!Frequently Asked Questions
Source: Learn More About This Dish