
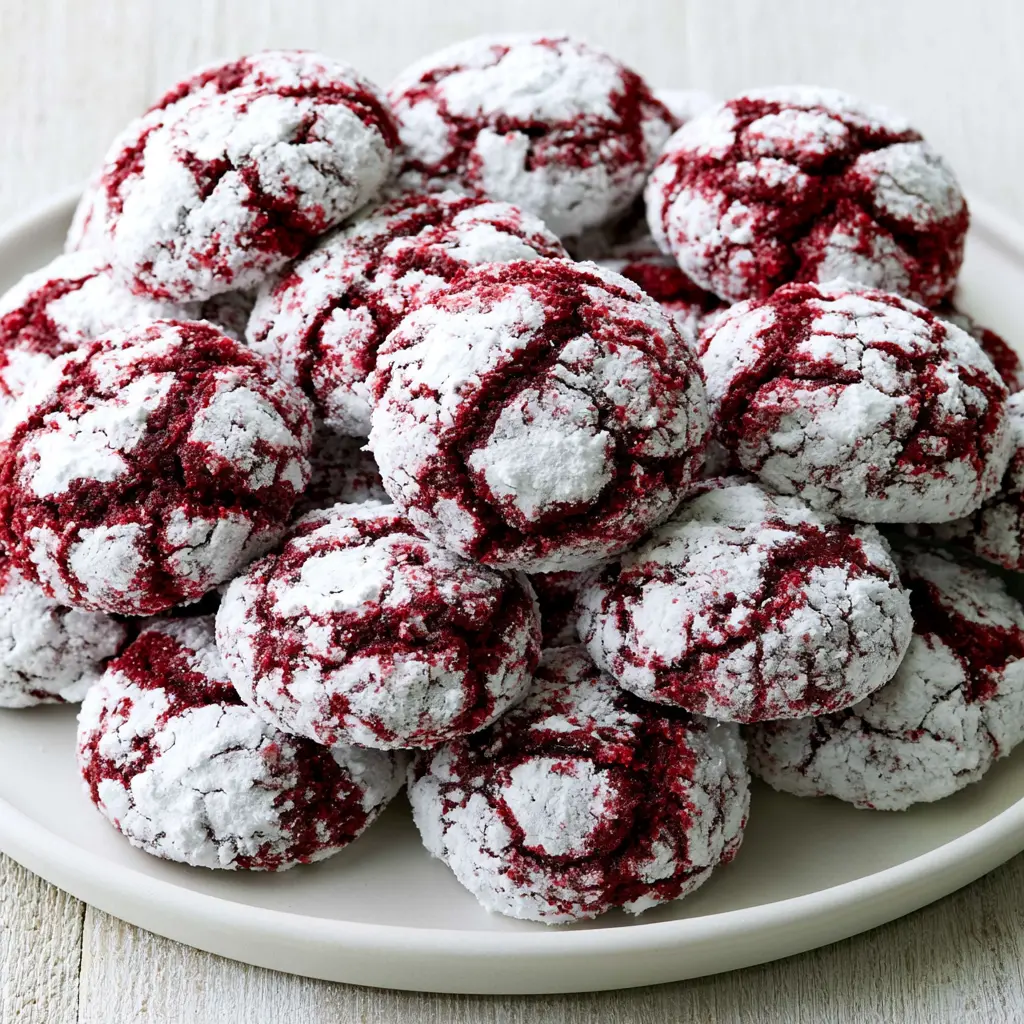
Easy Red Velvet Crinkle Cookies
Ingredients
Method
- Preheat the oven to 350°F and line a baking sheet with parchment paper.
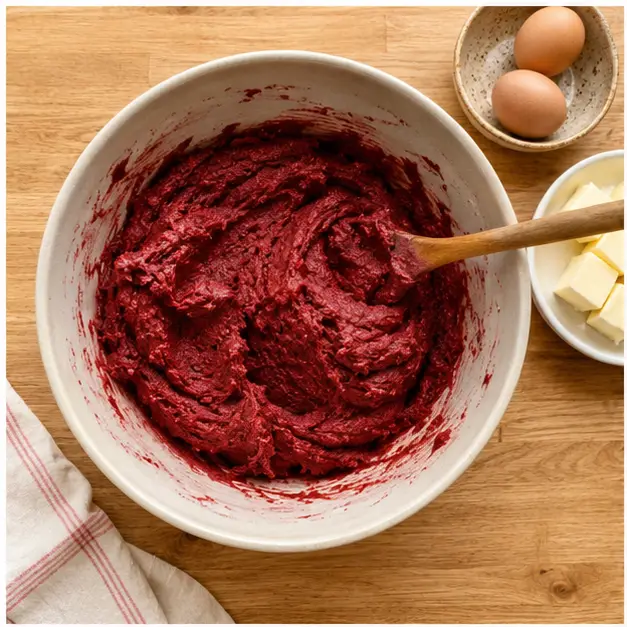
- In a large bowl, combine the red velvet cake mix, eggs, and melted butter until a thick dough forms.
- Scoop rounded tablespoons of dough, roll them into balls, then roll each ball generously in powdered sugar to coat completely.
- Place the coated dough balls on the prepared baking sheet, spacing them about 2 inches apart.
- Bake for 10 minutes, then remove from the oven and allow the cookies to cool on the baking sheet for a few minutes before moving them to a wire rack.
Nutrition
Notes
Tried this recipe?
Let us know how it was!Why You’ll Love These Red Velvet Crinkle Cookies
You see them in the bakery case and you can’t look away. Little snow-capped red mountains with tops cracked like river ice in March. Those are crinkle cookies, and for years I figured they required some kind of pastry school magic I didn’t have.
My first attempt? Flat and pale. The powdered sugar vanished into the dough and the cracks never showed. It was a sad little disc that tasted fine but looked like I’d given up halfway. That failure taught me something, though. The magic isn’t skill. It’s a thick sugar coating and a hot oven.
- 4 ingredients. Cake mix, eggs, butter, powdered sugar.
- 15 minutes. From bowl to cooling rack.
- No stand mixer. A bowl and a sturdy spoon do the job.
These red velvet crinkle cookies are soft in the middle with a slight chew at the edge, and that powdered sugar coating crackles into the prettiest tops you’ll ever pull out of an oven. I’ve lost count of how many crinkle cookies I’ve tested since that first failure. This one is the keeper. It looks like bakery work, but it’s honestly one of the easiest things you can bake.
Labor Day weekend is almost here, and this is the dessert that survives it. No melting chocolate, no forks required. Just grab one and go. They look like you fussed. You didn’t. That’s the best kind of recipe.
Red Velvet Crinkle Cookie Ingredients
Here’s the whole list, and I’m not hiding anything:
- 1 box red velvet cake mix (about 15.25 oz). Grab one with pudding in the mix if you can find it. The pudding makes for thicker, softer cookies.
- 2 large eggs. Room temperature if you remember, cold from the fridge if you don’t. Nobody will know.
- 1/3 cup melted butter. Melted gives a richer flavor and a slightly thicker cookie than oil would.
- 1/2 cup powdered sugar. For rolling. This is the crackle maker, so don’t skimp.
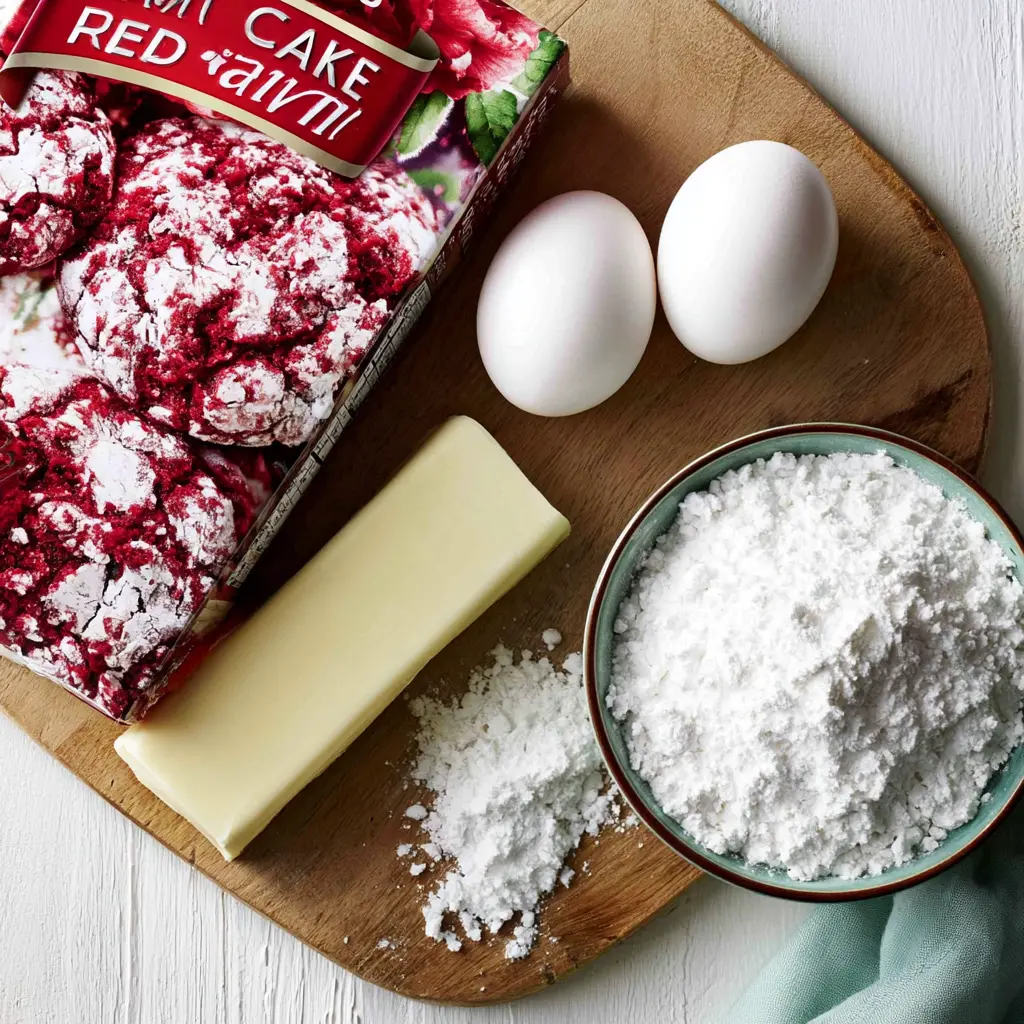
These crinkle cookies don’t need anything fancy. The cake mix brings the cocoa, the red color, and that tang that makes red velvet taste like red velvet. The buttermilk note is already in the mix, which means you don’t need to hunt down a carton of buttermilk on a hot August afternoon. Bless the cake mix people.
One note on the box size: stick with the 15.25-ounce size. An 18-ounce box throws off the dough balance and your crinkle cookies will spread flatter. I’ll dig into that in the FAQ below.
How to Make Red Velvet Crinkle Cookies
The whole process is four stages, and none of them are hard. The best crinkle cookies come from a simple rhythm: mix, roll, bake, cool. Here’s what matters at each step.
Stage 1: Mix the dough. Dump the cake mix, eggs, and melted butter into a large bowl. Stir until a thick dough forms. It looks like red velvet batter and feels like heavy, sticky playdough. That stickiness is normal. Don’t panic and add flour. Just keep stirring until it comes together. You’ll feel it pull away from the spoon when it’s ready.
Stage 2: Roll and coat. Scoop rounded tablespoons of dough and roll them into balls. Then roll each ball generously in powdered sugar. I mean generously. This is the double-coat pro move: roll once, then roll again until each ball looks like a tiny snowball. I promise, the powdered sugar coating is what makes the crackle happen. Do not skip it, and don’t go light on it.
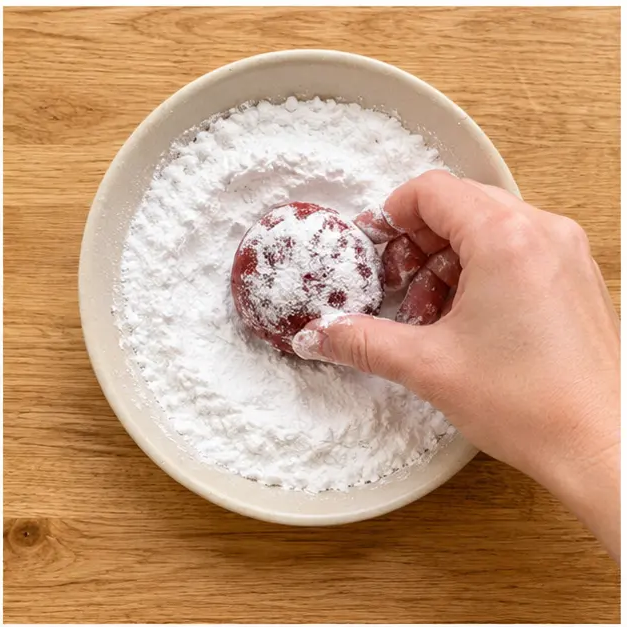
Stage 3: Space them out. Line your baking sheet with parchment paper. Please. Place the coated dough balls about 2 inches apart. They spread a little, but not much. If your hands get sticky mid-way, wash up and keep going. It happens to everyone, even folks who’ve been baking for decades.
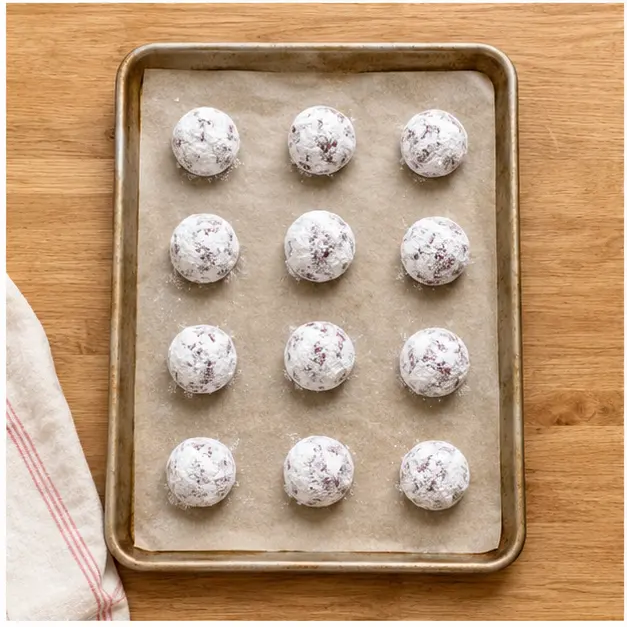
Stage 4: Bake and cool. Bake at 350°F for 10 minutes. Pull them when the centers still look soft and slightly puffed. They keep setting as they cool, and that’s what gives you that soft baked center. Let them rest on the baking sheet for a few minutes before moving them to a wire rack. If you listen close, you’ll hear a soft crackle as they settle. That’s the sound of success.
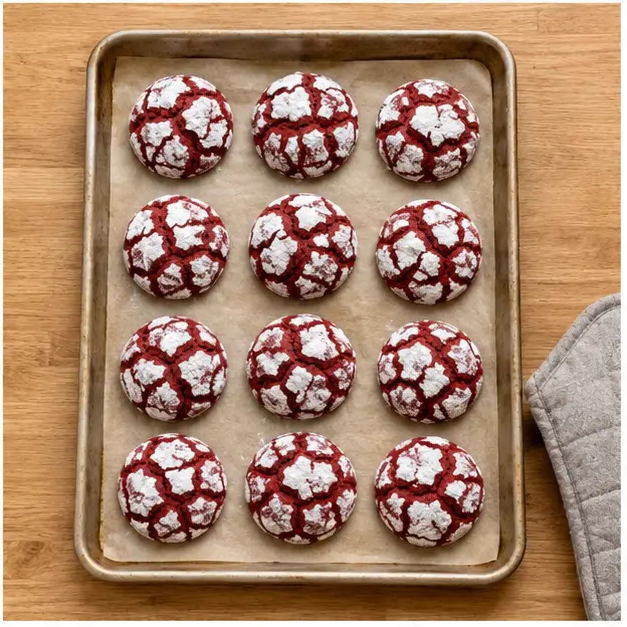
Here’s the simple science: the sugary crust sets fast in the hot oven, but the dough underneath keeps rising and pushes up. The top can’t stretch anymore, so it cracks. That’s how you get those crackled cookie tops. If your kitchen is hot, a quick 20-minute chill on the dough balls helps them hold their shape and crackle even harder.
Tips for Perfect Red Velvet Crinkle Cookies
I tested this twice, once exactly as written and once with a different cake mix brand. Both crackled beautifully. Here’s what I learned:
- Use a mix with pudding. It gives thicker, softer cookies. A regular mix works too, just expect a bit more spread.
- Coat twice in powdered sugar. The coating isn’t a garnish. It’s the mechanism. Roll until you can’t see red anymore.
- Pull them early. If the centers look set and firm in the oven, they’ve gone too far. Pull them soft and puffed.
- Use a light-colored baking sheet. Dark sheets absorb heat and brown the bottoms too fast. Parchment paper baking keeps things even.
And the mistakes I see most often, in order:
❌ Overbaking into dry, firm discs. → ✅ Pull at 10 minutes while centers are soft.
❌ Thin sugar coating with weak crackles. → ✅ Roll twice in powdered sugar.
❌ Warm, sticky dough spreading flat. → ✅ Chill the dough balls for 20 minutes if your kitchen runs hot.
❌ Wrong cake mix size. → ✅ Stick with the 15.25-ounce box.
Variations and Add-Ins
These are optional extras, not part of the base recipe. But if you want to dress them up for a cookie exchange or a holiday cookie tray:
- White chocolate chips: fold a cup into the dough before rolling. They melt into little sweet pockets.
- Cream cheese filled centers: press a cube of cream cheese into each dough ball and seal it up. Bake as directed.
- Swap the mix: chocolate fudge cake mix makes a triple-chocolate crinkle cookie with the same technique.
- Oil instead of butter: vegetable oil gives thinner, chewier results. Melted butter gives richer flavor and a thicker cookie. Pick your texture.
The base version is already a winner. These are just ways to make it yours.
How to Store and Freeze Red Velvet Crinkle Cookies
These crinkle cookies keep well, which makes them perfect for making ahead. Here’s the breakdown:
- Room temperature: airtight container for up to 3 days. Layer with parchment so the sugar doesn’t smear. Leaving them uncovered makes them hard.
- Freeze the dough: roll the balls and freeze for up to 3 months. Coat them in powdered sugar only right before baking. Bake straight from frozen with an extra minute or two.
- Freeze baked cookies: up to 1 month in an airtight container. Thaw at room temperature, no reheating needed.
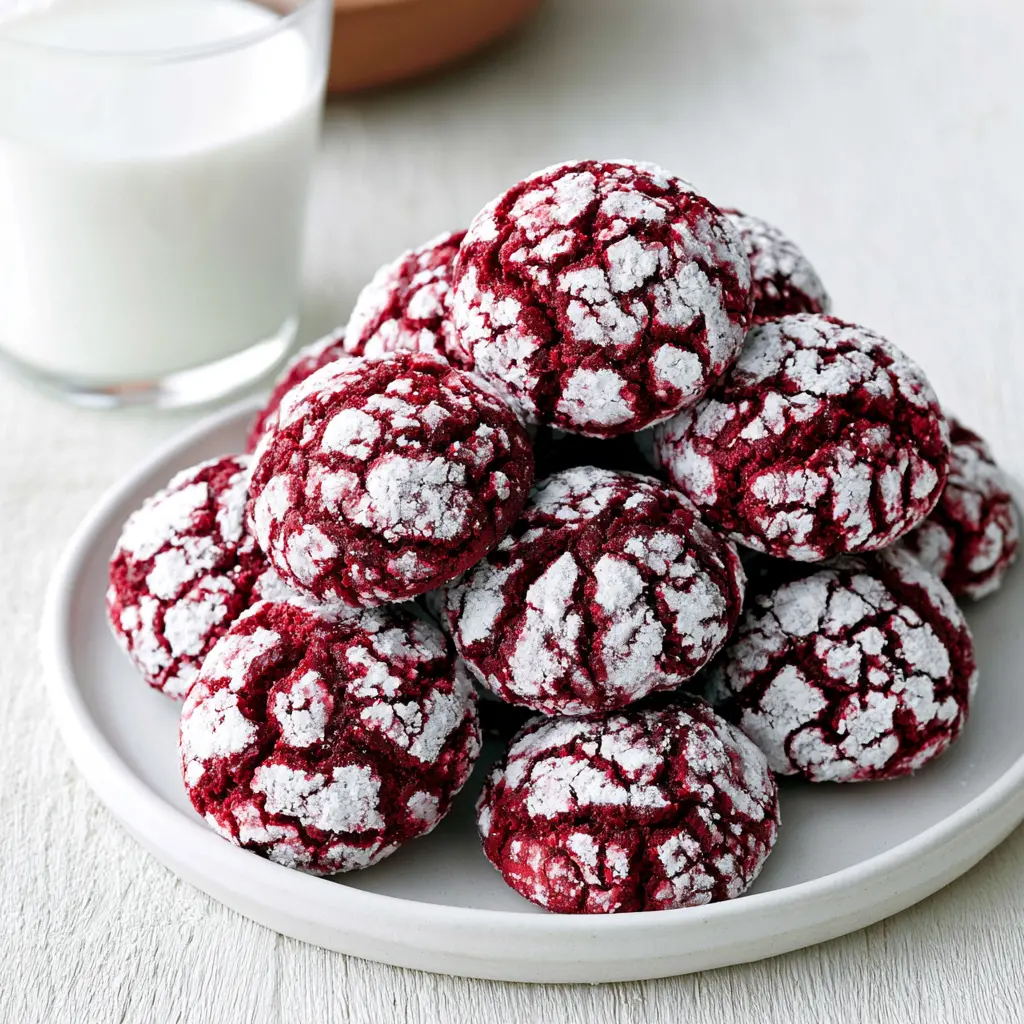
I’m a big believer in cookie math: bake once, enjoy for weeks. For chewy red velvet cookies with that classic crackle, this recipe is hard to beat.
Frequently Asked Questions
Serving Suggestions
Pair these with a cold glass of milk or a scoop of vanilla ice cream. These crinkle cookies are the kind that show up at a Labor Day cookout and disappear before the burgers come off the grill. No plates, no forks, no mess.
For holiday cookie trays and cookie exchange recipes, arrange them in a tin with parchment between the layers. The red and white contrast is stunning on any table, and nobody needs to know they took fifteen minutes of hands-on time.
I pin my favorite cookie recipes over on Pinterest. If you’re looking for more baking ideas, come say hi: check out my cookie board.
When you pull YOUR tray from the oven, those snowy cracked tops will be waiting for you. Drop a comment and tell me how the crackles turned out. I’ll bet you a cup of coffee you’re about to become the person everyone asks for this recipe.
Source: Learn More About This Dish