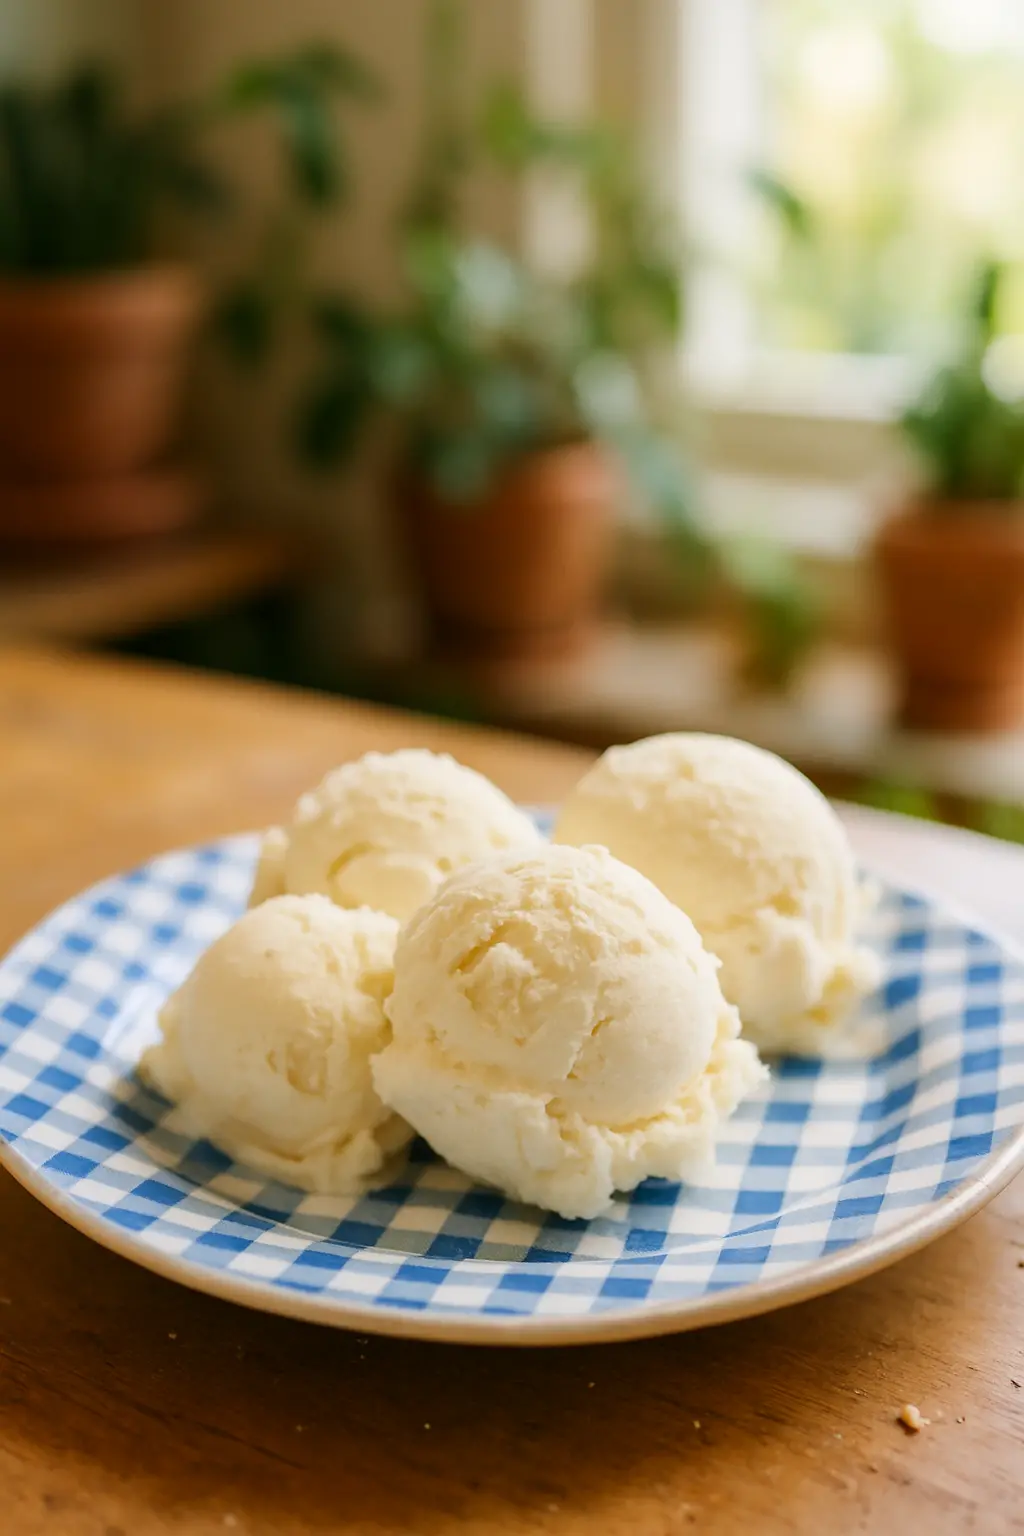
4 Quart Homemade Ice Cream Recipe – Creamy, Dreamy Vanilla Delight

Nothing beats homemade ice cream on a hot summer day. This 4 quart homemade ice cream recipe is my go-to for family gatherings and backyard BBQs. It’s incredibly simple – no eggs, no cooking, just pure creamy goodness. Whether you’re using a 4 quart electric ice cream maker or an old-fashioned churn, this recipe delivers perfect results every time.
What makes this recipe special:
- Ready in under 30 minutes active time
- Uses basic pantry ingredients
- No cooking required – just mix and freeze
- Perfect for 4 qt ice cream makers
- Easily customizable with mix-ins
Learn more about summer dessert recipes in our comprehensive guide.
Table of Contents

Easy 4-Quart Homemade Vanilla Ice Cream Recipe
Instructions
- Whisk all ingredients in a large bowl until fully combined. Continue stirring until the sugar dissolves.
- Replace vanilla extract with vanilla bean for extra flavor. Split the vanilla bean with a knife, scrape out the seeds, and mix them into the ice cream mixture.
- Chill the mixture for at least 30 minutes (or overnight) to enhance the vanilla flavor and speed up freezing.
- Transfer the mixture to an ice cream maker and churn following the manufacturer's directions.
- Put the ice cream in an airtight plastic container and store it at the back of the freezer. Eat it immediately for a soft-serve texture, or freeze longer for a firmer consistency.
- Freeze for several hours before serving to scoop the ice cream easily.
Notes
Tried this recipe?
Let us know how it was!Ingredients for 4qt Homemade Ice Cream
This 4 qt vanilla ice cream recipe uses simple ingredients you probably already have:
- 4 cups heavy cream
- 5 cups half-and-half
- 2 cups granulated sugar
- 4 tablespoons pure vanilla extract
- Pinch of salt

The combination of heavy cream and half-and-half gives this homemade ice cream recipe for ice cream freezer the perfect balance of richness and scoopability. Using pure vanilla extract (or vanilla beans) makes all the difference in flavor.
Why These Ingredients Work
The high fat content in the dairy prevents ice crystals from forming, resulting in that creamy texture we all love. The sugar not only sweetens but also lowers the freezing point, keeping your ice cream scoopable straight from the freezer.
Equipment Needed
To make this 4 quart ice cream recipe, you’ll need:
- 4 quart ice cream maker (electric or manual)
- Large mixing bowl
- Whisk
- Measuring cups and spoons
- Airtight storage container
This recipe works perfectly in 6 quart ice cream maker recipes too – just increase the quantities slightly. Many readers have successfully adapted it for their 6 qt ice cream maker recipes by adding an extra cup each of cream and half-and-half.
For more essential kitchen tools, check out our recommended list.
Step-by-Step Instructions
Making this vanilla ice cream recipe 4 quart couldn’t be simpler:
1. Mix the Base
In a large bowl, whisk together all ingredients until the sugar completely dissolves. This usually takes about 2-3 minutes of vigorous whisking.
2. Chill (Optional but Recommended)
For best results, refrigerate the mixture for at least 30 minutes. This helps the flavors meld and results in faster freezing.
3. Churn
Pour the chilled mixture into your ice cream maker and churn according to manufacturer’s instructions. For most 4 quart electric ice cream maker recipes, this takes about 25-35 minutes.
4. Serve or Freeze
You can enjoy it immediately as soft serve, or transfer to an airtight container and freeze for 2-4 hours for firmer ice cream.
Flavor Variations
This basic 4qt ice cream recipe is incredibly versatile. Here are some delicious variations:
Chocolate Chip
Add 1 cup mini chocolate chips during the last 5 minutes of churning.
Strawberry
Puree 2 cups fresh strawberries and swirl in after churning.
Cookies and Cream
Crush 15 Oreo cookies and mix in when the ice cream is done churning.
Mint Chocolate Chip
Replace vanilla extract with 2 tsp peppermint extract and add 1 cup chocolate chunks.
These variations work equally well whether you’re making a 1 gallon homemade ice cream recipe or smaller batches.
Pro Tips for Perfect Ice Cream
After testing countless ice cream recipes, here are my top tips:
1. Keep Everything Cold
Chill your mixing bowl and ingredients before starting. This helps the mixture freeze faster in the ice cream maker.
2. Don’t Overfill
For 4 qt ice cream recipes, leave about 1 inch of space at the top as the mixture expands during freezing.
3. Storage Matters
Press plastic wrap directly onto the surface before freezing to prevent ice crystals.
4. Serving Tip
Let ice cream sit at room temperature for 5 minutes before scooping for perfect servings.
Discover more professional baking tips in our expert guide.
Frequently Asked Questions
Can I make this in a 6 quart ice cream maker?
Absolutely! This 6 qt ice cream maker recipe works perfectly – just increase all ingredients by 50%.
How long does homemade ice cream last?
Stored properly, this 4 quart homemade ice cream keeps for 2-3 weeks in the freezer.
Can I use milk instead of half-and-half?
You can, but the texture won’t be as creamy. For best results, stick to the recipe.
Why add salt to ice cream?
The tiny amount of salt enhances all the other flavors without making the ice cream taste salty.
Can I double this recipe?
Yes! This makes a great 1 gallon ice cream recipe when doubled.
4 Quart Homemade Ice Cream Recipe: Creamy Vanilla Bliss
Nothing beats the rich, creamy taste of homemade ice cream. This 4-quart vanilla ice cream recipe is perfect for your ice cream freezer, delivering a classic flavor that’s smooth, sweet, and utterly irresistible. Whether you’re hosting a summer party or just craving a cold treat, this recipe is a guaranteed crowd-pleaser.
Ingredients You’ll Need:
- 4 cups heavy whipping cream
- 4 cups whole milk
- 2 cups granulated sugar
- 2 tbsp pure vanilla extract
- 1/2 tsp salt
- 6 large egg yolks (optional for custard base)
Step-by-Step Instructions:
- Prepare the Base: In a large mixing bowl, combine the heavy cream, whole milk, sugar, vanilla extract, and salt. Whisk until the sugar is fully dissolved.
- Optional Custard Method: For a richer texture, heat the milk mixture over medium heat (do not boil). Whisk egg yolks in a separate bowl, then slowly temper them by adding a cup of the warm milk mixture while stirring. Return everything to the pot and cook until slightly thickened (about 160°F). Strain and cool before churning.
- Chill the Mixture: Refrigerate the base for at least 4 hours, preferably overnight, to enhance flavor and texture.
- Churn in Ice Cream Freezer: Pour the chilled mixture into your 4-quart ice cream maker and churn according to the manufacturer’s instructions (typically 25–35 minutes).
- Freeze to Firm Up: Transfer the soft ice cream to an airtight container and freeze for 4+ hours before serving.
Pro Tips for Perfect Homemade Ice Cream:
- Use high-quality vanilla extract or vanilla bean paste for the best flavor.
- For extra creaminess, replace 1 cup of milk with additional heavy cream.
- Pre-chill your ice cream freezer canister for faster, smoother results.
- Add mix-ins (chocolate chips, fruit, nuts) during the last 5 minutes of churning.
Why This Recipe Works:
This homemade ice cream recipe for a 4-quart freezer strikes the perfect balance between simplicity and indulgence. The combination of heavy cream and whole milk ensures a luxuriously creamy texture, while the vanilla extract delivers that timeless, comforting flavor. Unlike store-bought versions, you control the ingredients—no artificial stabilizers or excessive sugars.
Variations to Try:
- Chocolate Swirl: Fold in 1 cup of melted chocolate during the last churn.
- Strawberry Cheesecake: Add 1 cup pureed strawberries and 1/2 cup crushed graham crackers.
- Cookies & Cream: Mix in 2 cups of crushed Oreo cookies.
Troubleshooting Common Issues:
- Too icy? Increase the fat content (more cream) or add 1 tbsp corn syrup to the base.
- Not sweet enough? Adjust sugar to taste, but avoid exceeding 2.5 cups total for 4 quarts.
- Grainy texture? Ensure sugar is fully dissolved before churning.
Serving Suggestions:
Pair this vanilla ice cream with warm pies, fresh berries, or decadent hot fudge for an unforgettable dessert. For a fun twist, make ice cream sandwiches using homemade cookies or brownies.
Storage Tips:
- Store in an airtight container with parchment pressed directly on the surface to prevent ice crystals.
- Consume within 2 weeks for optimal freshness (though it rarely lasts that long!).
Final Thoughts:
This 4-quart vanilla ice cream recipe is a foolproof way to create a creamy, dreamy treat right at home. With just a handful of ingredients and an ice cream freezer, you’ll have a dessert that’s far superior to anything from the grocery store. Experiment with flavors, share with loved ones, and enjoy the sweet rewards of homemade goodness!


